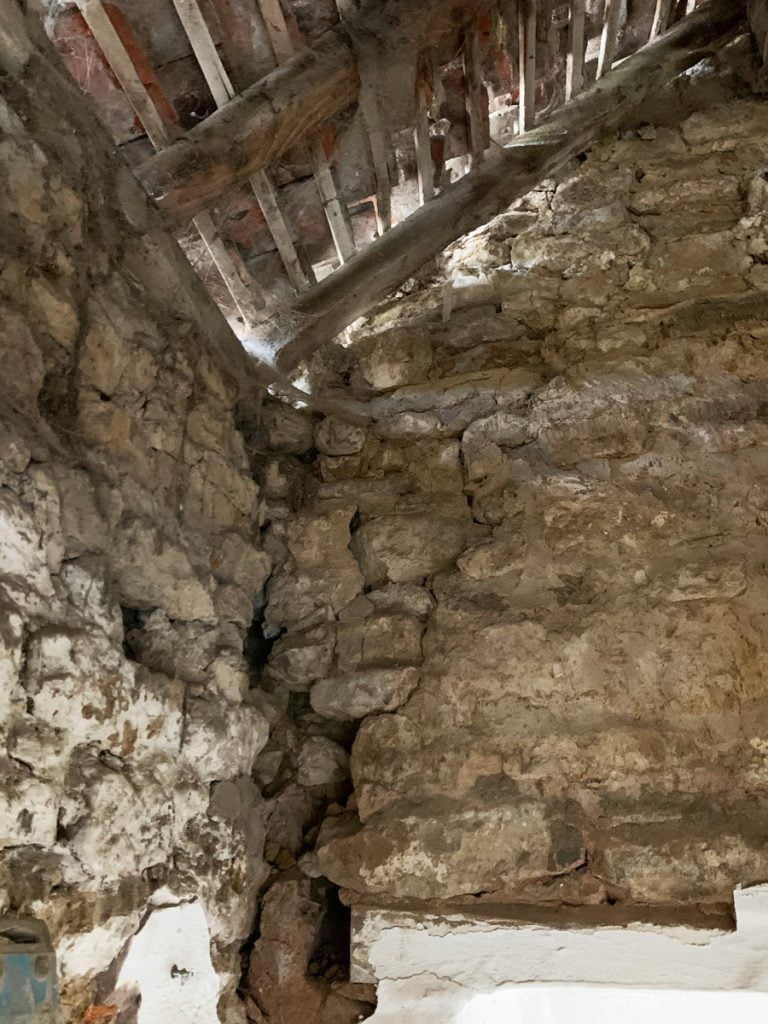
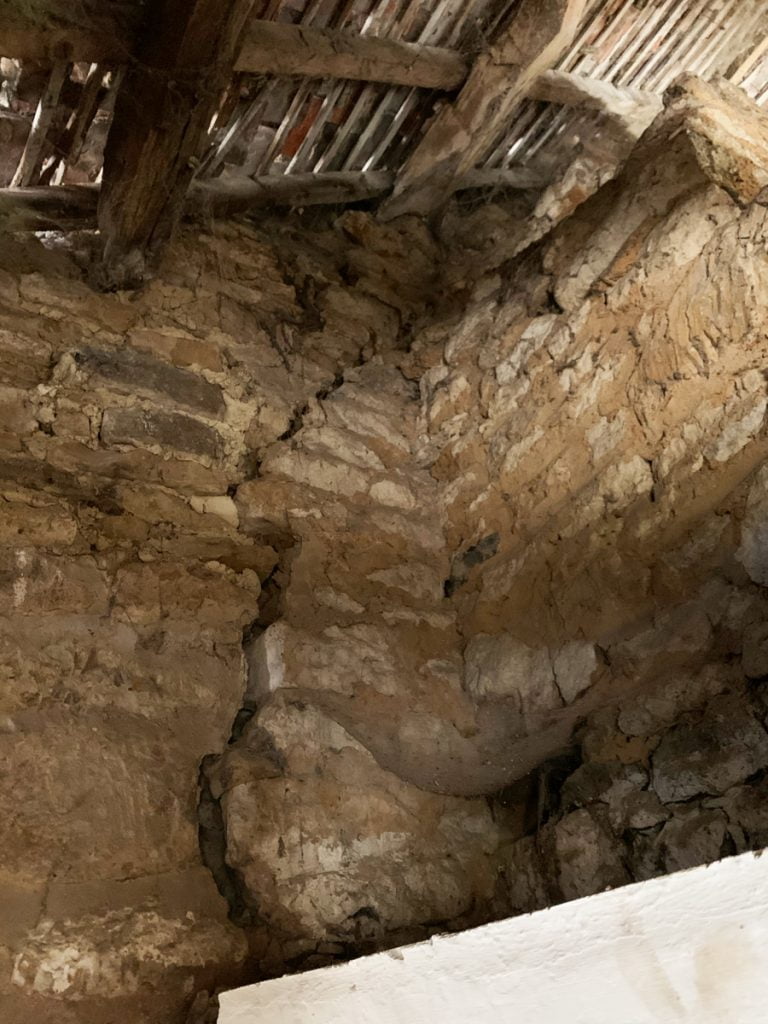
This morning all the ceilings were taken down exposing the full attic space and it looks incredible. A few more horrors have been revealed, but we’ve also just discovered an old window in the gable end that has been blocked up!
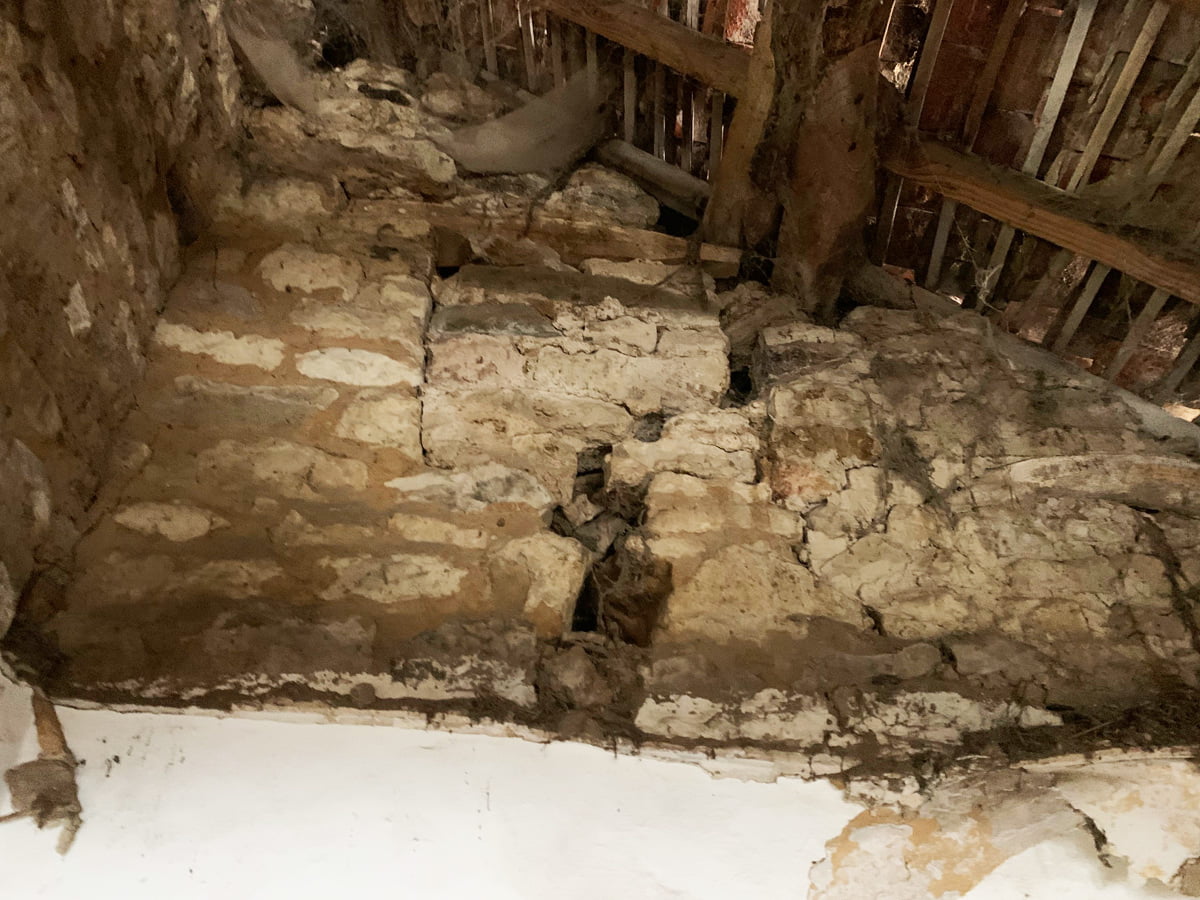
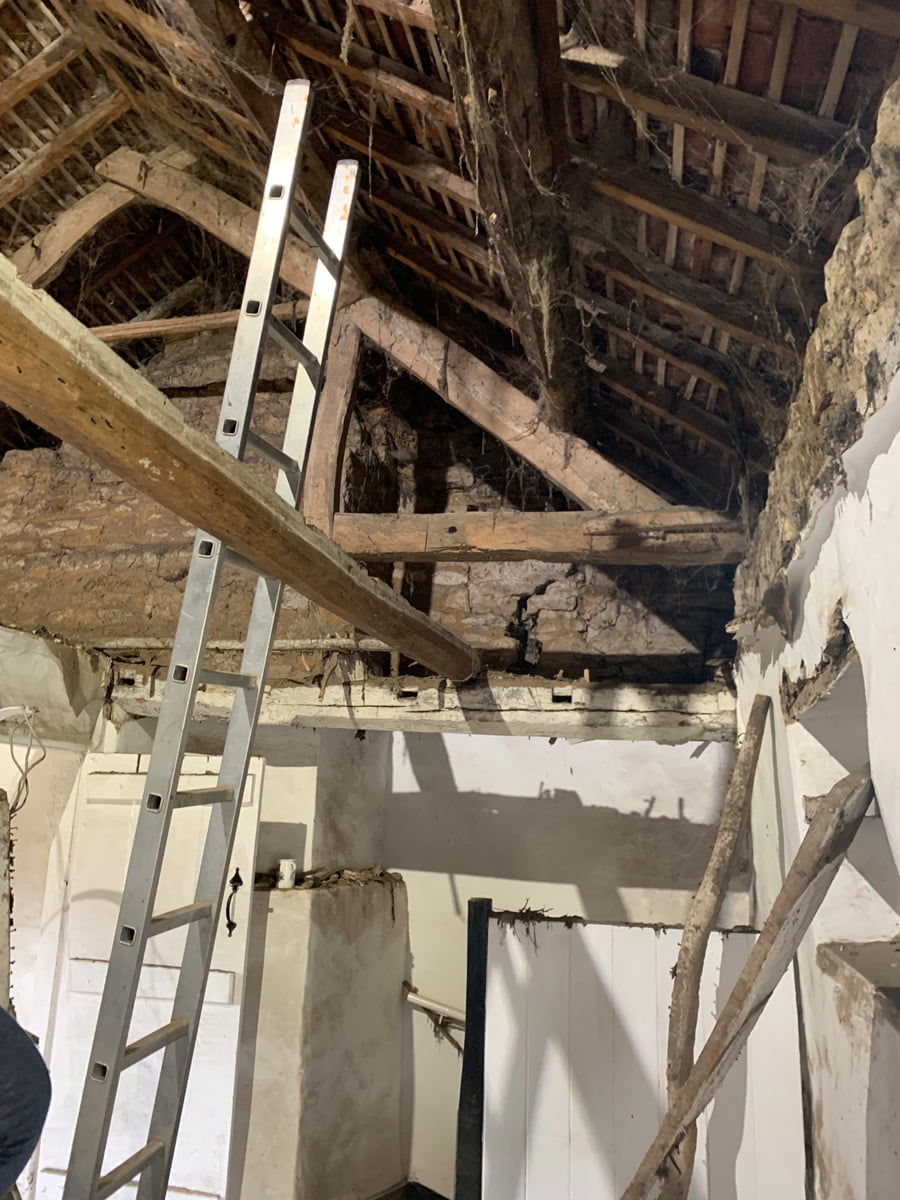
You can just see the blocked up window in the middle of this photo, there is a timber lintel. You cannot see this from the outside though interestingly, but then the edge of most of the stone has been smeared in so much cement you cannot see much.
We will reinstate this window, it will also add much needed light into the attic space. It may need to wait until we have robbed a bank though.
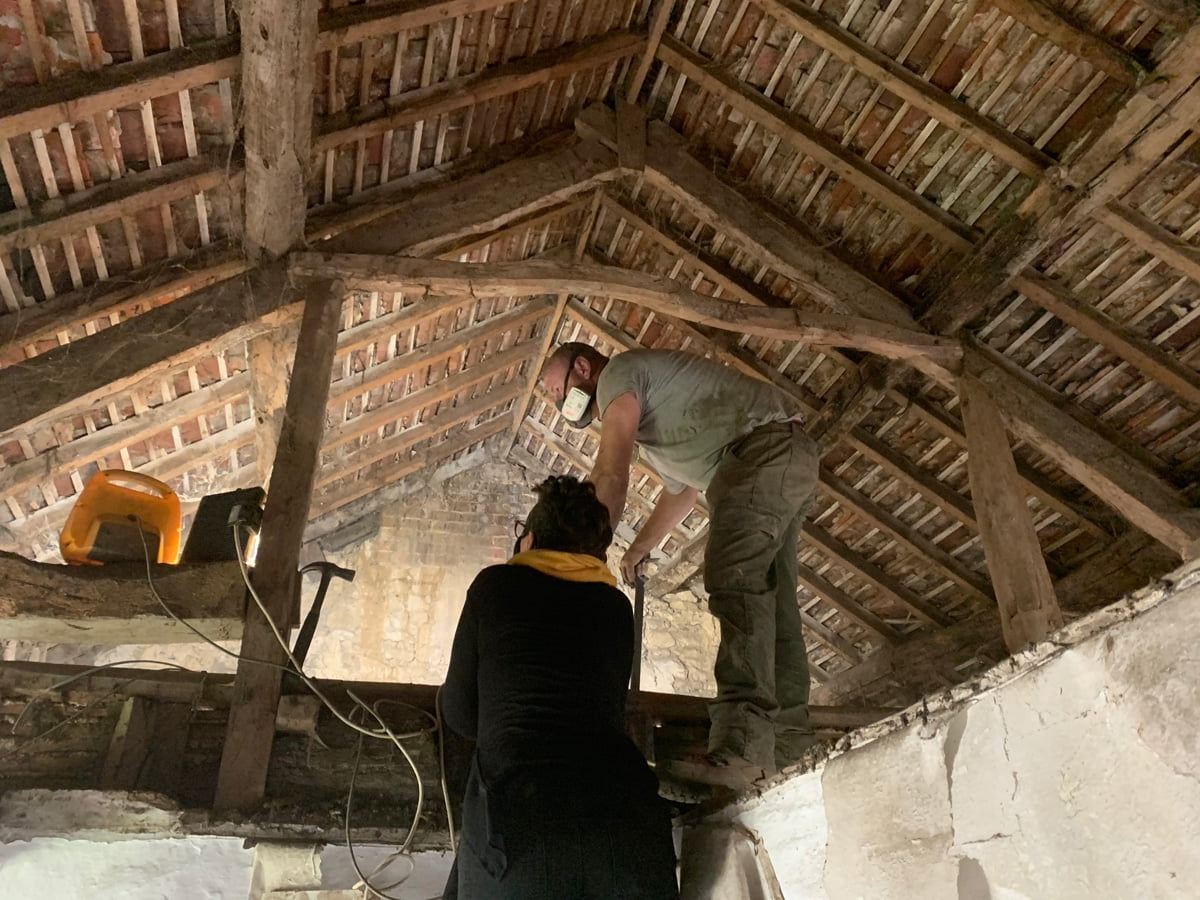
Dan bravely balancing on the top of the wall removing the ceiling in Zanna’s bedroom.
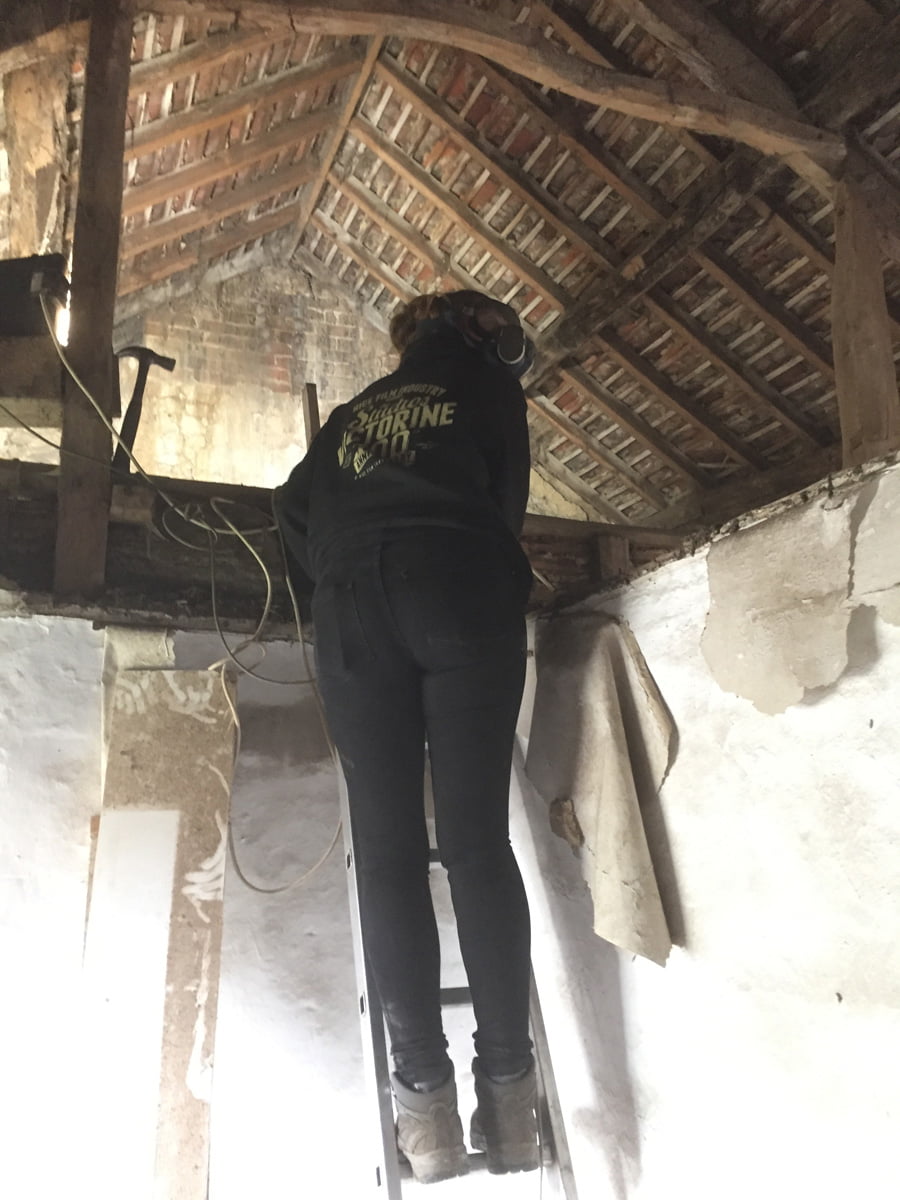
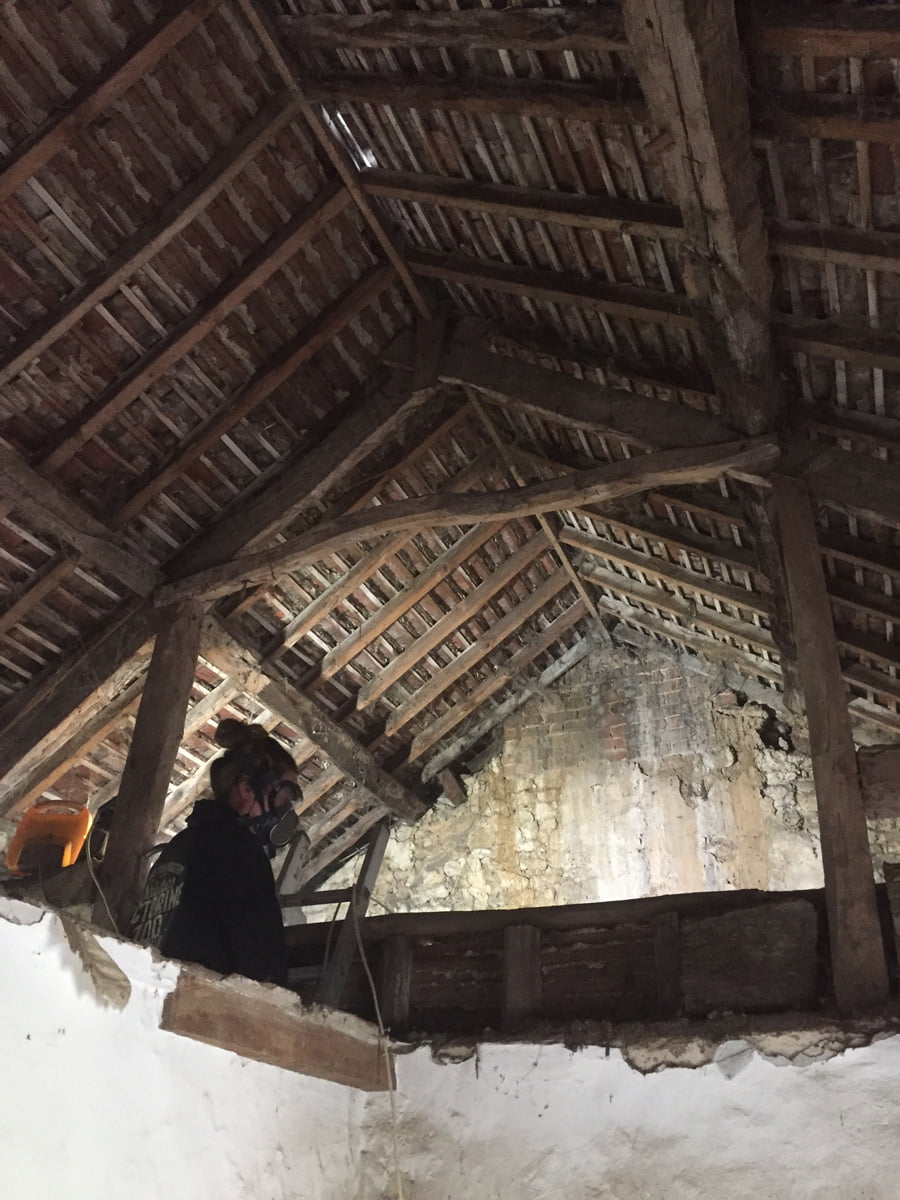
The top of the walls on both sides are pretty precarious with the stones all quite loose. The worry is that when the weight of the roof gets removed the tops of the walls may collapse… So we are trying to get as much steel strapping in as possible before the roof comes off.
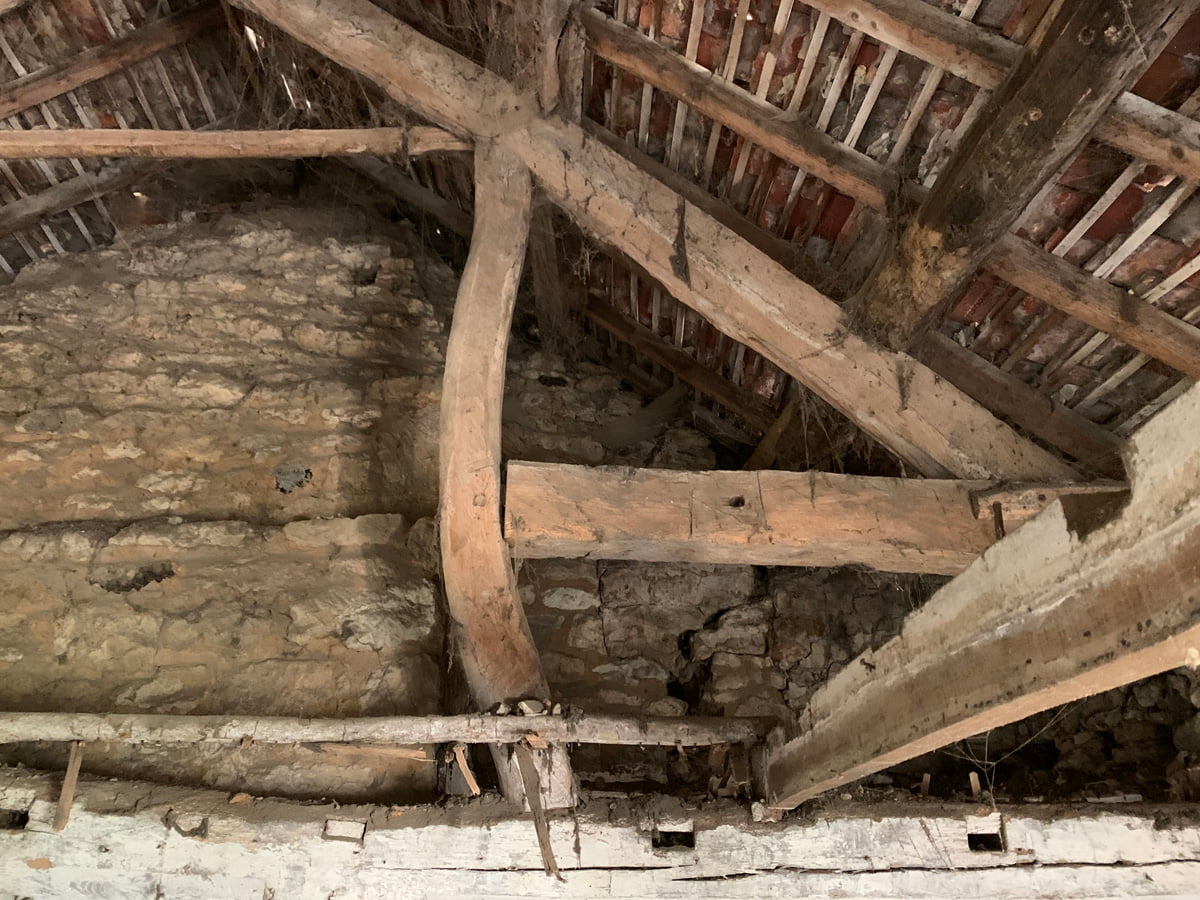
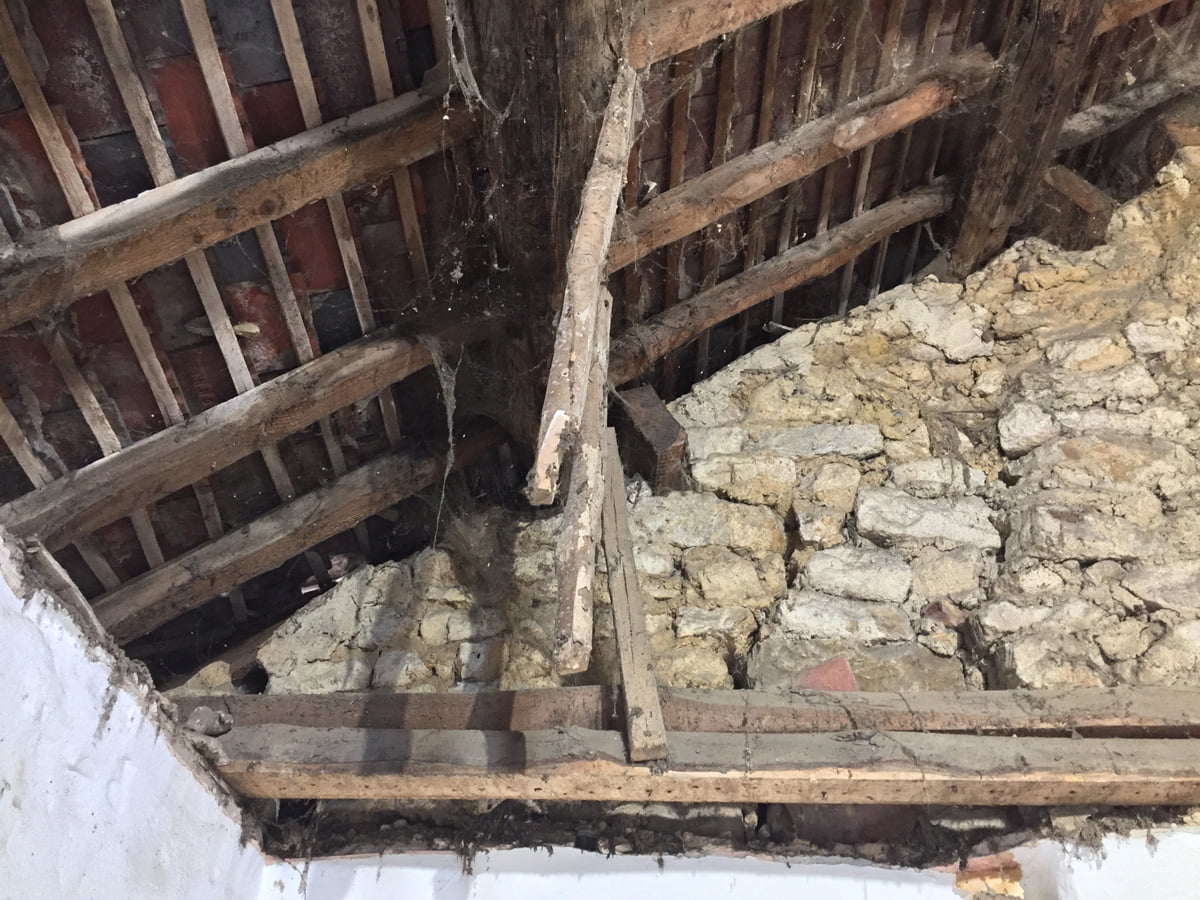
This timber frame is a thing of beauty! We could stand and look at it for hours! On the left is the chimney breast of the inglenook fireplace, hence the enormity of it. This will get cleaned up and pointed and will be a fabulous feature. You can just see the blocked up window on the right behind the A-Frame.
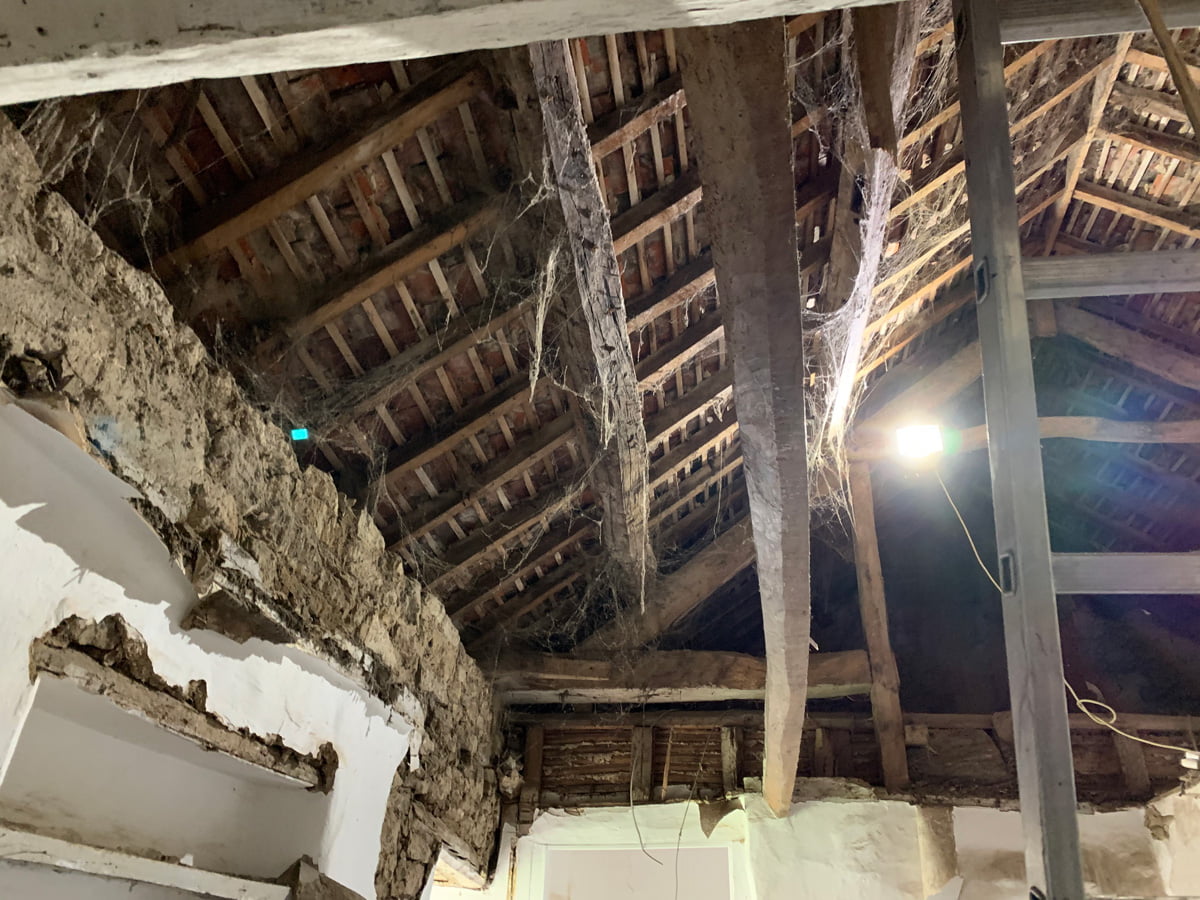
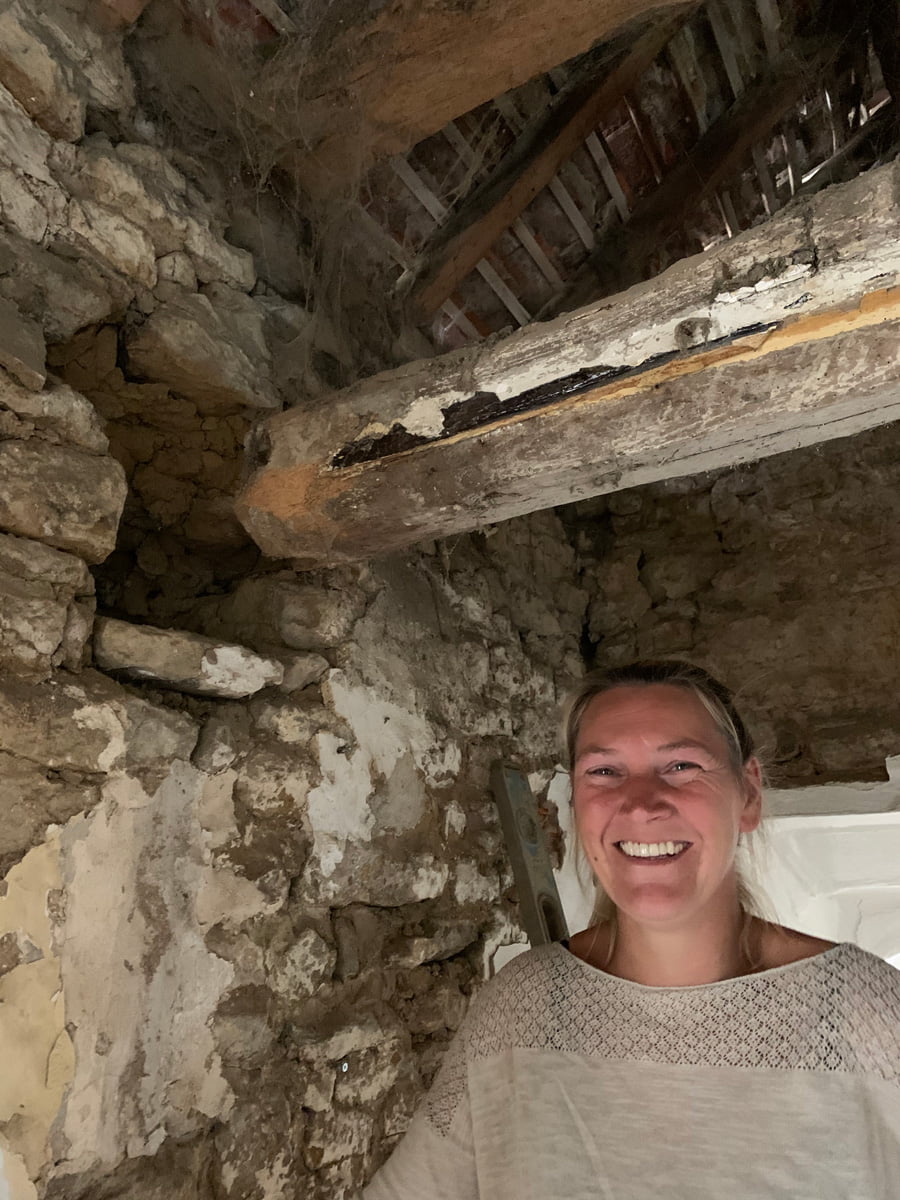
The landing at the top of the stairs and the attic space. You can see the huge beam that we uncovered a couple of weekends ago, with the white lime wash. This beam spans the entire width of the house, and bears the weight of the A-Frame, which would be fine if it still went into the wall.
This is the beam that is nearly a foot short of its original home in the wall on the left and is also a little bit split… Martin has suggested extending this beam using a chunk of oak, fastened together with a scarf joint and added steel strapping across the top where it won’t be too visible.

Tom and Dan installing the threaded bars through the steel brackets at the end of the joists. This resin gun is enormous and has metre long extension tubes enabling the resin to be pumped deep into the wall around the steel rods. There is no way to write this without sounding dirty.
This resin gun was purchased for use with the long steel straps which will tie the internal and external walls together.

View of the scaffolding from Edgehill on a stormy day. The unmistakable white box below the 3 poplar trees is ours.
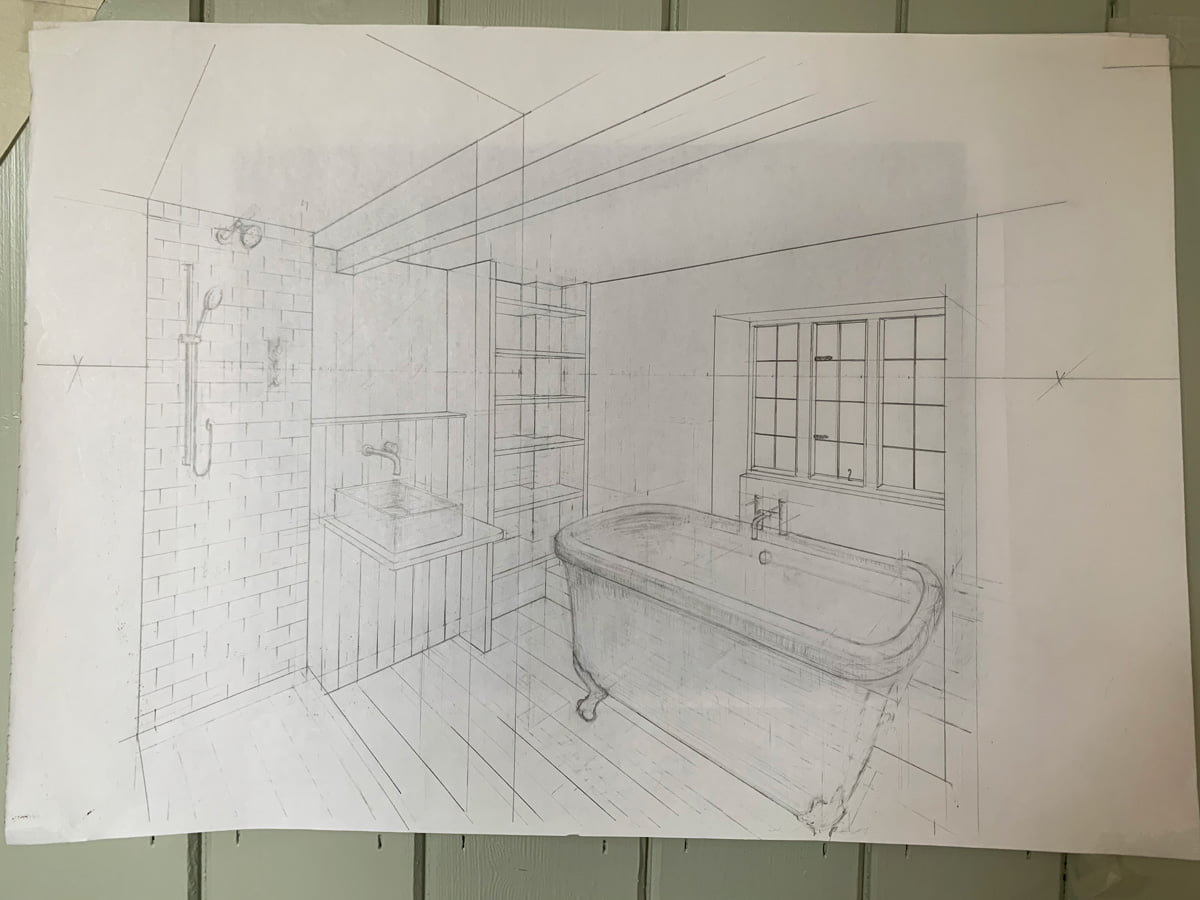
So Cat’s been busy working on a scale drawing for our new bathroom. I think you’ll agree it looks great and gives us a very good idea of how it will all fit.
Another necessary visit from our structural engineer, Martin. He’s suggested using yet more steel Helifix bars to secure the gable end wall and corners.
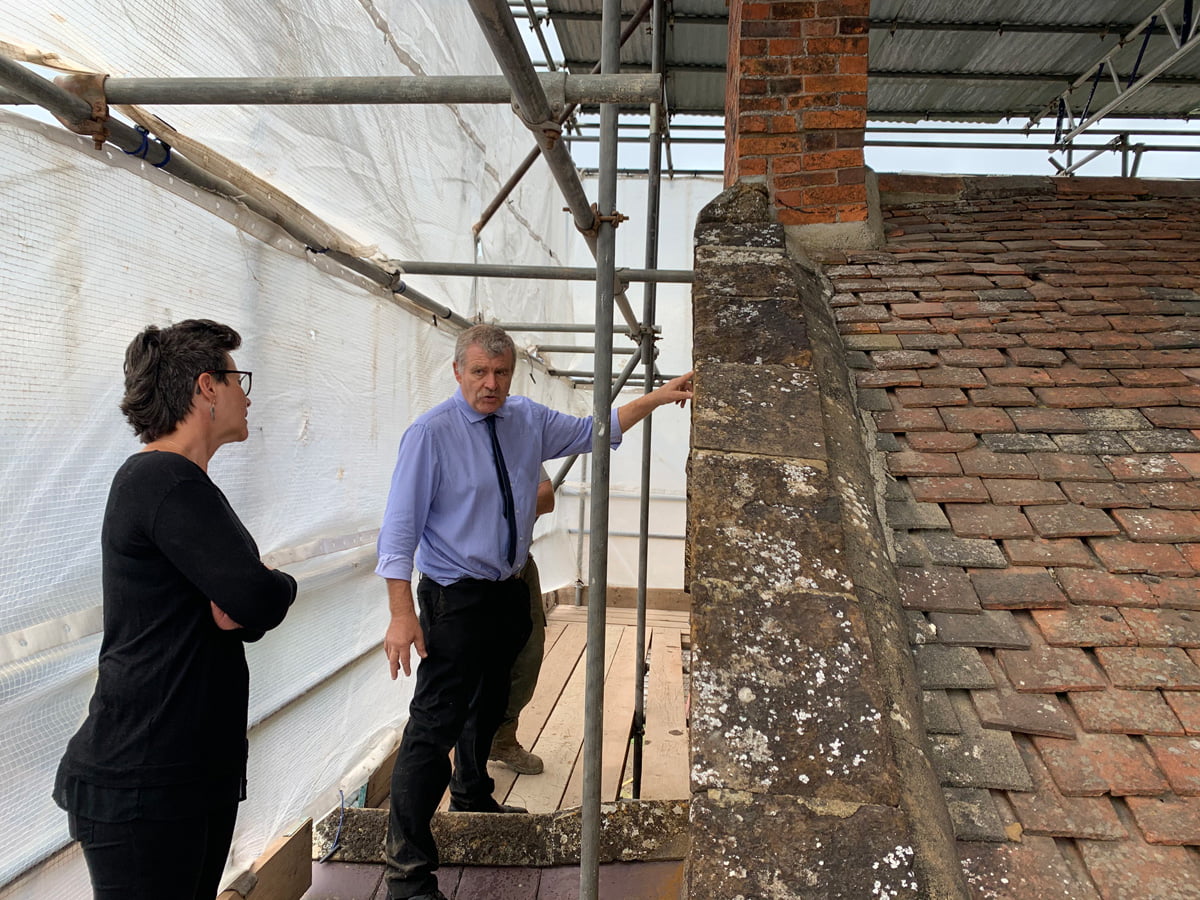
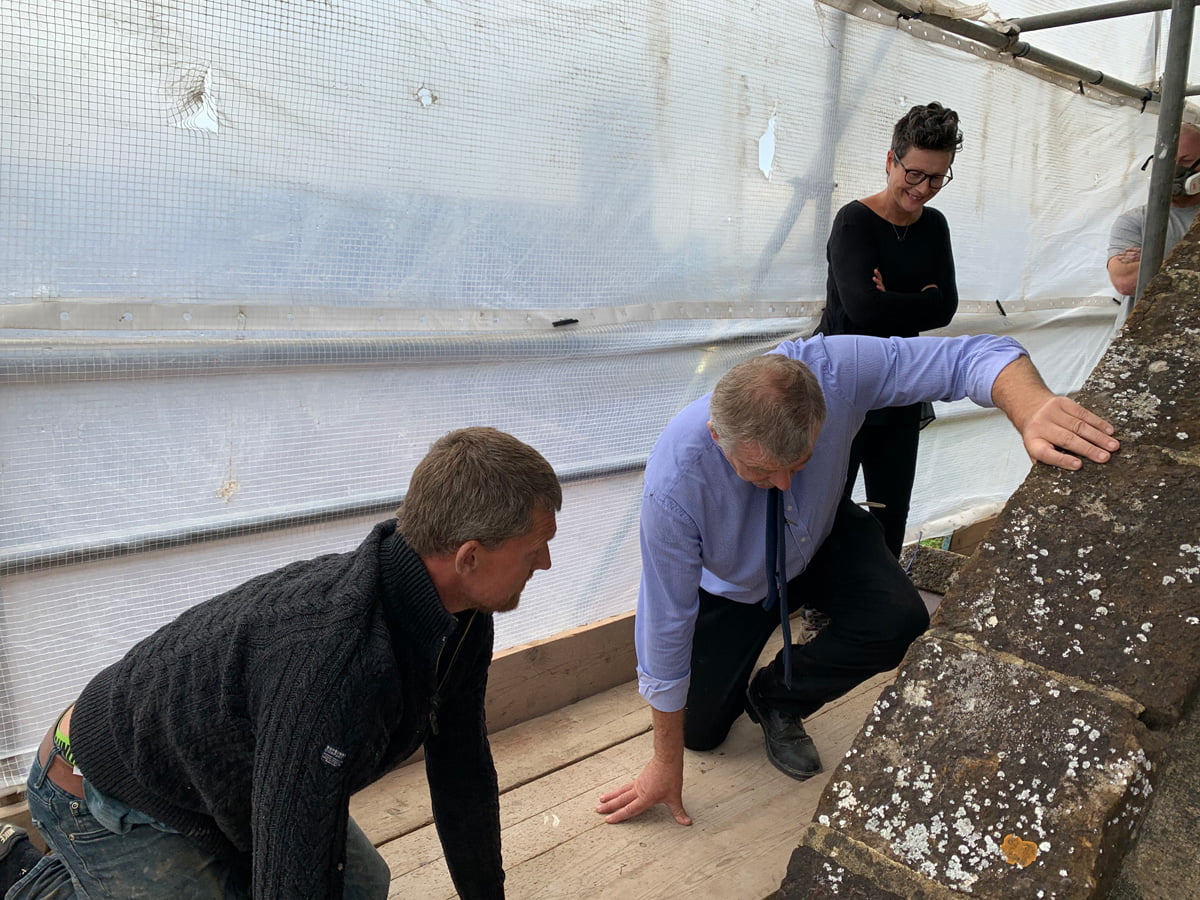
Martin inspecting the stone on the external gable end wall. He believes Tom will need to replace quite a bit of the stone. It’s crumbling away due to being covered in cement.
Crack in the corner of the gable end wall. The steel Helifix bars will fix this without needing to rebuild it.
This crack in the gable end to the left of the chimney breast is one we spotted before we bought it, it came up on the structural report. It’s pretty immense when viewed up close.
This is the other gable end wall, one that we share with our neighbour. We had hoped because of this it might be in a reasonable state. This isn’t the case of course. A few more steel bars and it will be fine.
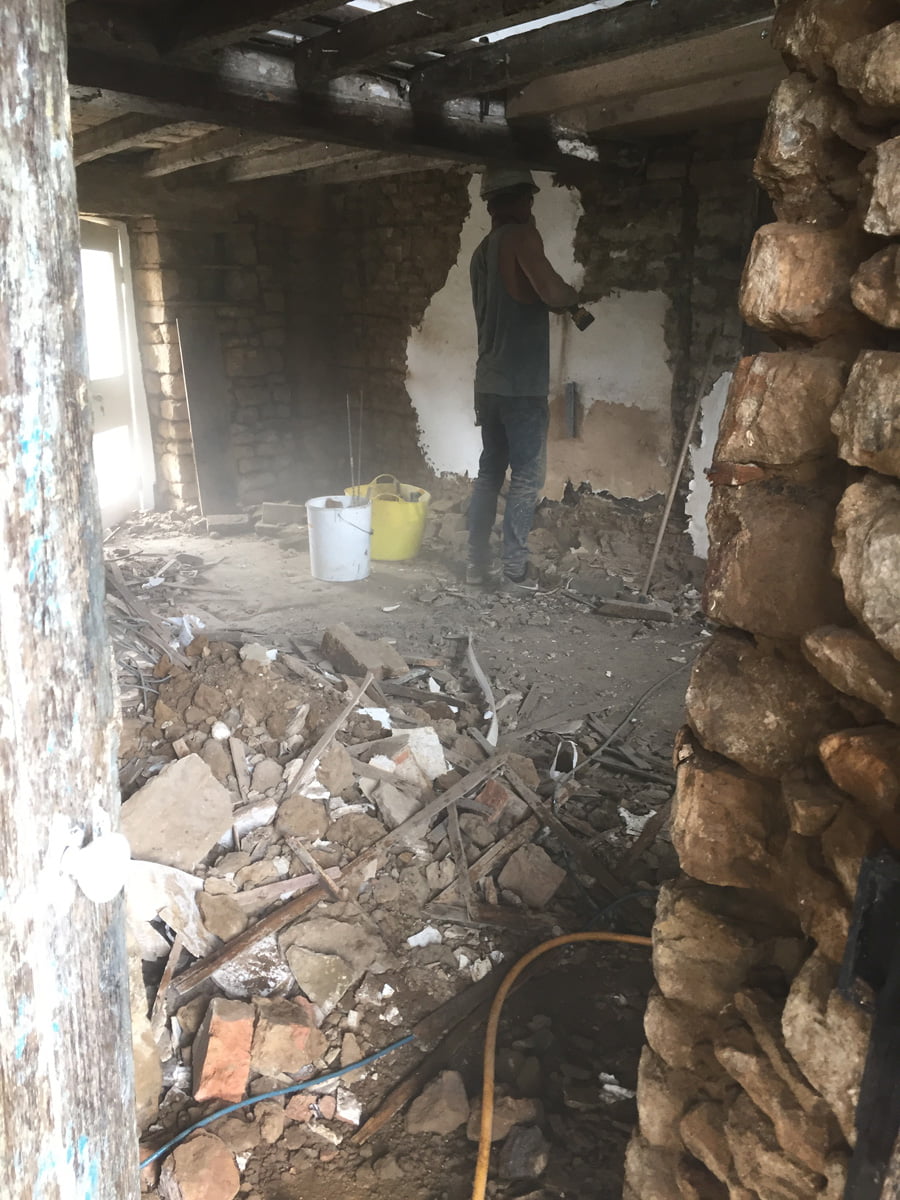
Tom is removing the layers of cement that have been smothered onto the inside walls too. It’s hard as nails and almost impossible to remove.

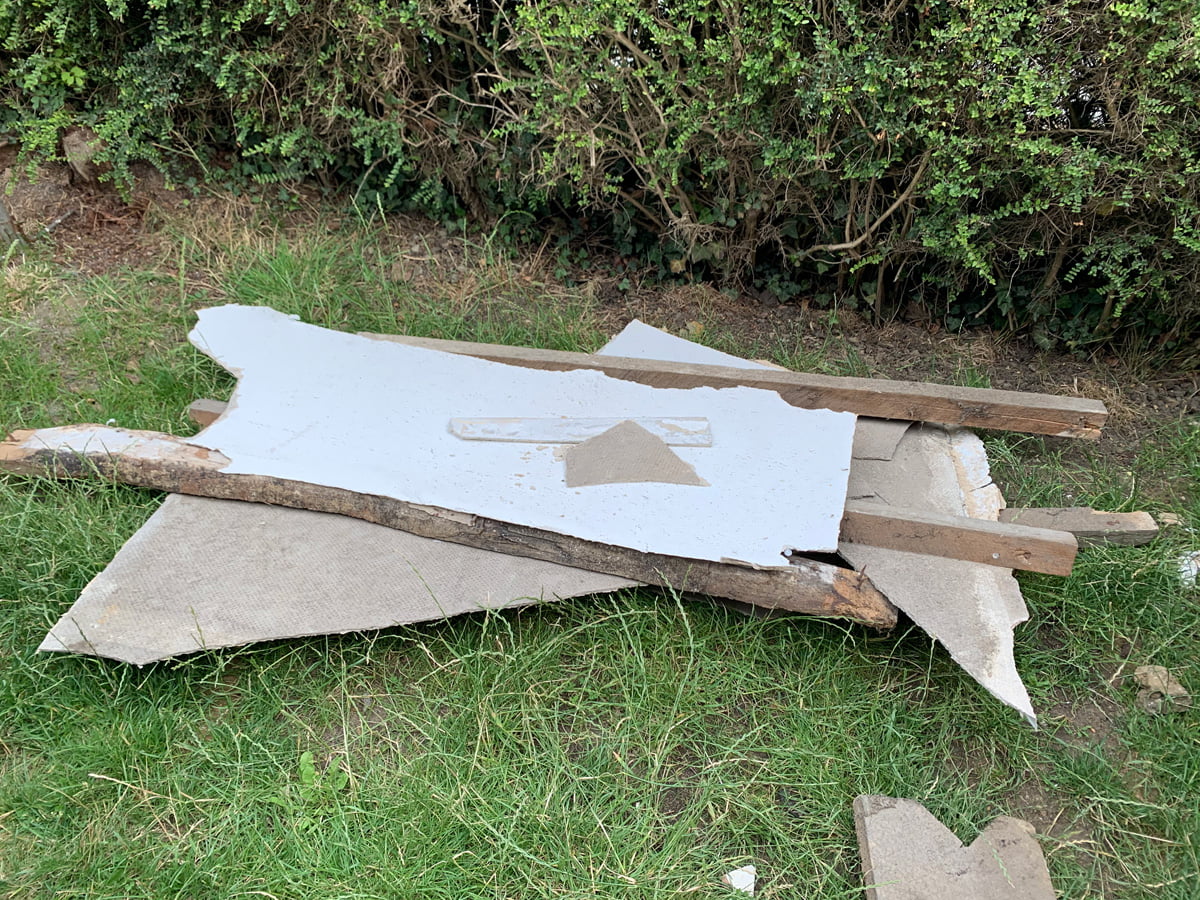
On top of this, in what we can only think was an attempt to address the damp problem, there was a polystyrene silver backed wallpaper. Ironically, this has actually made any damp issue worse. The walls need to ‘breathe’ to get rid of any moisture and remain dry, something they cannot do when smothered in cement and polystyrene.
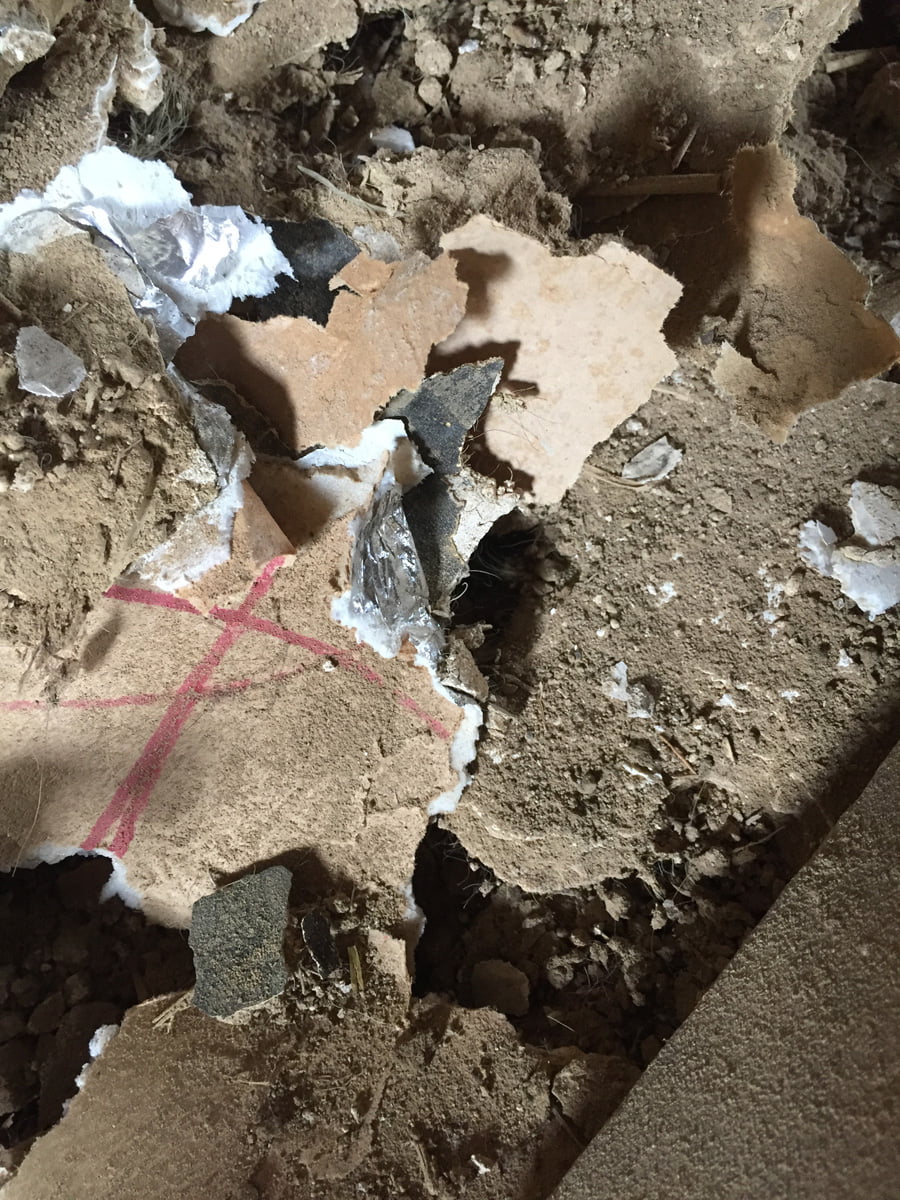
Remnants of the silver backed polystyrene wallpaper. Sadly most of the original lime plaster had been removed a long time ago, some remained but was loose and came away with the cement and wallpaper.
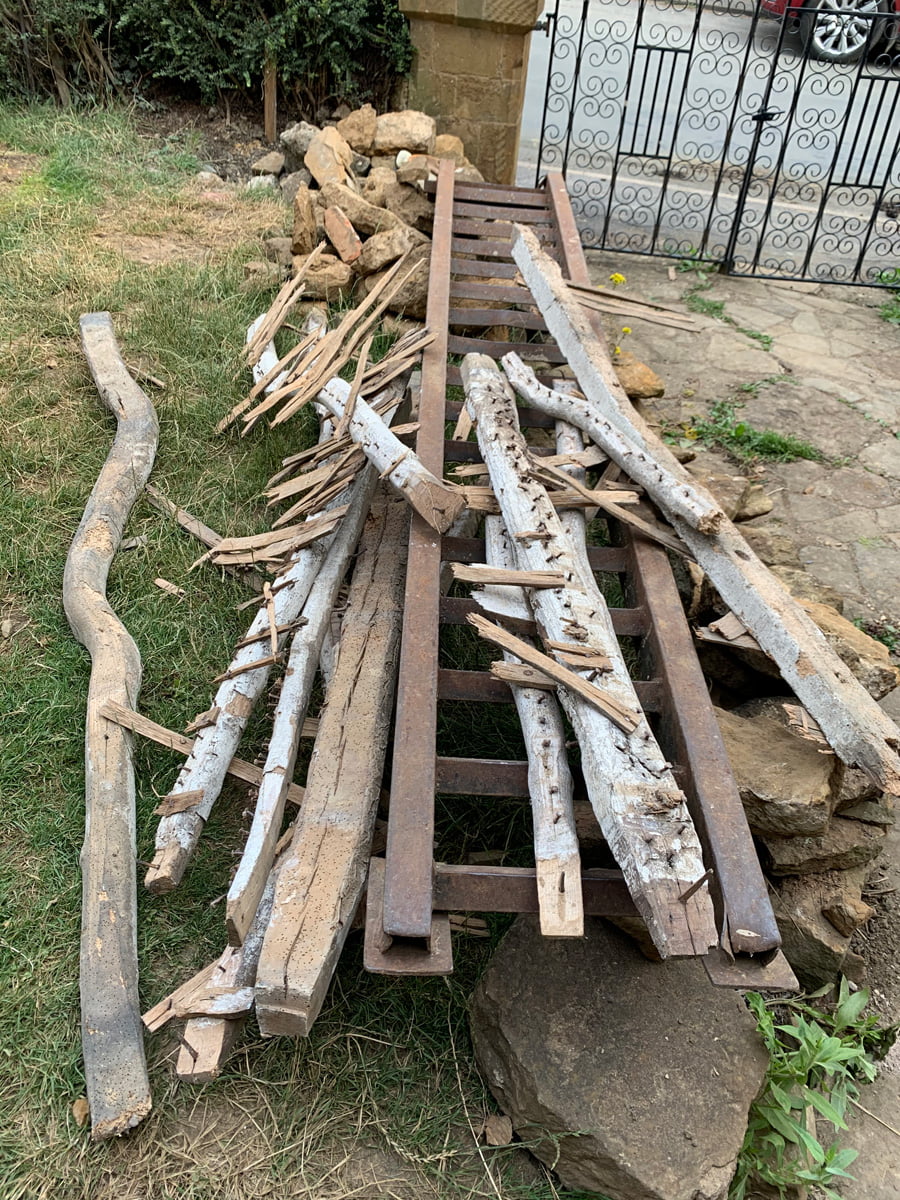
These are some of the ceiling joists from the upstairs ceilings. Some have the remains of old lathes still attached, but were plaster boarded over with the added bonus of our ‘old friend’ asbestos sheets (we found these in the dining room ceiling 3 years ago when we removed the plaster board there). Also note the crazy woodworm holes all over the timbers.
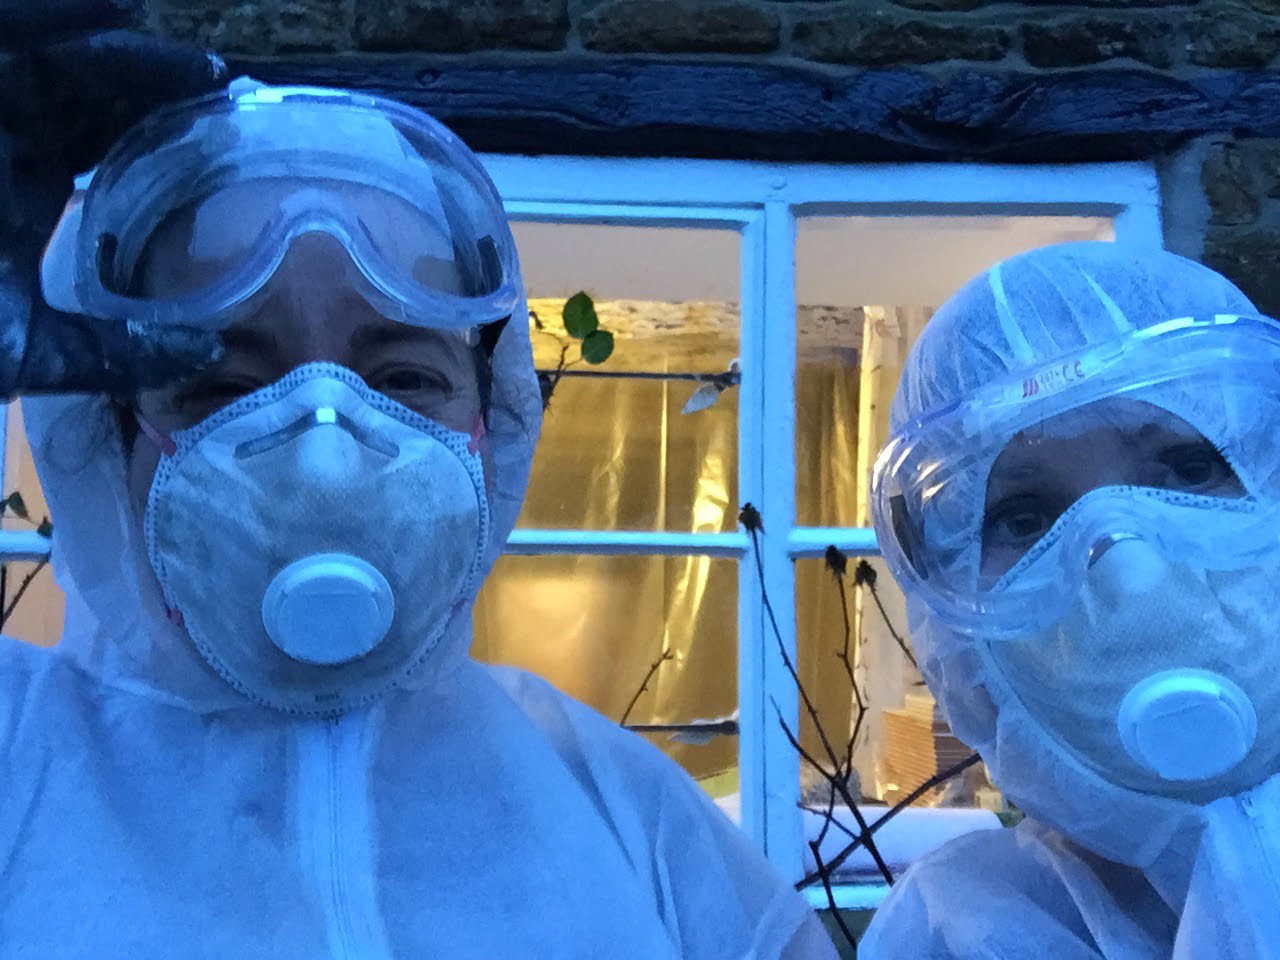
Asbestos sheets waiting to be taken away.
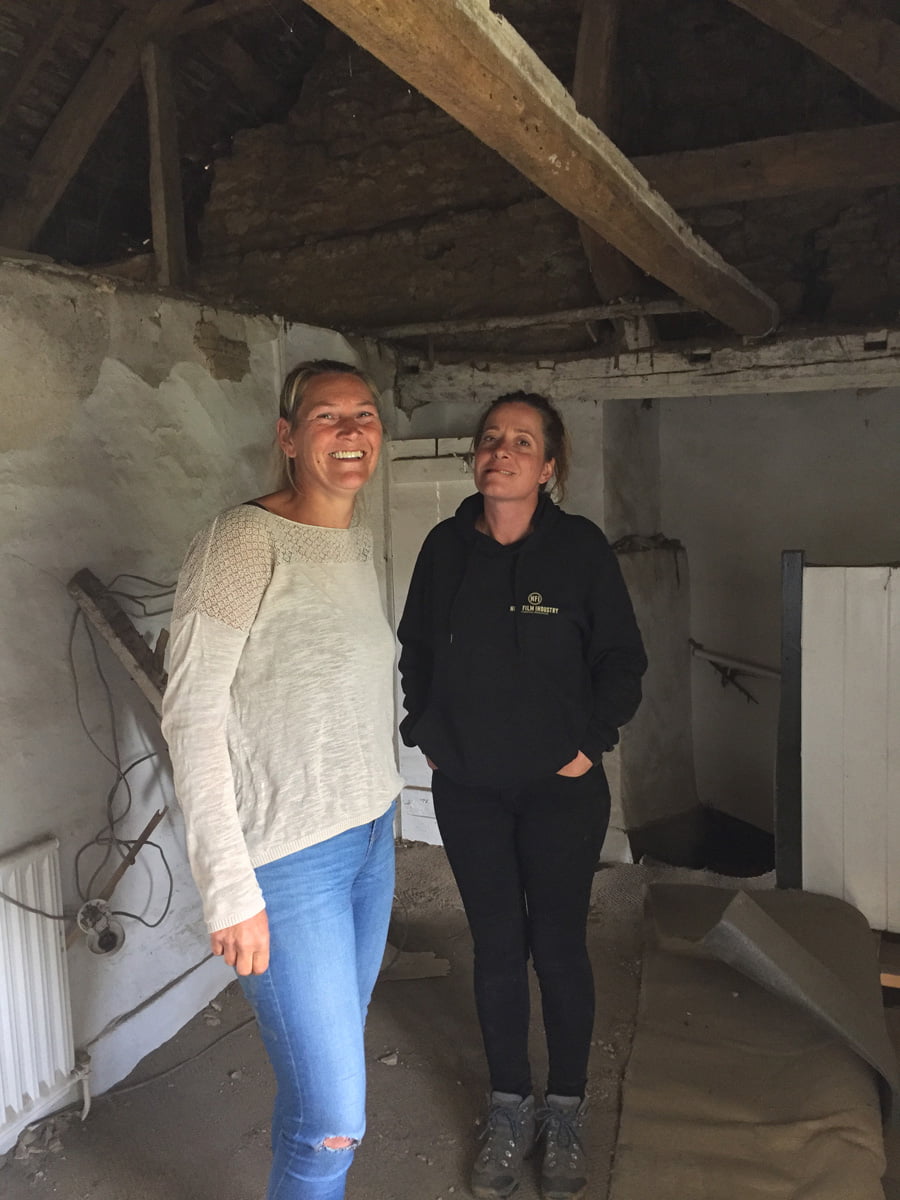
Charlotte popped in to see what we have done to the place.
Charlotte looking more than happy to stand underneath the floating beam with a mass of cobwebs above!
I love the curved upright to the right of the chimney 💕
It’s our favourite too!
Wtf!
I know right! It’s unrecognisable to the house you saw last summer!!! xx