A day mainly working in the study, replacing old iron with new steel.
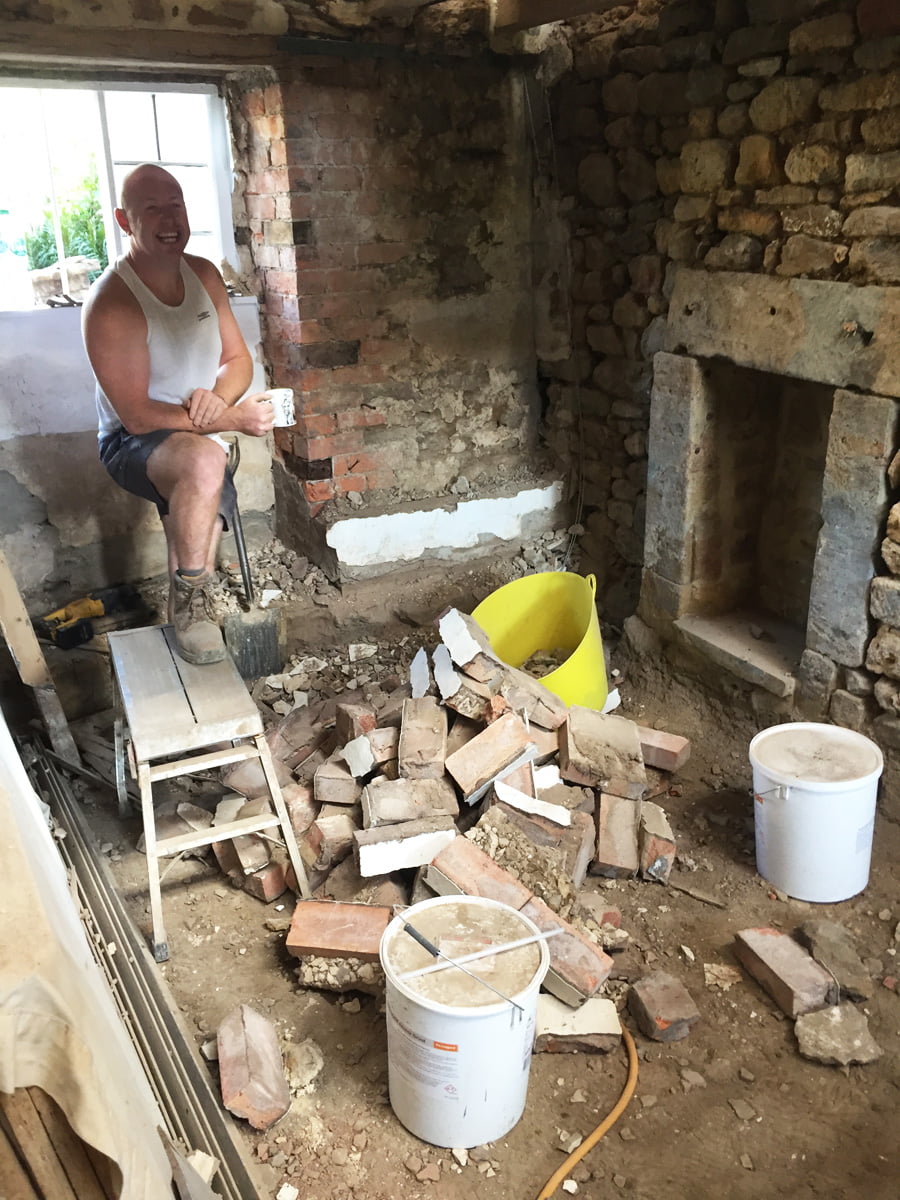
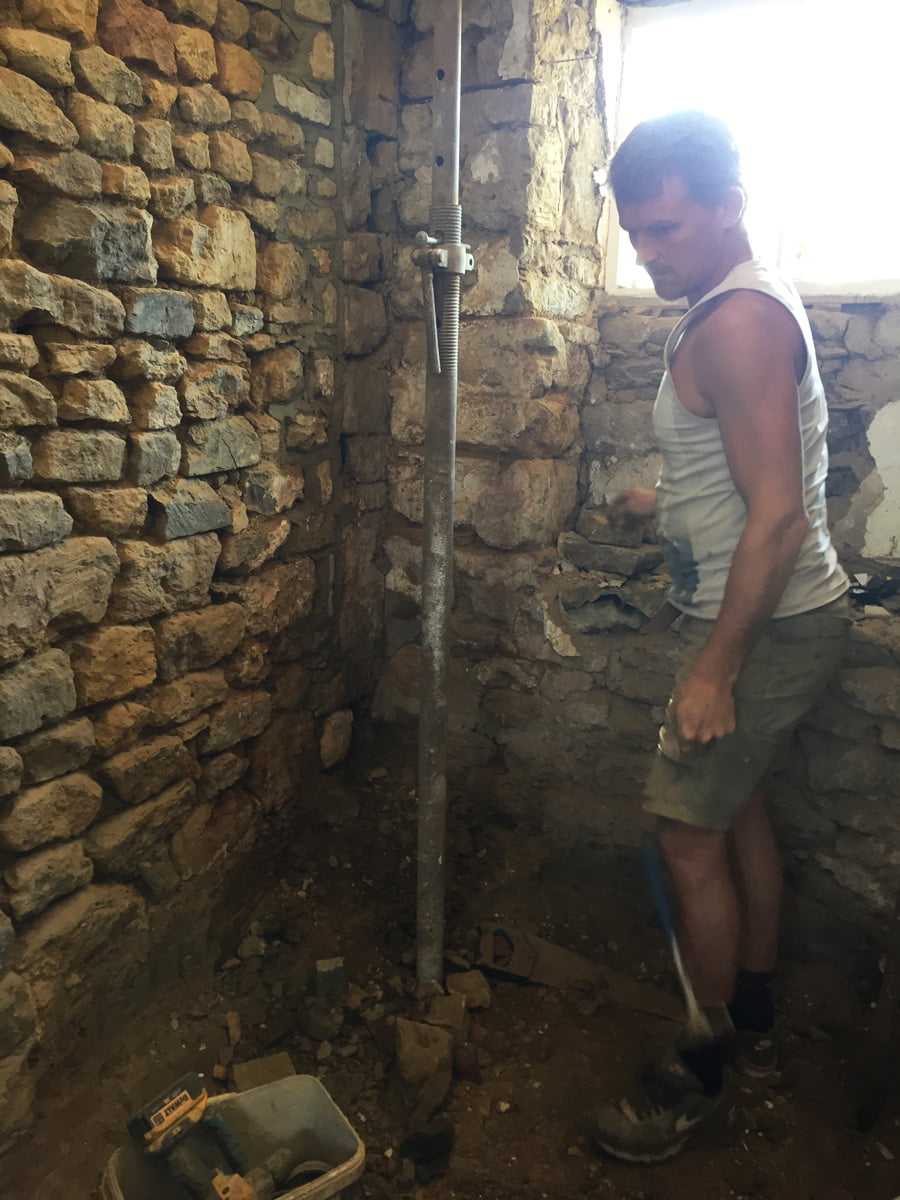
Dan celebrating with a cup of tea, as he has just removed the last buttress (yay!) at the back of the study.
George is able to dig out the rest of the study floor now the buttresses have gone, so it is all the same level (the rest was dug out in the first week).
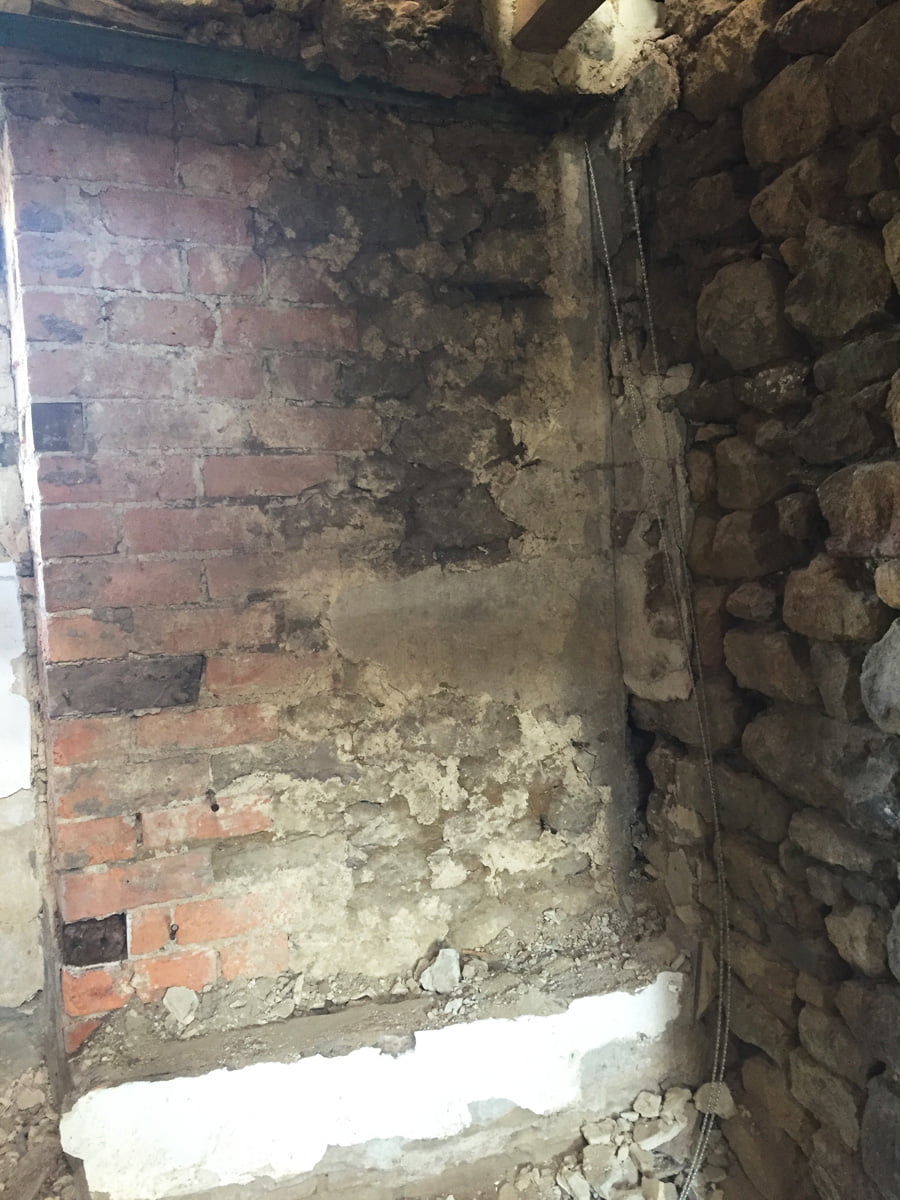
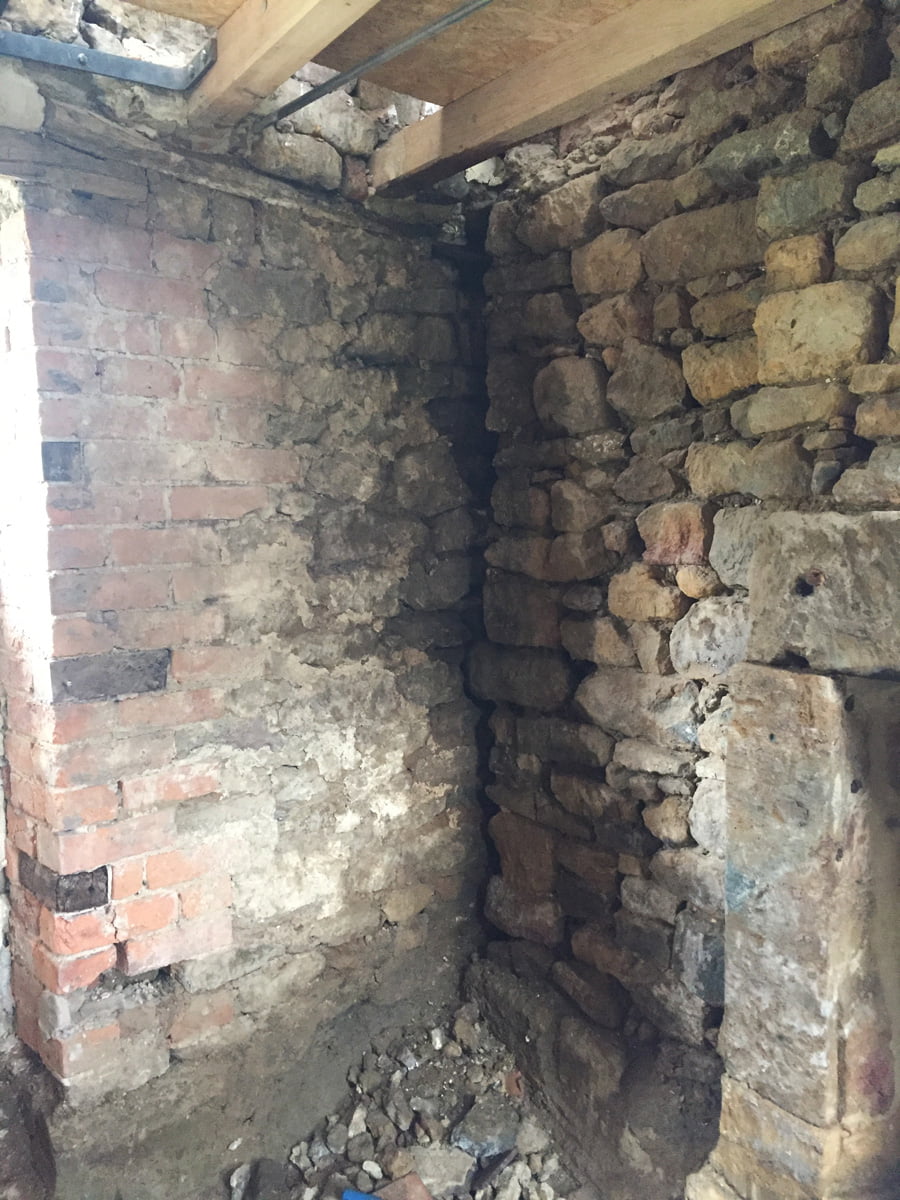
The wall behind the last buttress. Interestingly, as with the wall above in Zanna’s bedroom, it has been partially rebuilt in brick. There was clearly an issue with this wall.
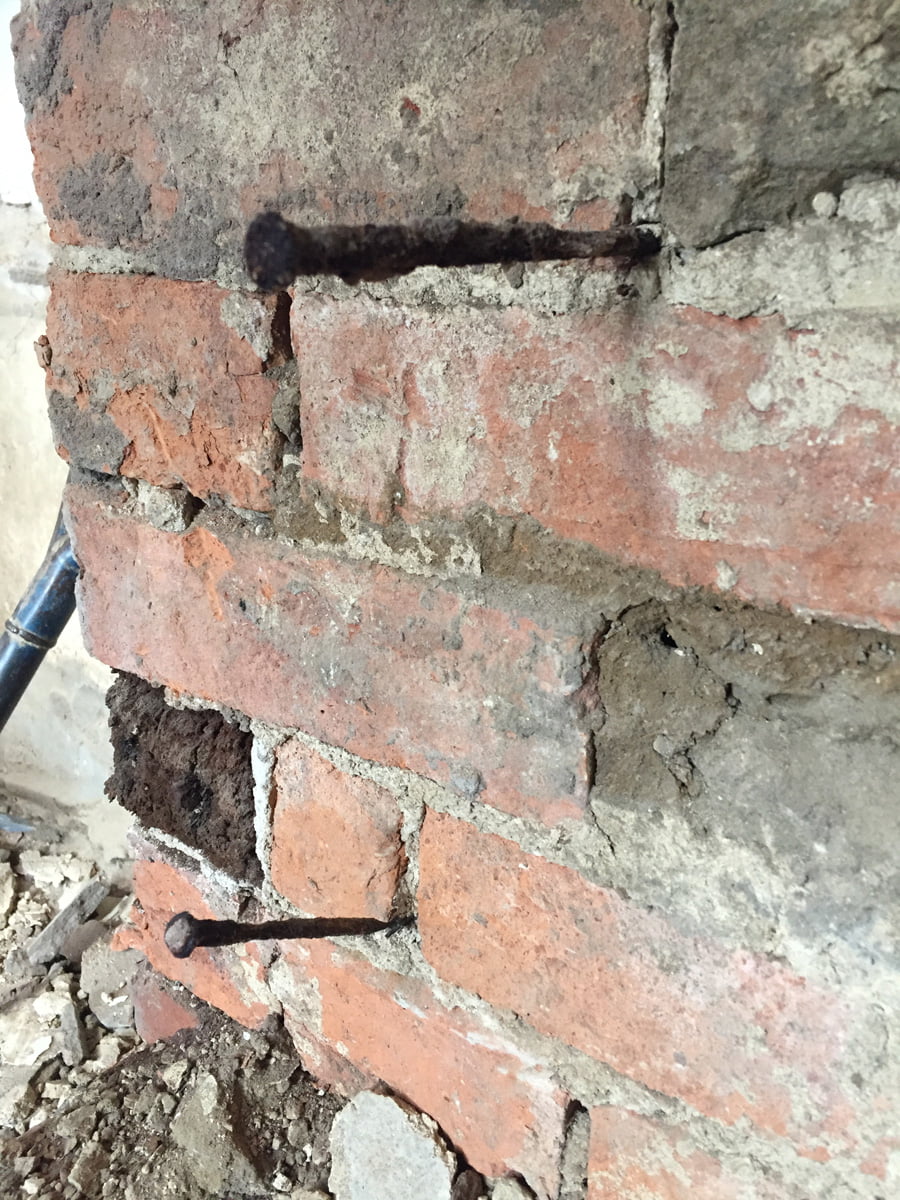
This buttress was attached to the wall with a combination of massive iron nails and any old bits of iron they had available which appear to be mostly from a cast iron Victorian range. Their version of modern steel ties was effective on this buttress as it was still attached to the wall (unlike the buttress at the front of this room).
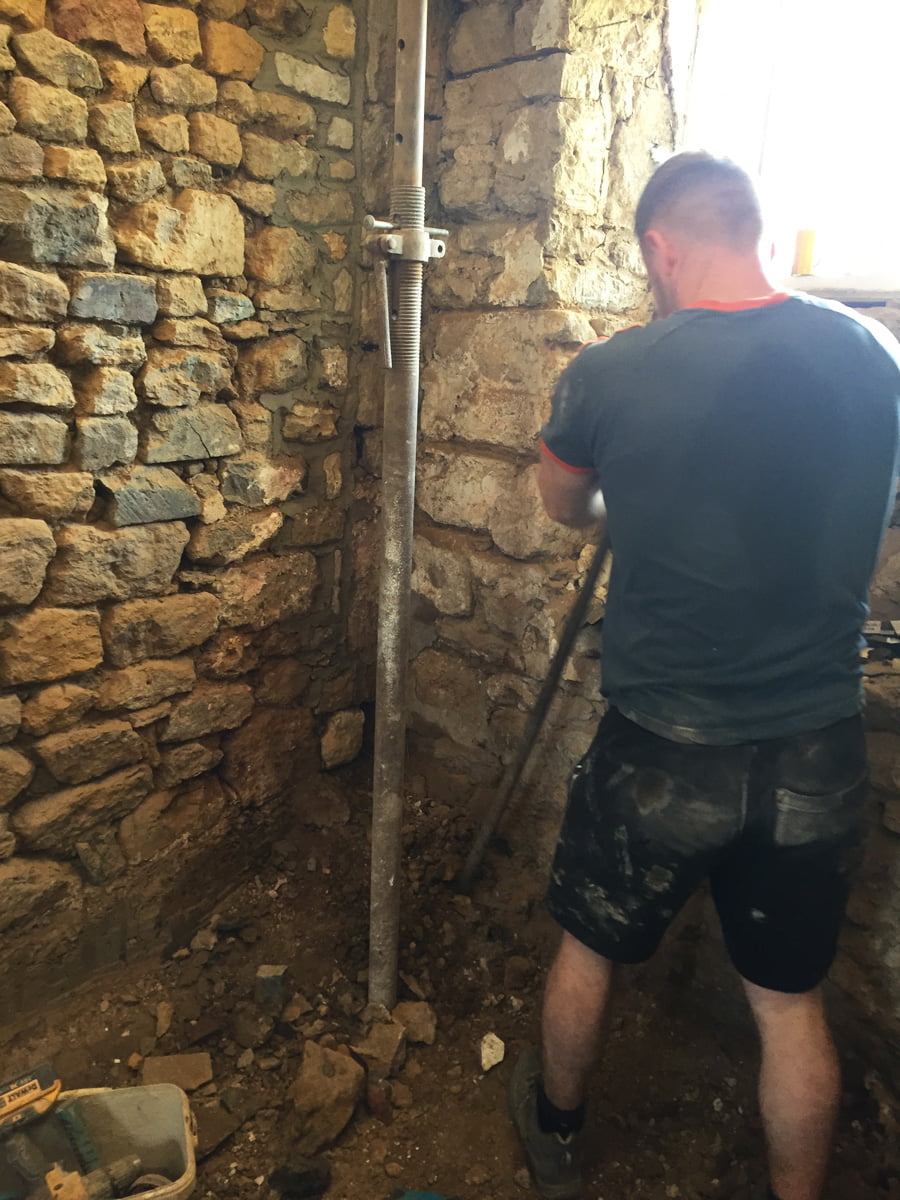
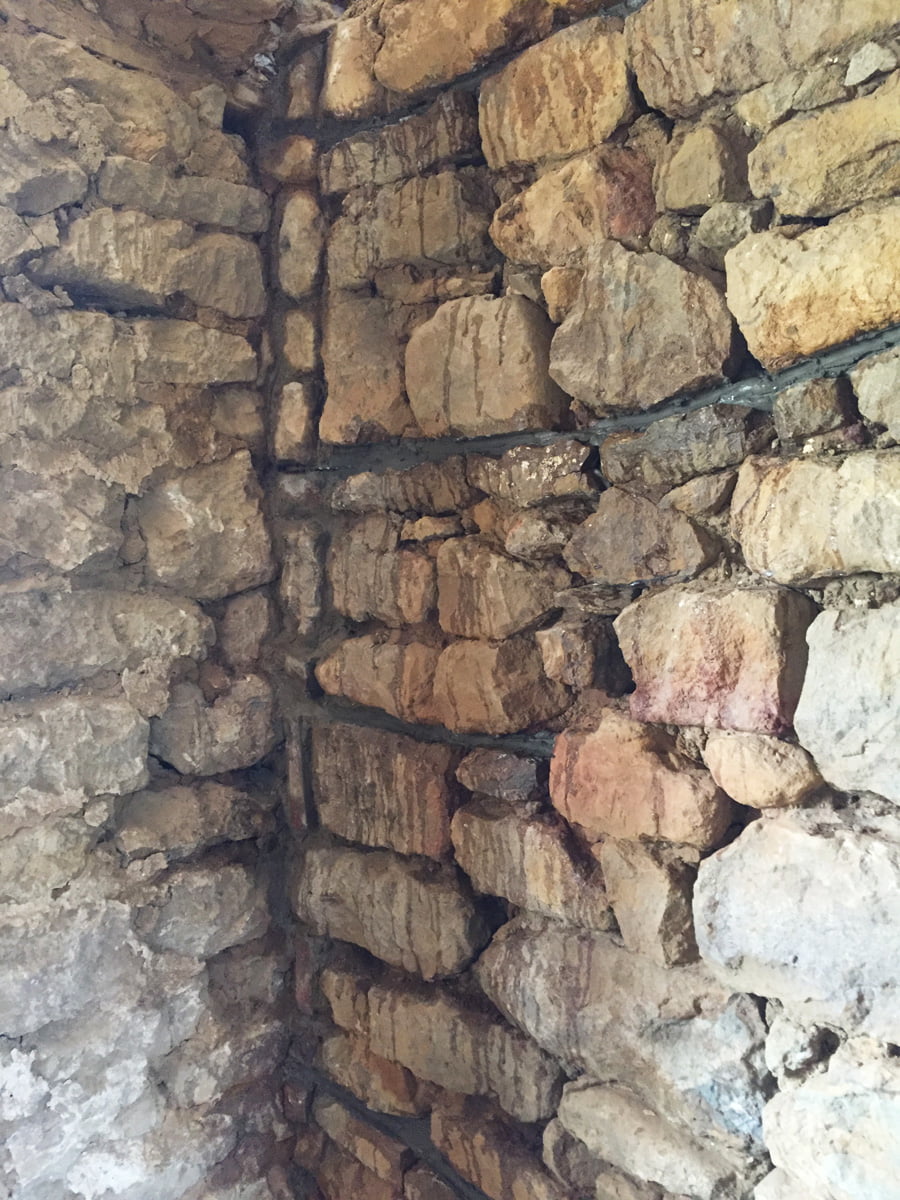
Tom has repaired the big gap down the right side of the blocked up doorway between us and our neighbour.
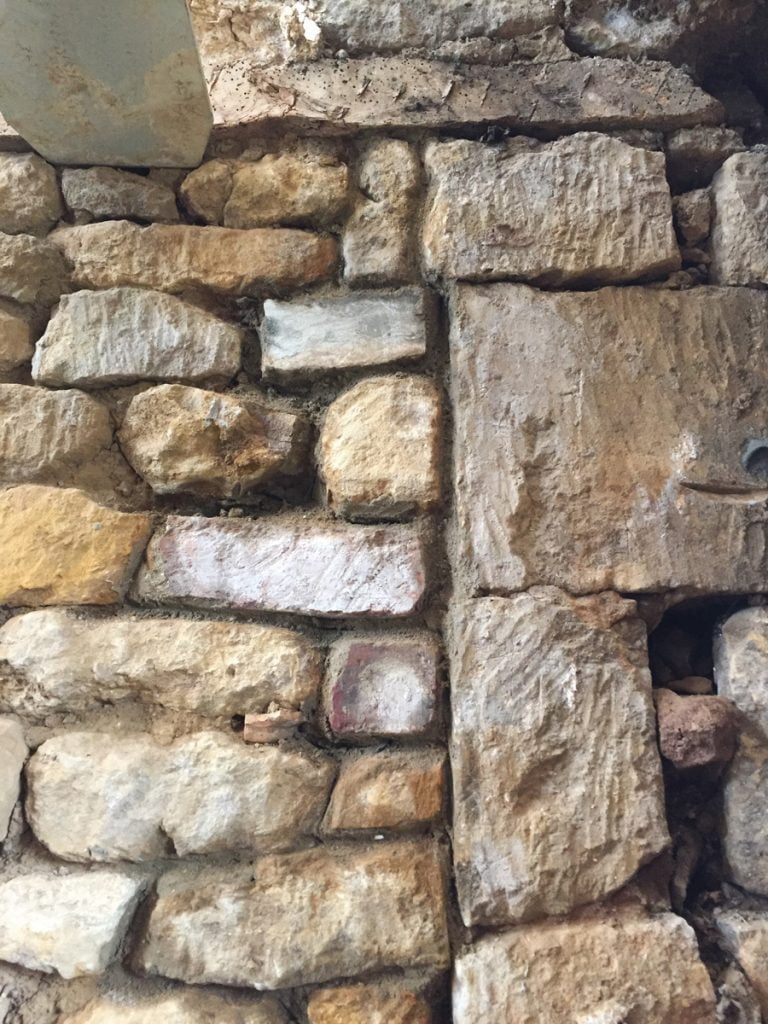
Grand Master Stone Mason Tom’s repair work. Amazing.

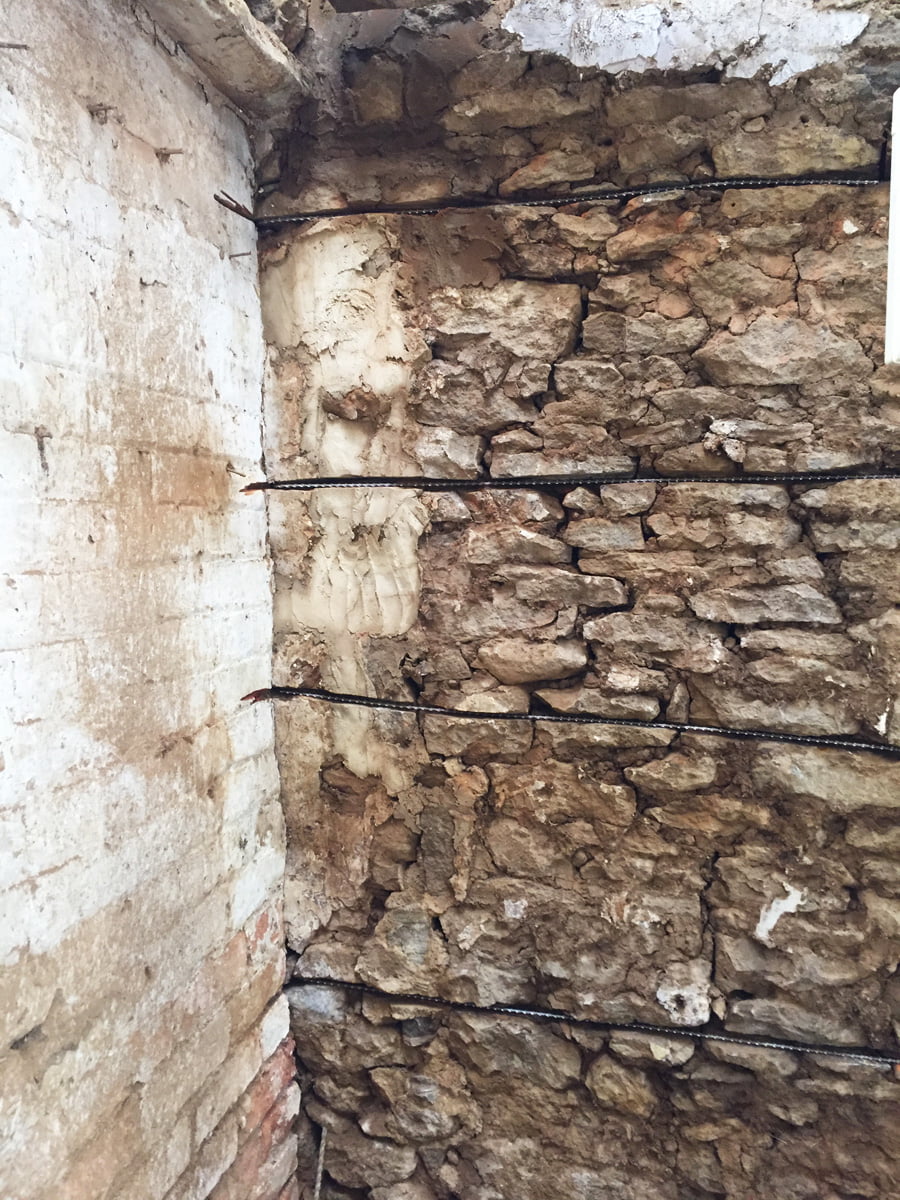
This same corner now has a complex pattern of steel ties added through the corner, holding it all together.
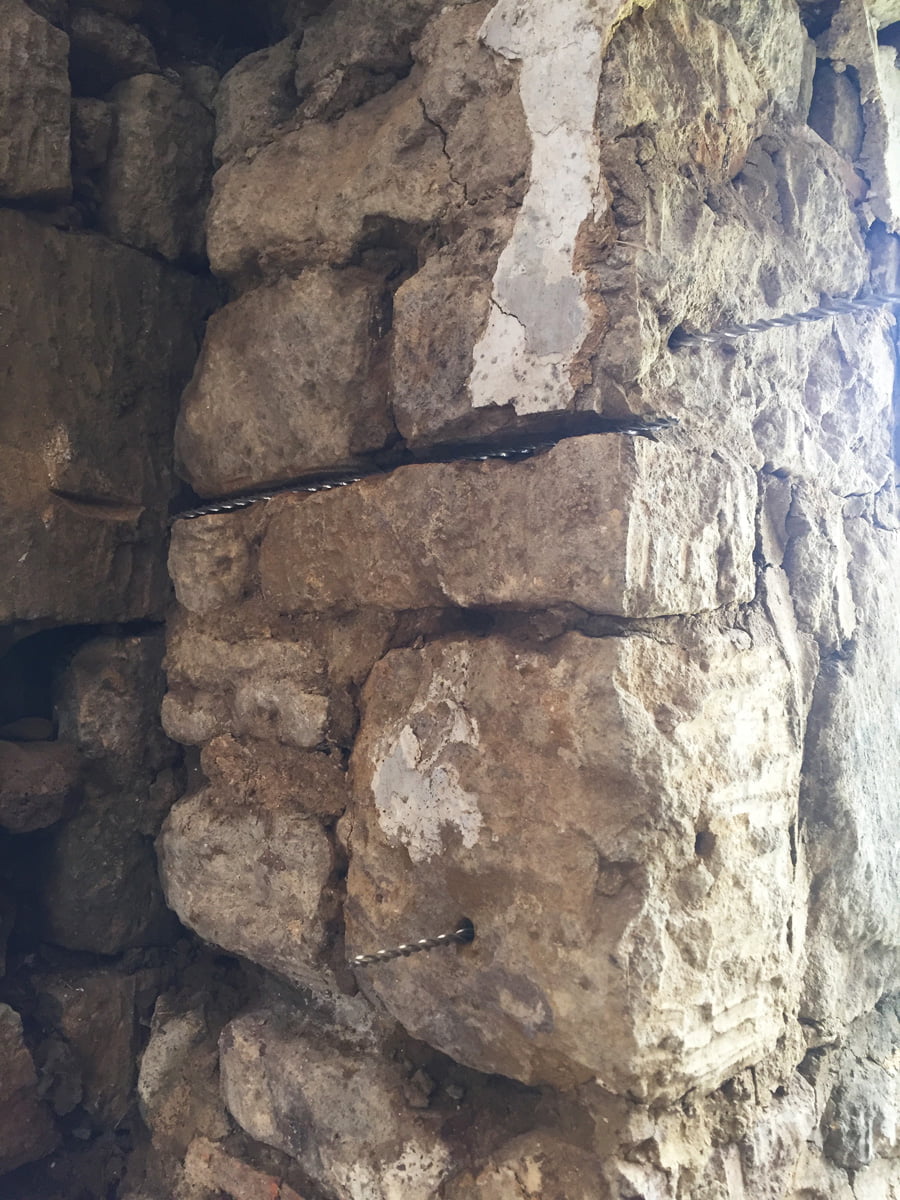
As we are having the stone wall on the left exposed, Tom didn’t want to cut channels into it as this would have been visible, so some of these steels have had to go through the stones instead.
Corner number 4 is the very last one to be fixed! This is the ground floor level where the gap in the corner isn’t too bad.
The same corner now with steel ties added, and the gap filled in with stone.
The front of the study with the blocked up front door (left) and the internal wall (right). This is the other side of ‘The Chasm’ and you can see where Tom repaired the wall earlier. Now the buttress has gone, steel ties can be added.
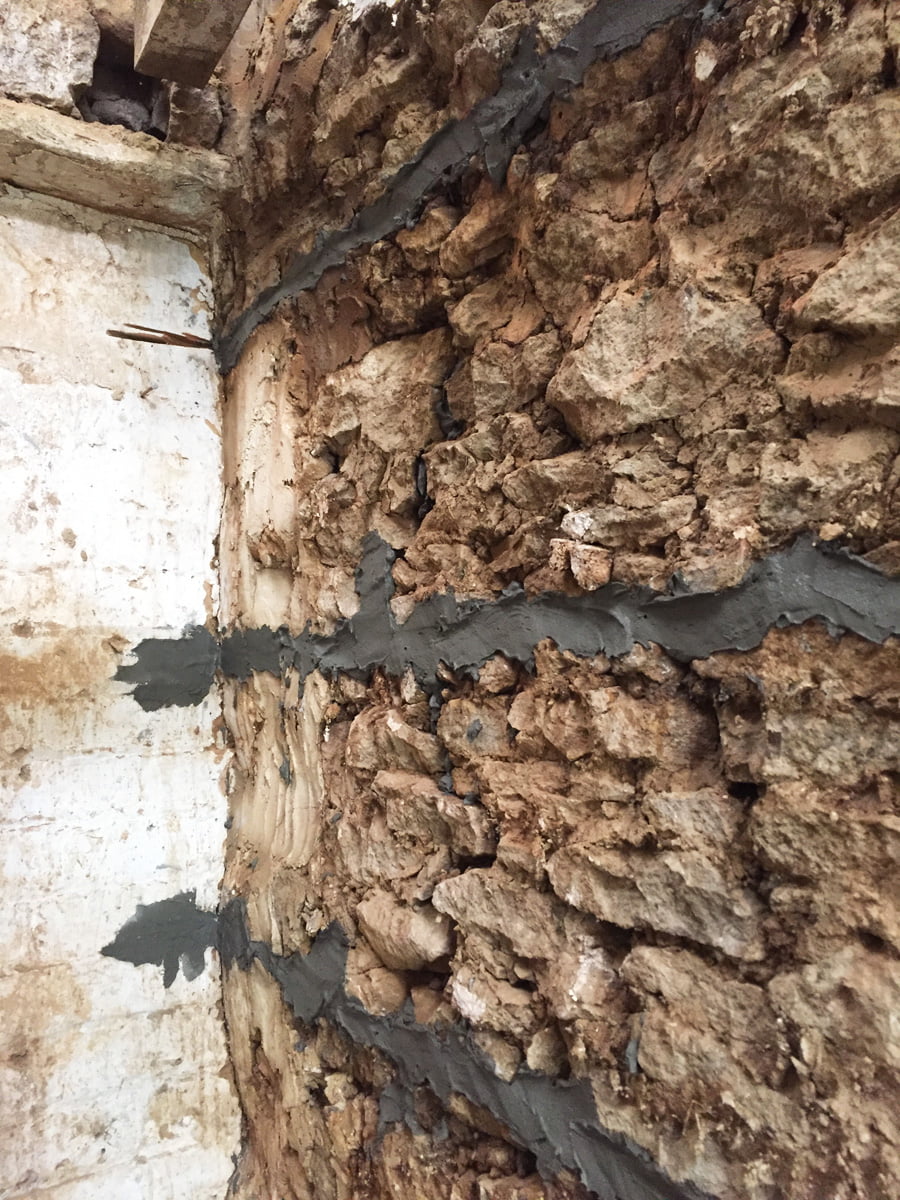
The steel ties have been added and grouted in. The reason it looks a bit messy is that this grout needs to be anchored between the joints perpendicular to the straight channels that the steels sit in. This works to anchor it all in place.
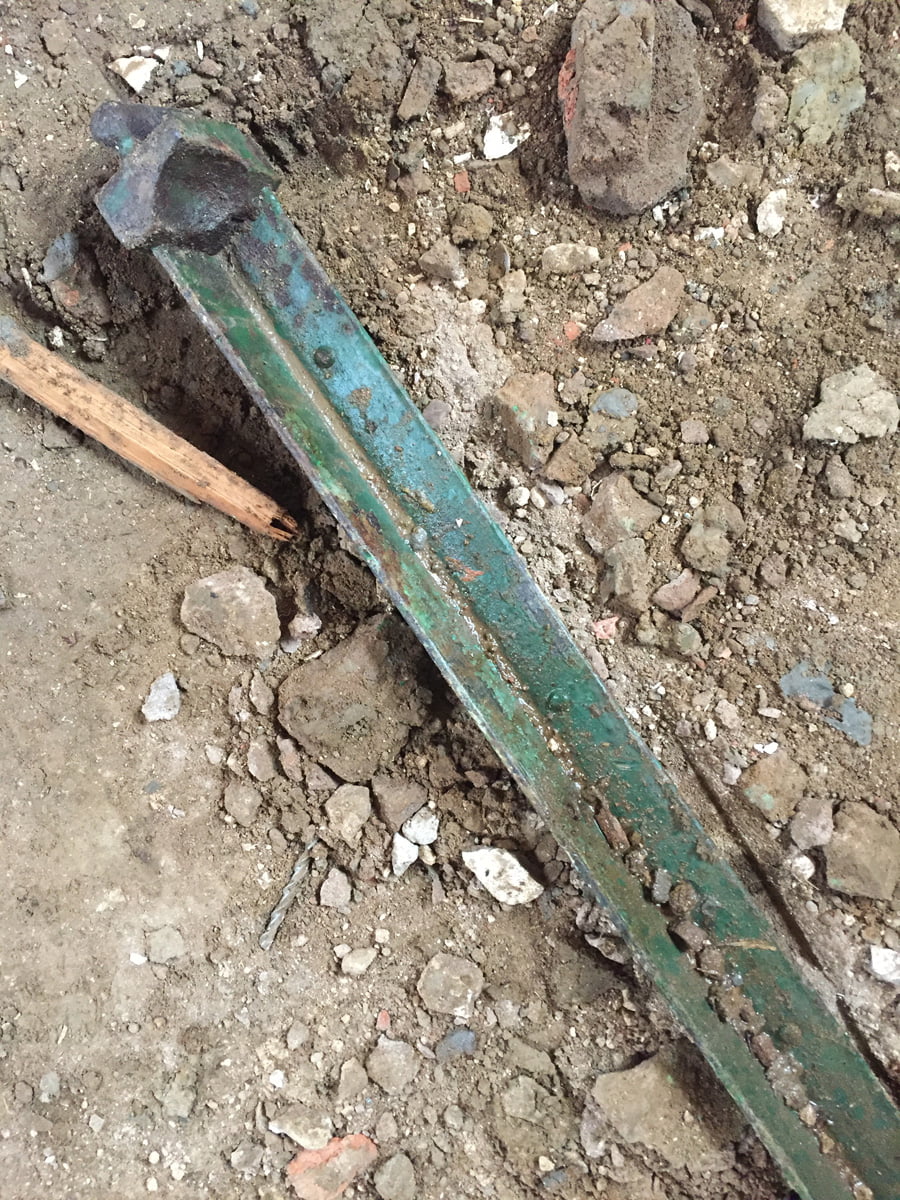
Our architect (who lives in the village) has an elderly neighbour who remembers working on the house when he was younger. He remembers building a bed frame into one of the walls… Well here it is!!! Another pretty good attempt at structural work, this is almost identical to the steel angles that we have been adding, and came out of the buttress that hadn’t failed.

An old iron butchers hook that came out of the same buttress (excessive use of the word buttress now I know, sorry not sorry, buttress buttress buttress) also being used to tie it all together. We will use this somewhere in the house.
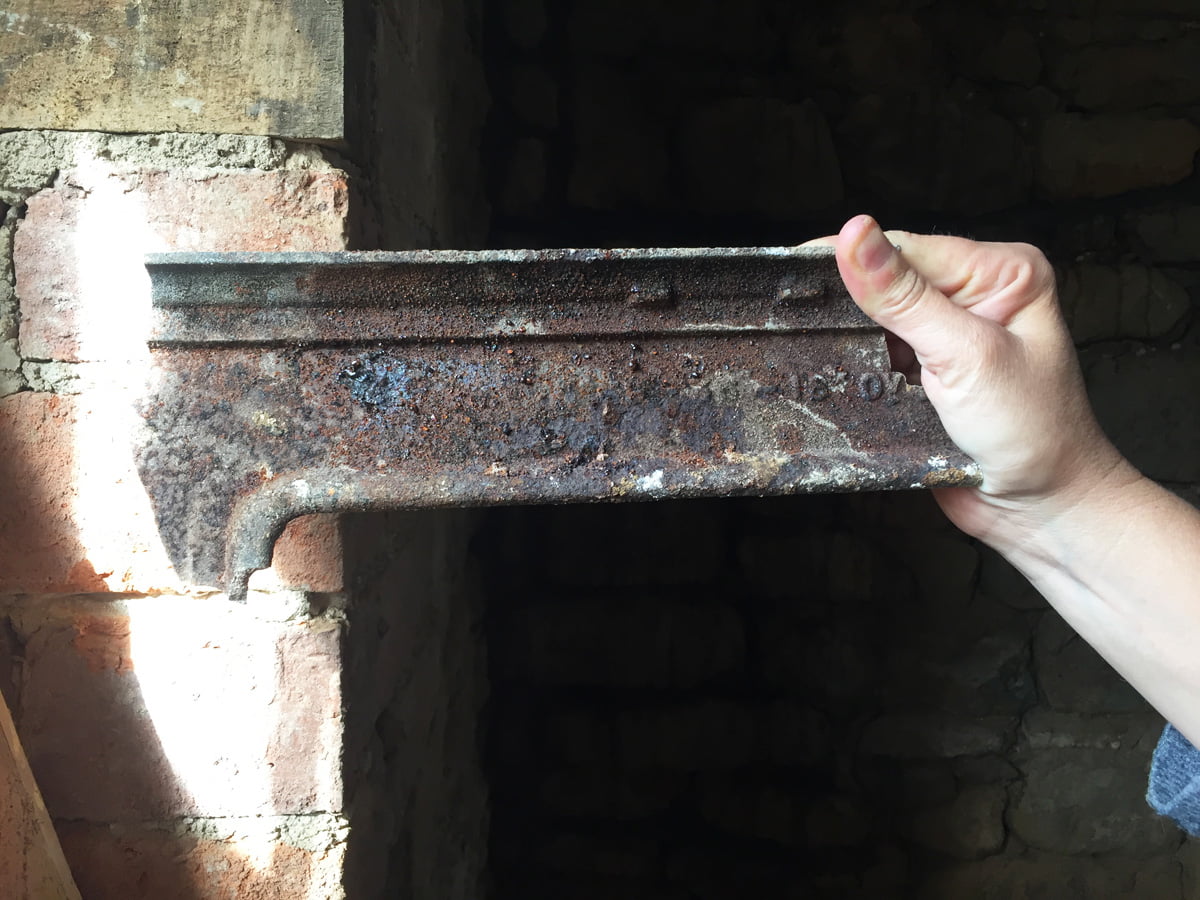
The crowning glory from the cast iron range that we have found parts of in all the buttresses. This is a section from the top.
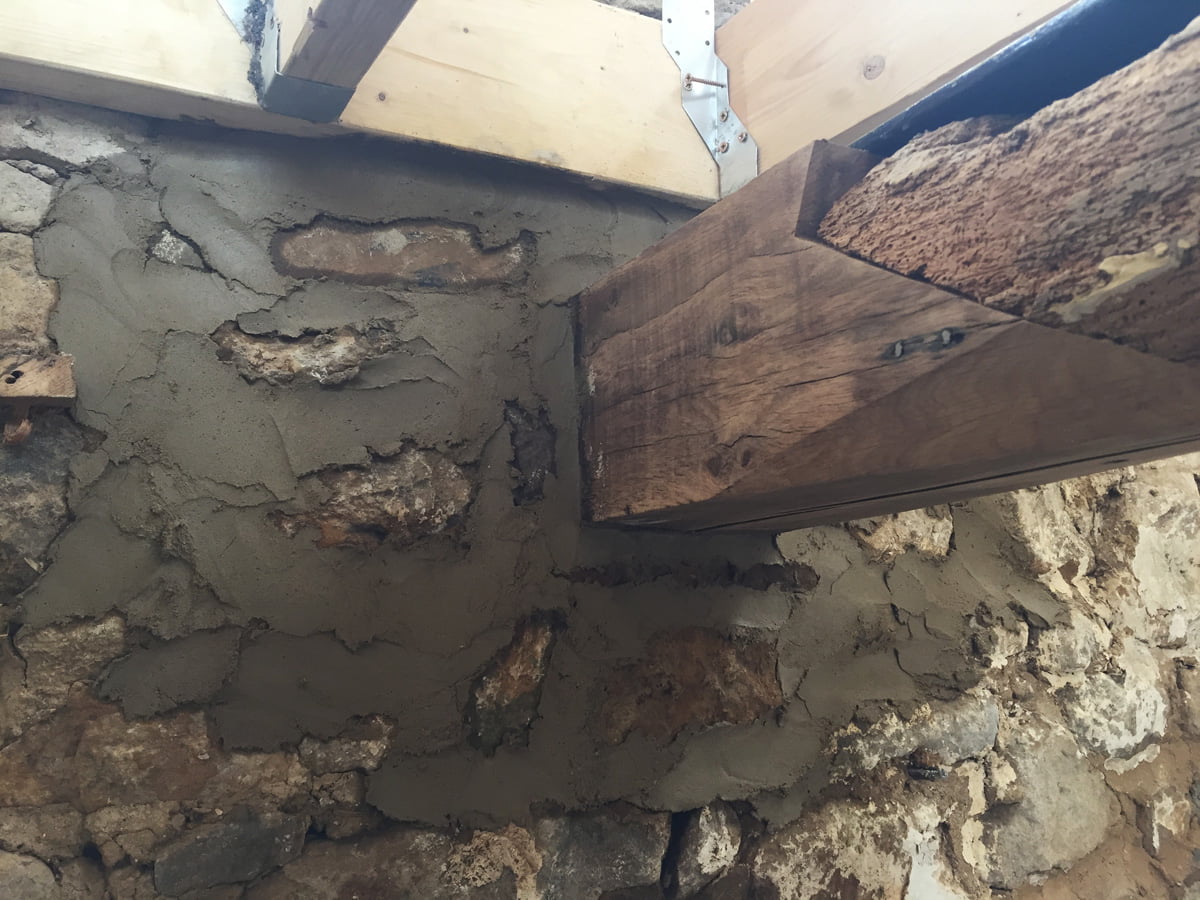
Tom has now built the end of the tie beam back into the wall. It will be able to function as a supporting beam again soon.
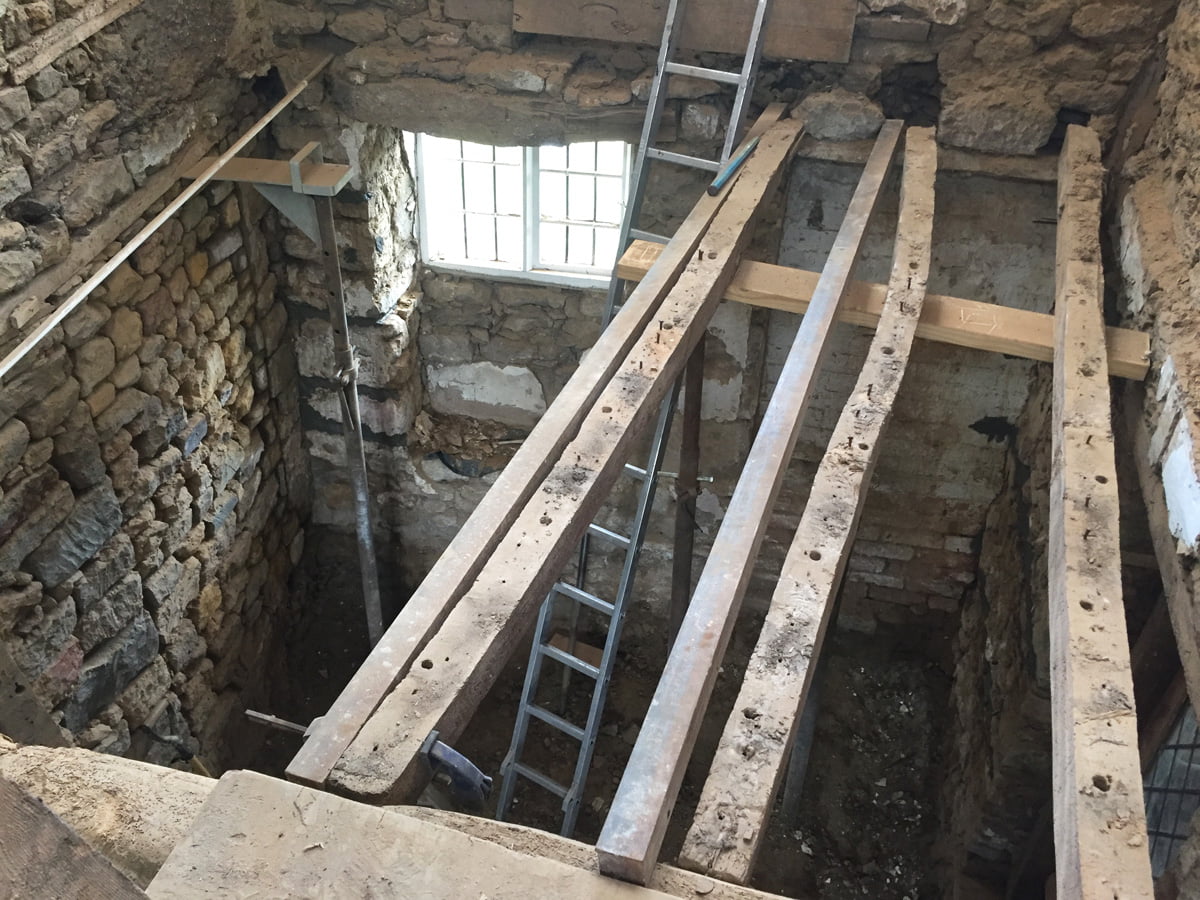
The last section of the floor joists that need repairing, and by far the most challenging. This is the front half of the study ceiling (it couldn’t be fixed as the massive buttress was in the way) and you can clearly see one issue: this joist is particularly wonky, making it practically impossible to attach a dead straight steel angle along the side of it. The second issue is that this floor was also so wonky that the bed had to be put on piles of books on one side so you didn’t roll out of bed (I’m not exaggerating).
To get this floor flat would mean cutting the ends of the joists into the window lintel as it is right in the way (not a good idea…) and the old steel tie that you can see on the left would then be above the floor level (it should be below…) Dan will be scratching his head over this conundrum tomorrow…

Our new lighting for the study, sitting room, hallway and landing areas. We have printed them out actual size in an attempt to visualise and plan where they should go. Bloody fussy designers.