
The stormy weather continues, Jasper’s ear is demonstrating just how windy it is.


One minute it is sunny, the next it is hailing. It was hailing as I took this photo.
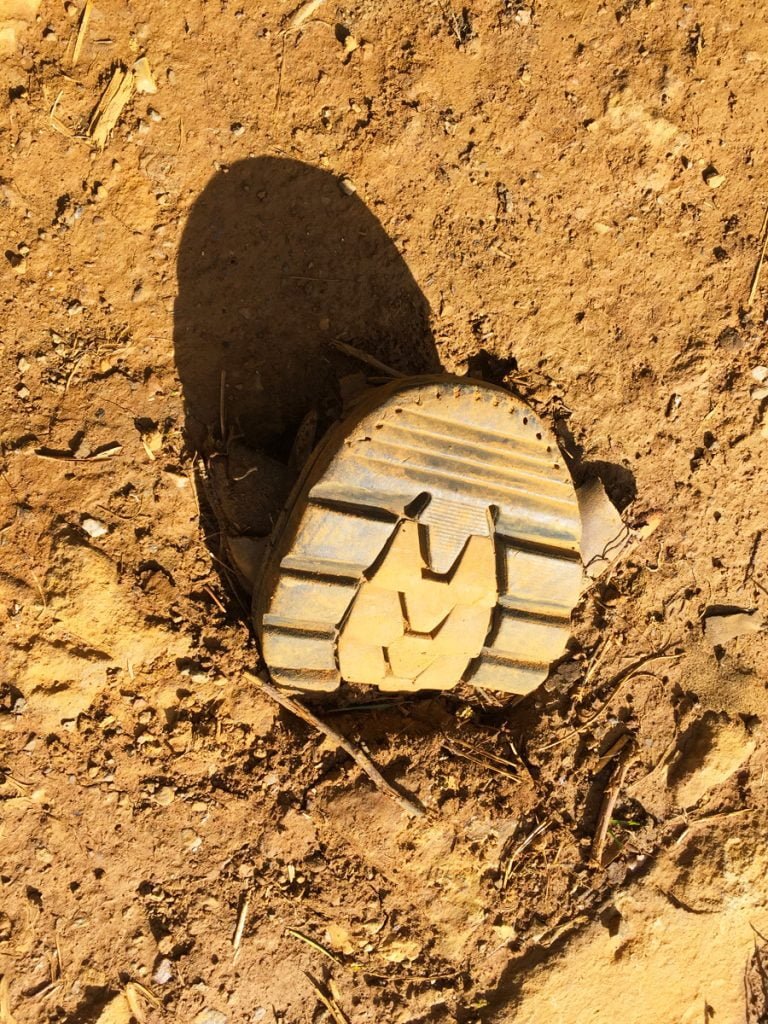
I have no idea what is going on here.
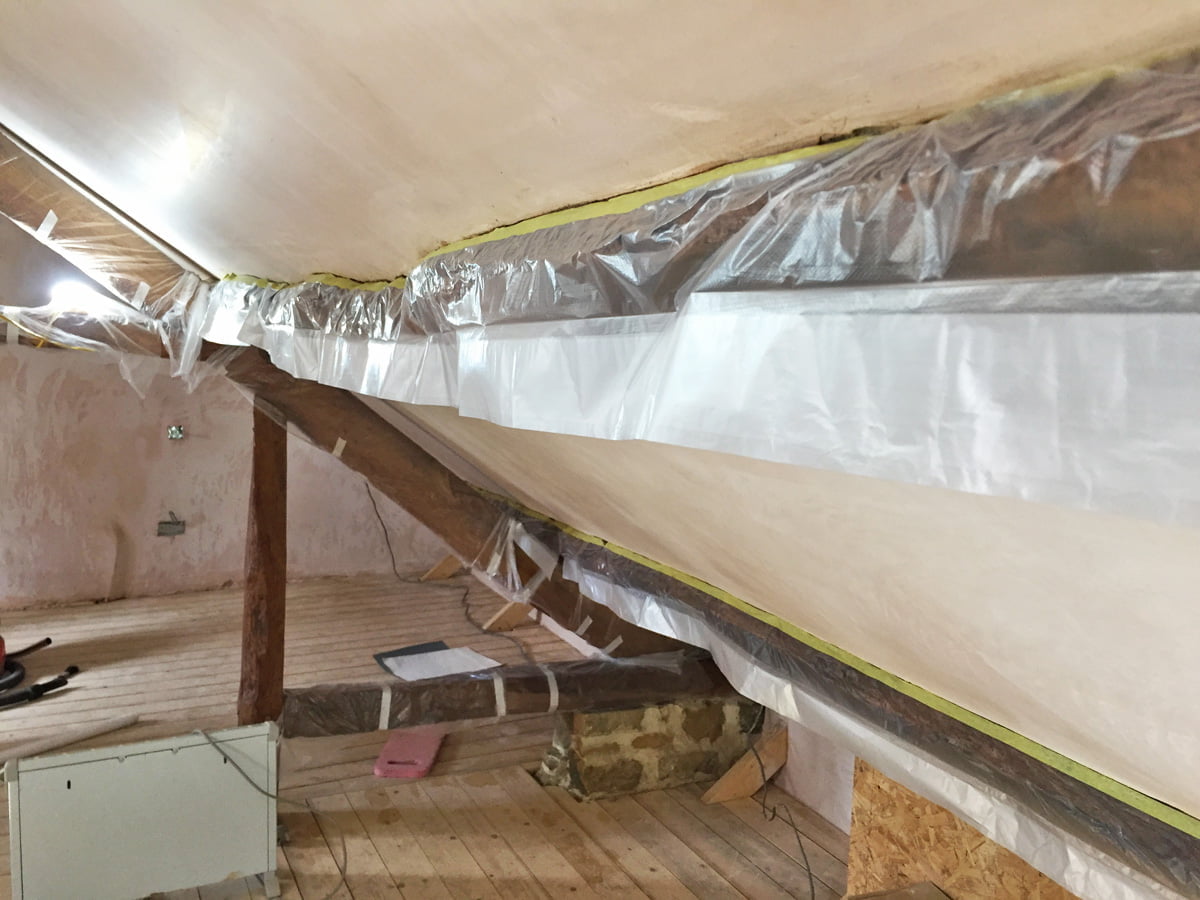
I helped Cat wrap up all the beams in the attic, ready for painting and filling. I had previously bought a roll of pre-taped long, thin lengths of plastic which is perfect for wrapping up these beams. This is not at all environmentally friendly I am afraid, so we will have to try and offset this some way…
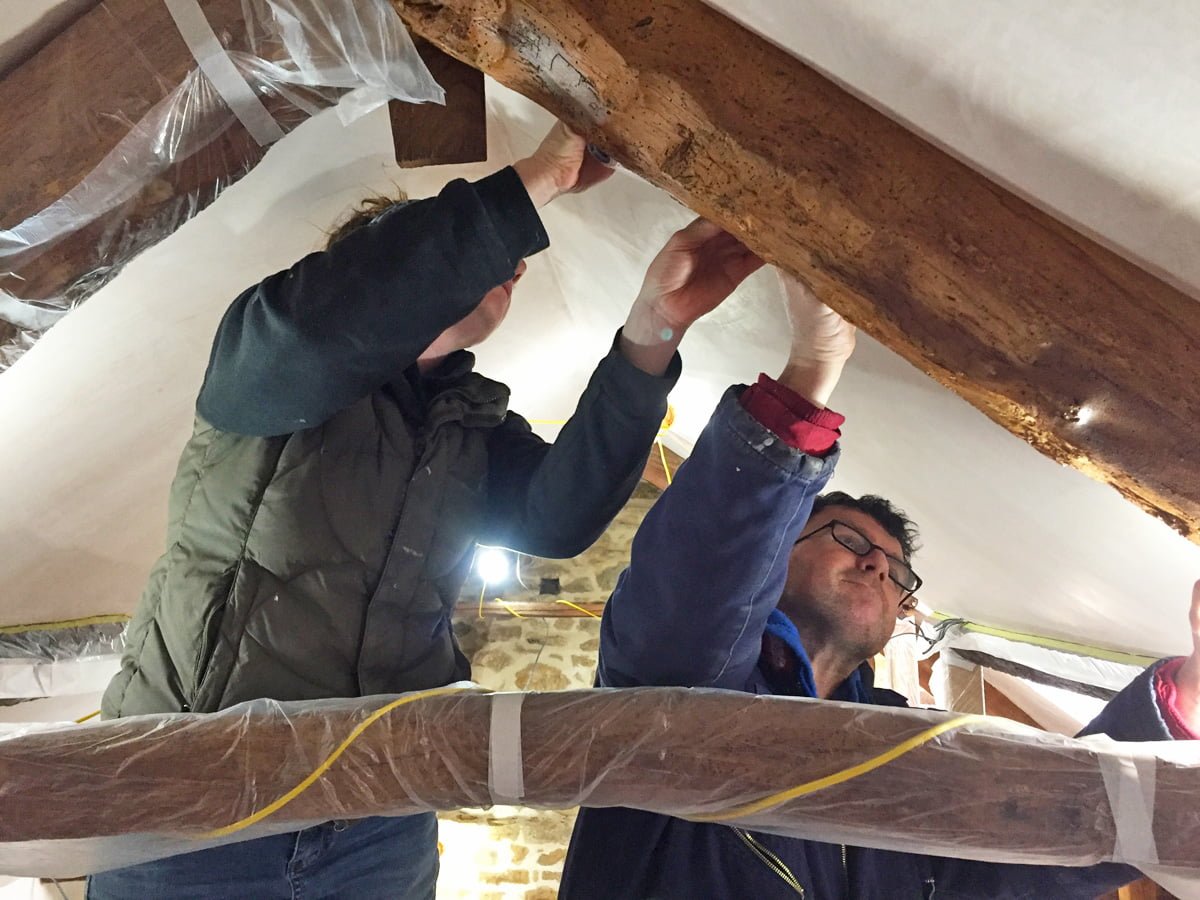
Colin arrived to help Cat with the painting.
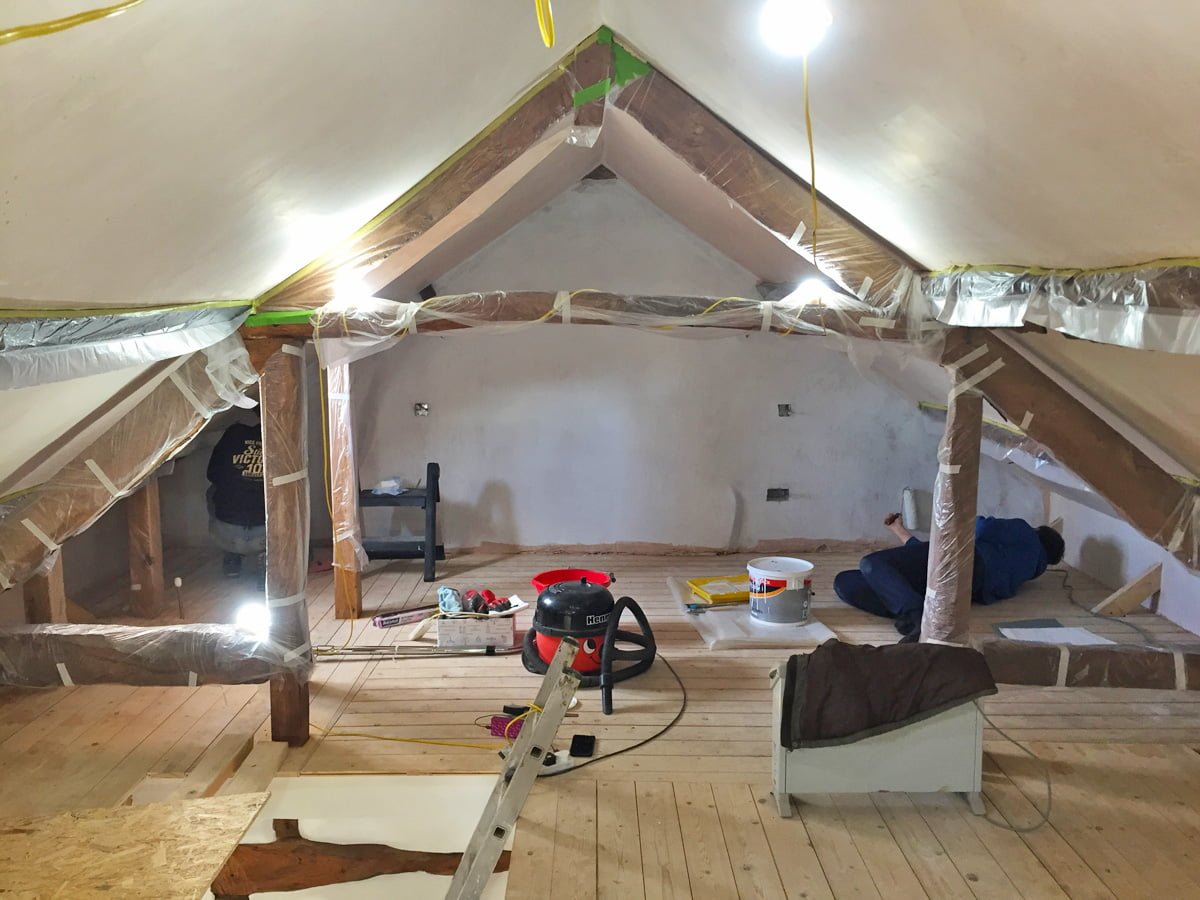
All the plastered walls need a mist coat before the top coat can be painted, this is being painted in pure white emulsion.
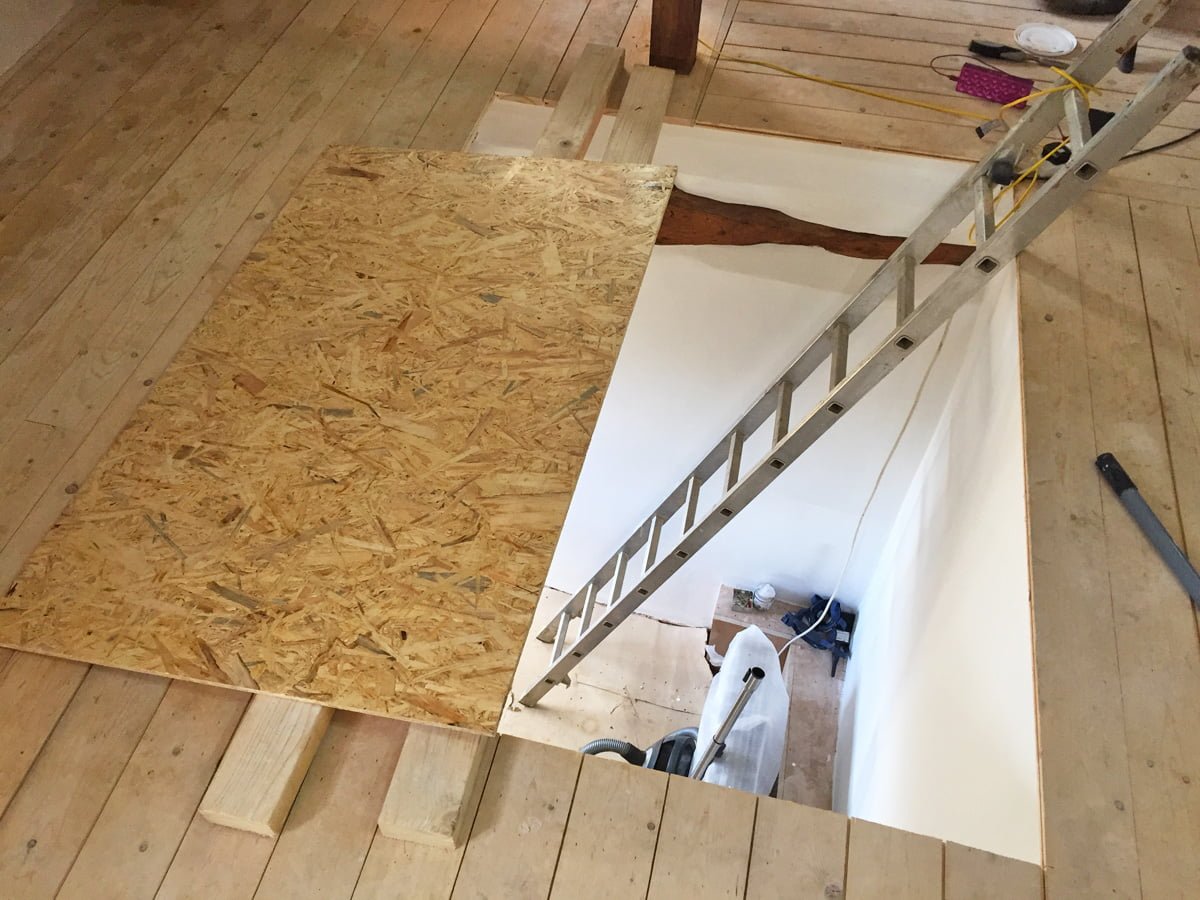
The board precariously placed over part of the hole in the floor, so the wall behind here can be painted without falling down the hole.
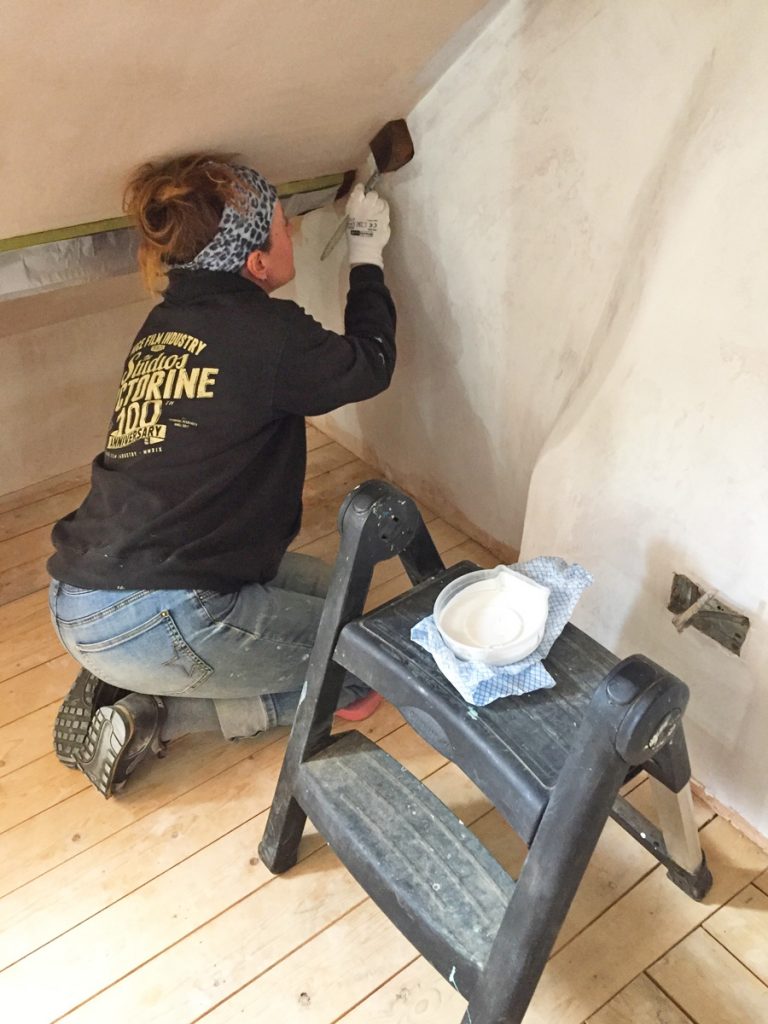
The attic is going to be the most difficult room to paint. There is so much cutting in, so many beams and so many corners that are super awkward to get into!
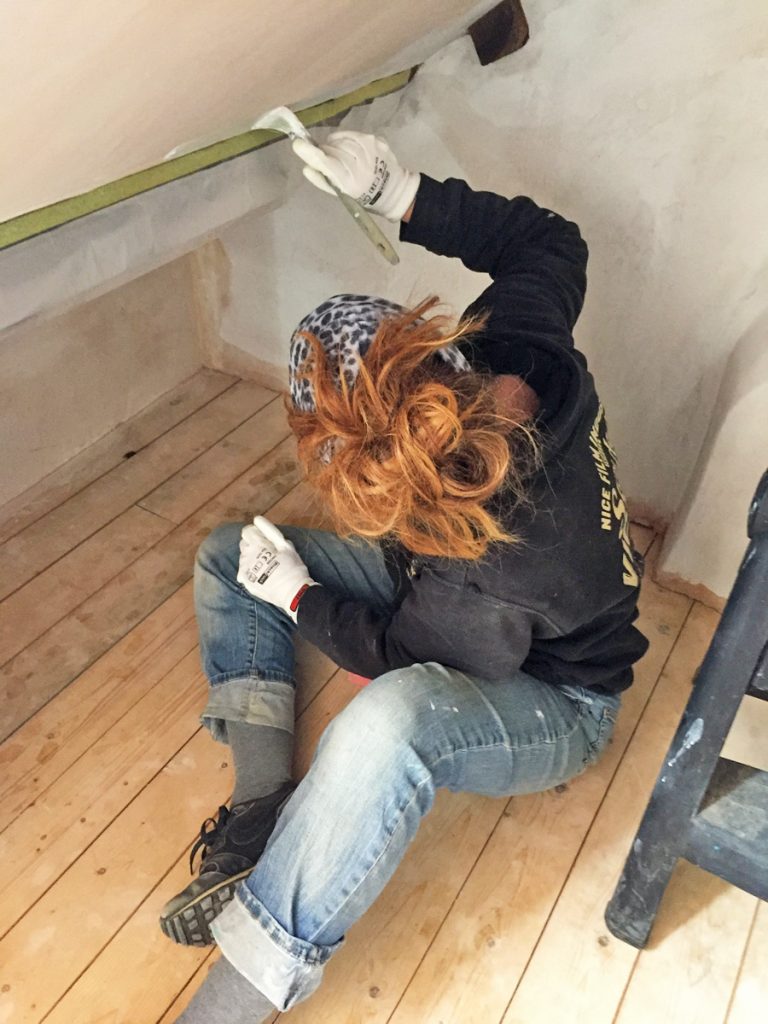
Awkward cutting in.
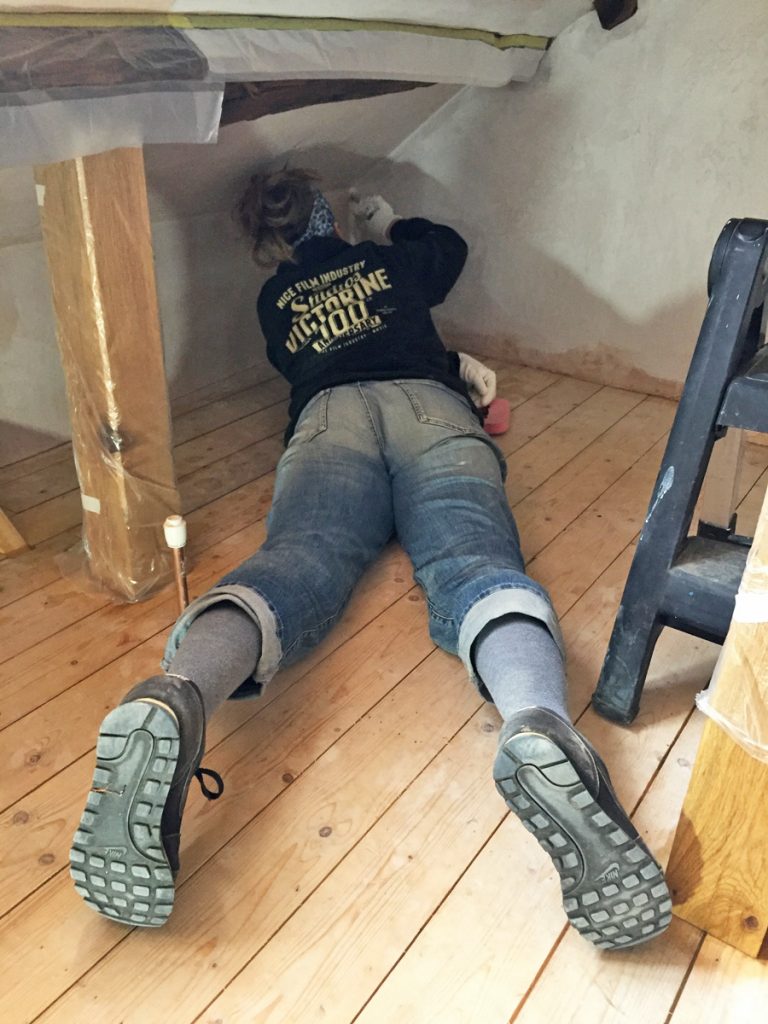
Awkward corner.
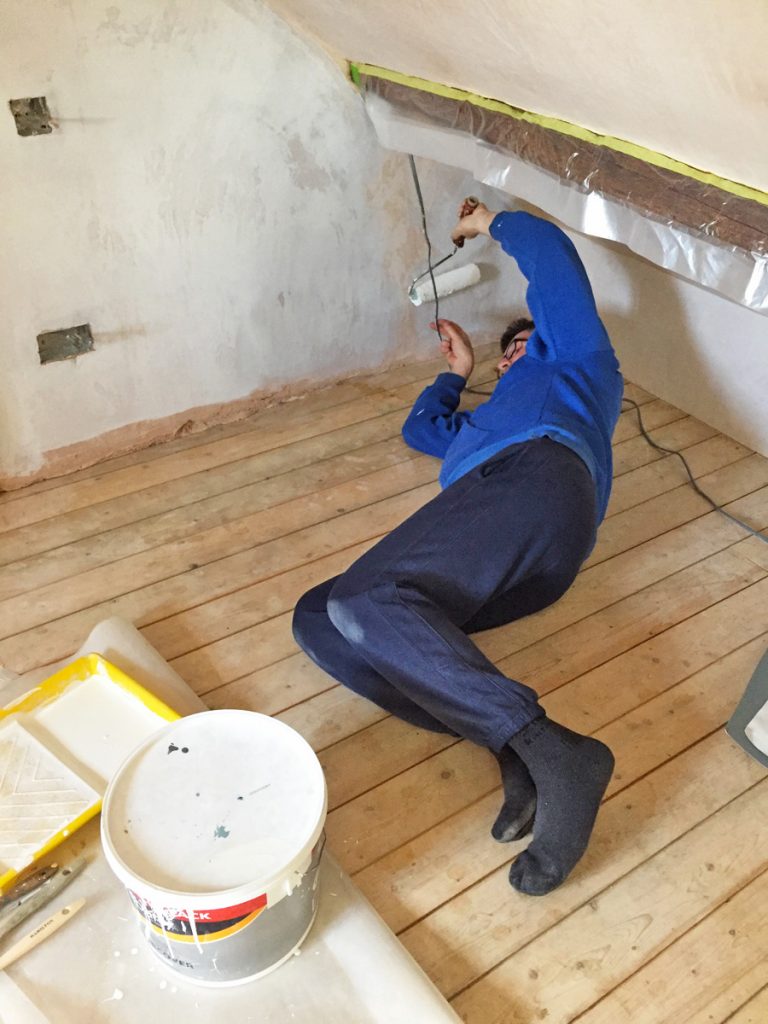
Another awkward corner.
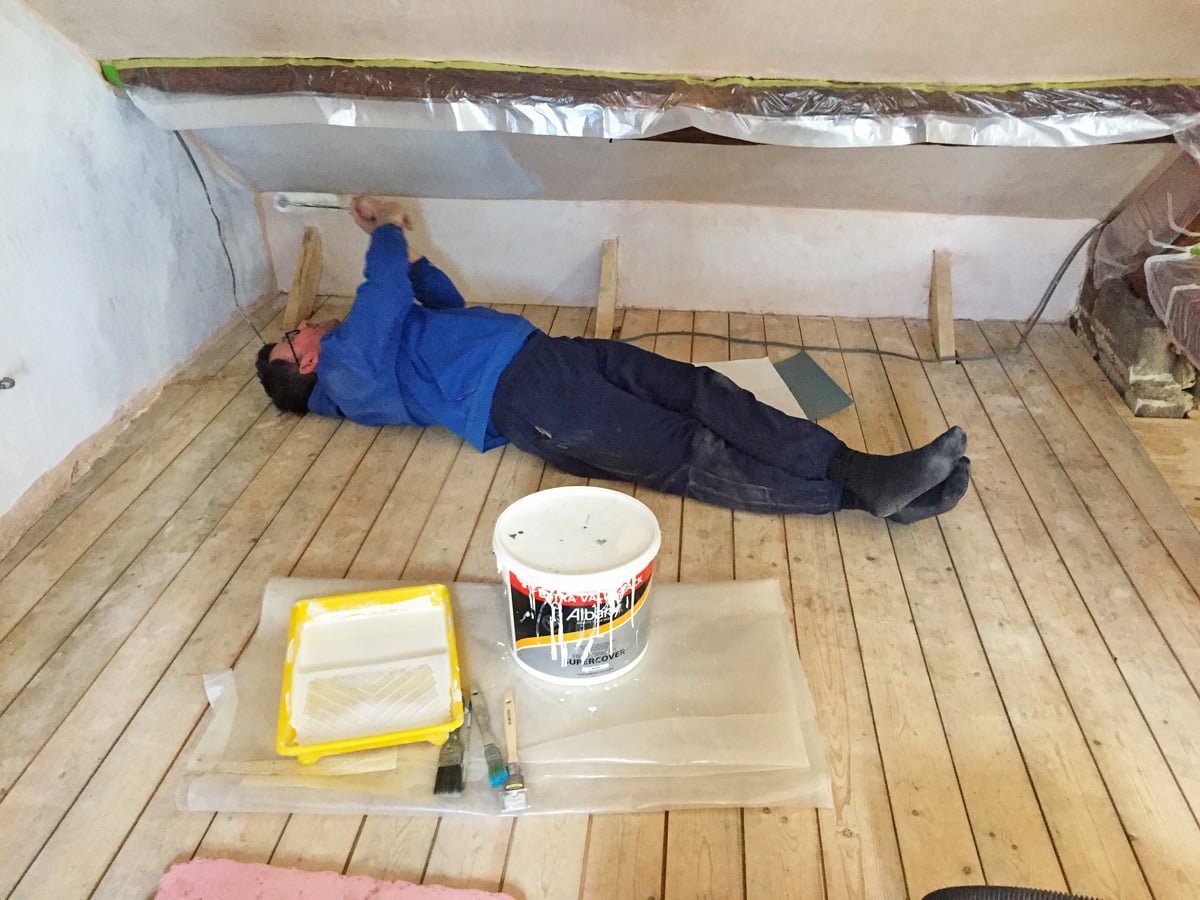
Colin has found the least stressful position.
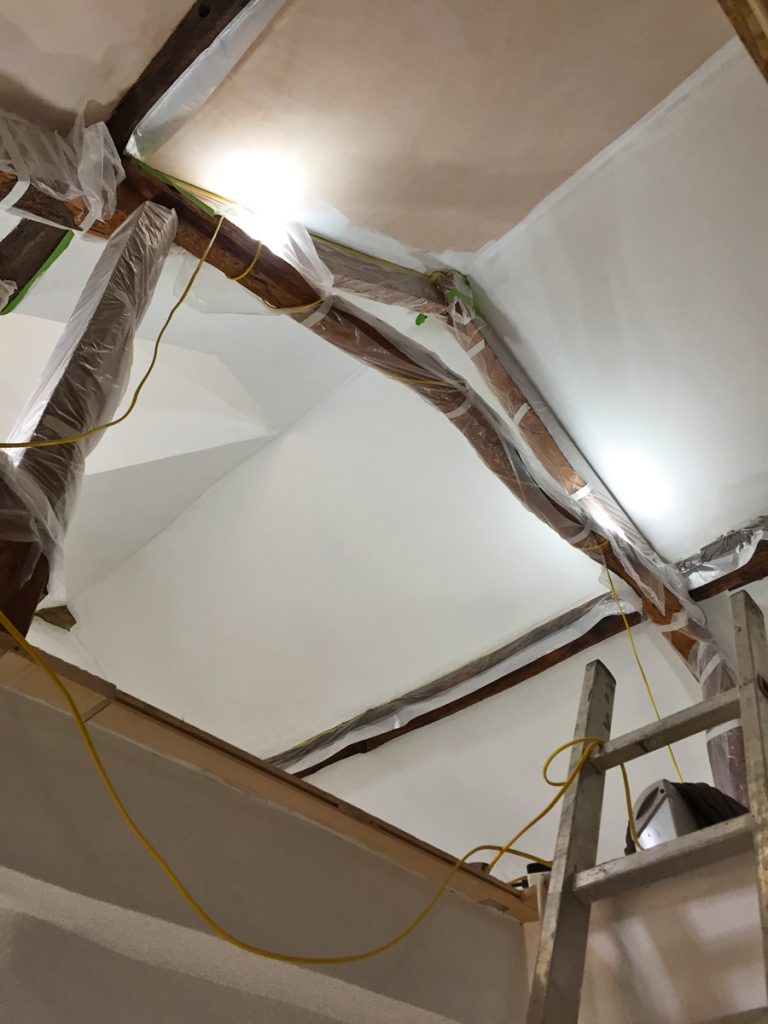
It has taken two of them an afternoon to mist coat almost half of the room!
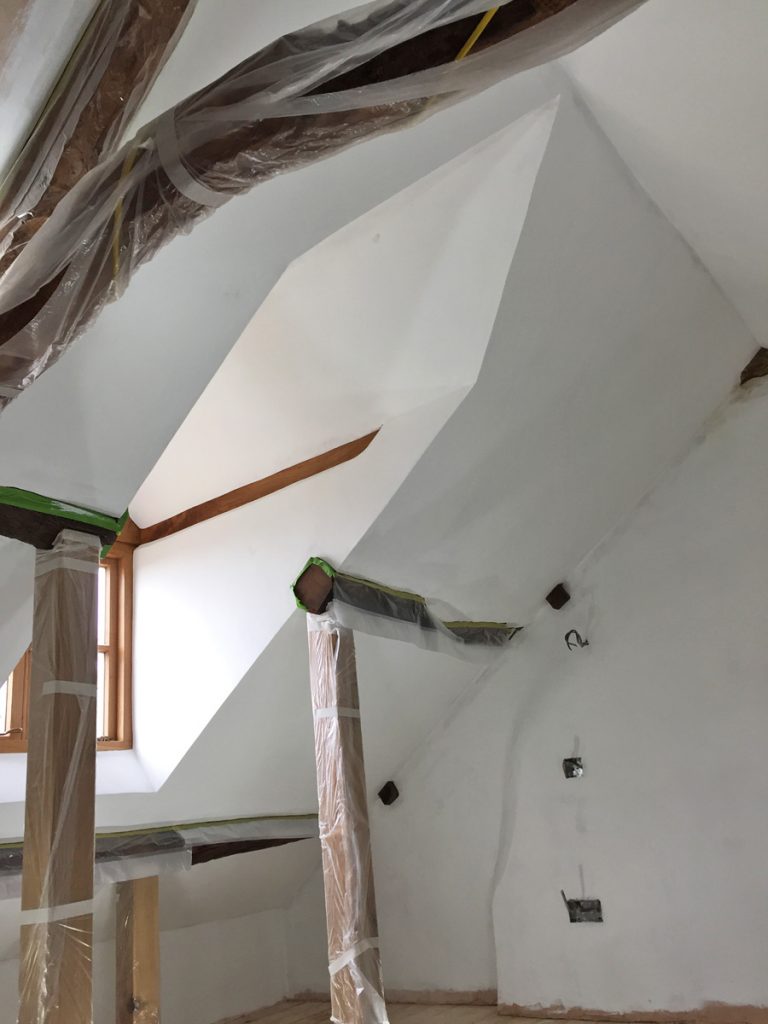
It’s already looking much brighter and feeling much bigger.

One of the new oak dormer windows.
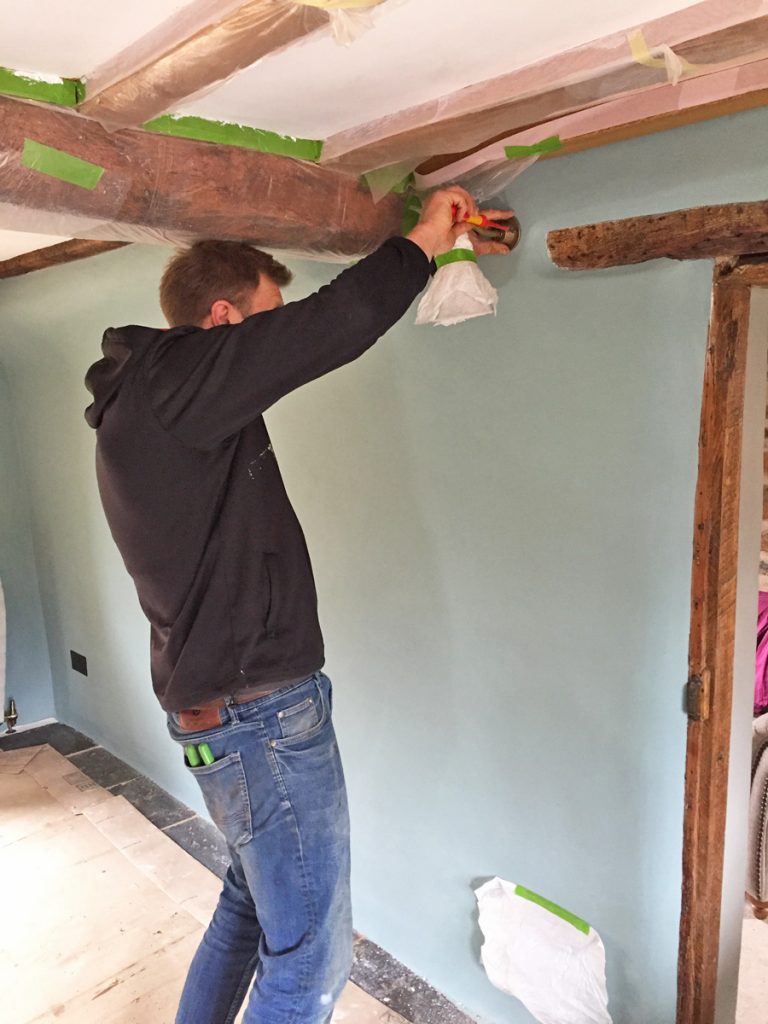
Sunday and our electrician Sam is back to continue fitting the switches and lights. Just as he tightened up this screw the lime plaster popped and it fell off…
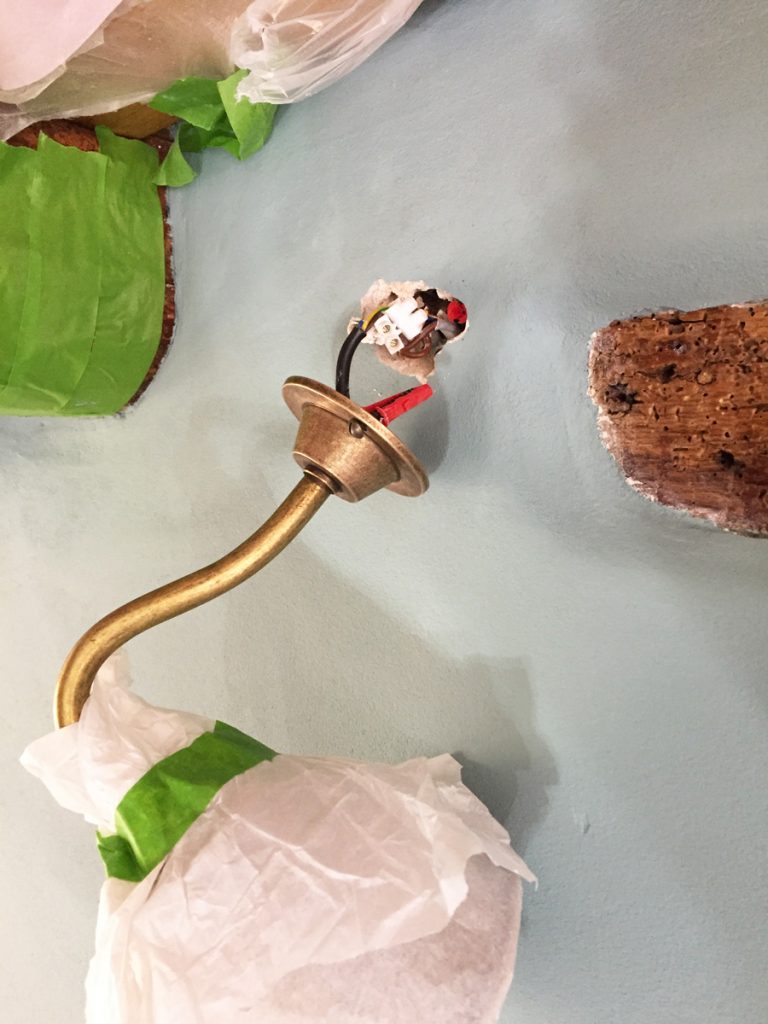
We knew we were going to have problems attaching lights to the lime plastered walls but we didn’t think it would be so difficult. There is no strength in the plaster at all so attaching anything to it is really problematic. The plumber had to resin the radiator brackets into the walls as they wouldn’t screw in. I think we may have to use resin for these also.
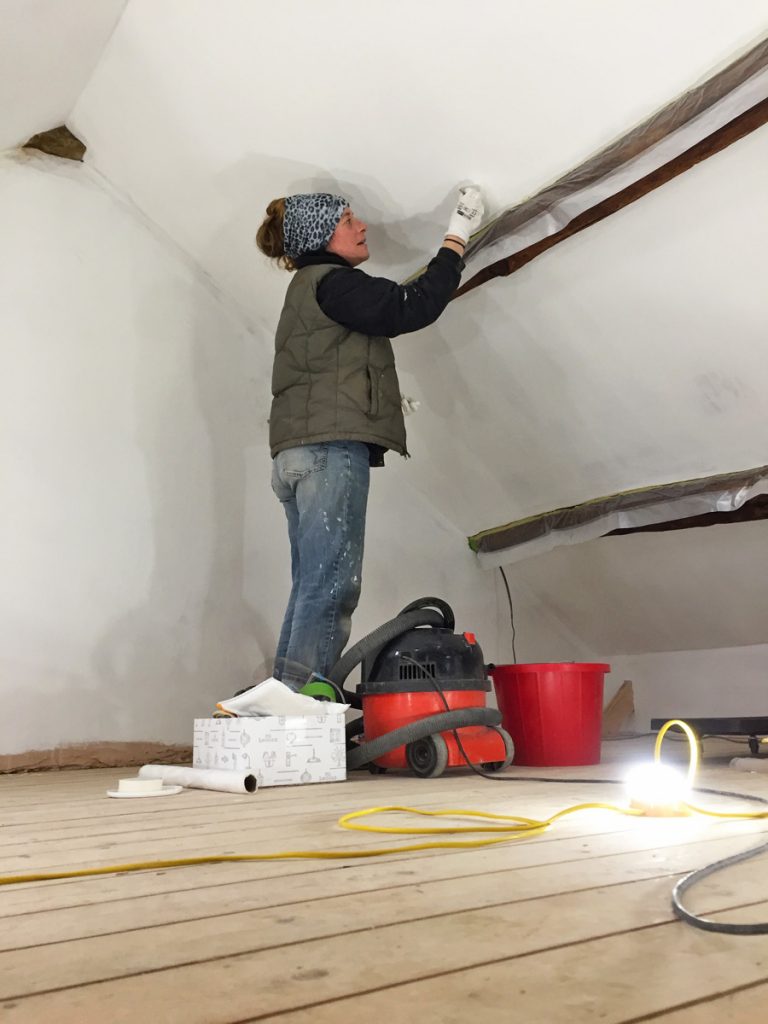
Cat has nearly finished the mist coat and is also filling holes on the side of the room that is dry. There is so much filling to do, but as it is so windy outside we can easily feel where there are gaps at the edges of the insulation, especially around where the steel plates are attached to the beams. Some areas have quite a breeze, nothing a bit of expanding foam won’t solve!
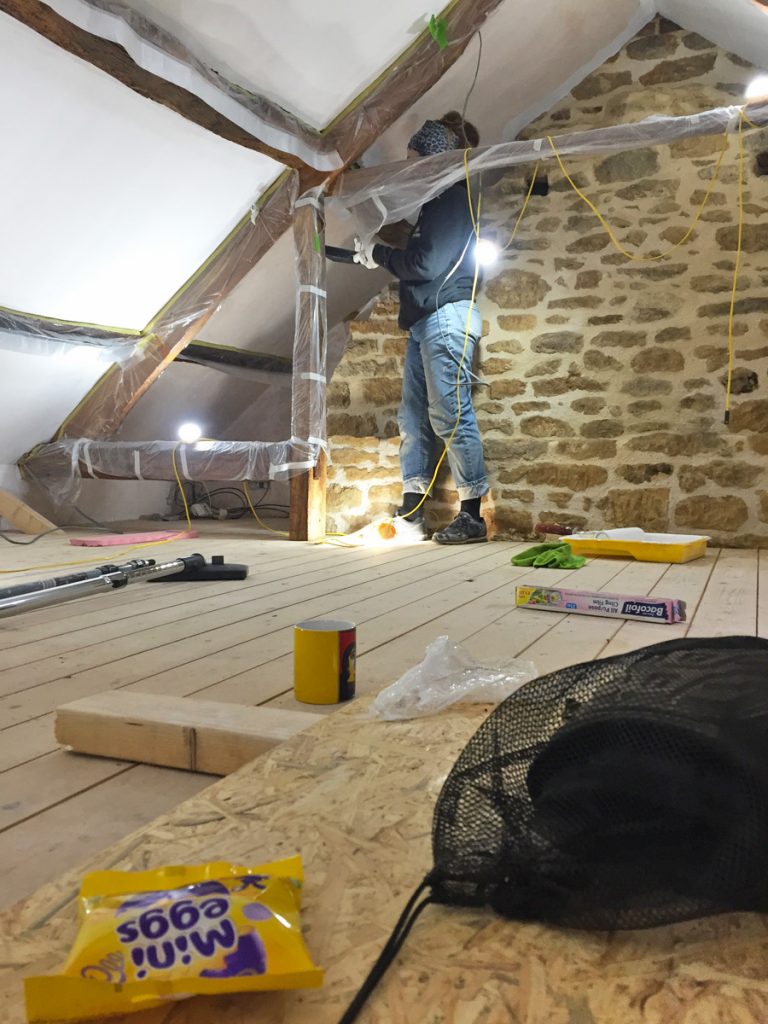
Painting the most awkward corner ever.
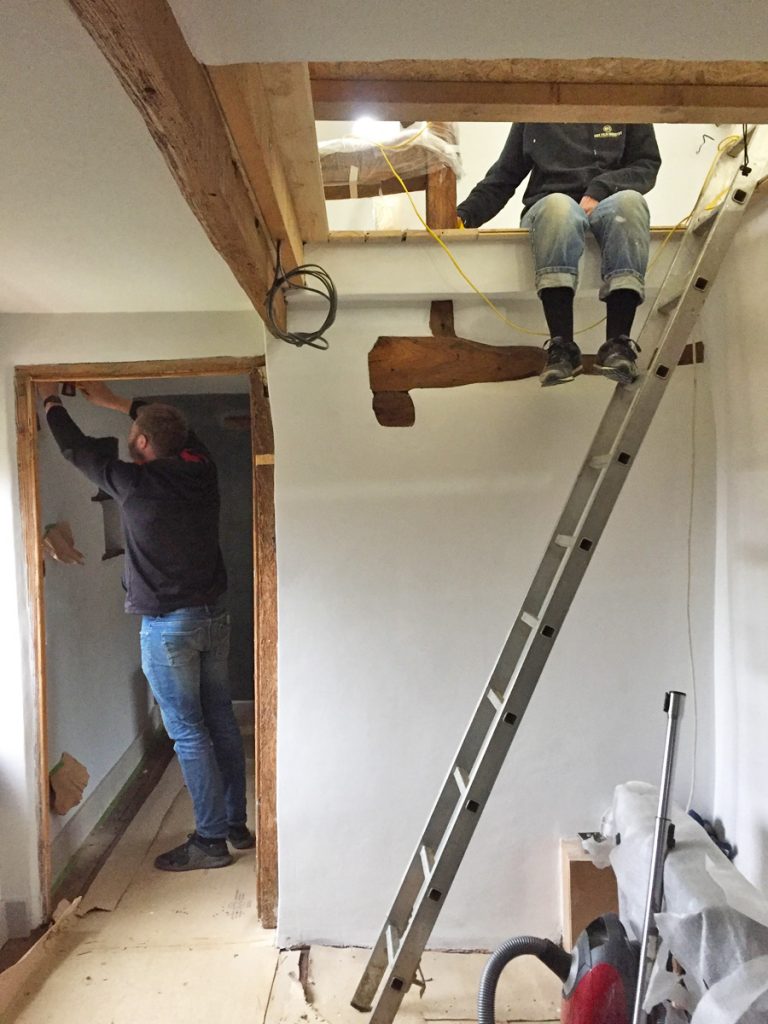
Sam fitting the spot light in Zanna’s bedroom, while Cat has a well deserved sit down.
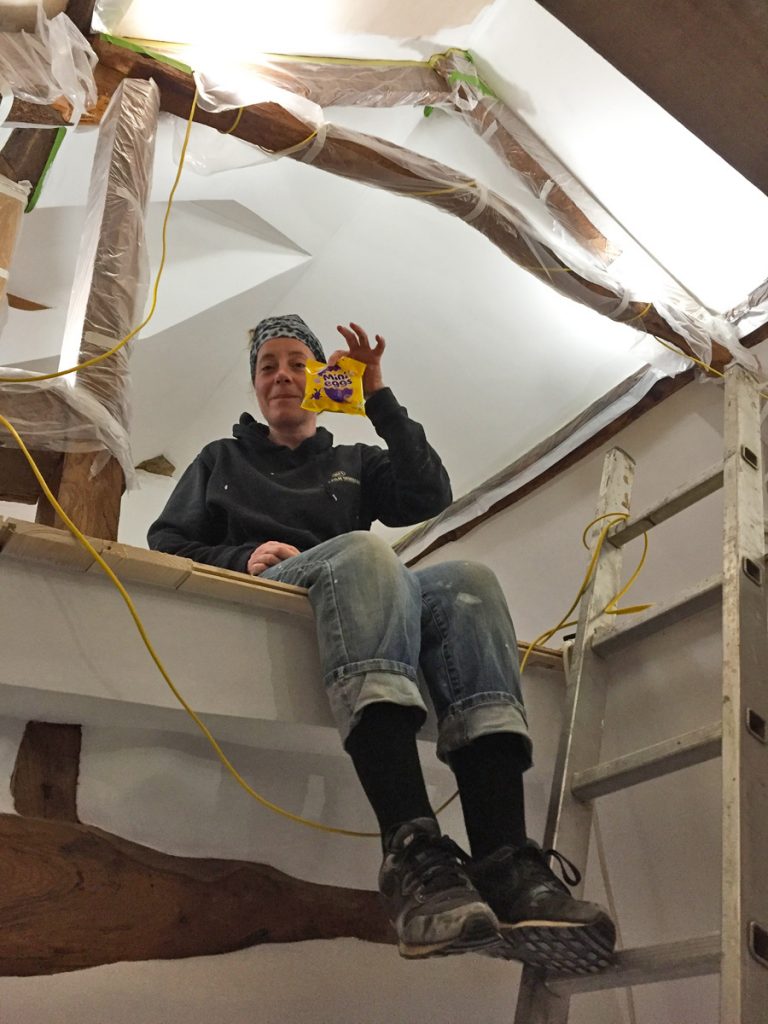
A packet of mini eggs and some chocolate Hobnobs provide some much needed energy.
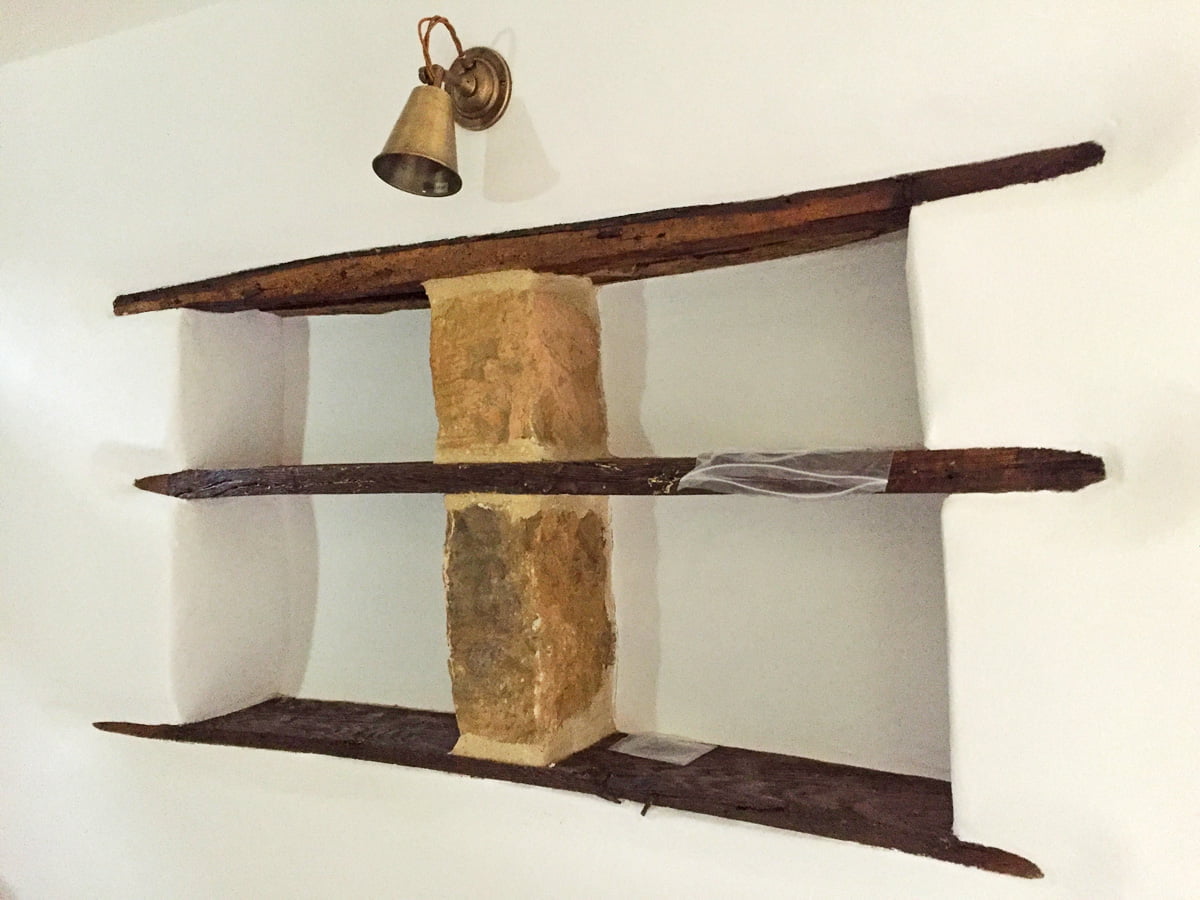
The spotlight above the old shelves on the landing. This light has screwed into the plaster without a problem, amazingly!
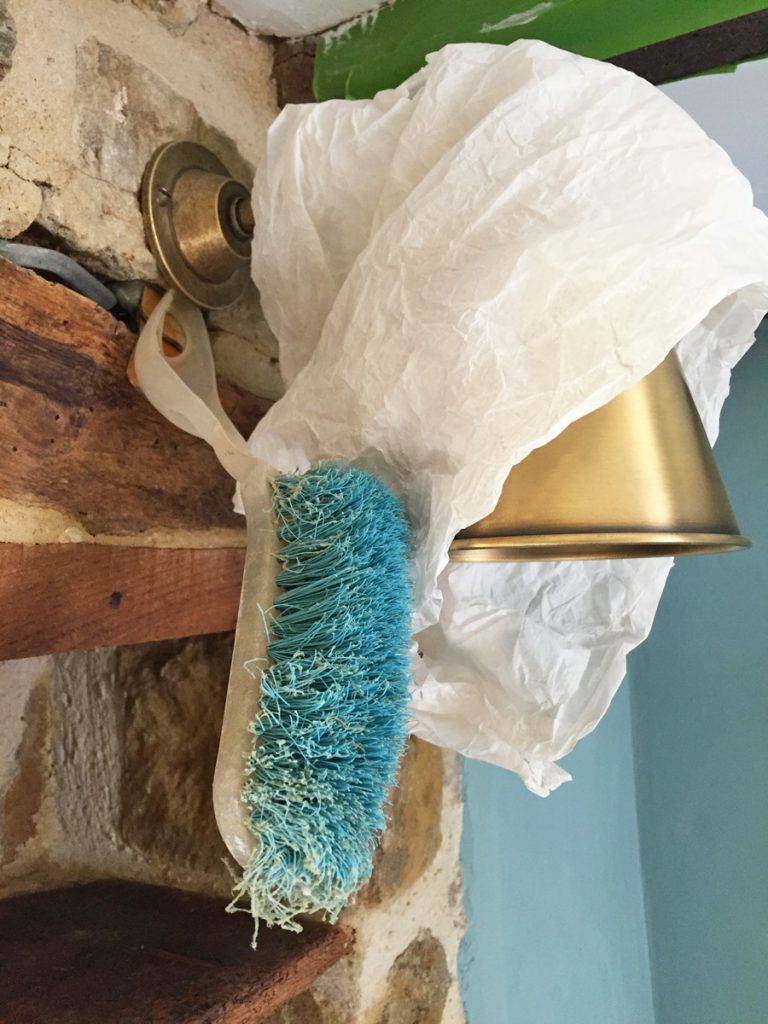
One of our old brushes being used to hold the cable in place while the resin goes off.
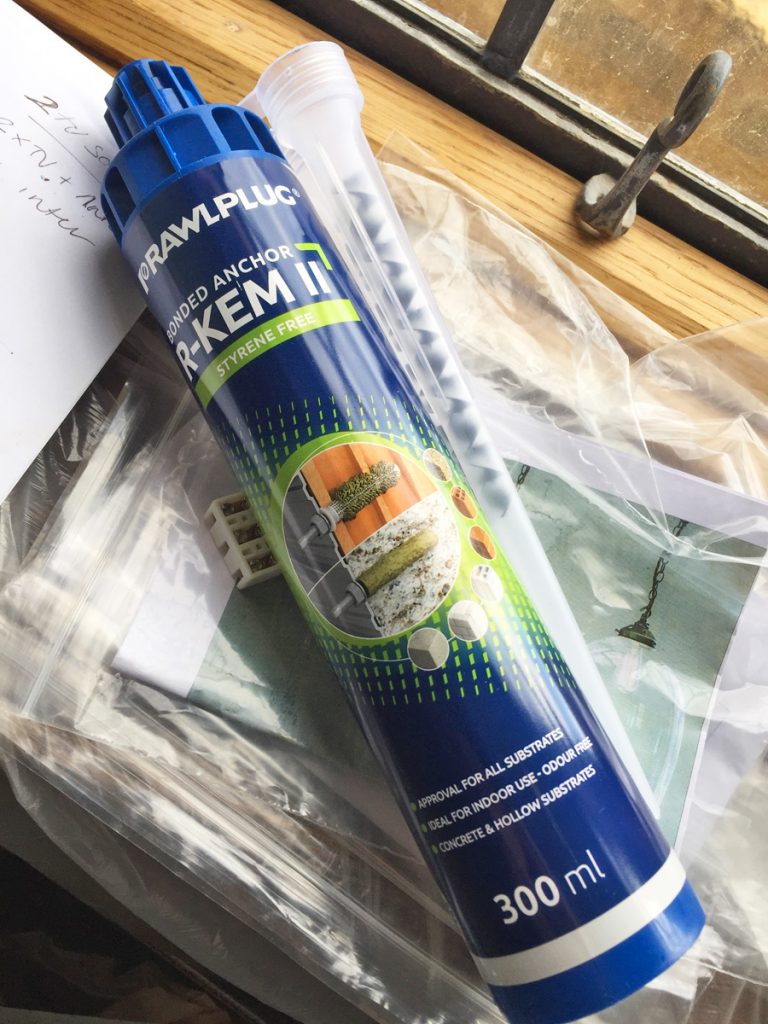
The resin that Sam is using to get the rawl plugs to stay in the wall.
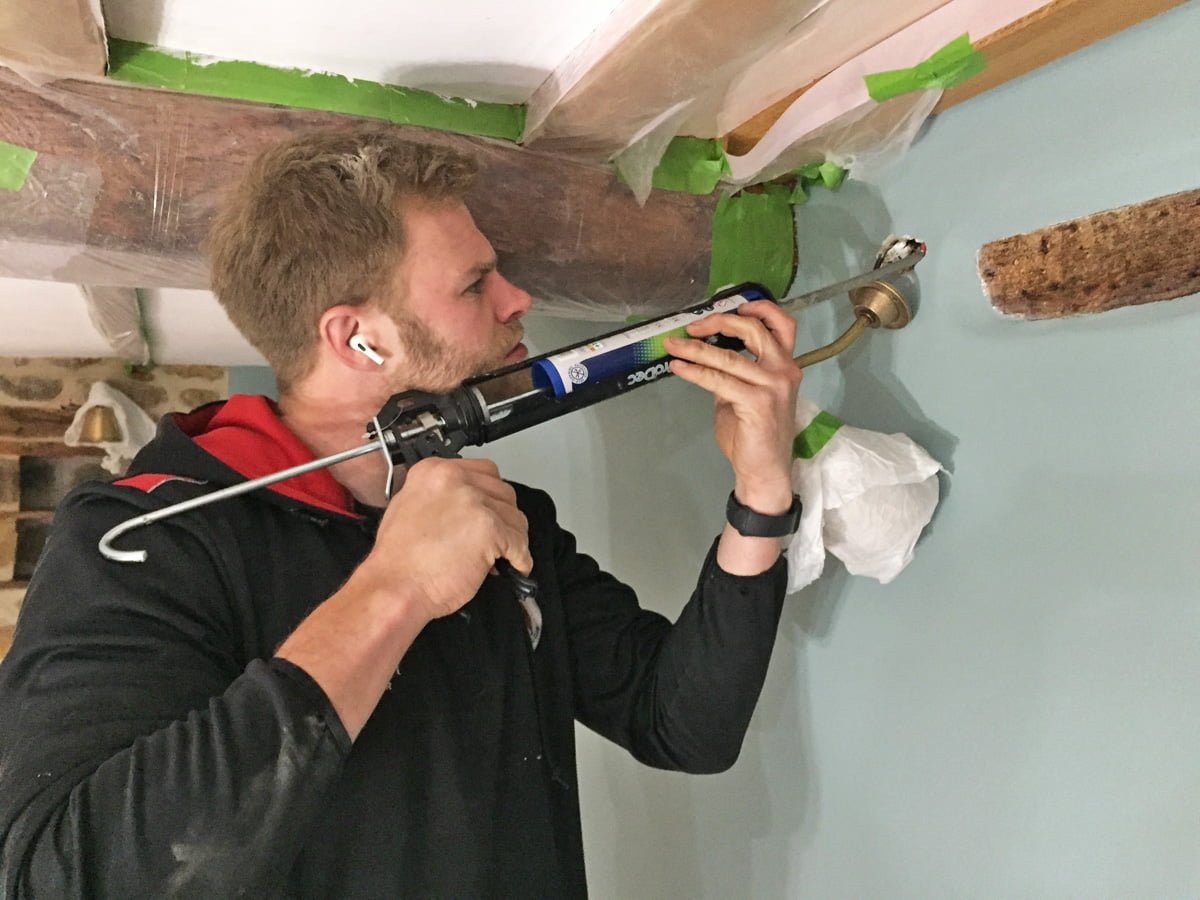
Crossing fingers and toes this works….
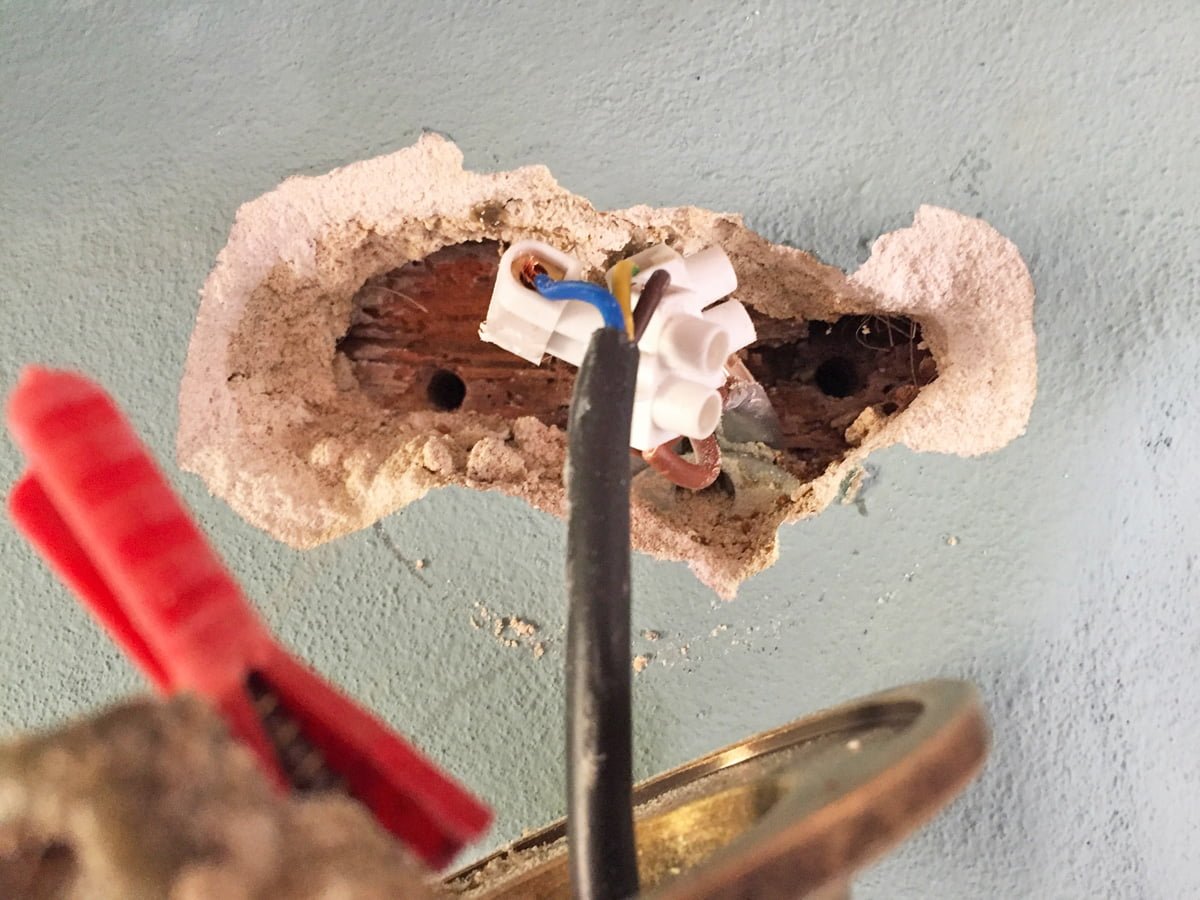
Annoyingly it didn’t. When the resin had gone off it all fell out of the wall, but this time the rawl plug took more plaster with it… Plan C is to purchase some longer screws and screw this one into the wooden beam behind (that you can just see). We are using flat head brass screws and there is an old fashioned hardware shop in Warwick called Torrys who have a huge selection of them, so we will have to take a trip there to buy some longer ones.
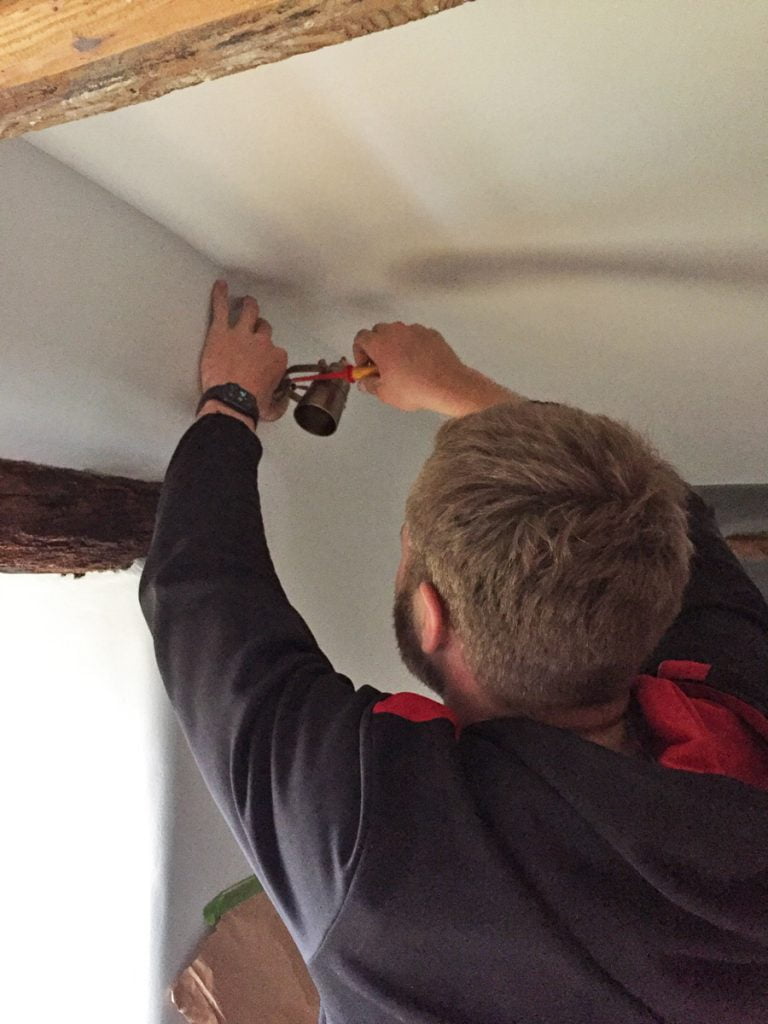
Sam has the same issue with the spotlight in Zanna’s bedroom, the second screw just spins as it is not tight into the plaster.
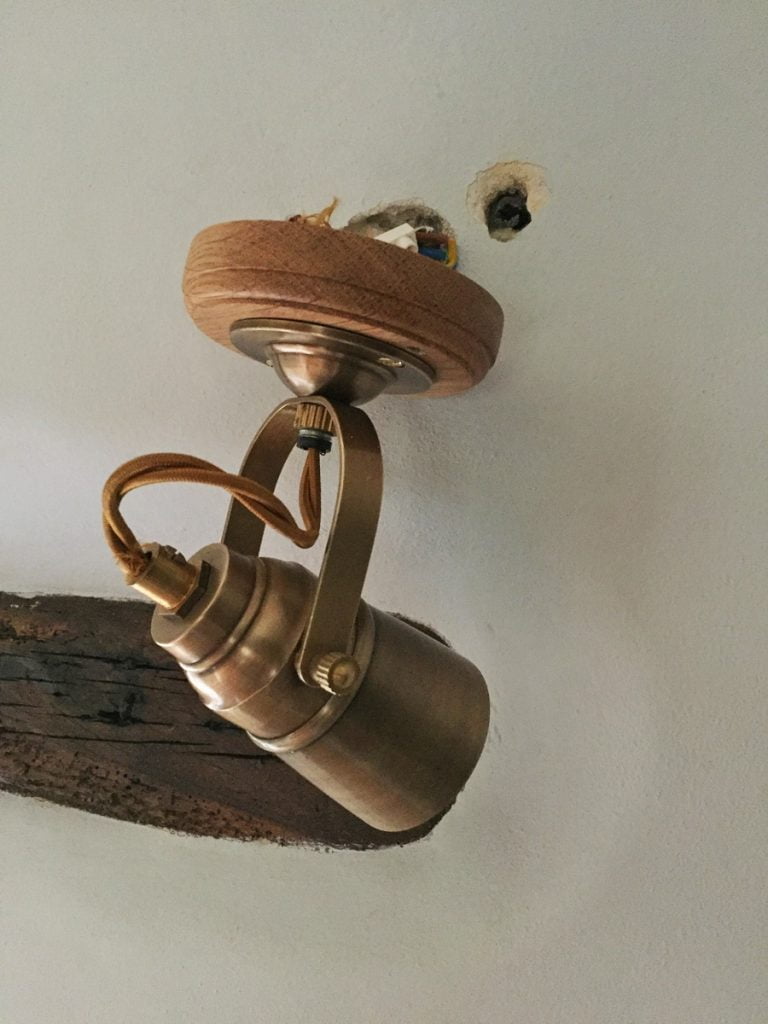
We have used one of the pattresses that we purchased last week for these smaller spotlights. The back bases are so small they would never fix to the wall. We thought this would be the answer and we already bought longer brass screws for these, but the rawl plugs are still just pulling out of the plaster.
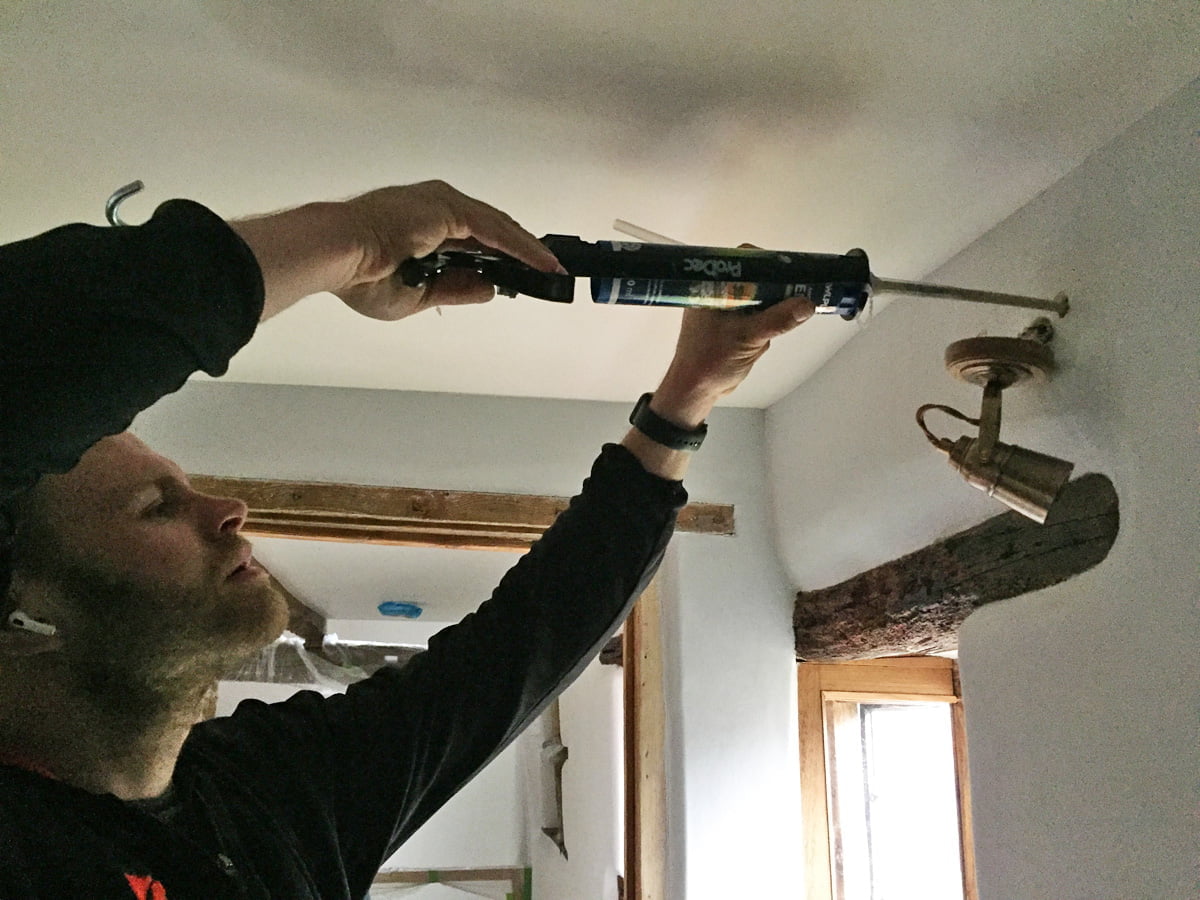
Sam using the resin to hold the rawl plug.
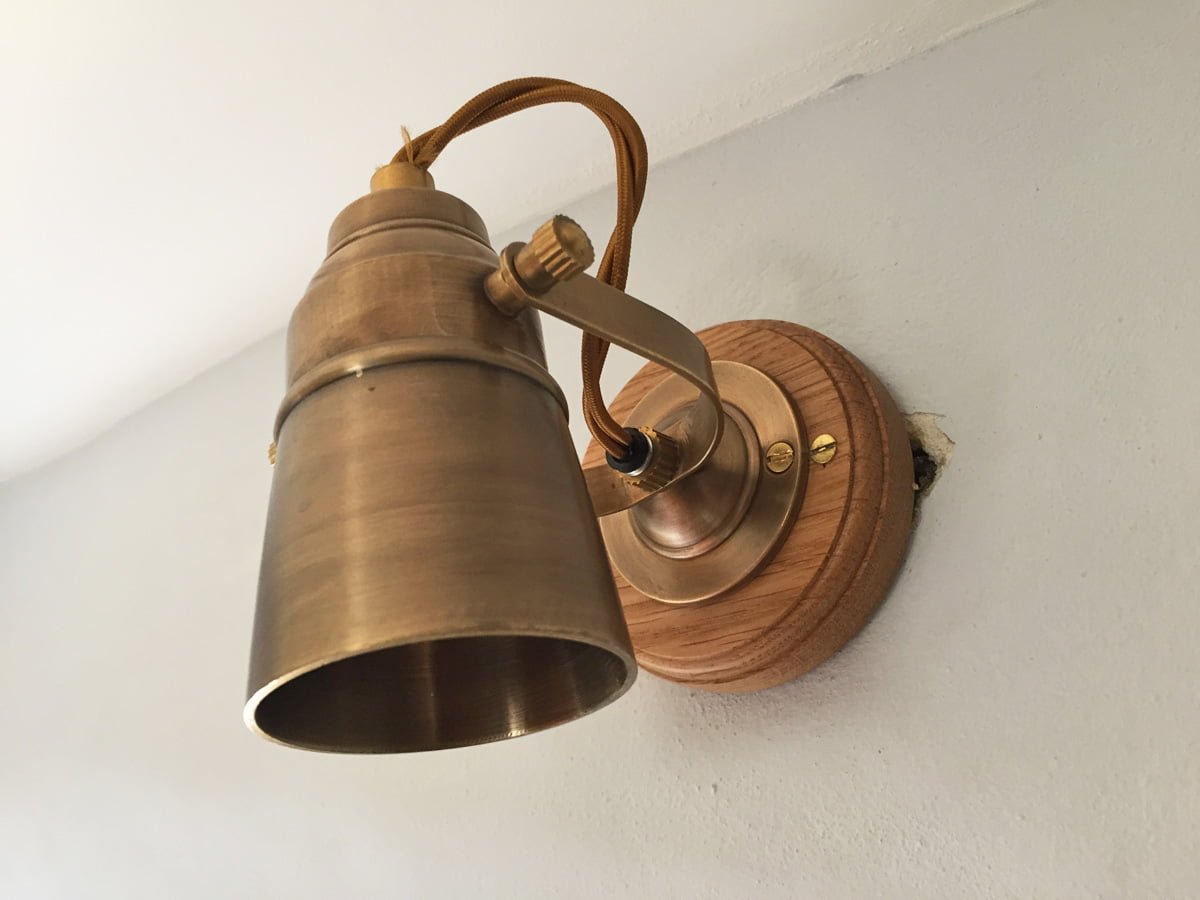
It is on but it is not solid and the plaster has popped around the resin and rawl plug. This will need further work when Sam returns next weekend. Still fighting us every step of the way, house!!!
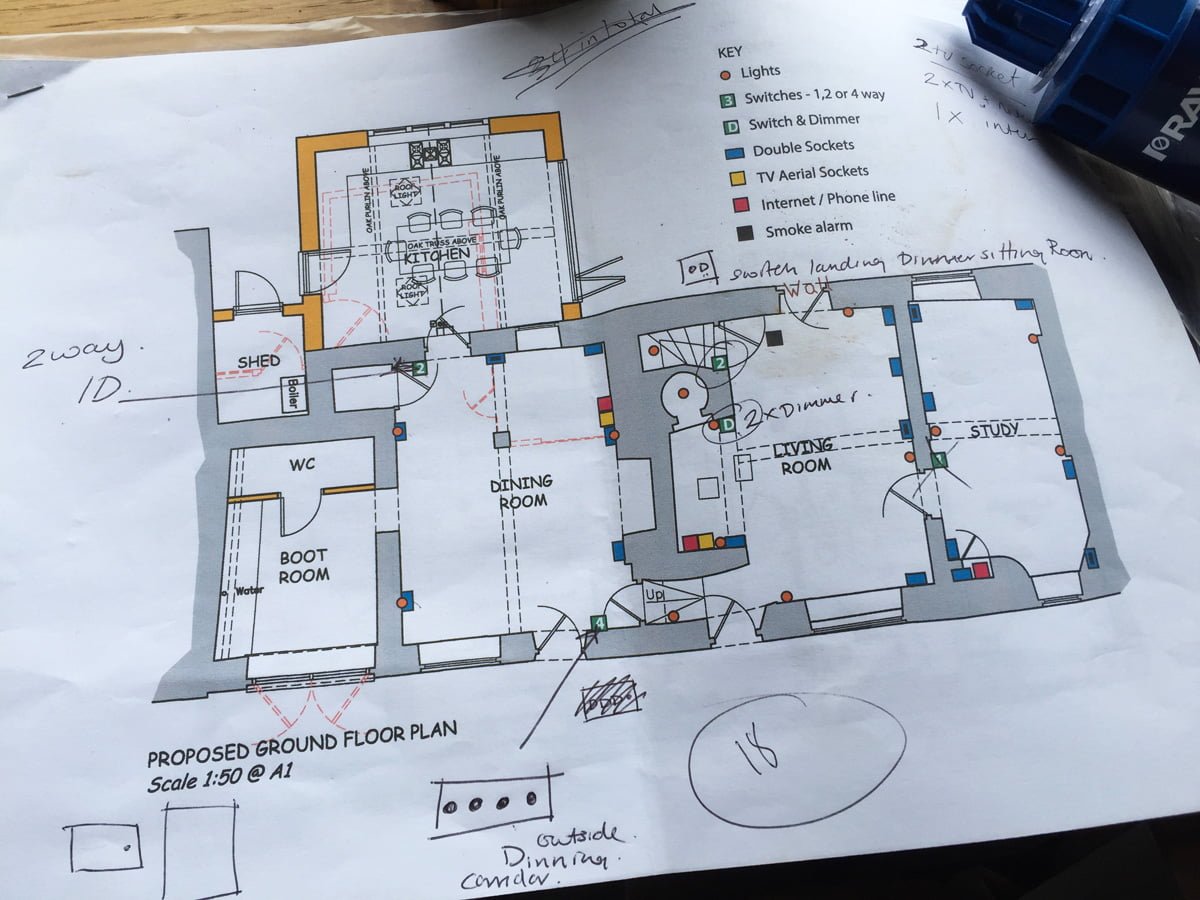
One of my plans for the ground floor electrics. This is taken from the proposed plan for the house, including phase 2, so the boot room is still the garage at the moment and the kitchen is still small and falling down (where the dotted red line is).
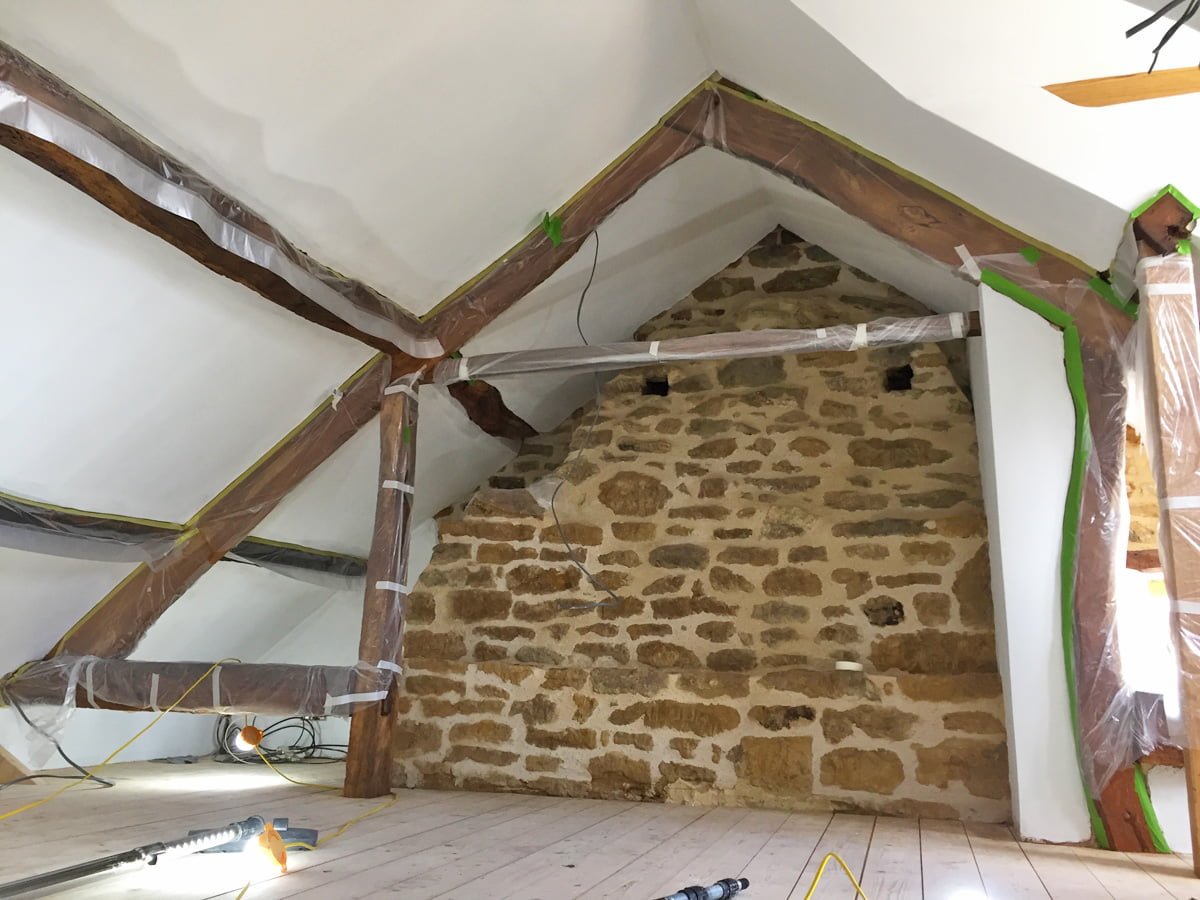
First mist coat complete. Now for an epic amount of filling and sanding before Cat can start the top coat…
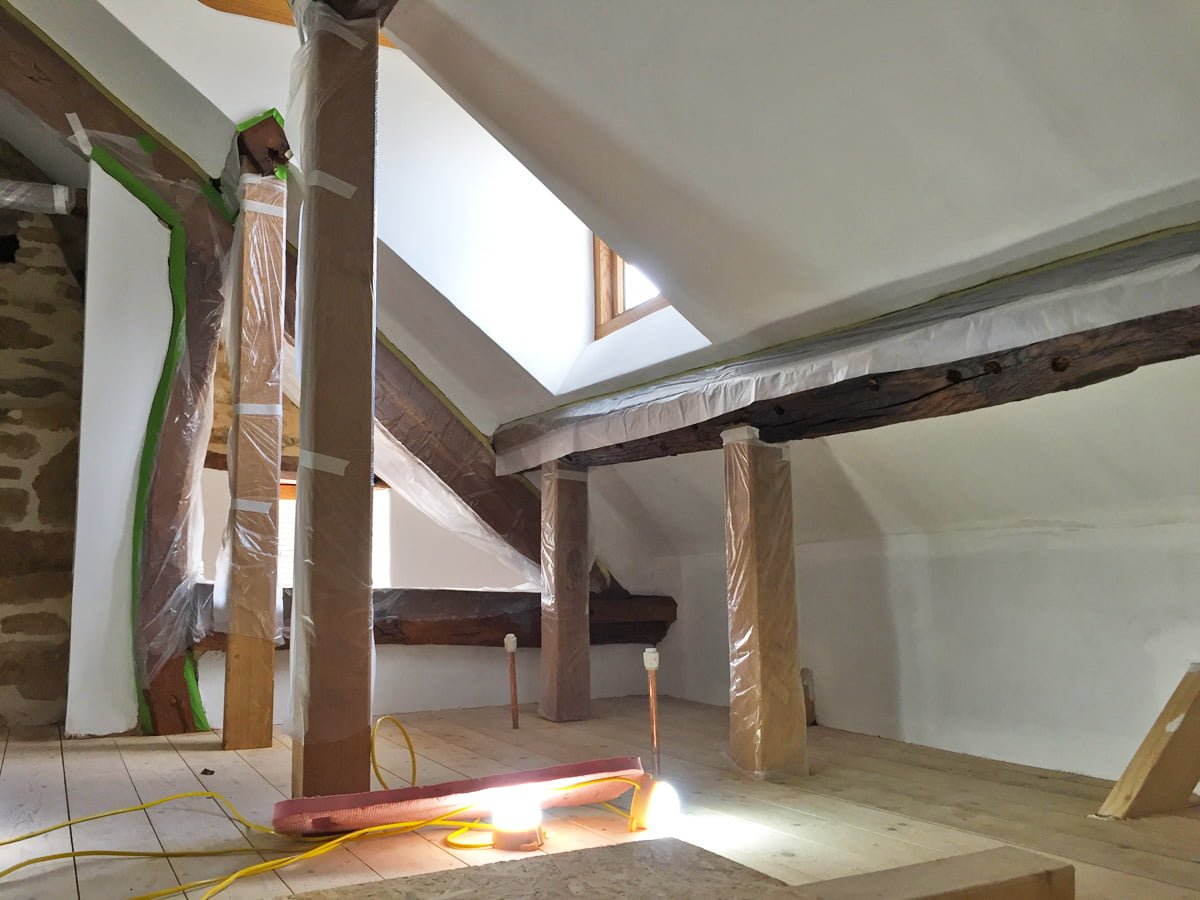
Love that photo of the Dormer! Wonderful lines.
Will the lime plaster get any stronger/tougher as more time goes by? I’m just thinkin about how your describe it as getting dinged so easily.
We do hope so! Apparently it takes 18 months to go off but doesn’t fully go off until around 25 years! It is so fragile and dry already that I can’t honestly see how it will get any harder but apparently it will. Putting pictures up on the walls is going to be interesting…