A much better day all round, thankfully. Dan and Tom got all the steel rods grouted in by lunchtime, the process was much quicker today after the frustrating start yesterday. The grout behaved as it should today and didn’t cause them so many problems. It’s not a job they enjoy though, and we do have many, many more of these steel rods to add yet…
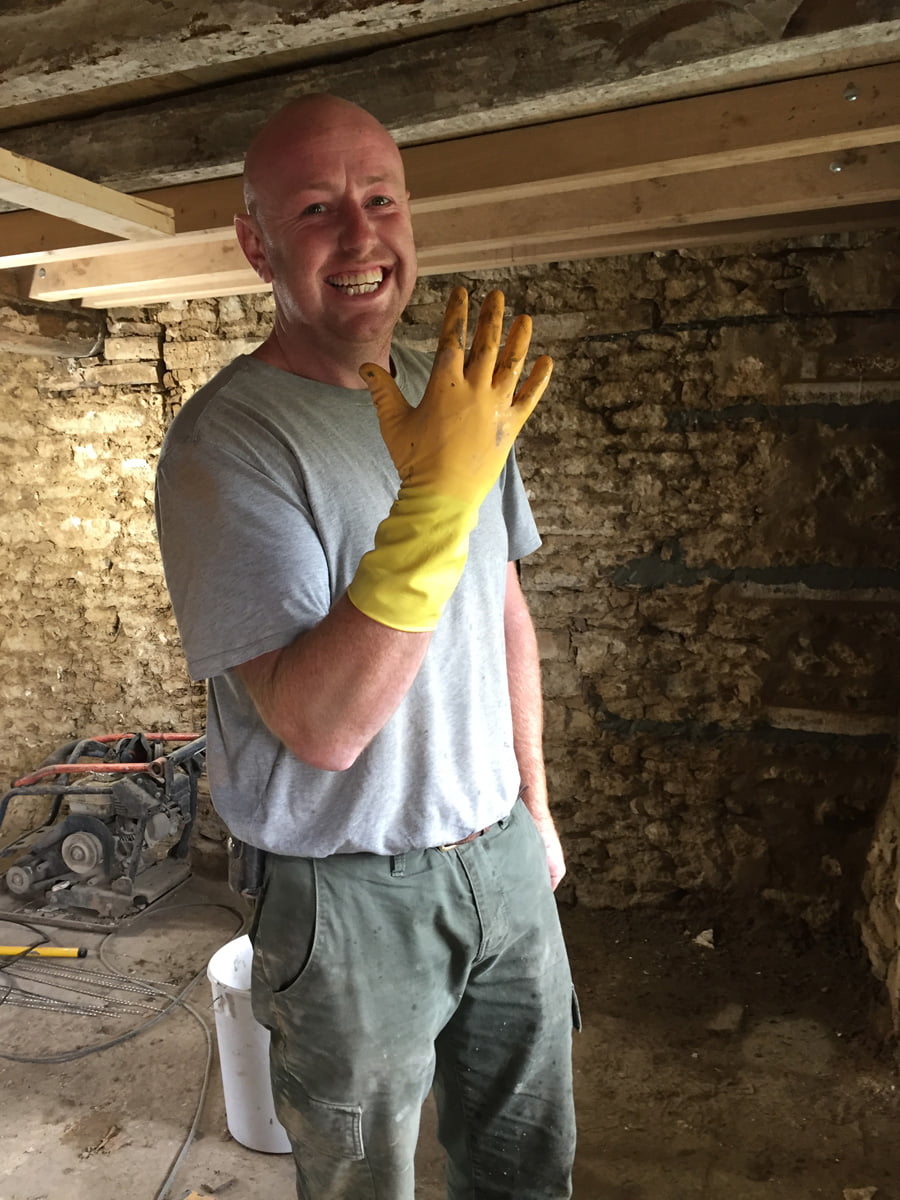
Dan sporting the marigolds we bought for them. Tom was complaining of chapped hands today after using the grout so we offered him some L’Occitane hand cream. He’s happy with the marigolds.
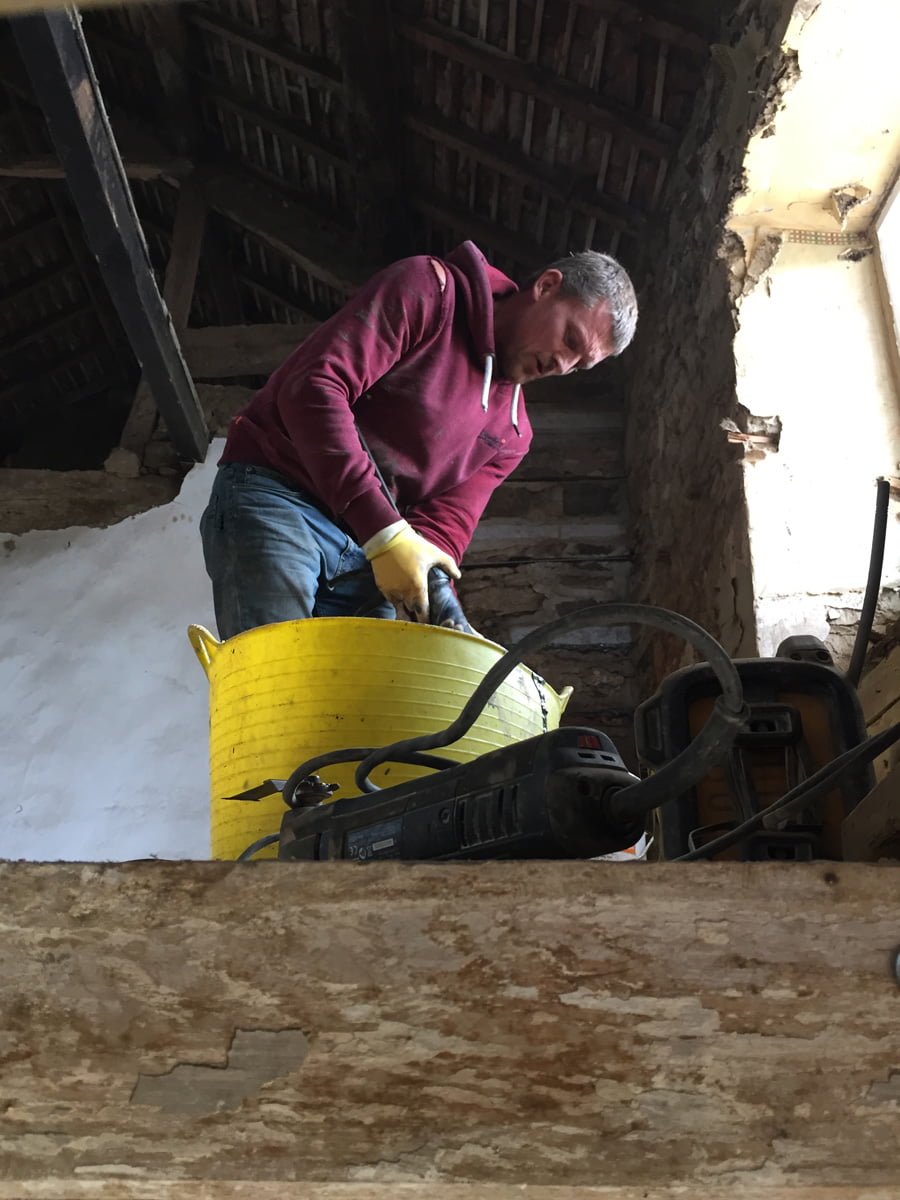
Tom filling the gun with grout for the steel rod installation in the new bathroom wall, whilst wearing his marigolds.
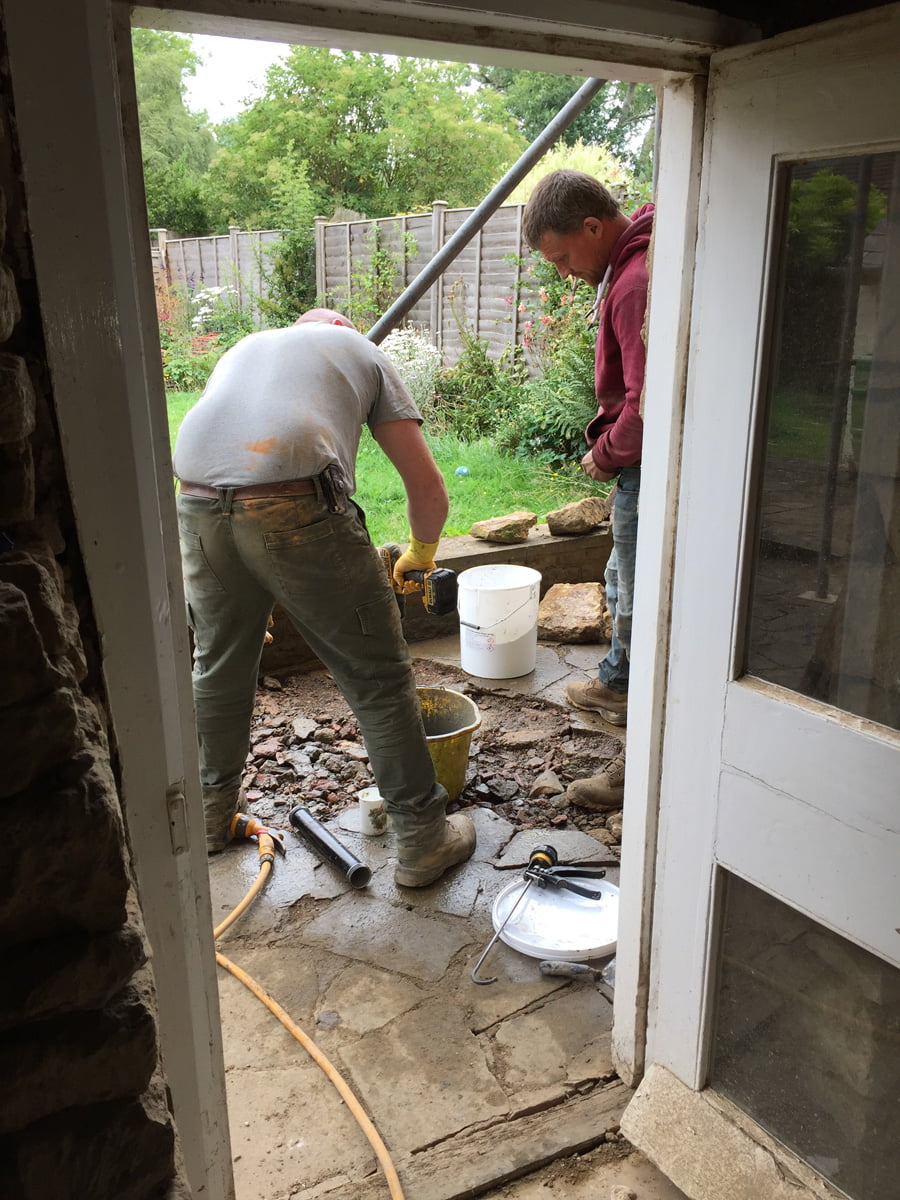
Mixing the grout and cleaning the gun out in between each application.
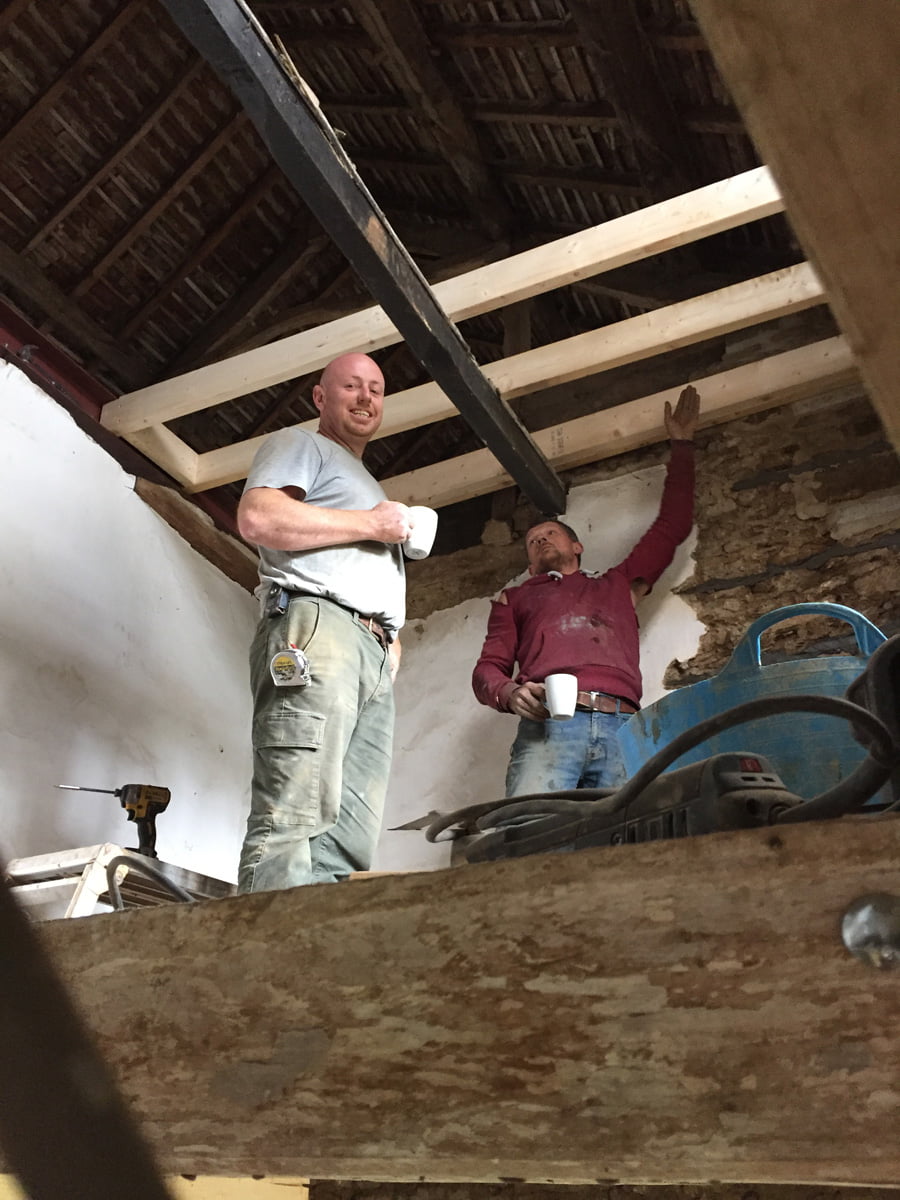
A well earned tea break.
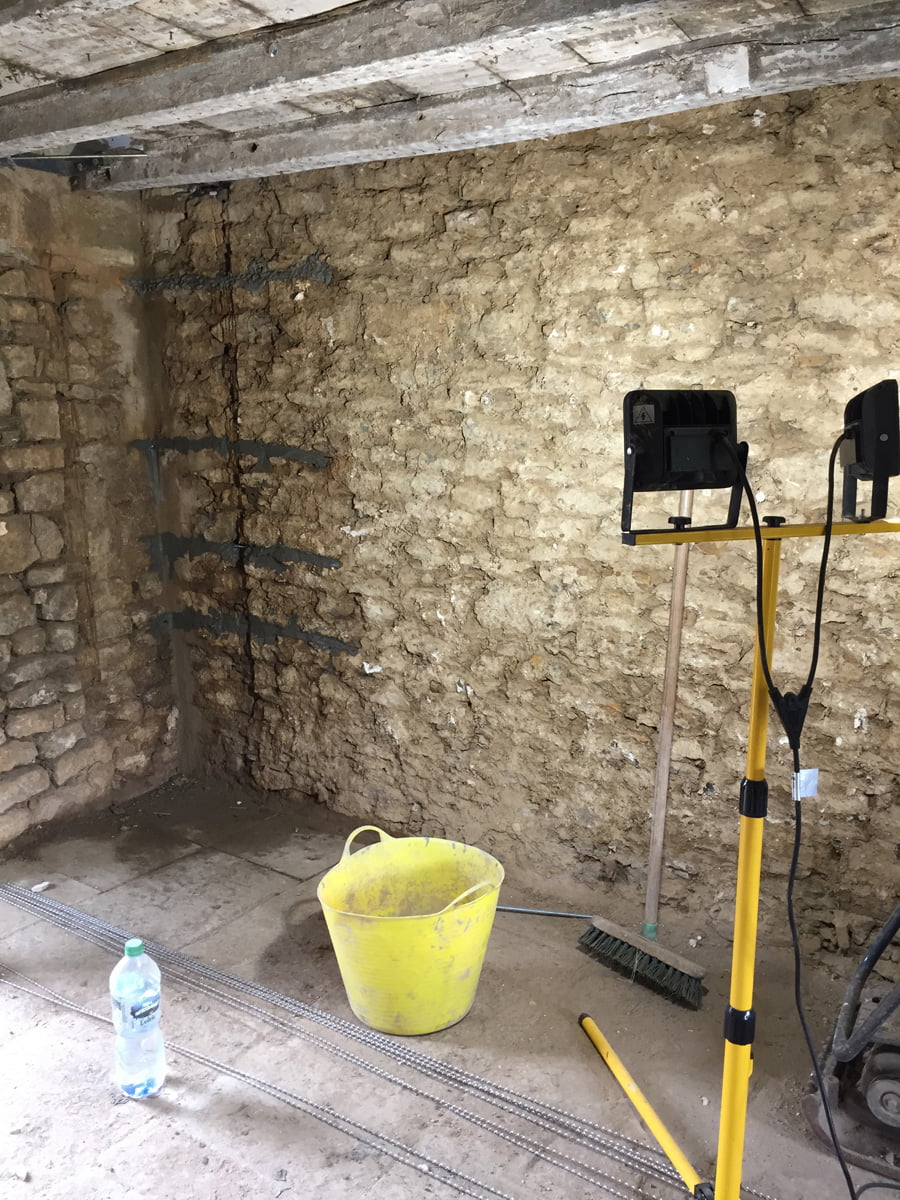
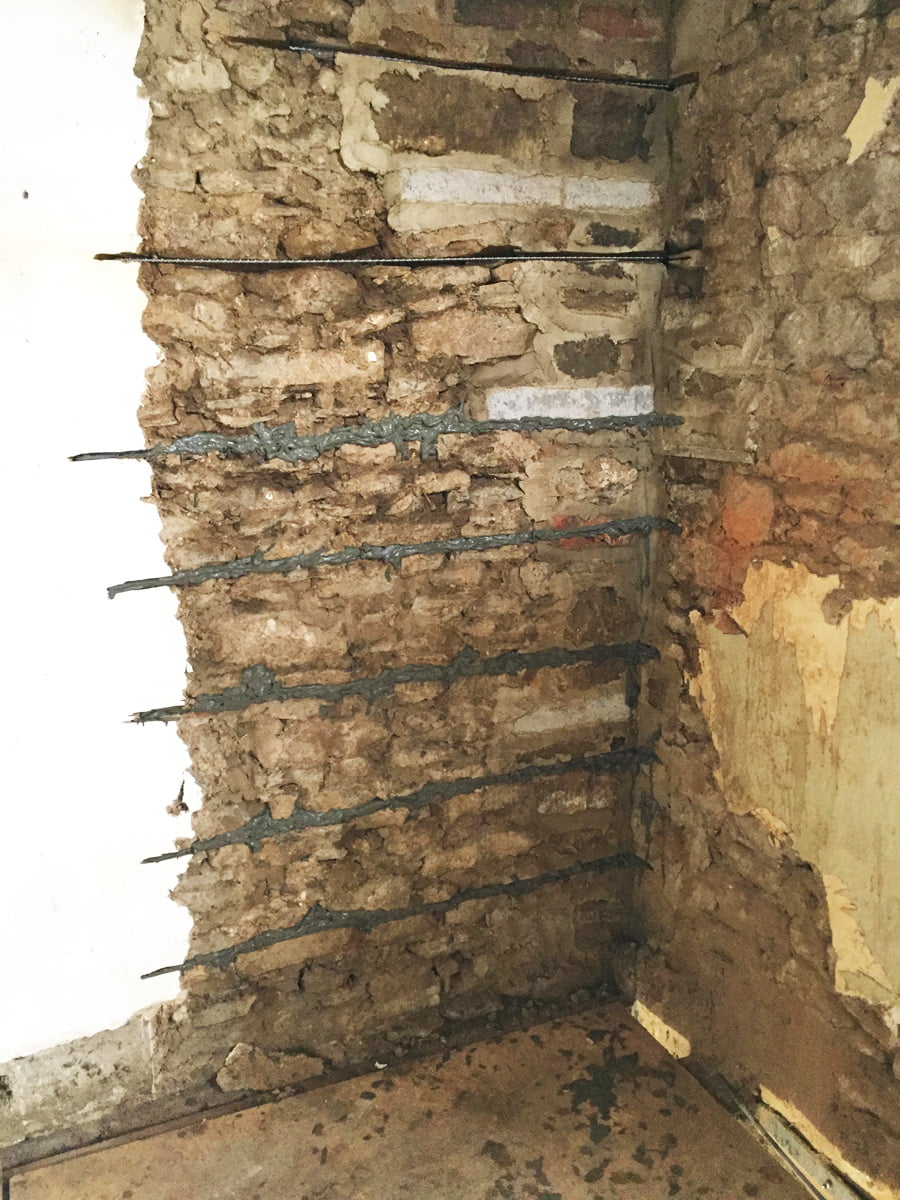
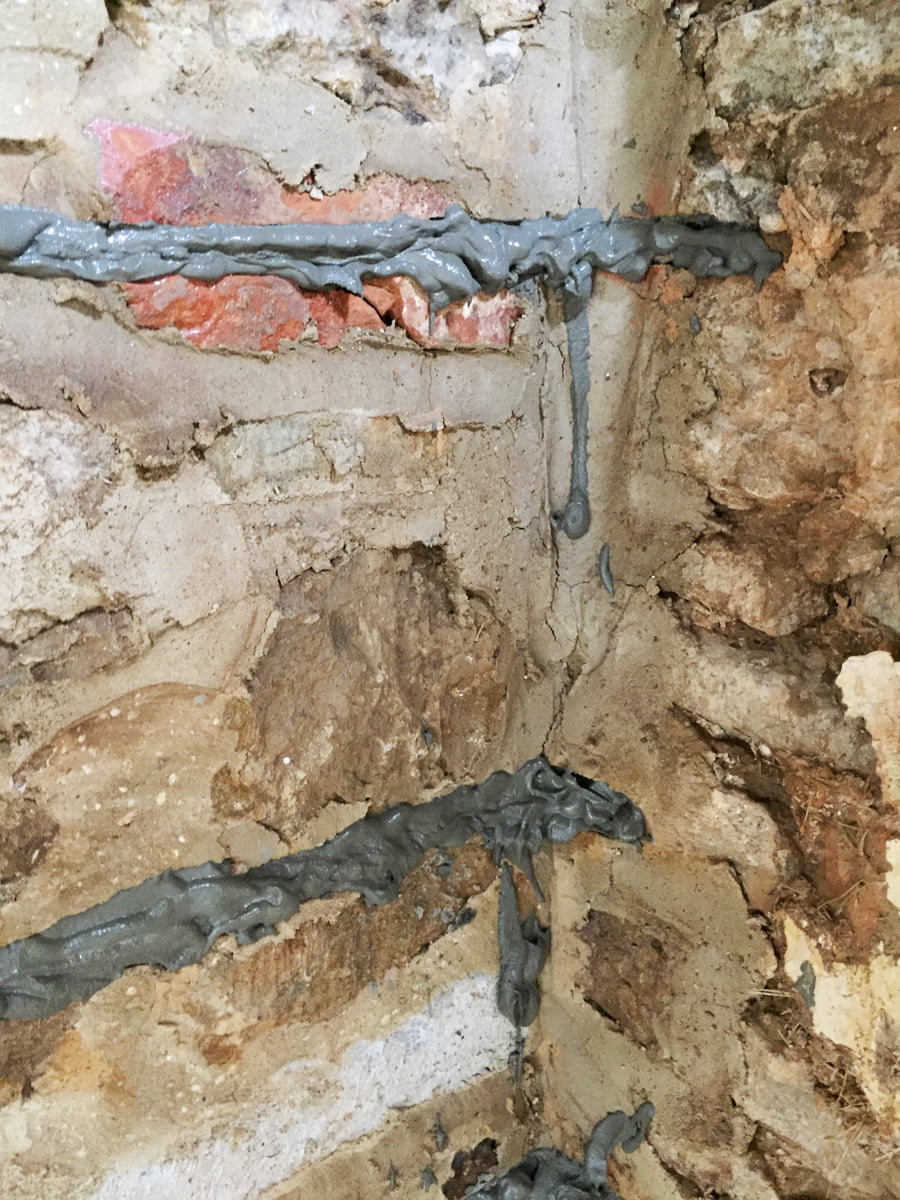
Corner of the sitting room and the back of the house where the steel rods have been grouted in.
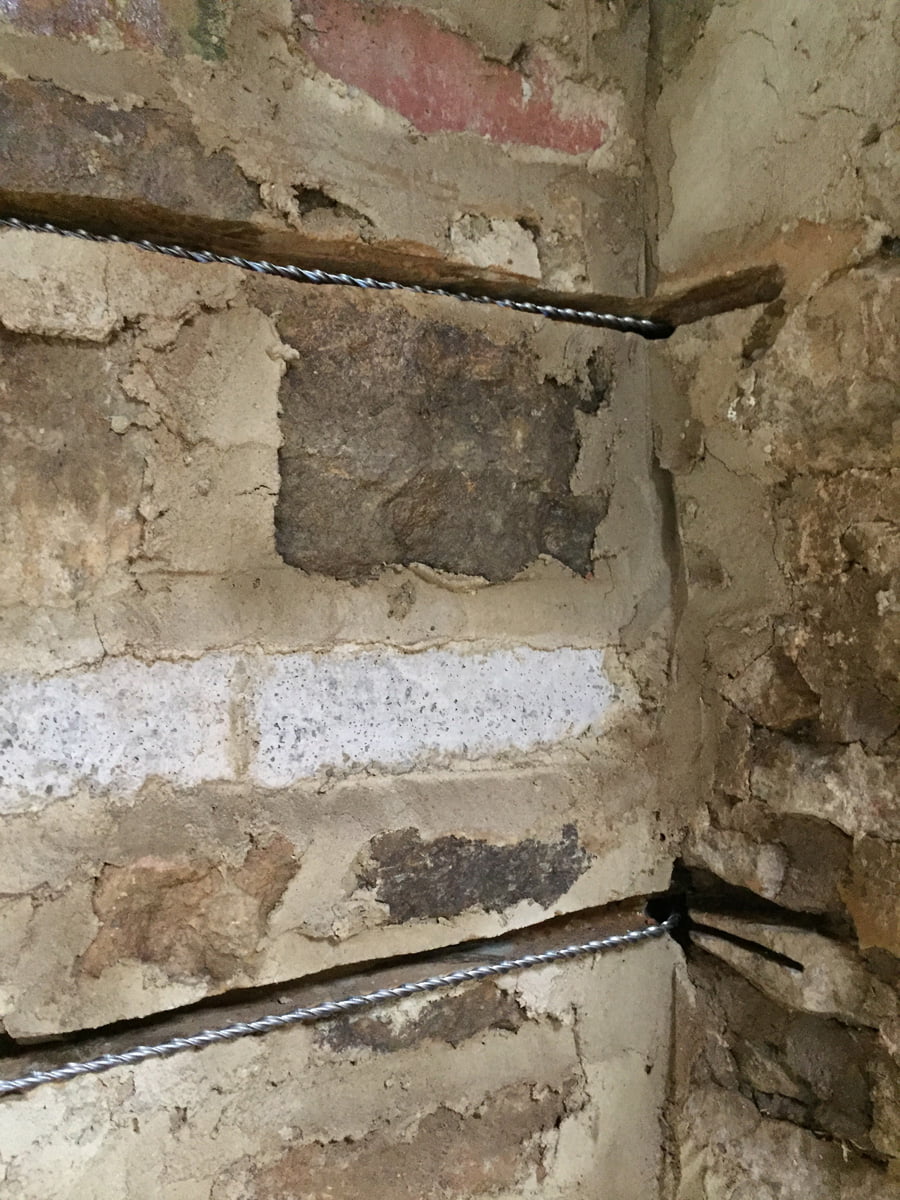
Steel rods awaiting the grout. The rods go through the external walls at a diagonal angle inwards, so the steels get bent inwards at the corner.
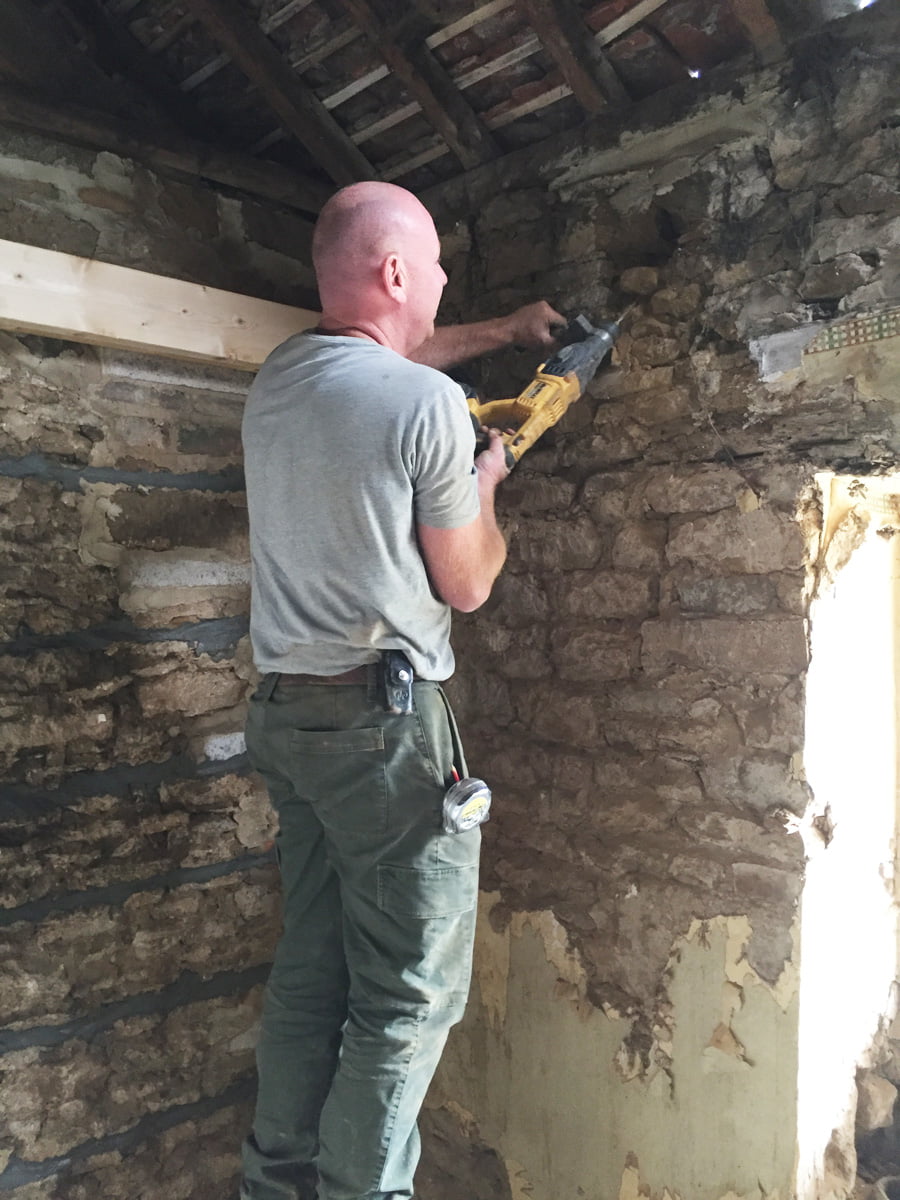
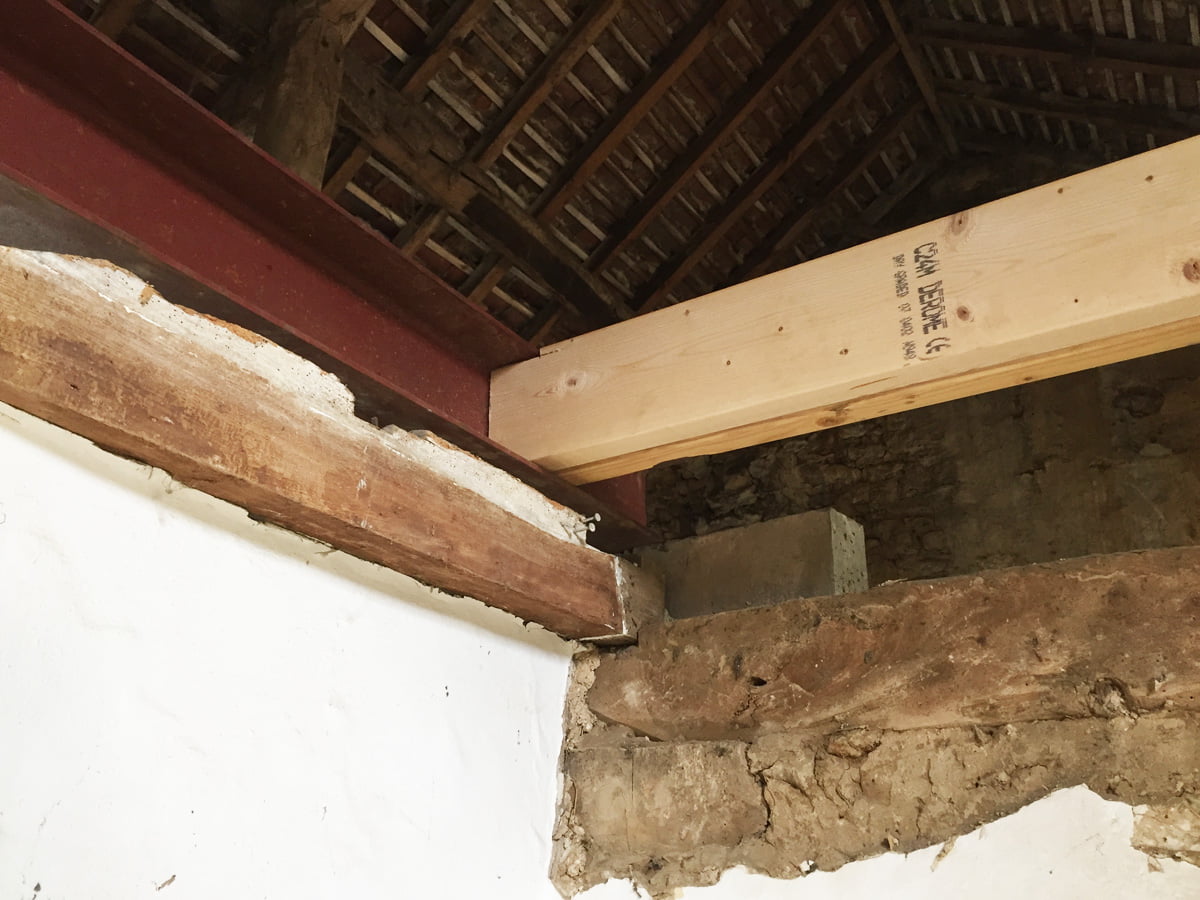
Dan has begun to install the attic floor. This is a very exciting step as we will then be able to stand up there and get an idea of how it will look, and importantly how much head height we have. We know the measurements, but visualising it is difficult. We know it will be tight, and with the vaulted ceiling some of the room will be only suitable for cupboard space, but with two new dormer windows this should help make the space more useable.
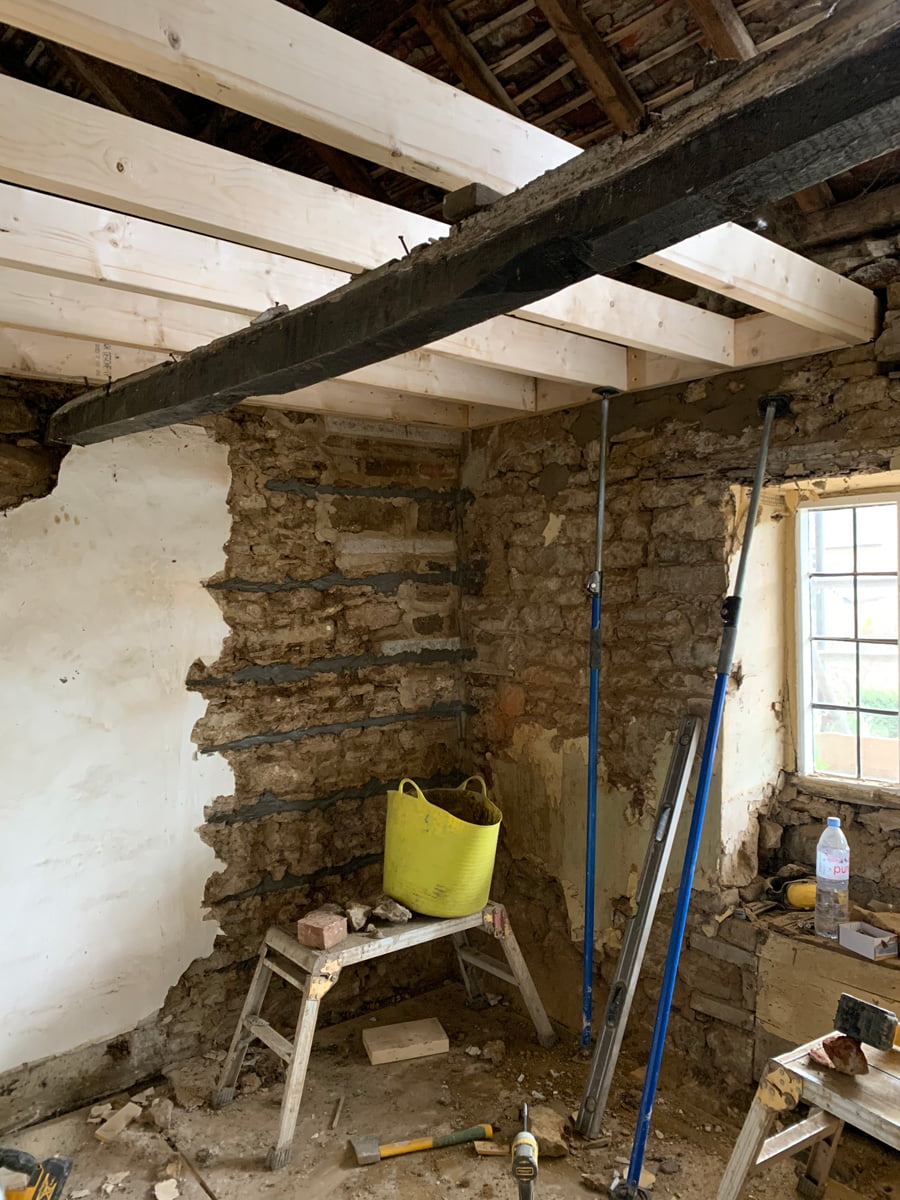
The attic floor rapidly taking shape.
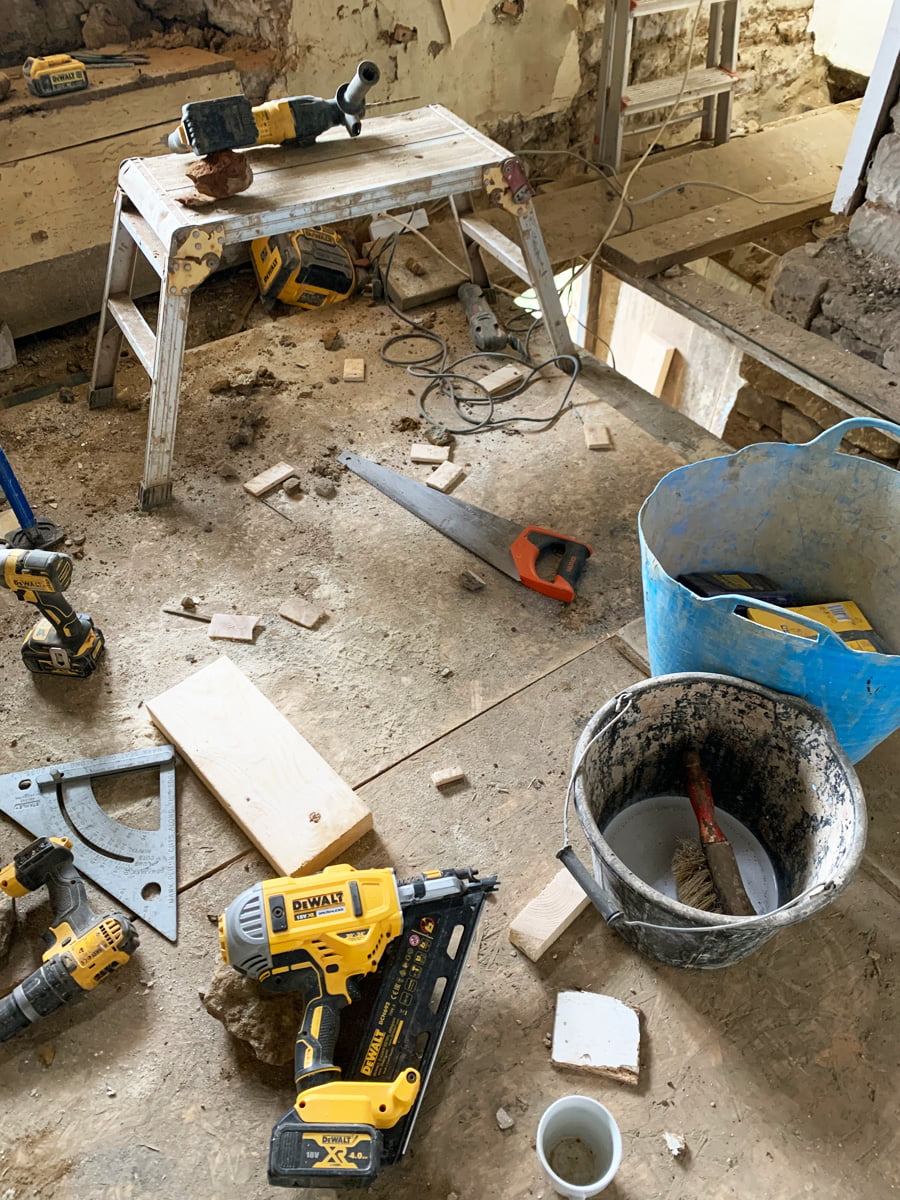
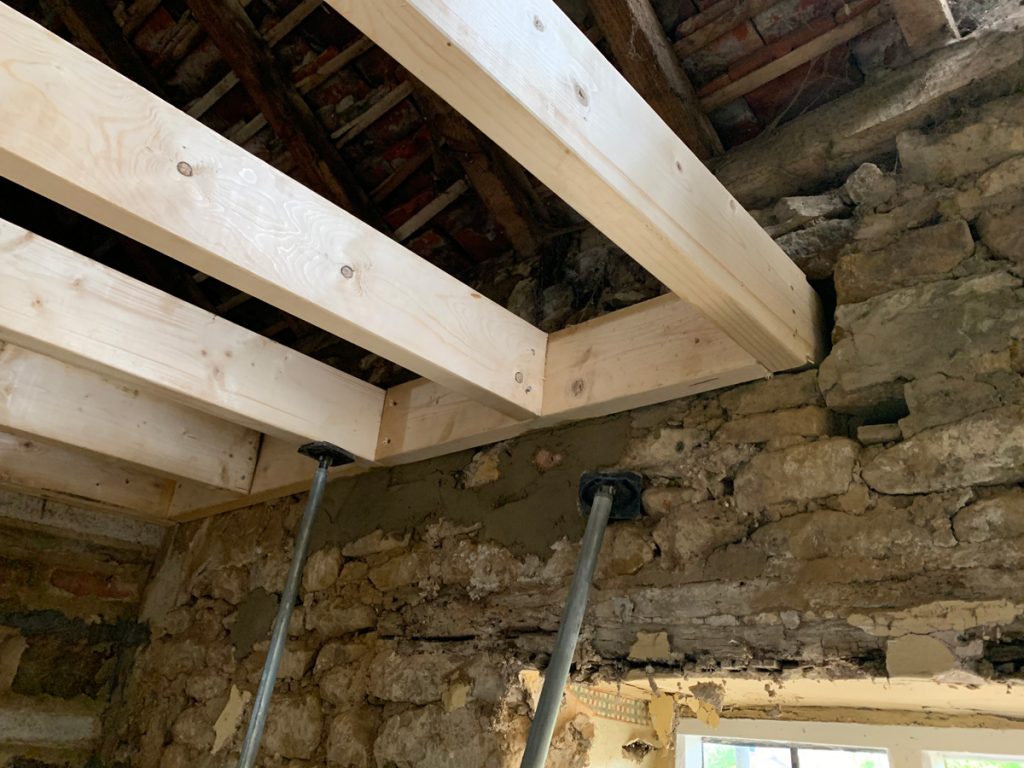
The new floor joists get bedded into the wall every third joist. The other joists will then hang from these. There will also be more steel rods embedded into the walls at this level and bolted through the timber at the ends. More belt and braces.
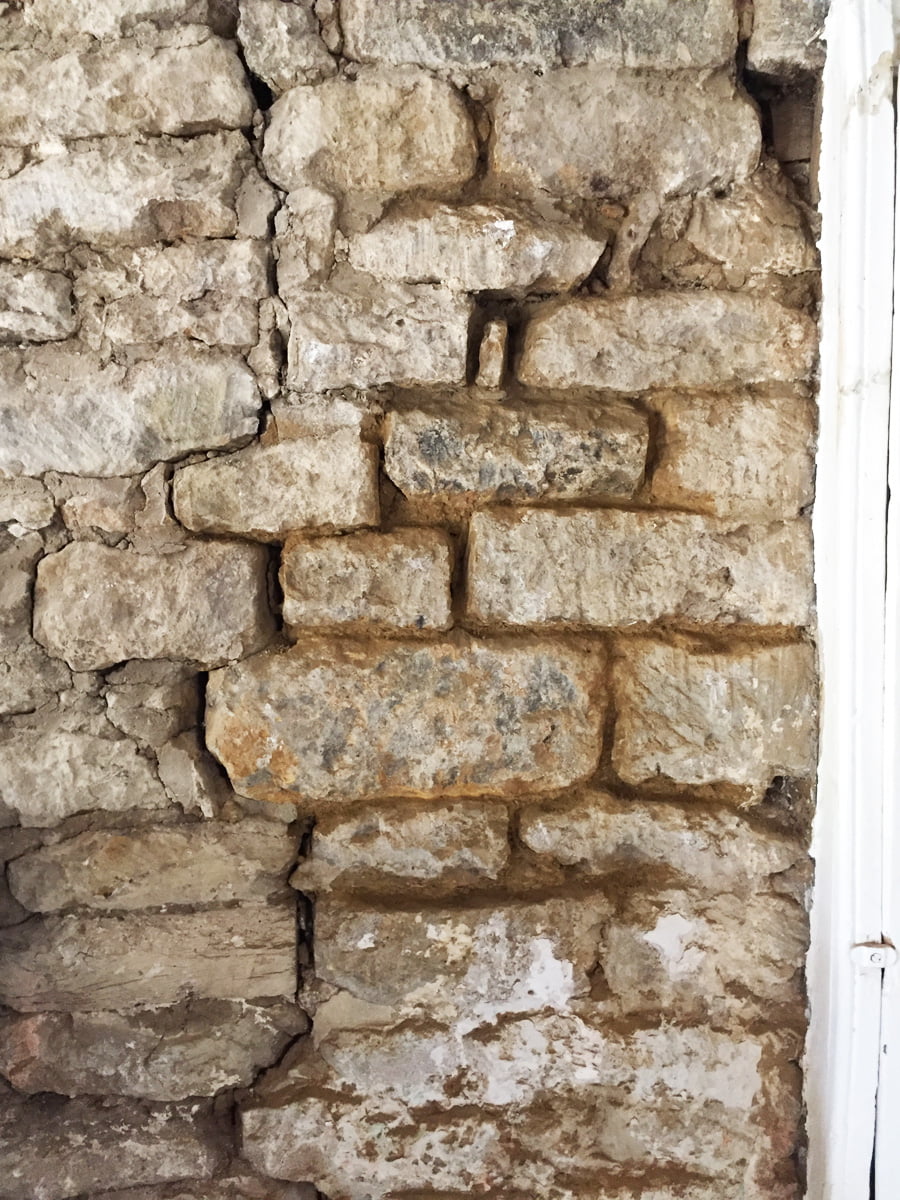
Cat is being taught by Tom how to rake out and point the walls. This is Cat’s first attempt at raking out with a small pick axe. It’s slow progress and apparently very tough on your arm muscles. Will keep her busy though!
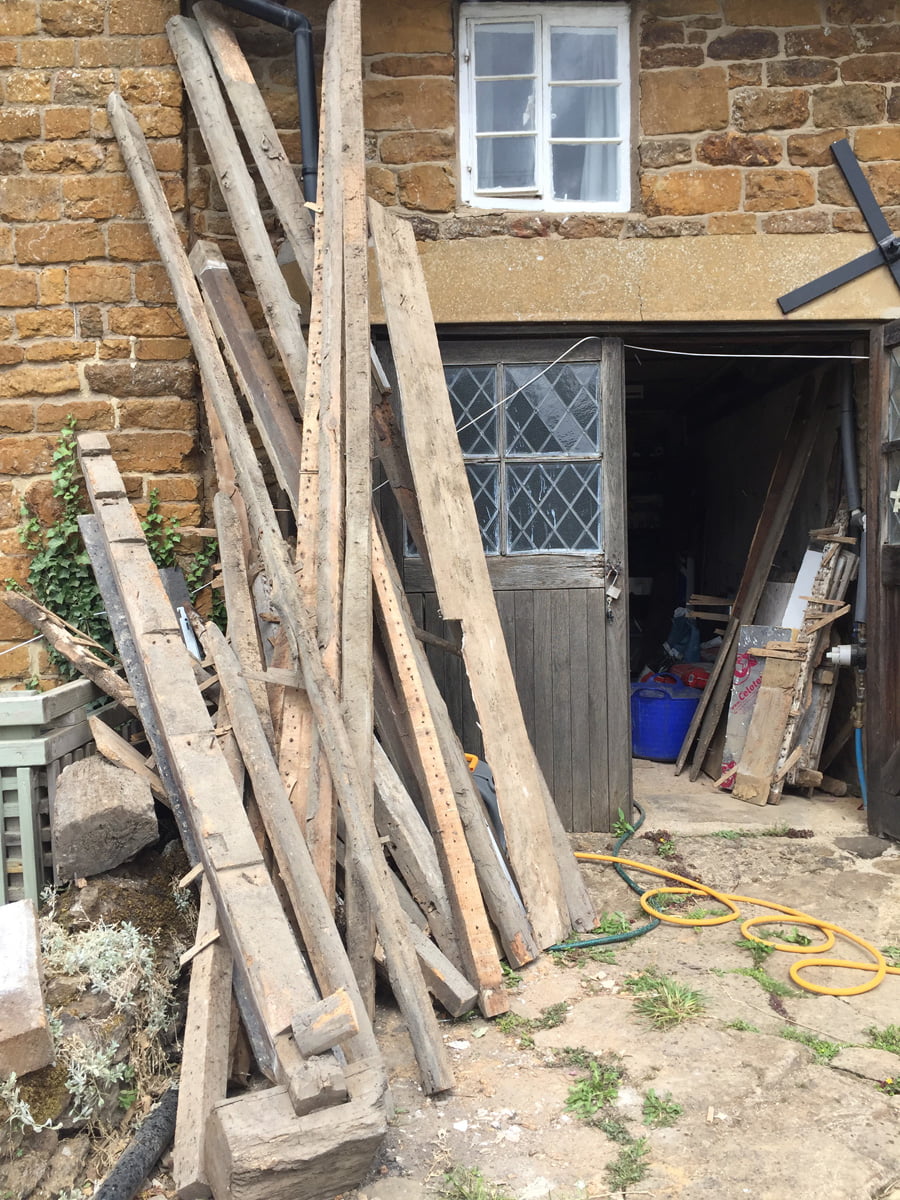
These are the old timbers we have saved from the house, mainly from the upstairs ceilings. Some are going back in place, while some will be used for other things in and around the house. Sadly some of the original timbers were just too soft from woodworm so are only good for firewood.

The cement from the walls on the stairs and landing is being picked off to reveal any horrors underneath.
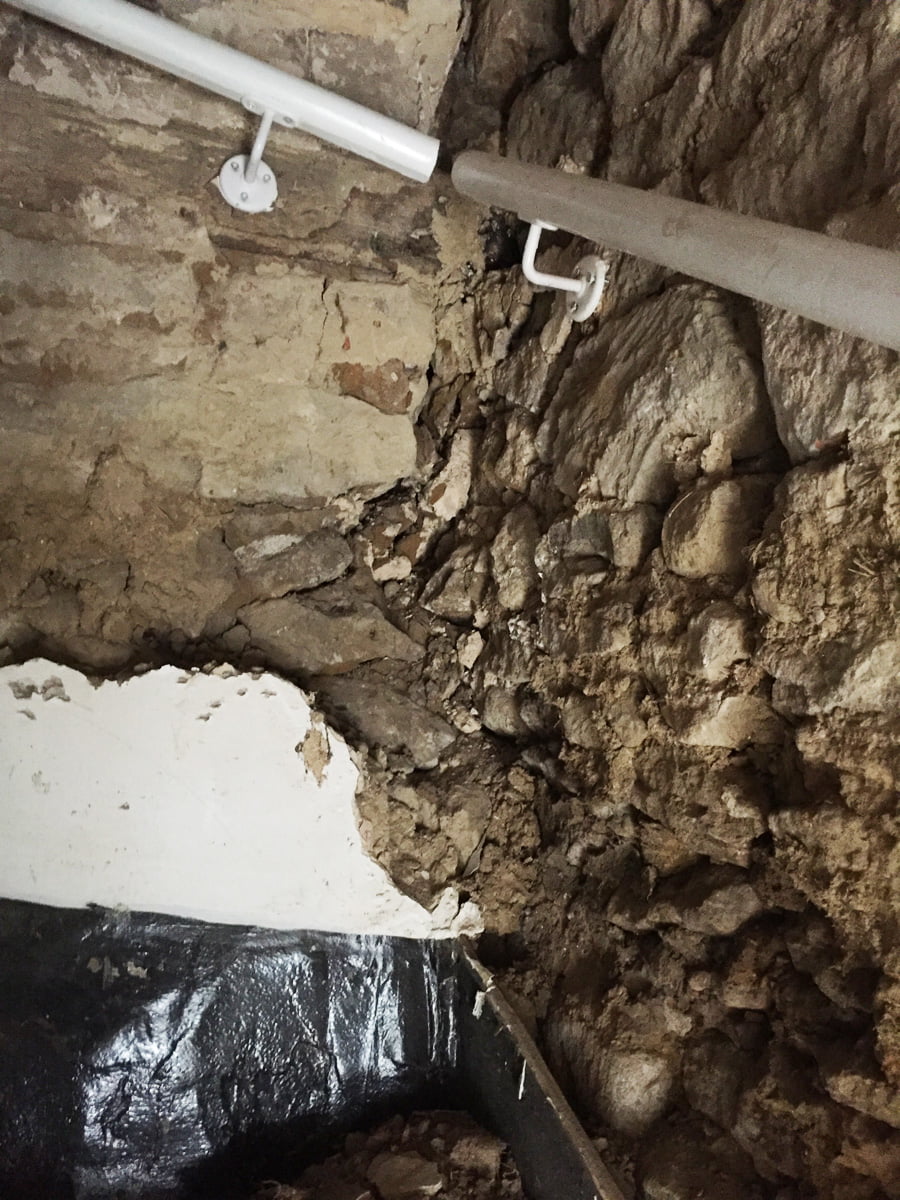
Bloody hell what a mess. The wall on the stairs here is just crumbling rubble…
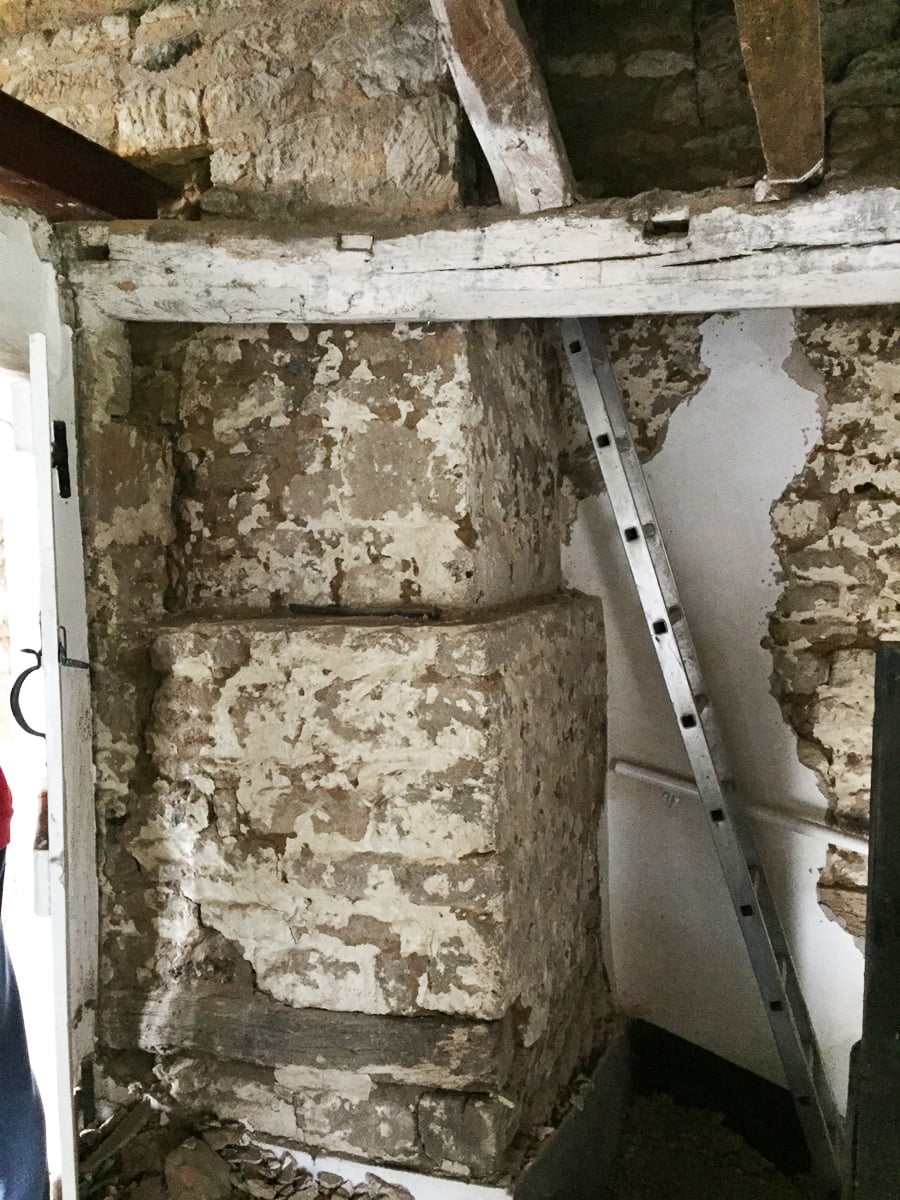
All the cement has been knocked off the chimney breast and more timbers have been uncovered too. It’s beginning to look like a beautiful period house.
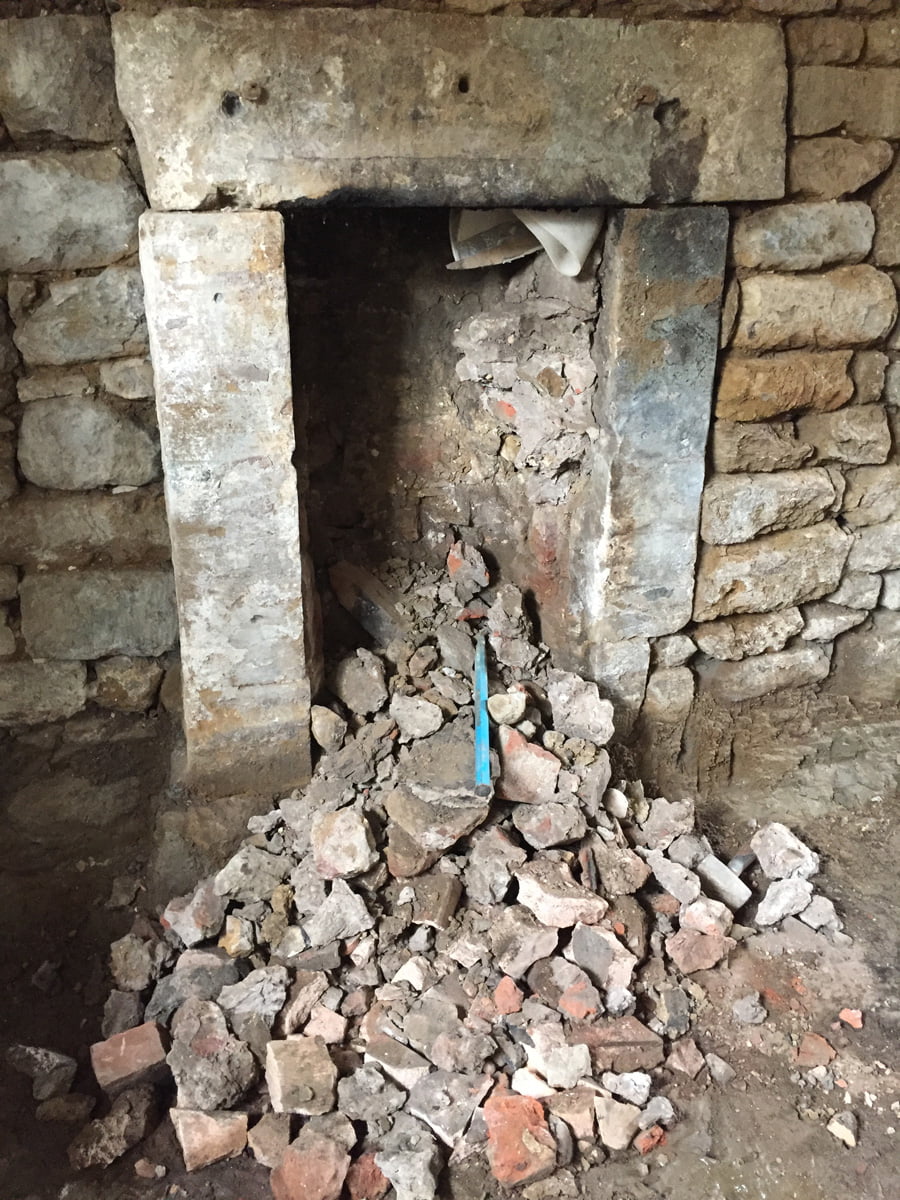
Now the study fireplace has been stabilised with the steel rods, the concrete and brick internal addition can be safely removed to reveal the original opening.
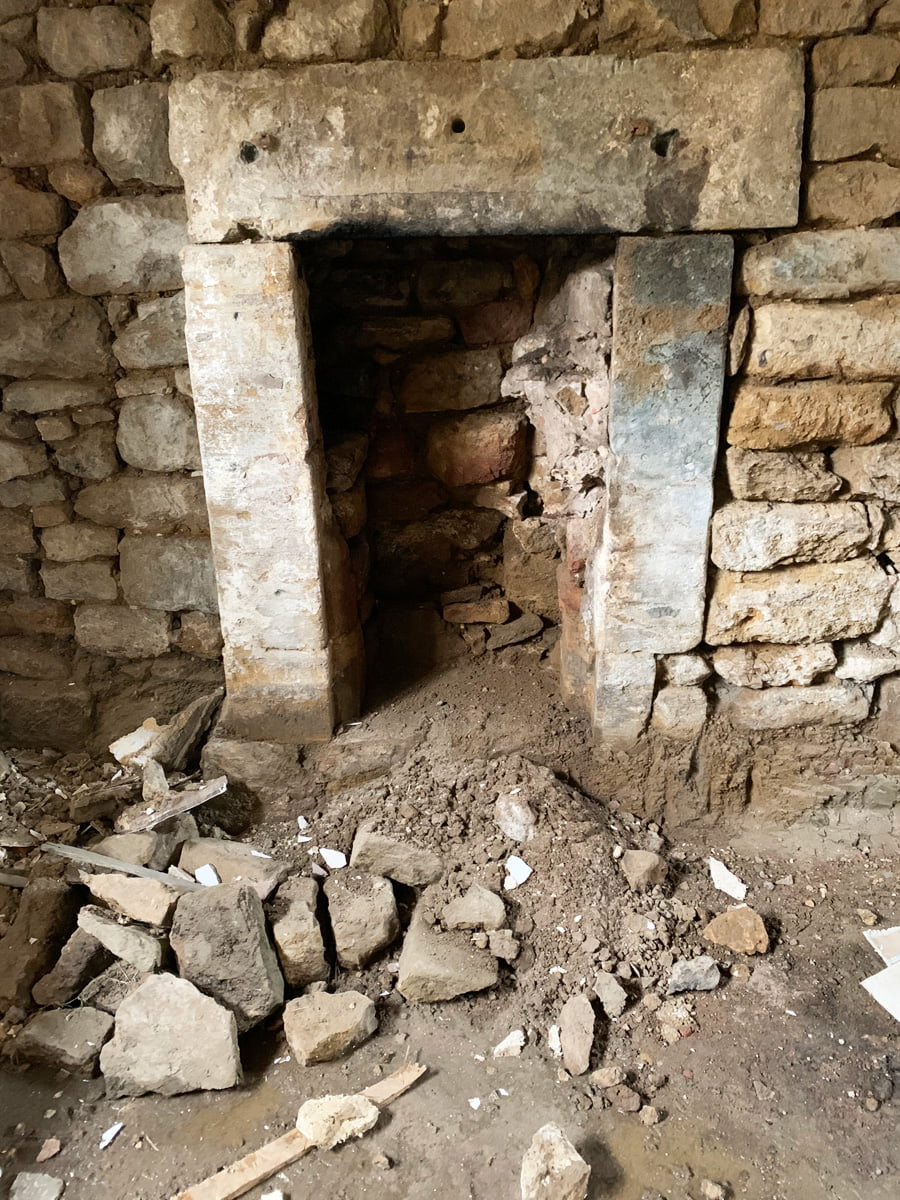
That lump of cement and stone inside the fireplace on the right is the only thing between us and the neighbours hallway, and it is loose, in fact you can take it out, poke your head through and say hello! Thankfully we have a lovely neighbour who found it funny. Tom will be fixing both sides in the morning!
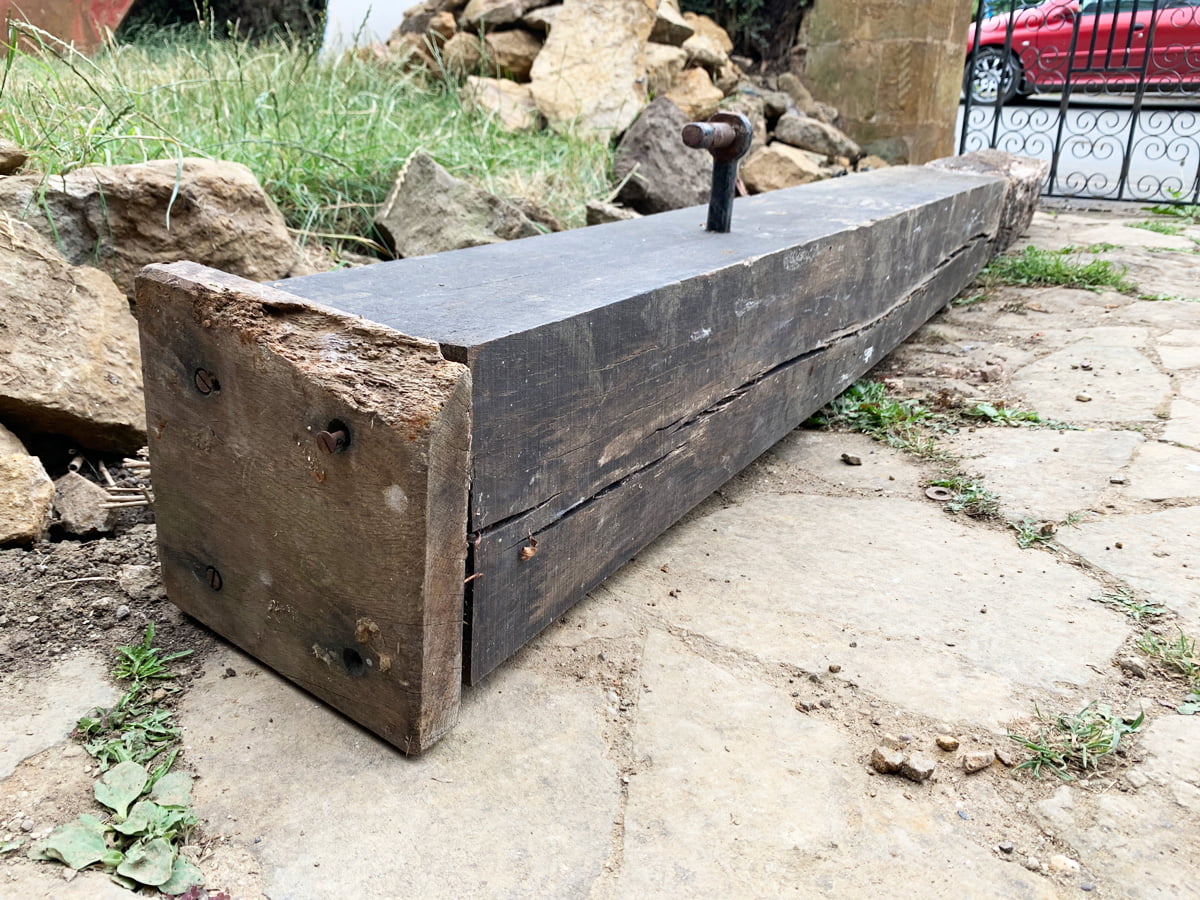
This was one of Tom’s old oak gate posts from his house. We are hoping it might be the right size to use to extend the beam in the loft that is short.
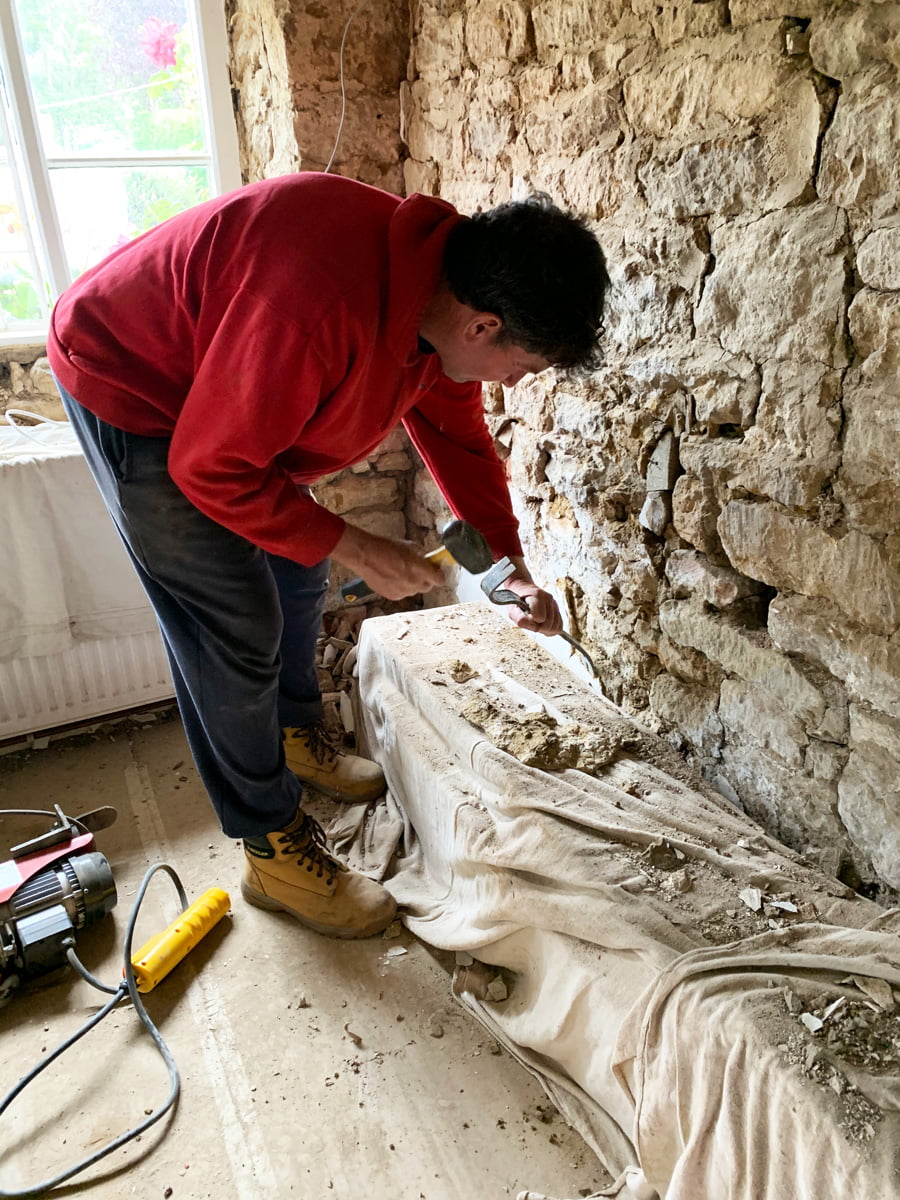
Colin returned to bash some walls.
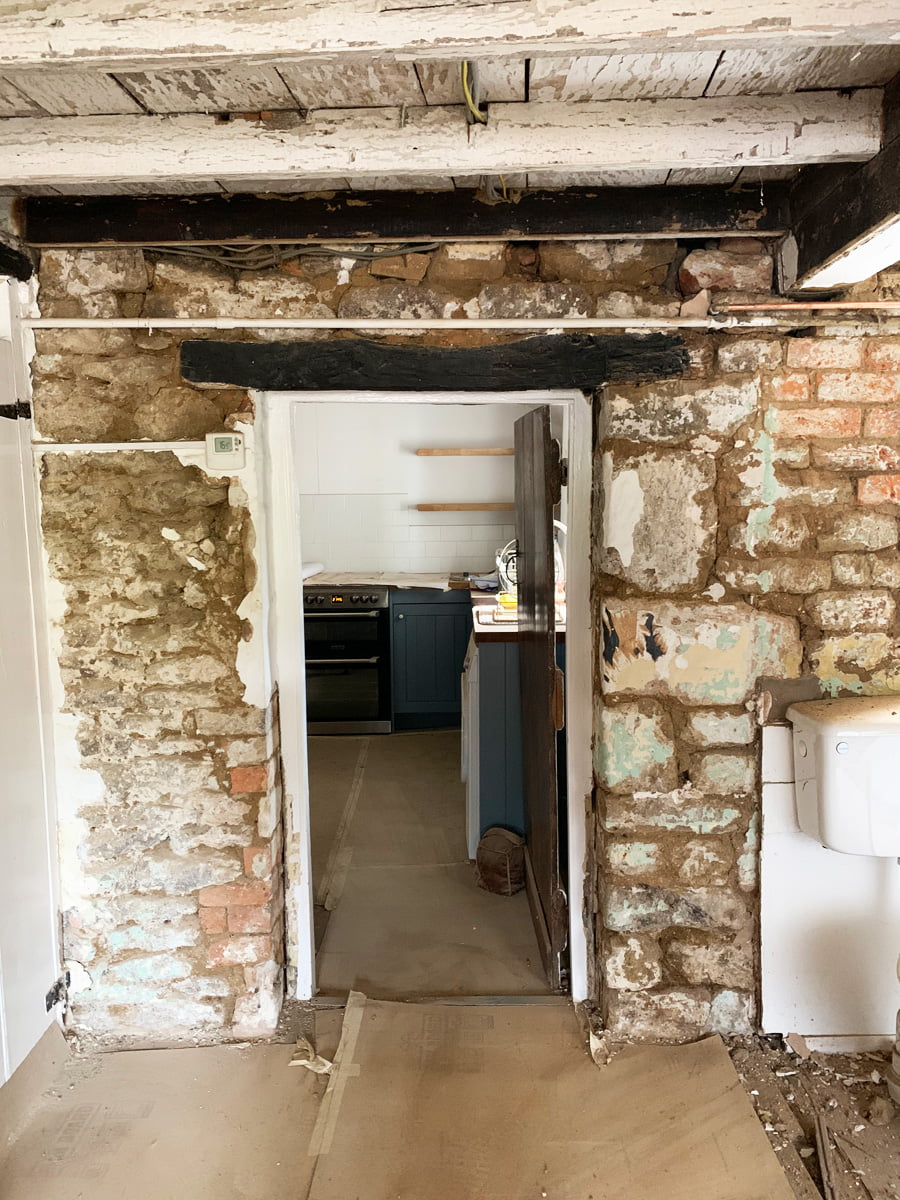
The doorway into the kitchen, next to where the bathroom was. The doorway is a bit dodgy on the left side with some repairs made from brick and damp coming up from the floor. To be further investigated…
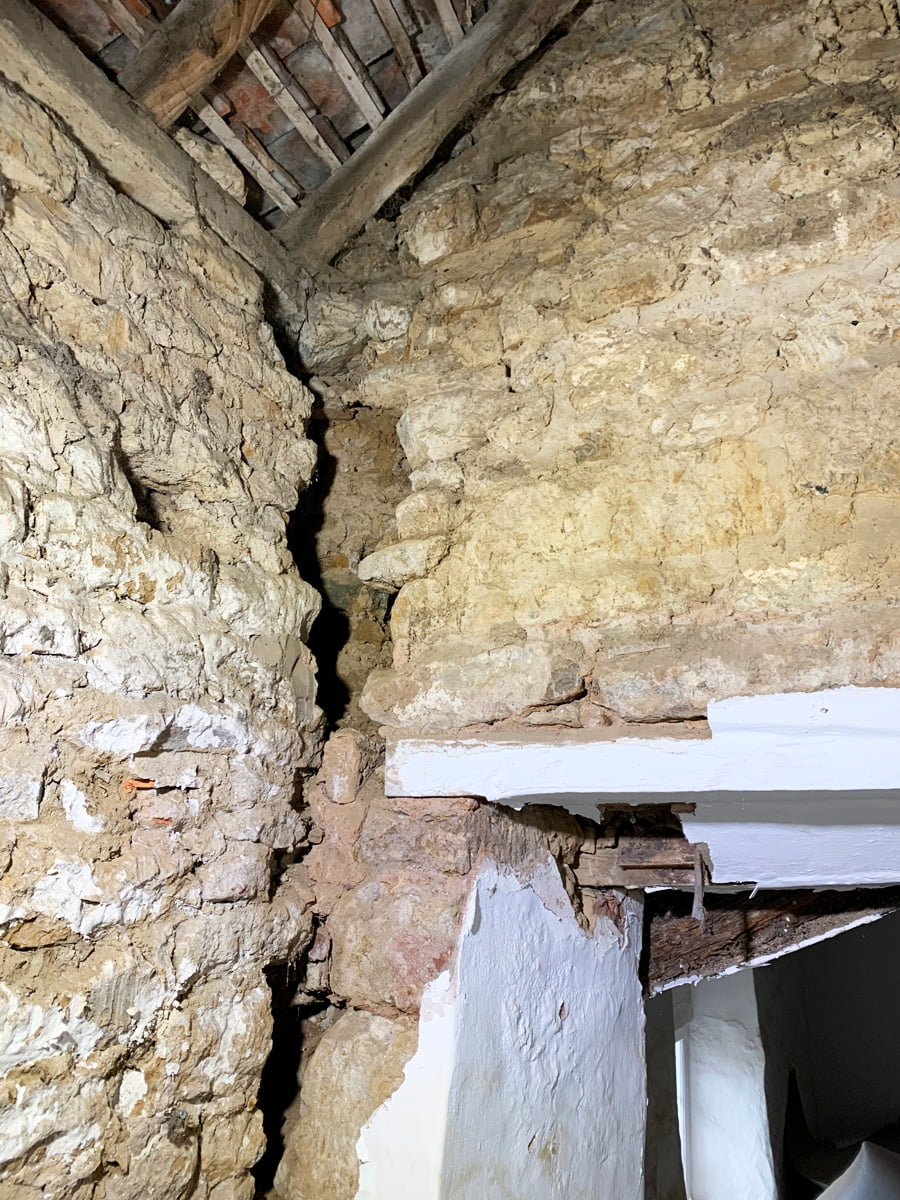
The cement has been removed from the corridor walls between Cat’s bedroom and the new bathroom, so between the two buildings, and surprise surprise there is another scary looking crack, and a very hollow corner to the wall… It is not too clever at all.
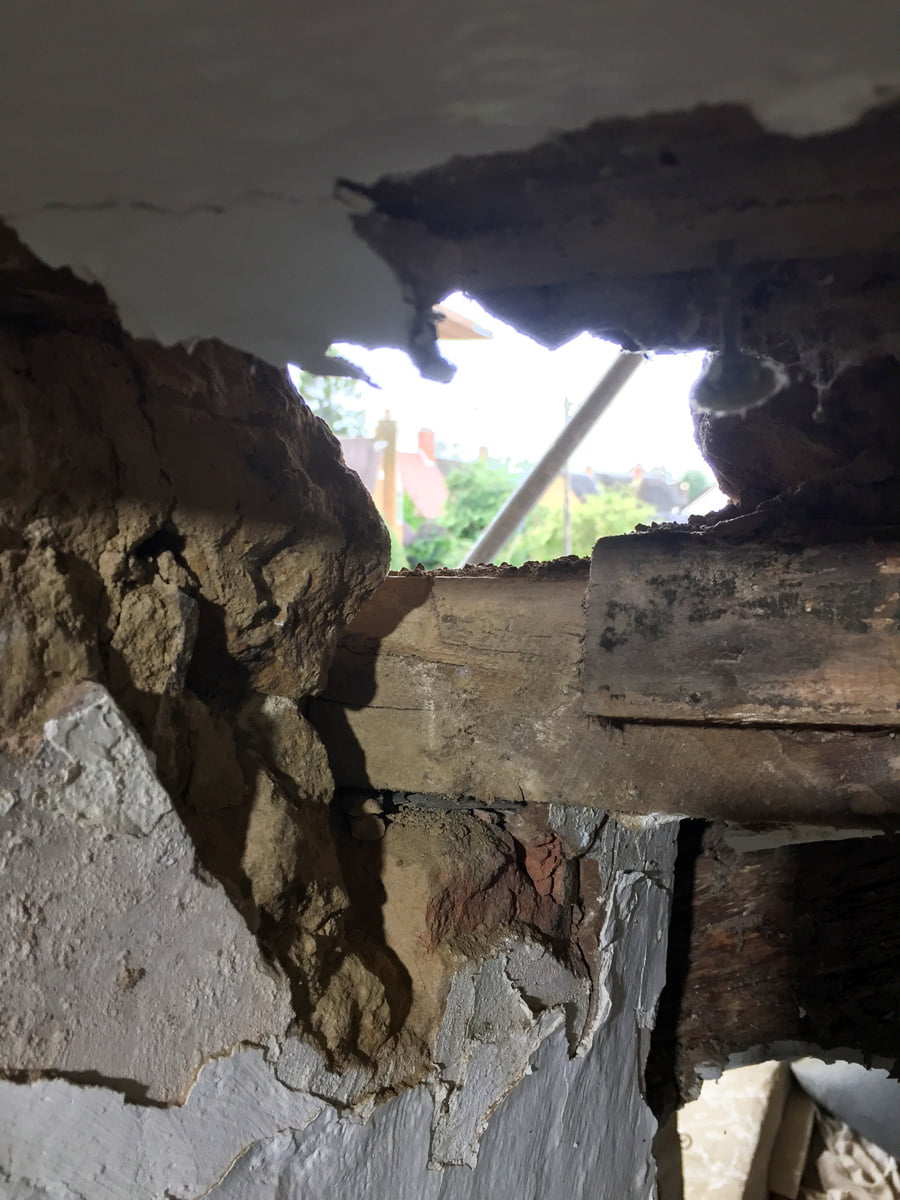
The lintel above the doorway in Cat’s bedroom is barely sitting in the wall and needs further investigation asap. So Tom has started work on this corner of the gable end wall. From outside he has removed a stone so we can now see out!
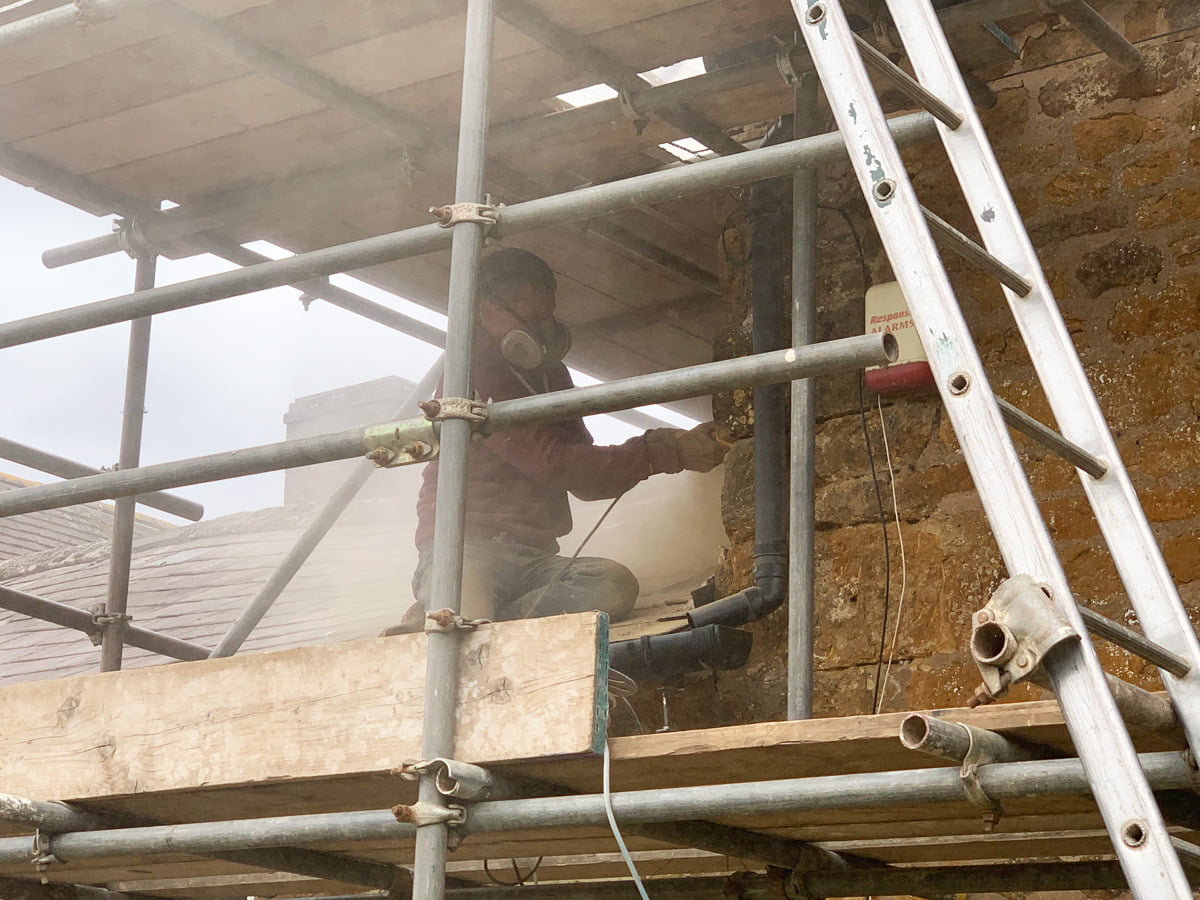
Tom has also started cutting the straight channels ready for the steel rods to be inserted to stabilise the corner of the gable end wall.
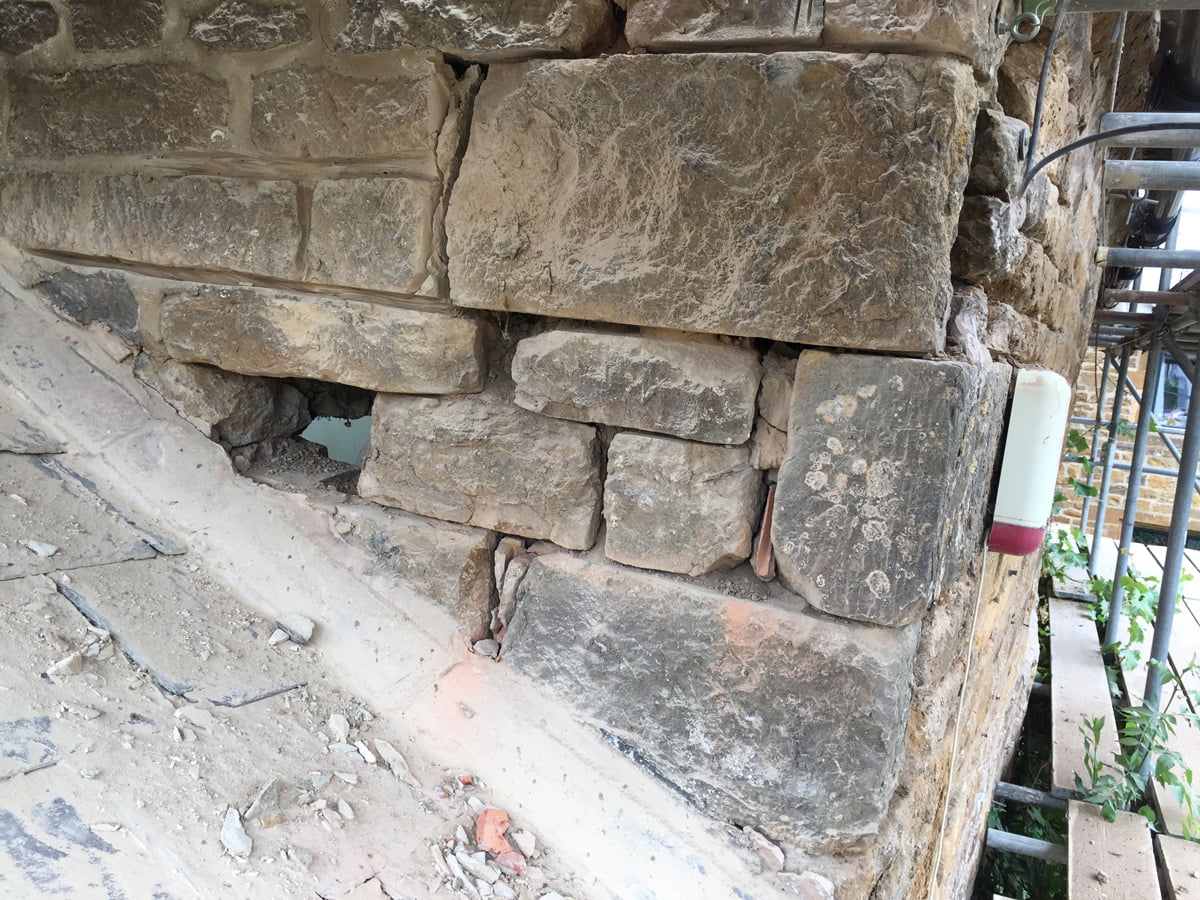
The hole into the house in the gable end wall at the junction between the two buildings.
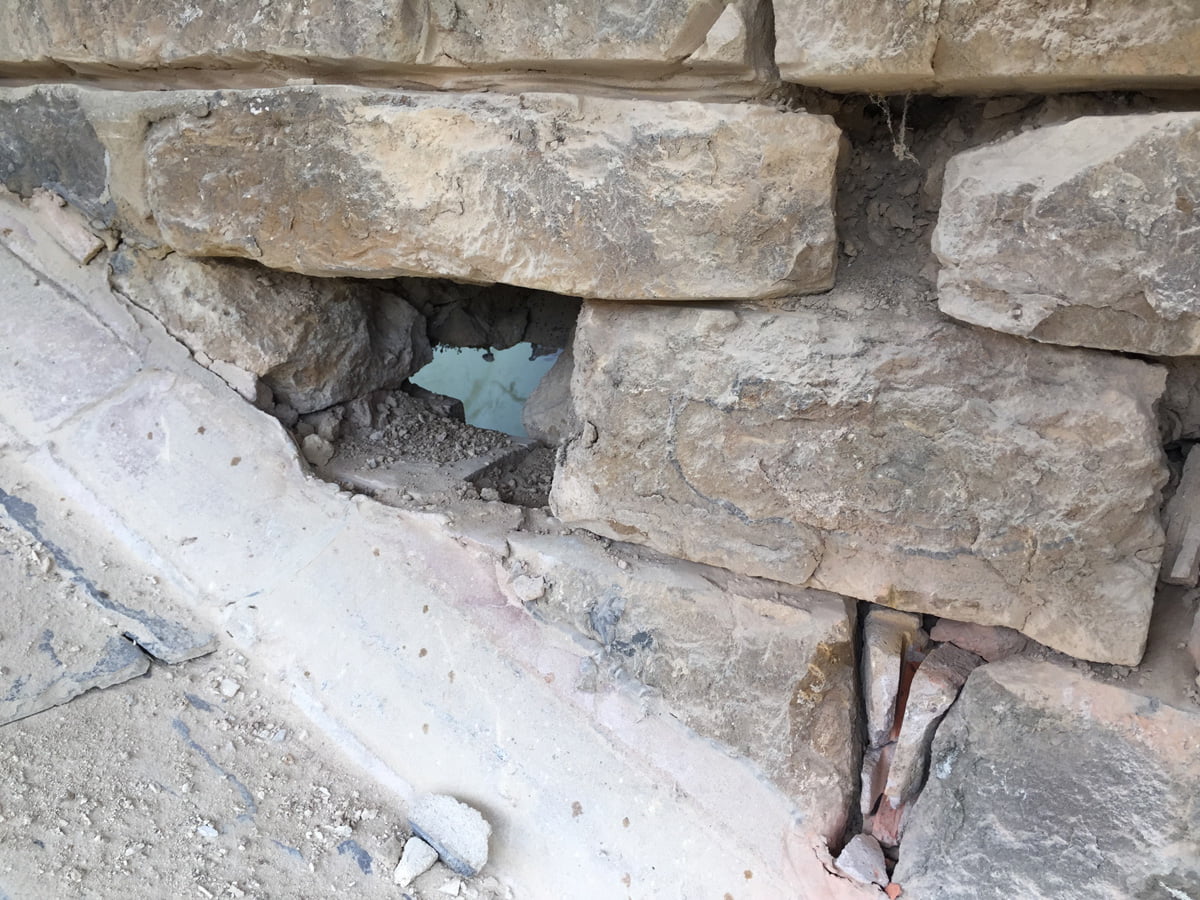
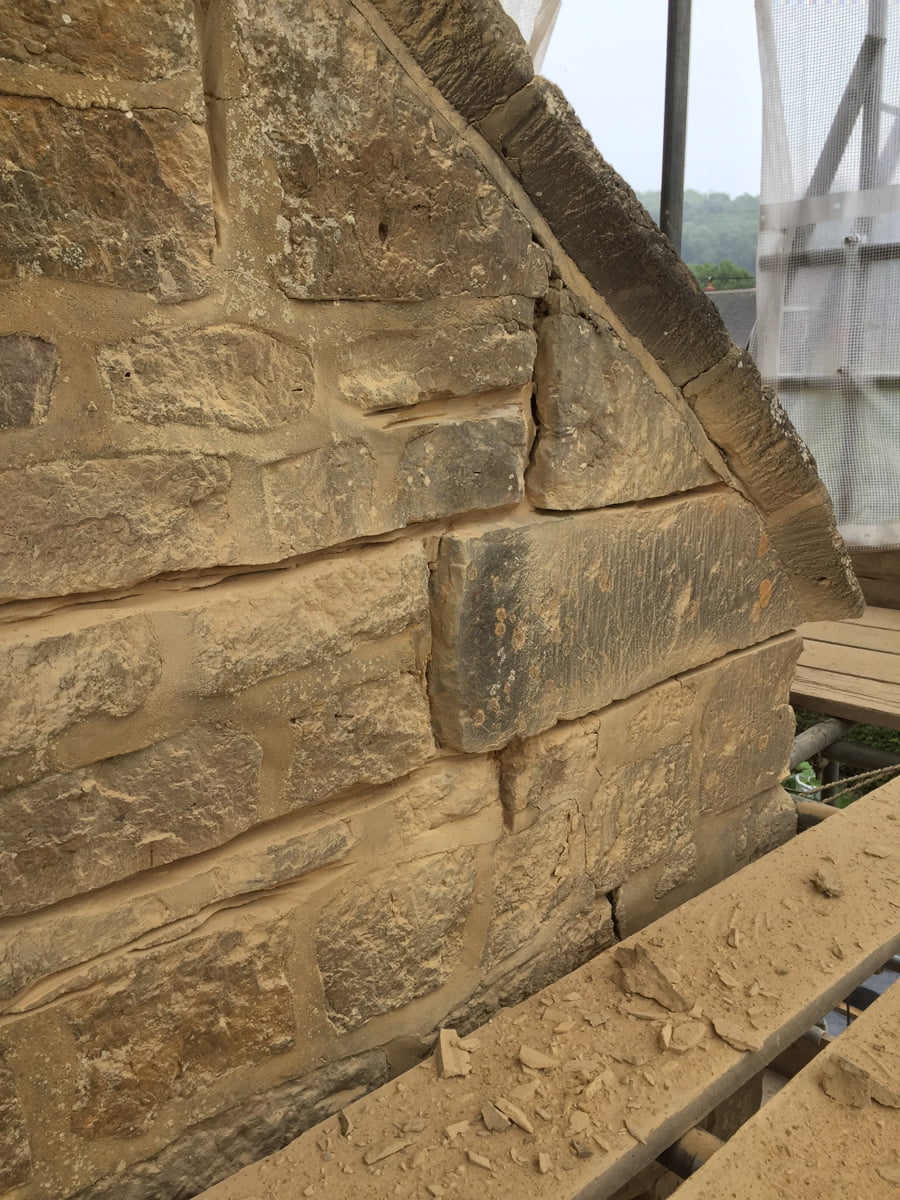
Straight channels for the steel rods are cut into the gaps between the stones. Ultimately these will be hidden within the pointing.
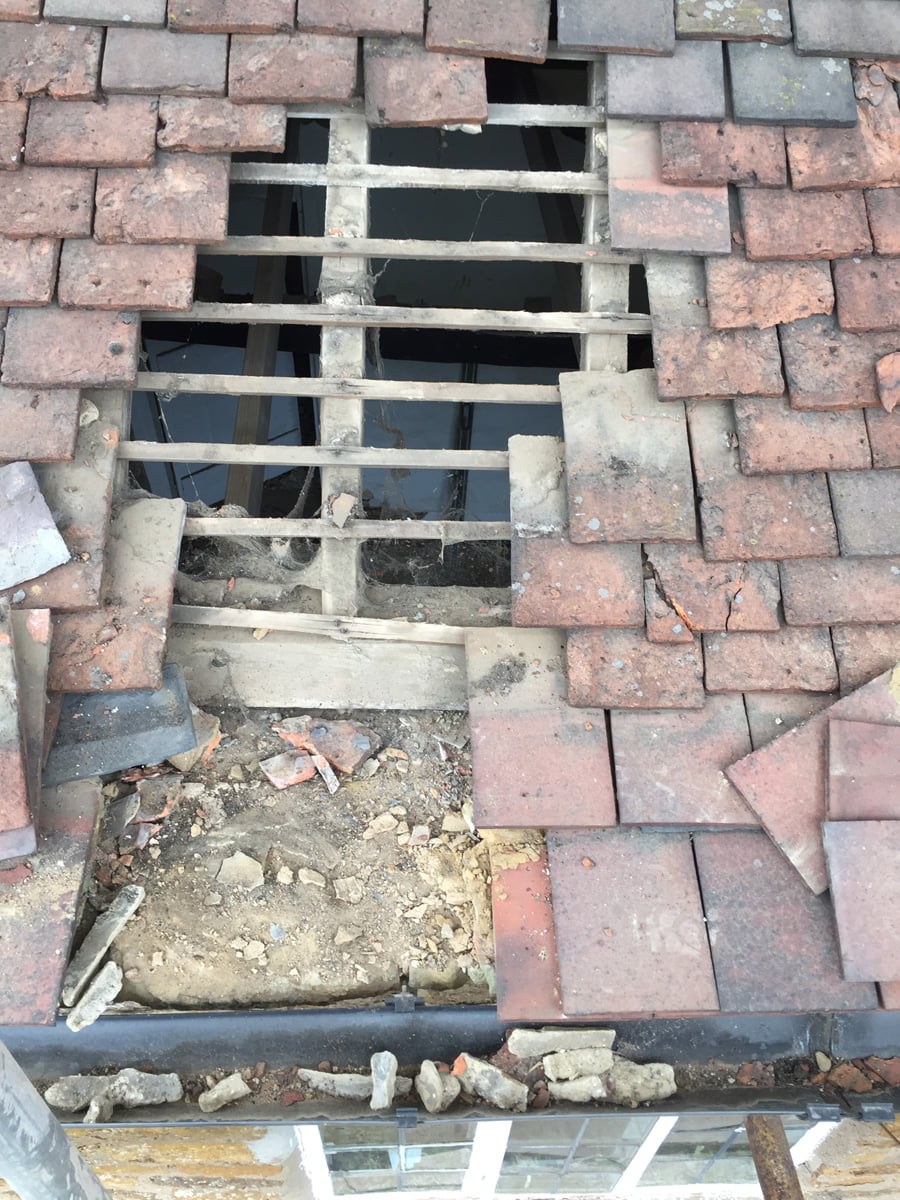
The hole in the roof has got bigger so we can now see the top of the wall. The wall is nearly a foot away from the wall plate which is what the rafters sit on. This wall plate should be on top of the wall! This is another issue to solve. The rafters will need to be extended so the roof covers the wall (without the extended flat bit at the bottom). There will be a small ‘ski jump’ style end to the roof tiles.
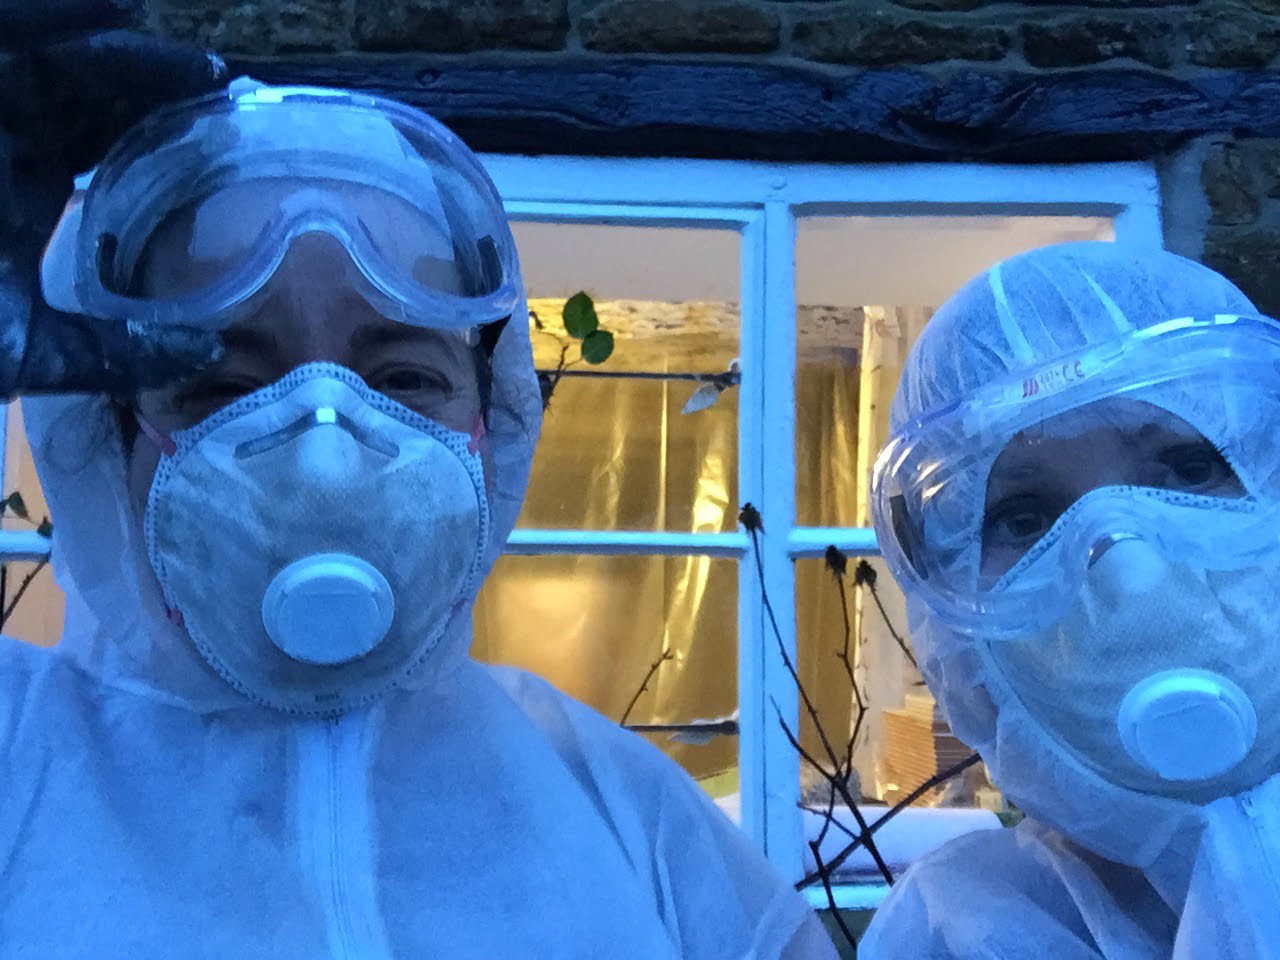
You could promote wall bashing as a great therapy! I wouldn’t sit on that roof 😬😆
Like!! I blog quite often and I genuinely thank you for your information. The article has truly peaked my interest.