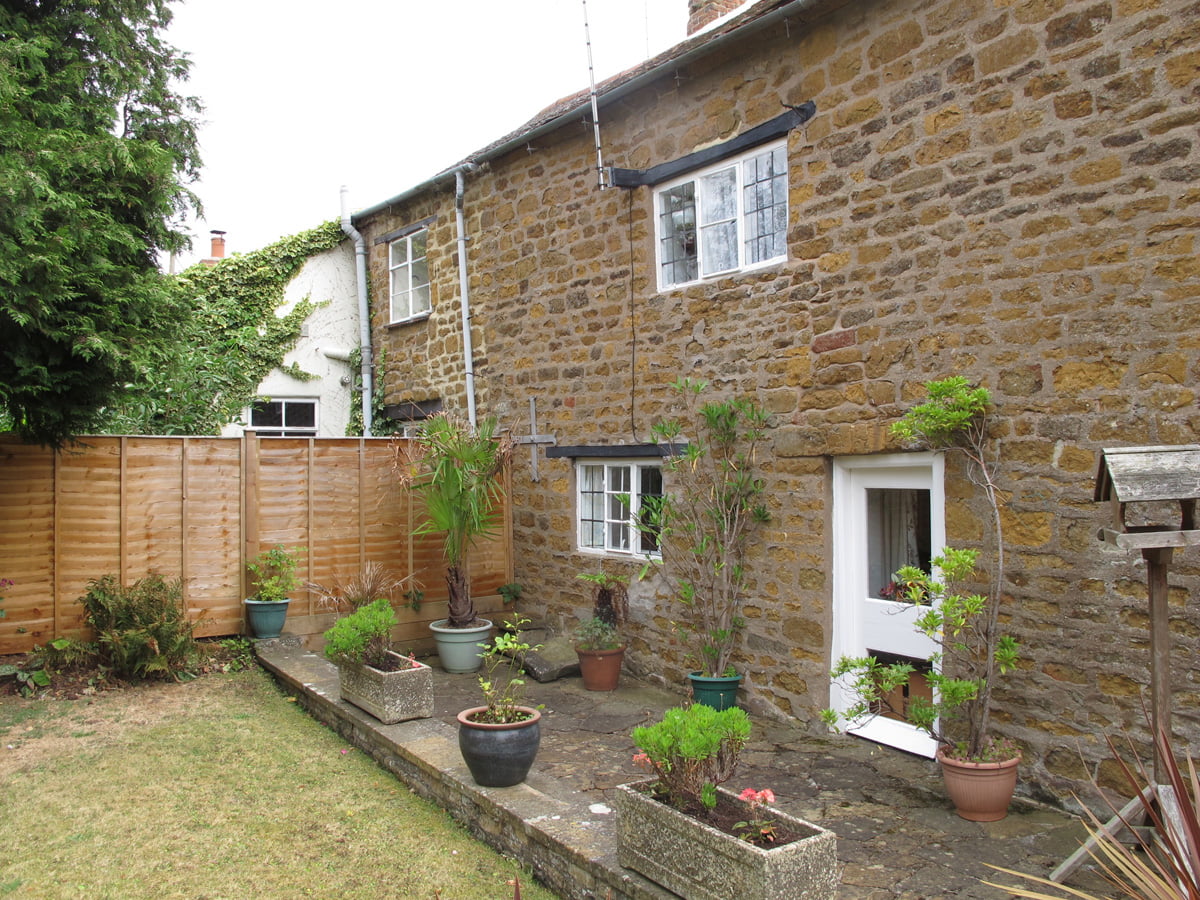
These before photos were taken on one of our viewings before we bought the house, 4 years ago in August 2016. The transformations are astonishing!
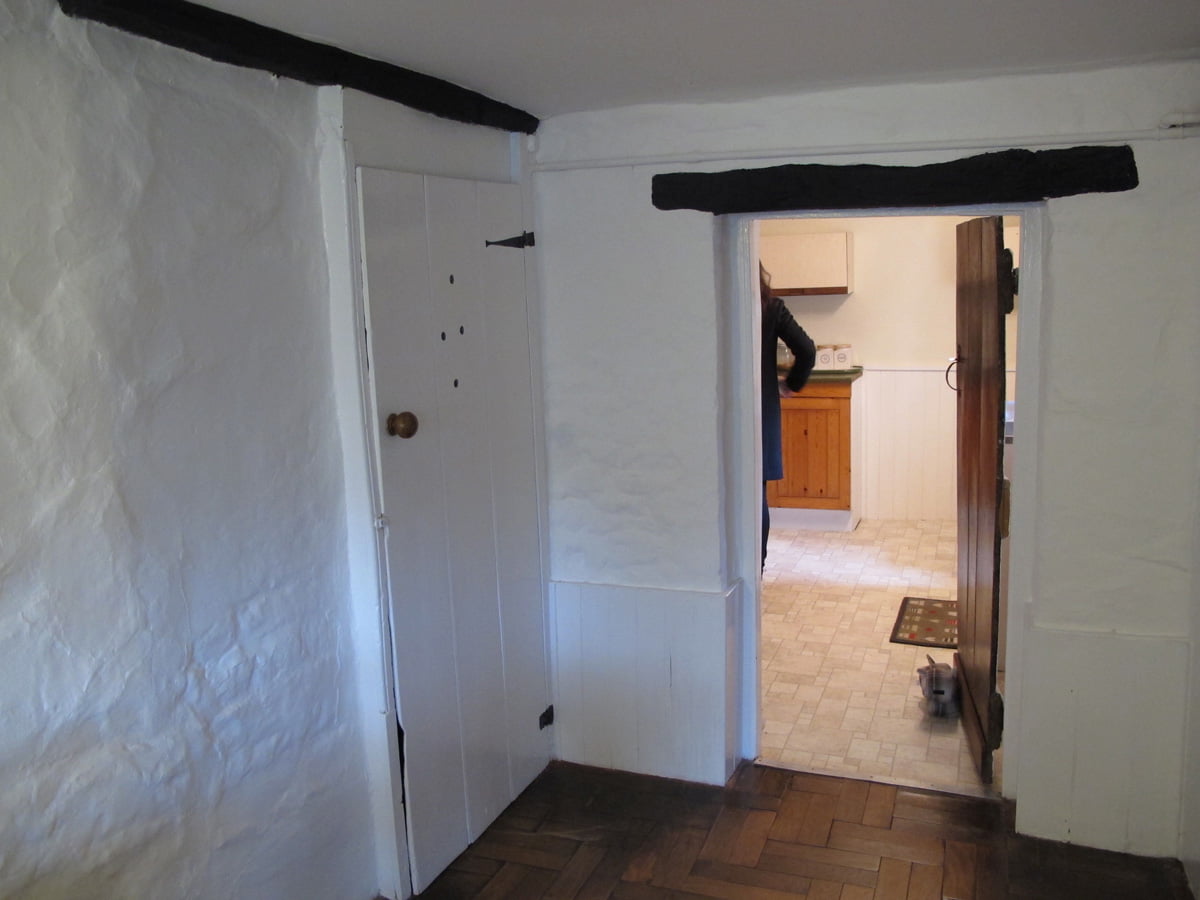
Dining room, looking through to the kitchen with the larder on the left.

Landing looking from Zanna’s bedroom to the stairs. The now infamous broken tie beam was boxed in. The shelves in the wall were visible though.
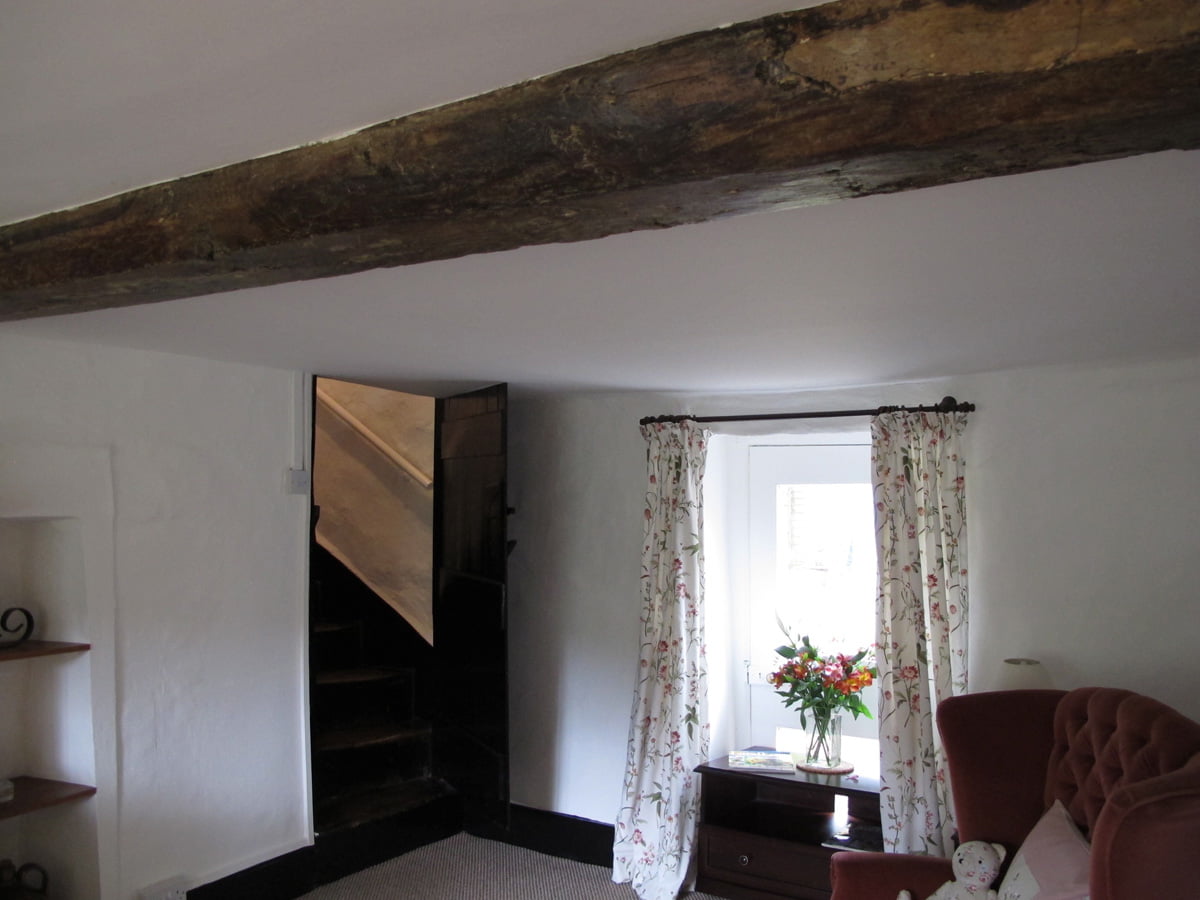
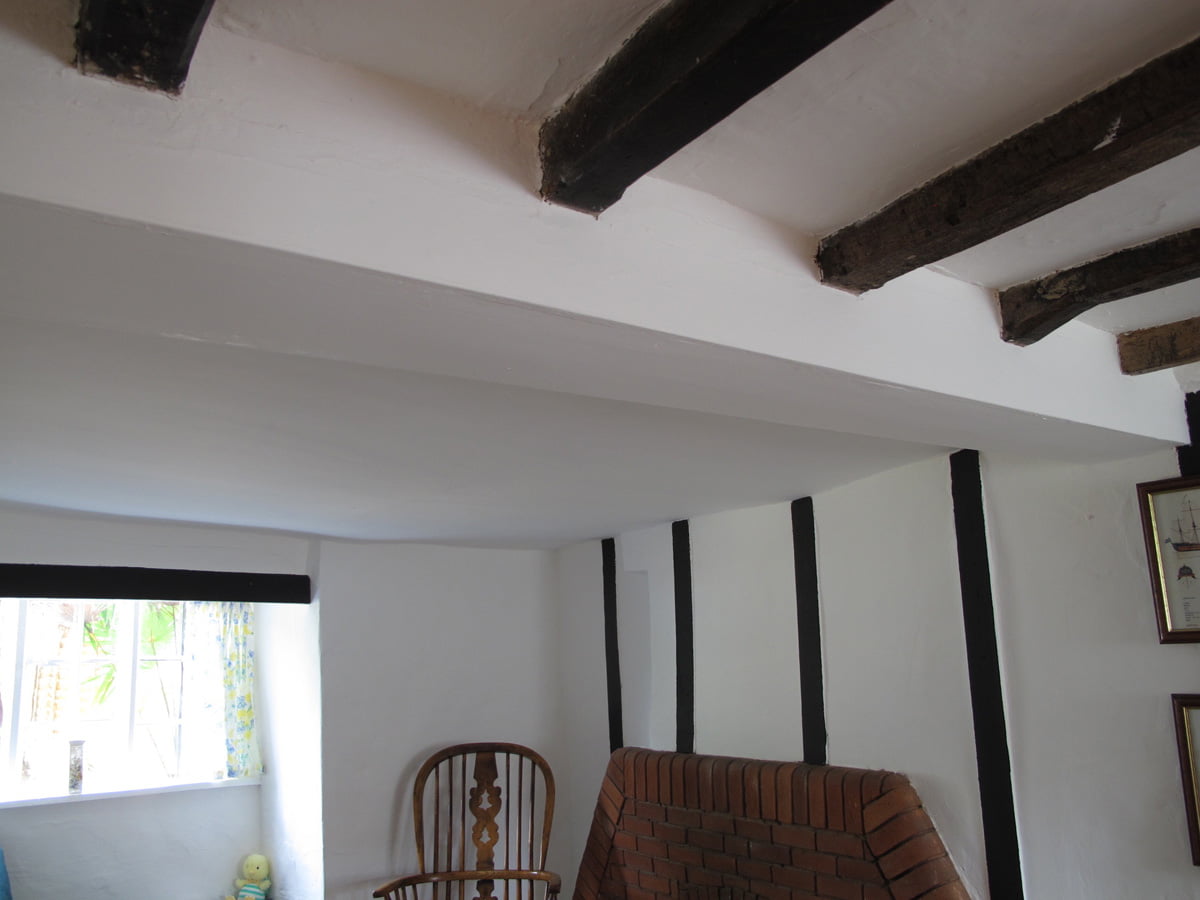
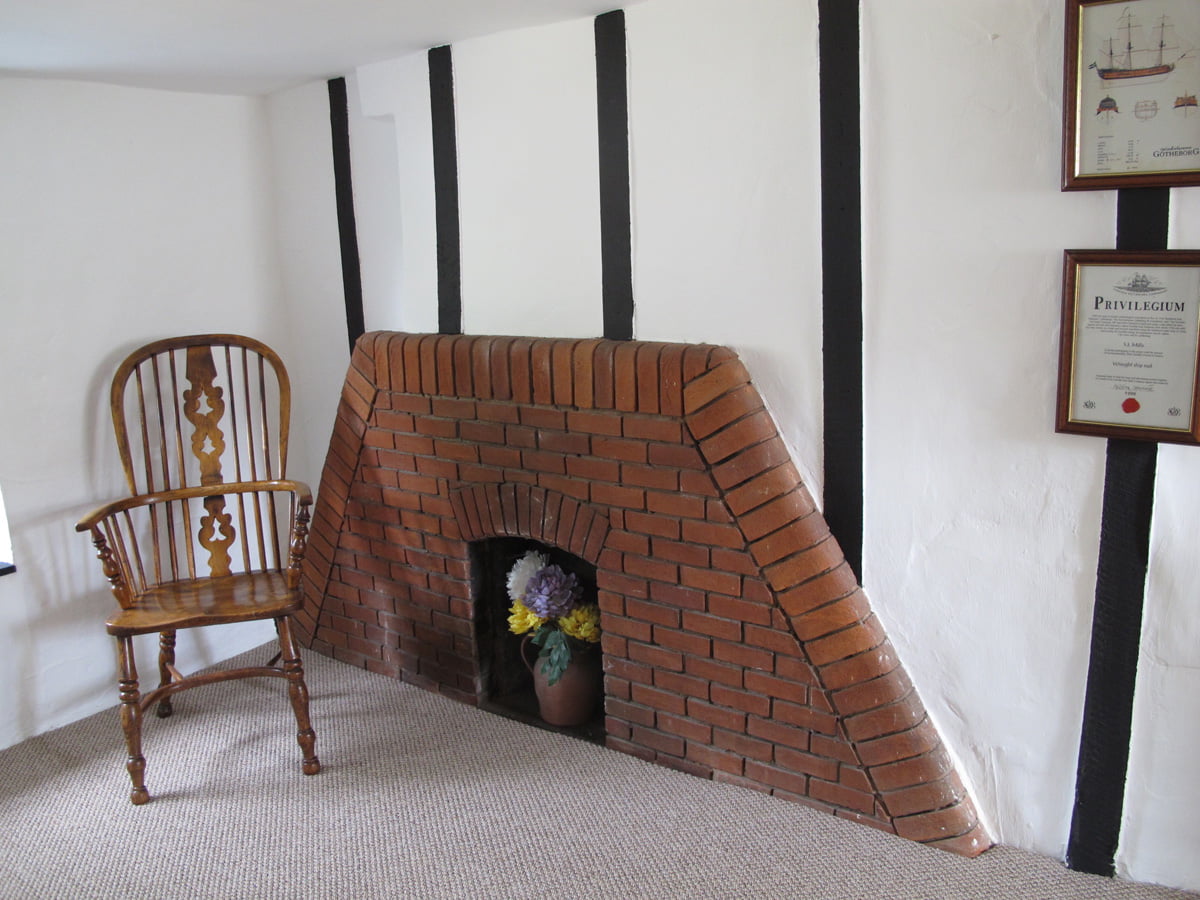
The sagging plasterboard ceilings of the sitting room. All you could see was part of the central beam and a suggestion of a hidden inglenook fireplace…
Another odd fireplace, this time in the dining room. The fire is the old back boiler.
You can see the crack through the plaster here and you can see a crack through the modern fireplace. Alarm bells ringing.
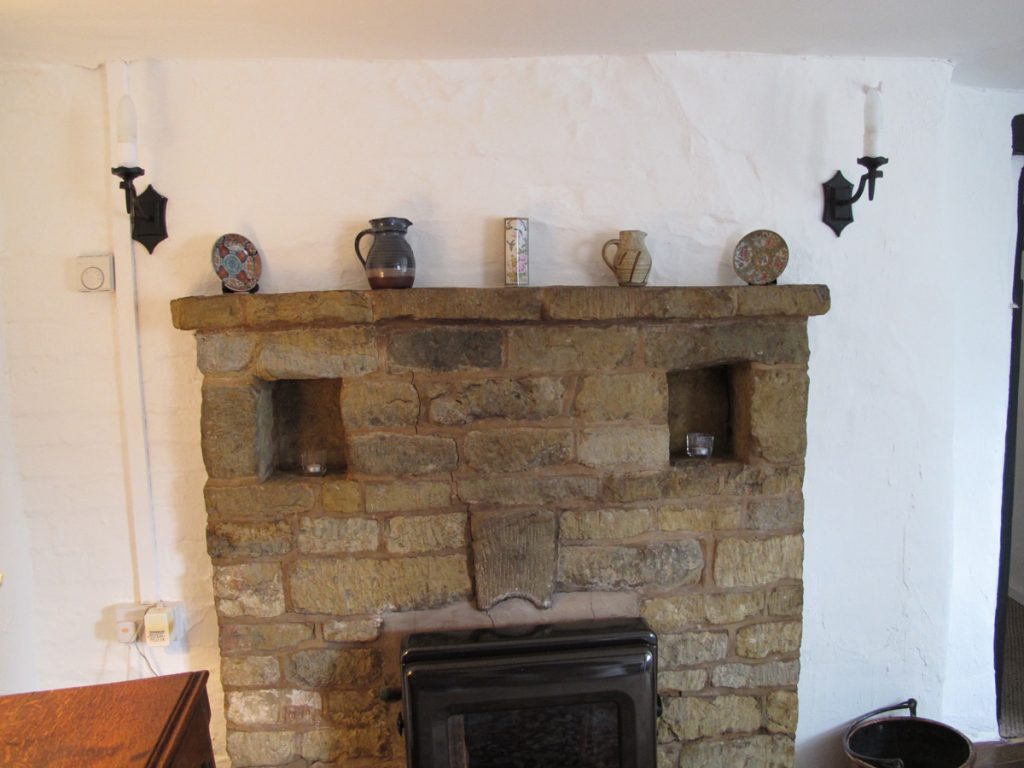
Zanna’s bedroom wall showing the chimney breast. All that suggested a fireplace was the air vent in the wall. We believed that whatever was there originally had been removed as we could see no outline of anything in the plaster. We were so surprised when we found the old stone fireplace.
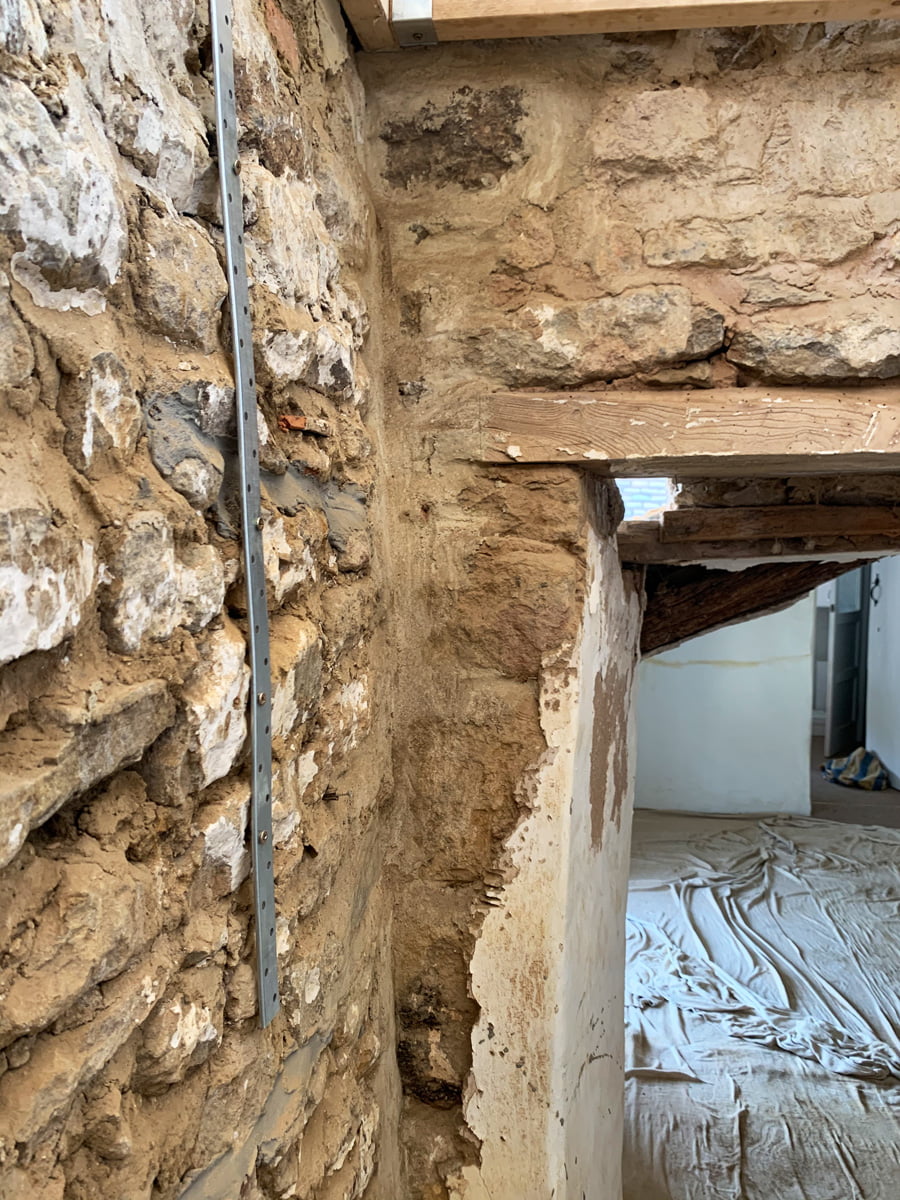
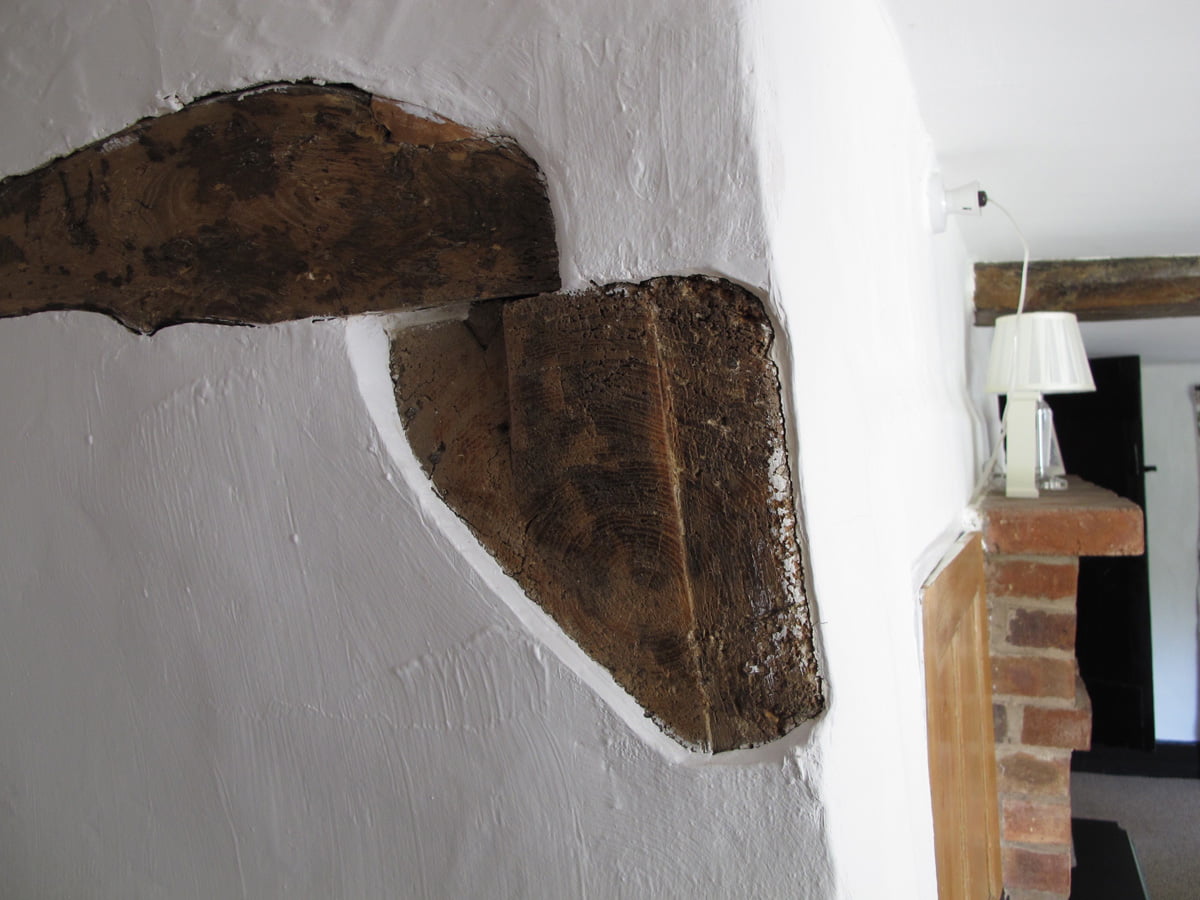
The vertical timber in the corner was added to cover up the gap in the corner of the wall…
The landing looking from the staircase to Zanna’s bedroom door.
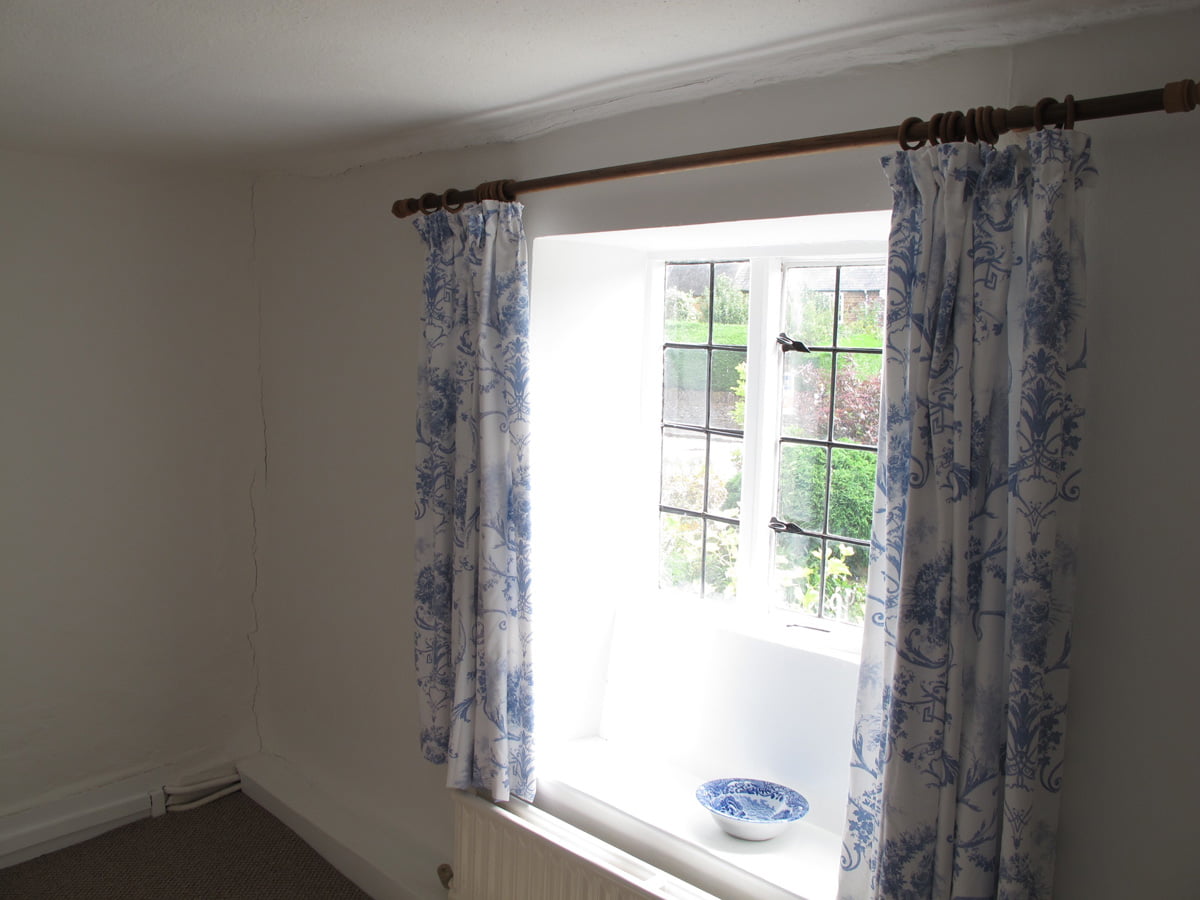
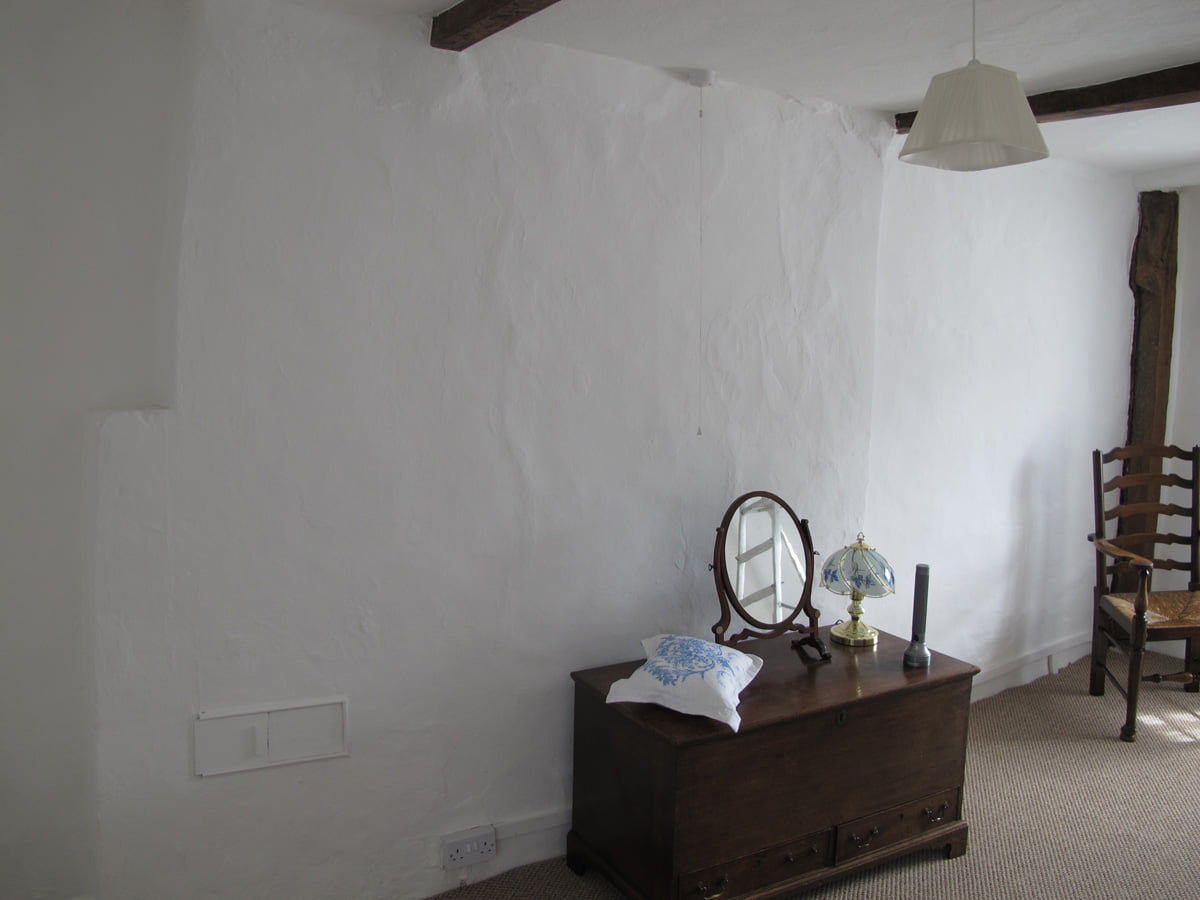
The spare room (Cat’s dressing room) which will become our new bathroom. You can see the cracks in the corner, even through the very fresh paint (it had just been decorated).
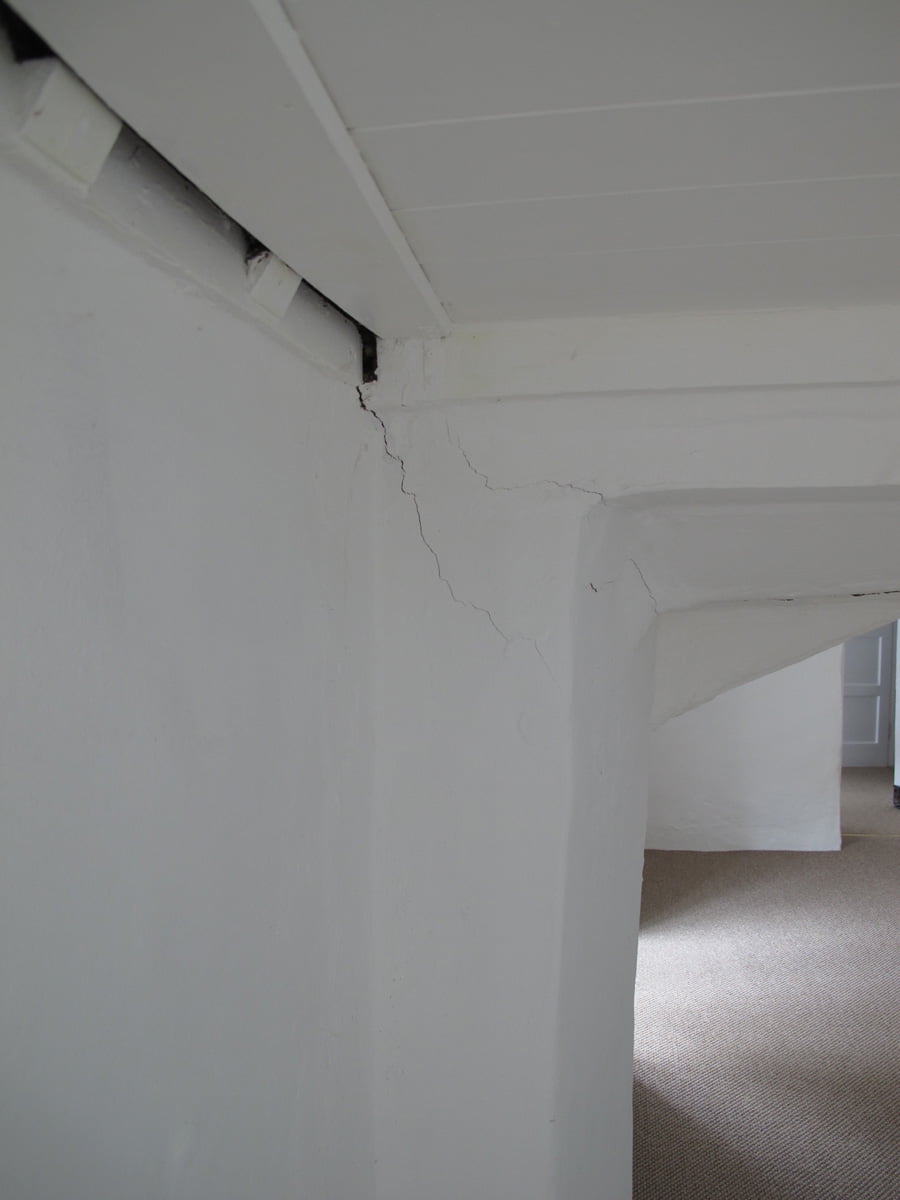
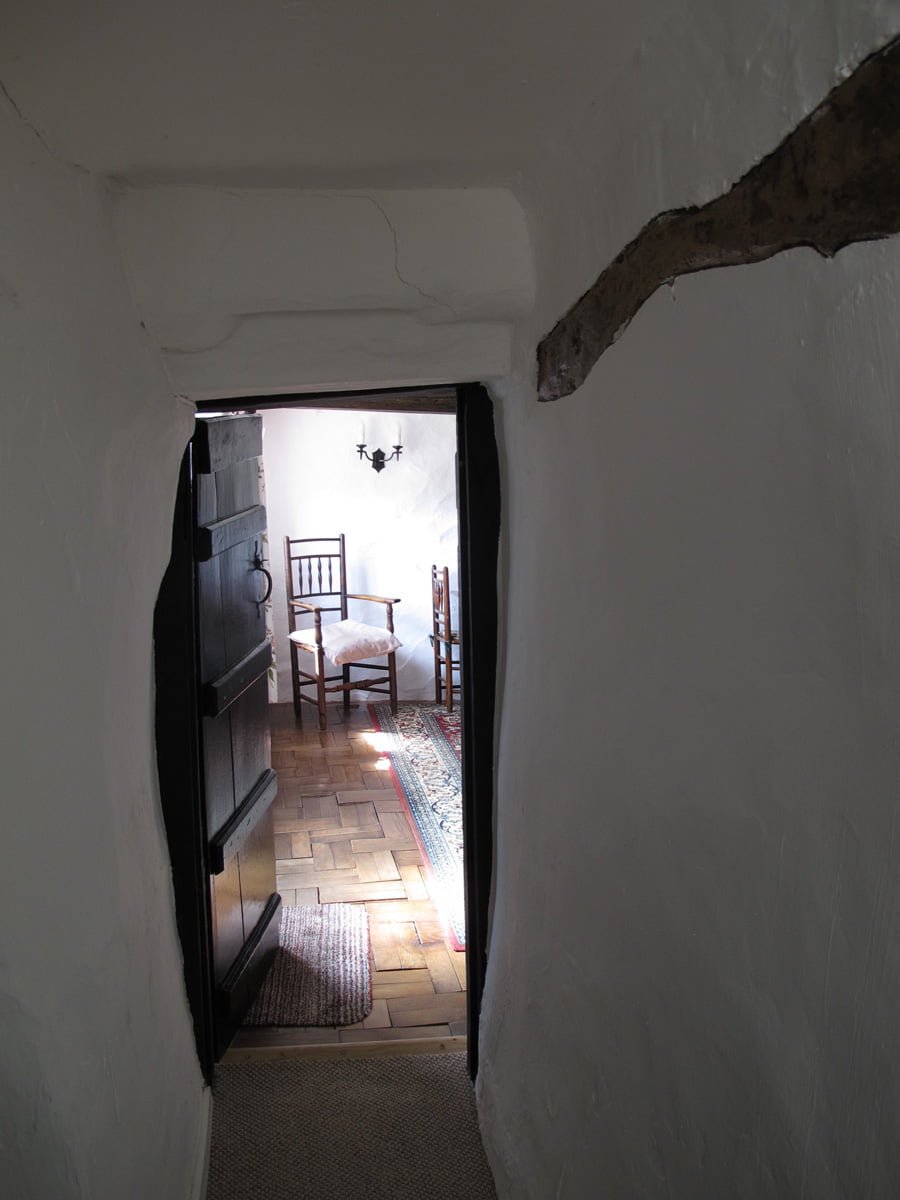
The corridor between the spare room and Cat’s bedroom, this is the cut through between the two buildings (and the floating wall). The cracks appearing already are alarming.
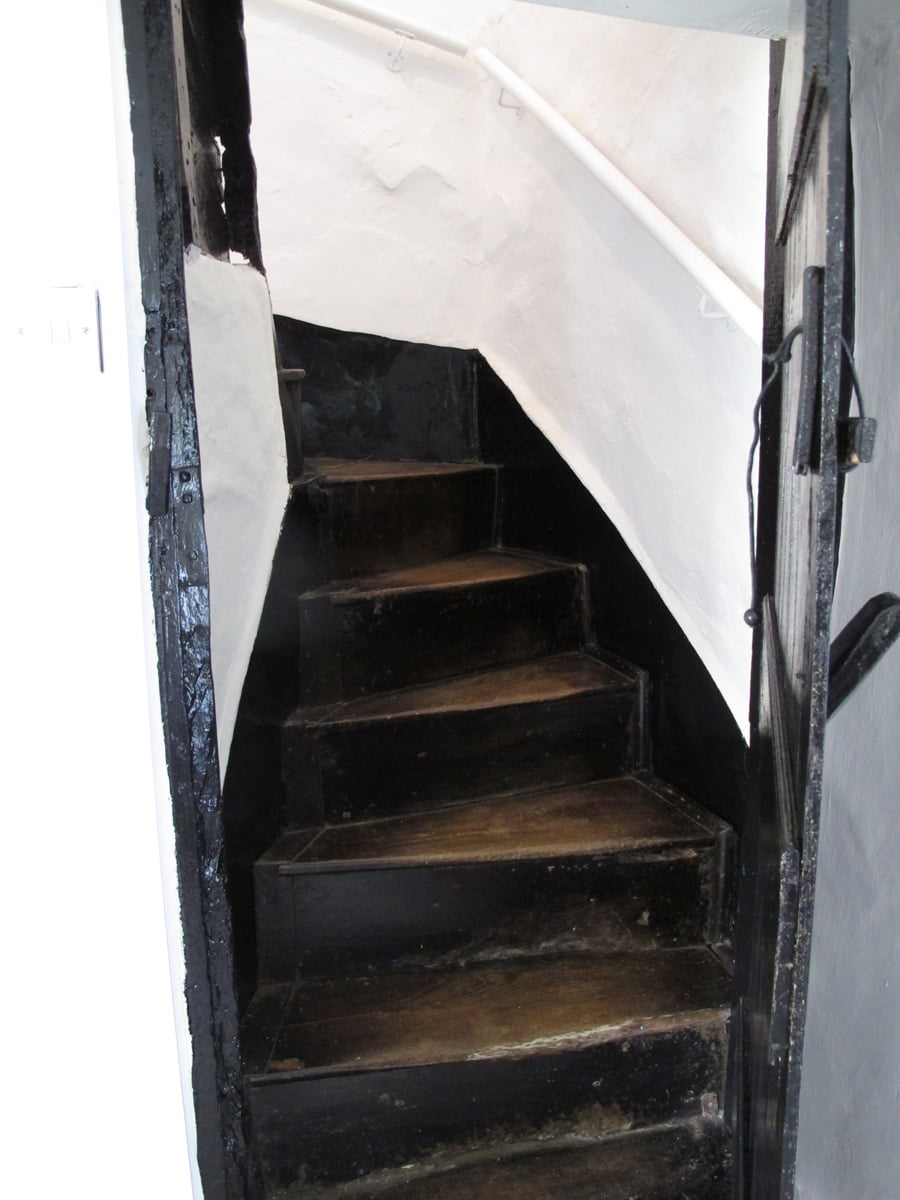
This staircase sold us the house. We knew it was very old and offered a glimpse of what the house had once looked like. We love it even more today.
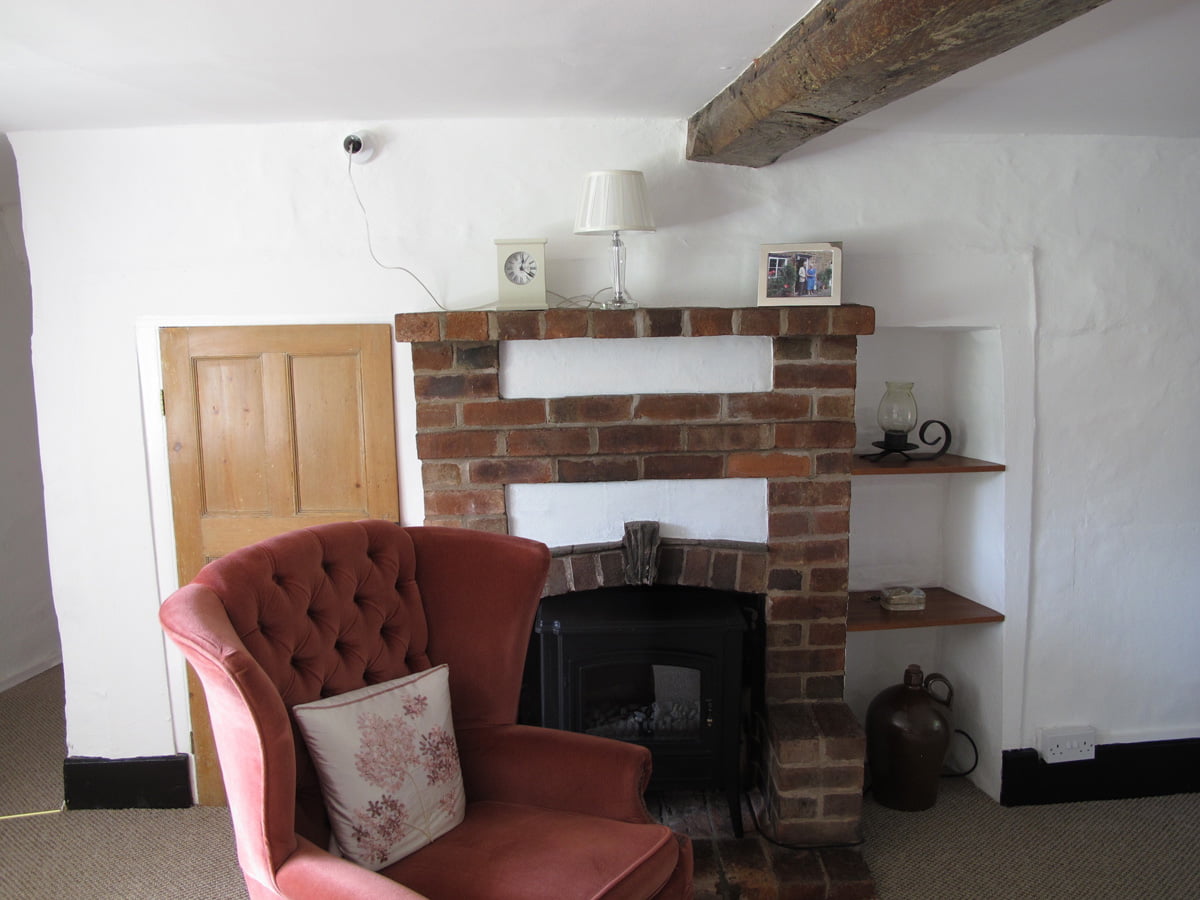
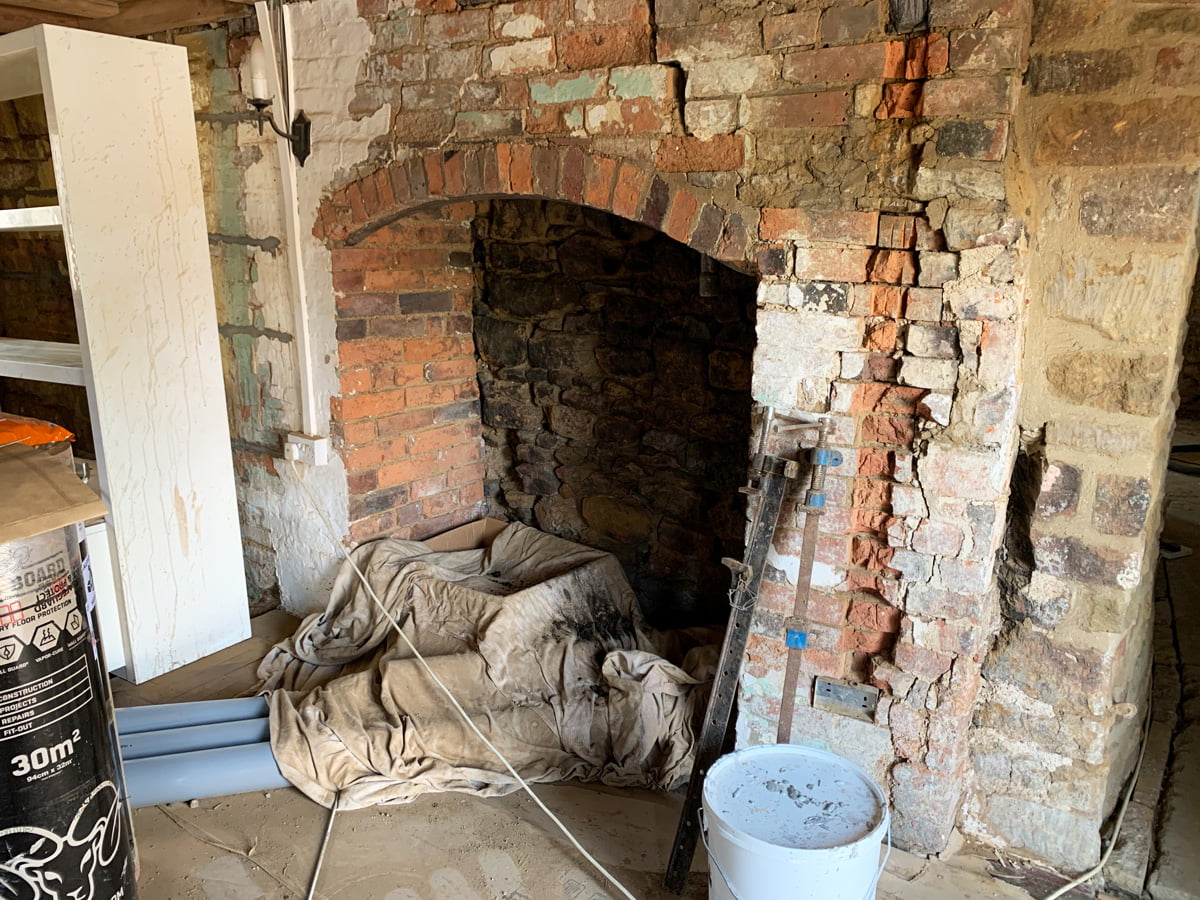
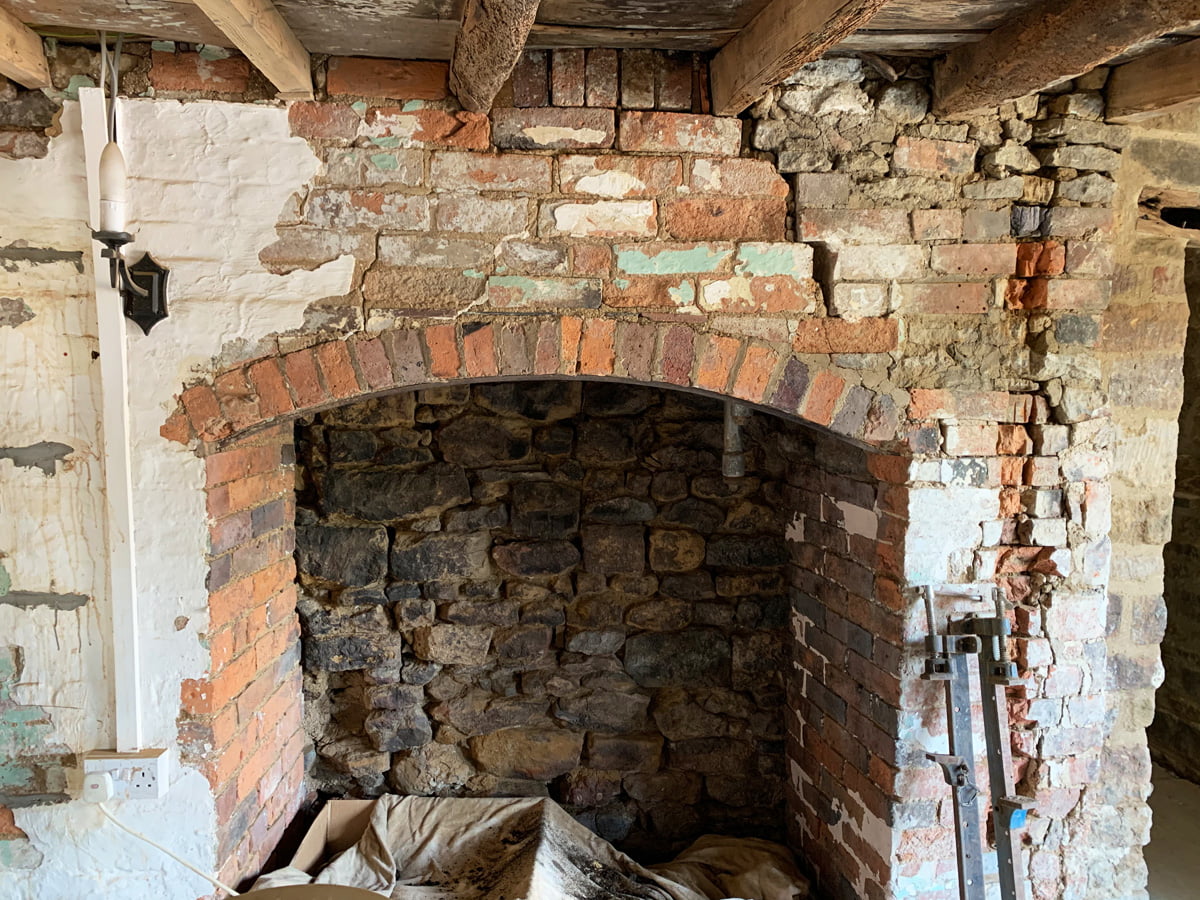
We knew there was an inglenook fireplace hidden behind this awful brick fireplace. You can see the outline of it, and the cupboard confirmed it!
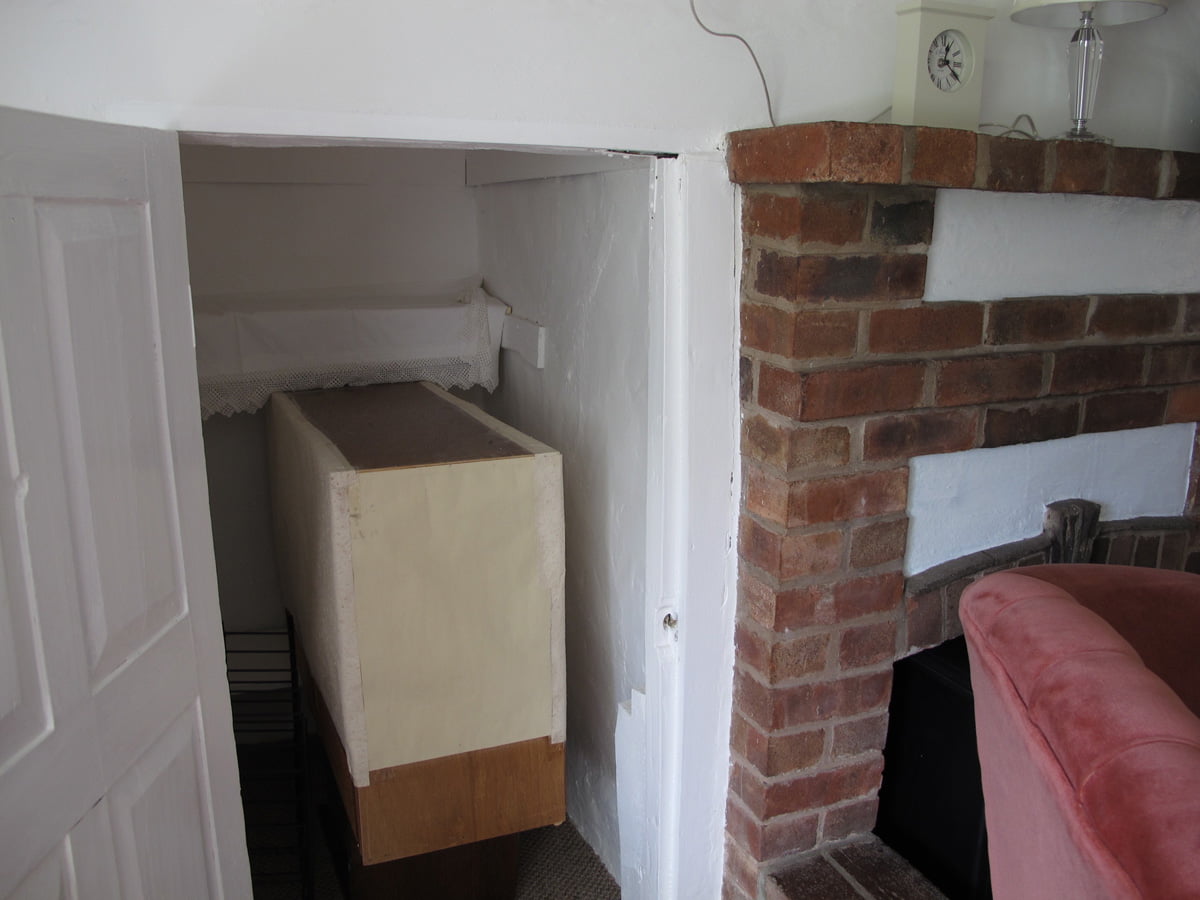
The cupboard at the side of the inglenook. We have kept the cupboard door and will use this somewhere in the house.
Another give away that this was a very large inglenook behind the wall. This is the end of the fireplace lintel.
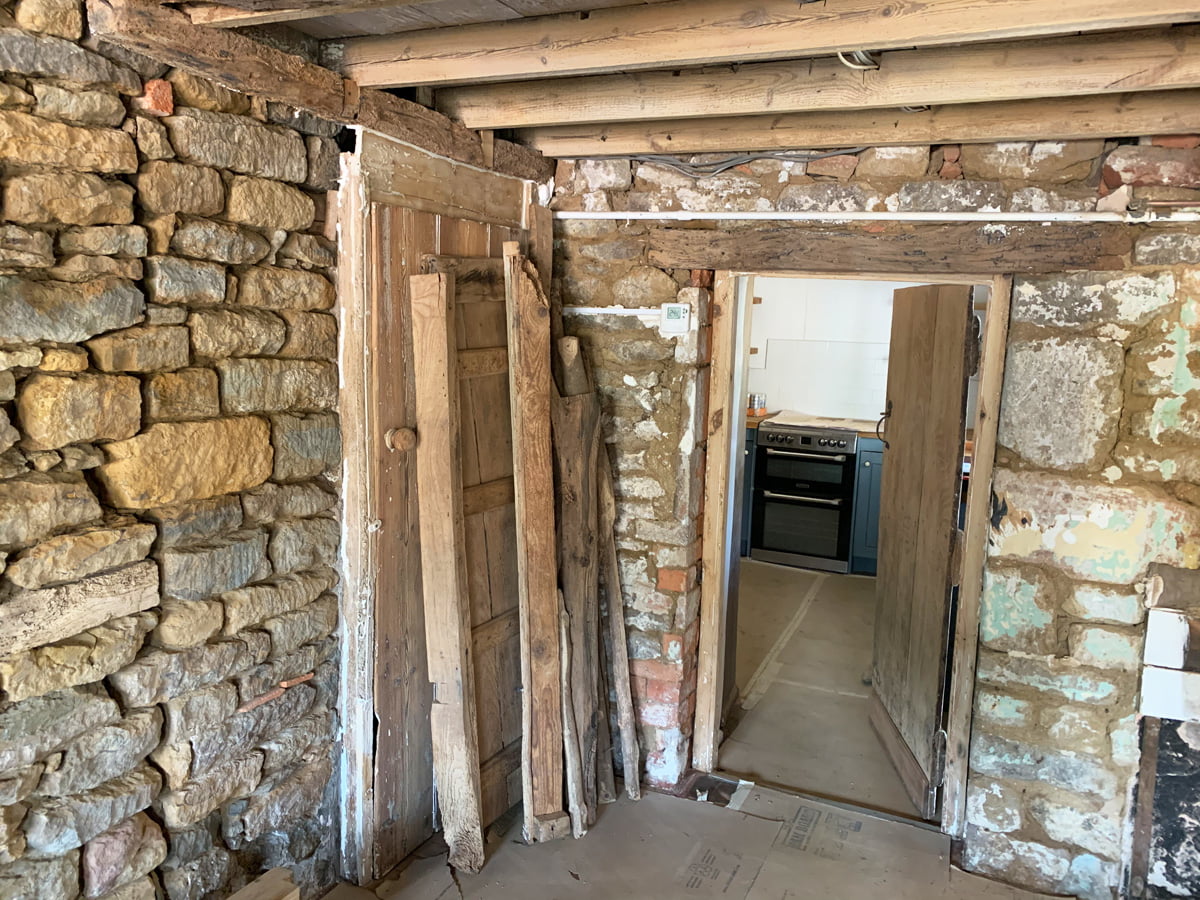
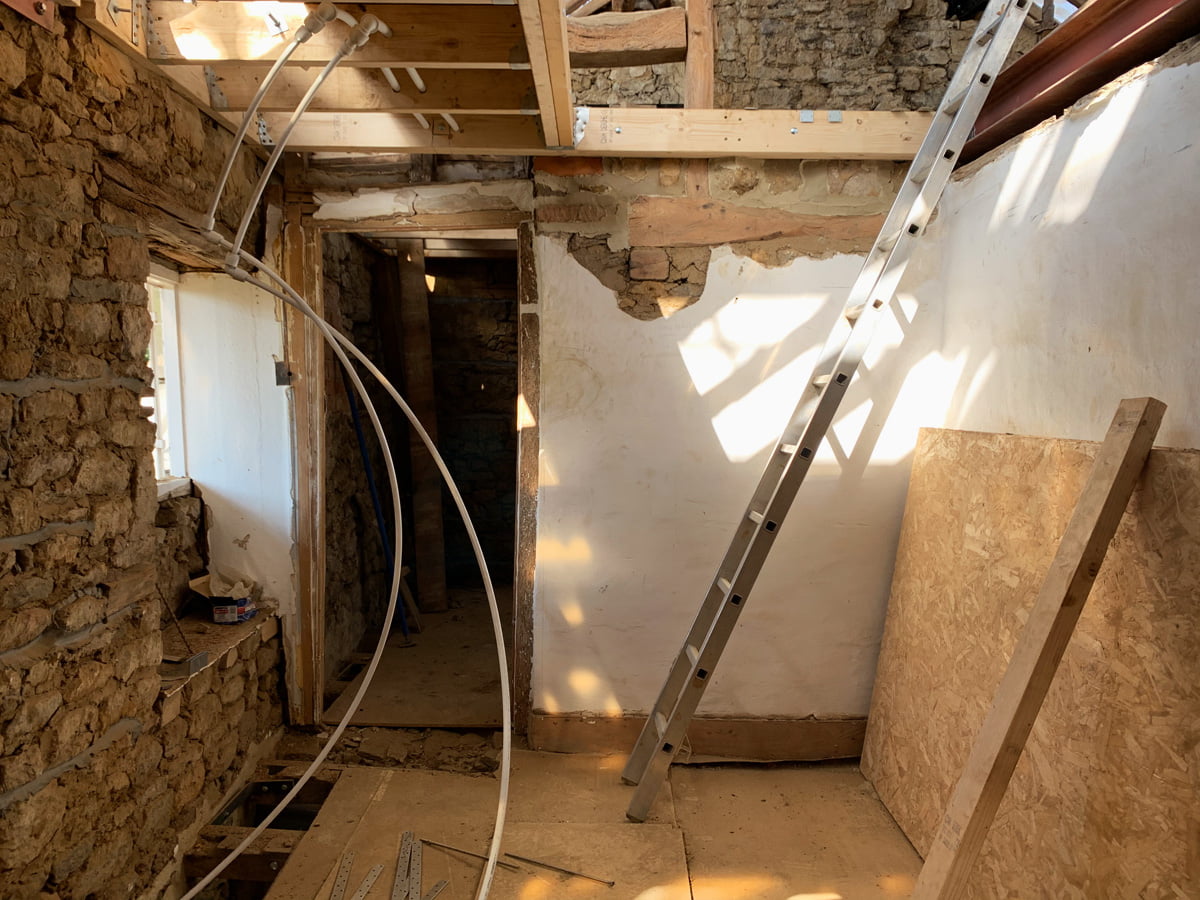
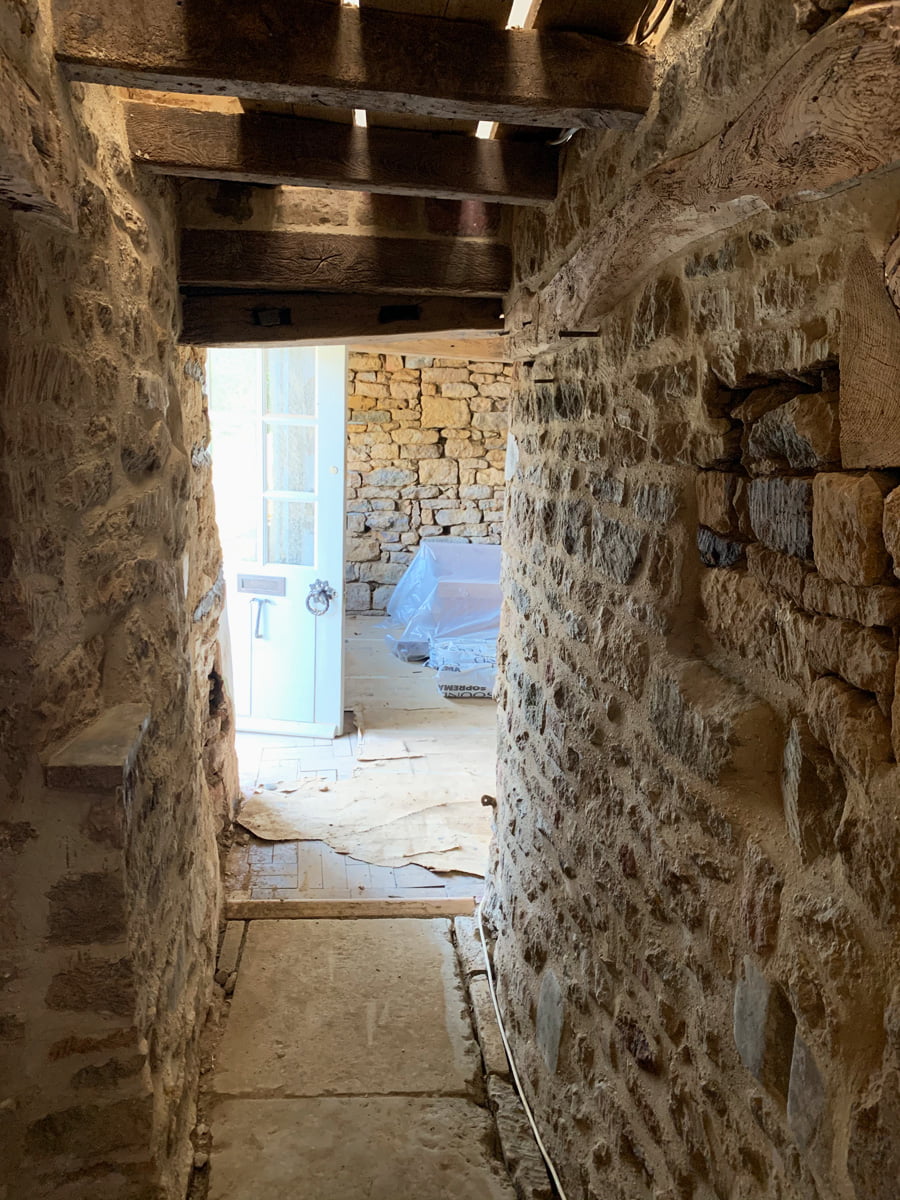
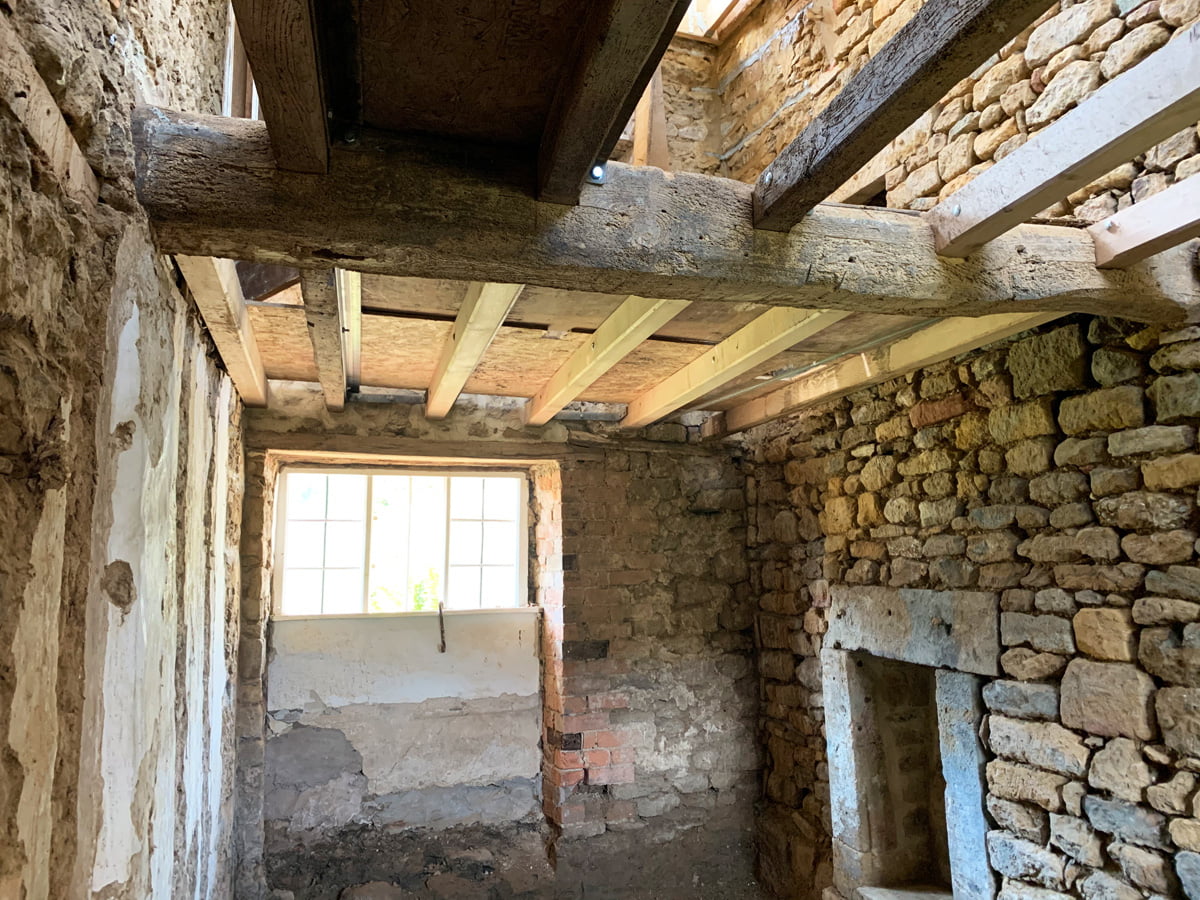
The corridor between the dining room and the sitting room, the cut through between the houses on the ground floor. We have gained a lot of space by removing super thick concrete from the walls. We have also fixed the shocking structural issues here with new steels so the lintels now support the wall above as they should…
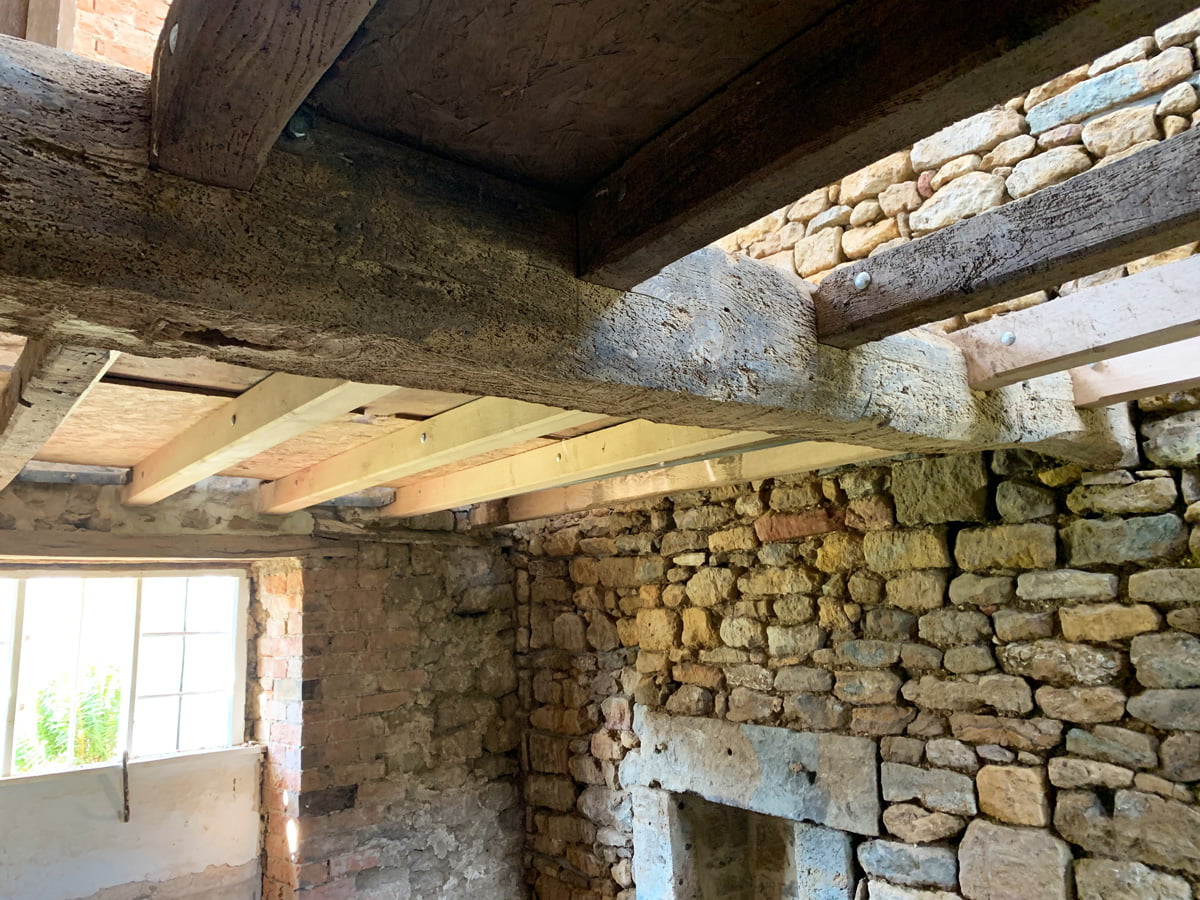
Study. This was such a small cramped room before with very low ceilings and the most hideous fireplace ever known to man. Half the ceiling was plaster boarded, we now know why – these joists were all in a very bad way so have had to be replaced.
The study wall with the blocked up doorway through to our neighbours house. This had fake beams cemented to the walls all around the room. Awful, truly awful. Why, when you have a beautiful old property with a wealth of original features, would you cover these up and add fake ones? Weird.
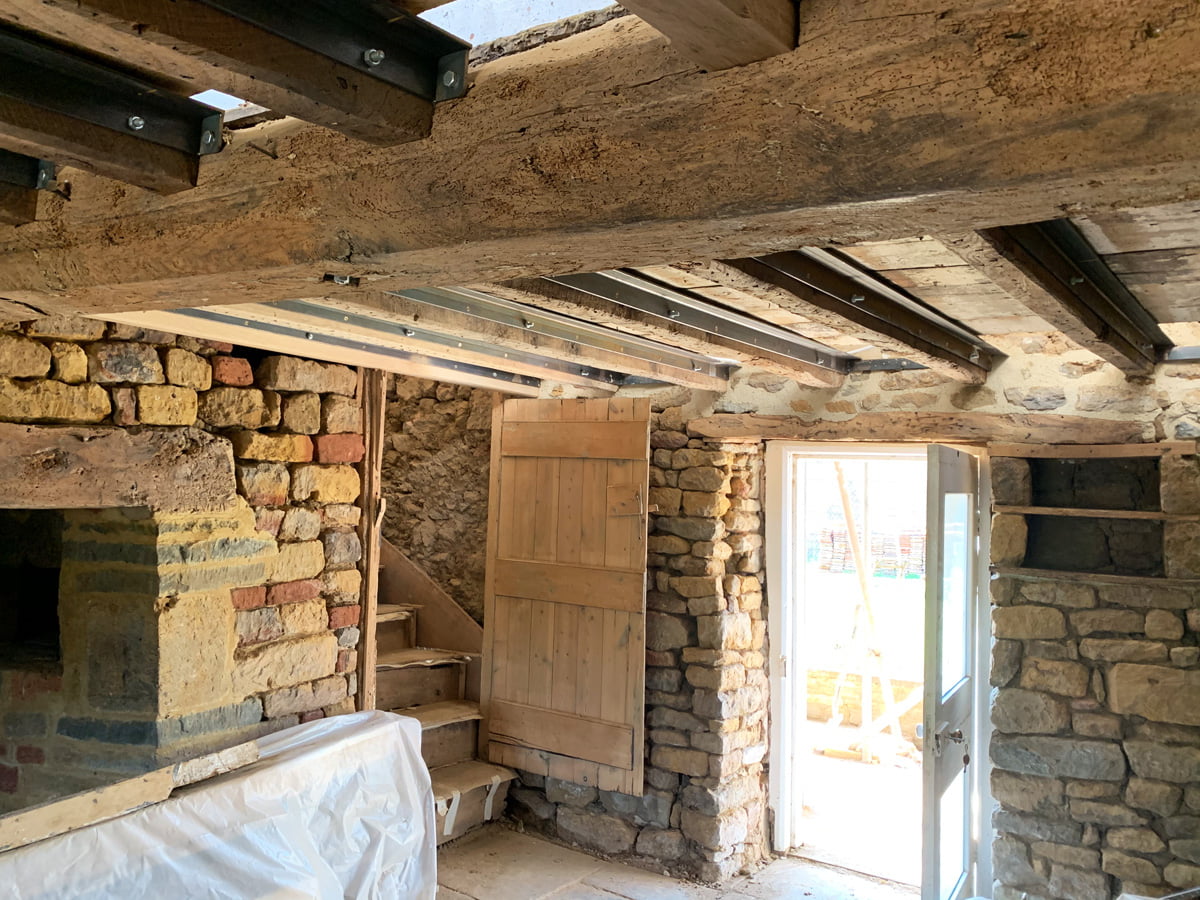
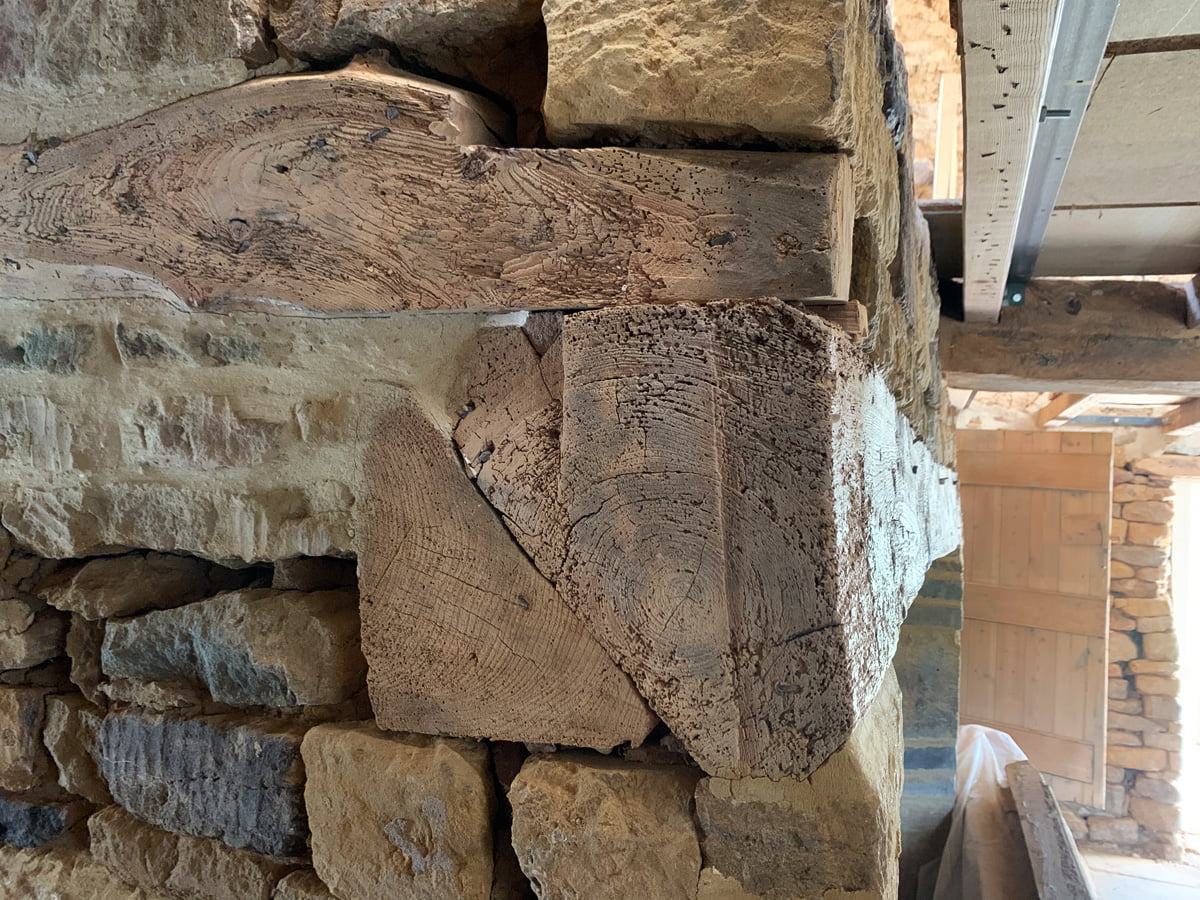
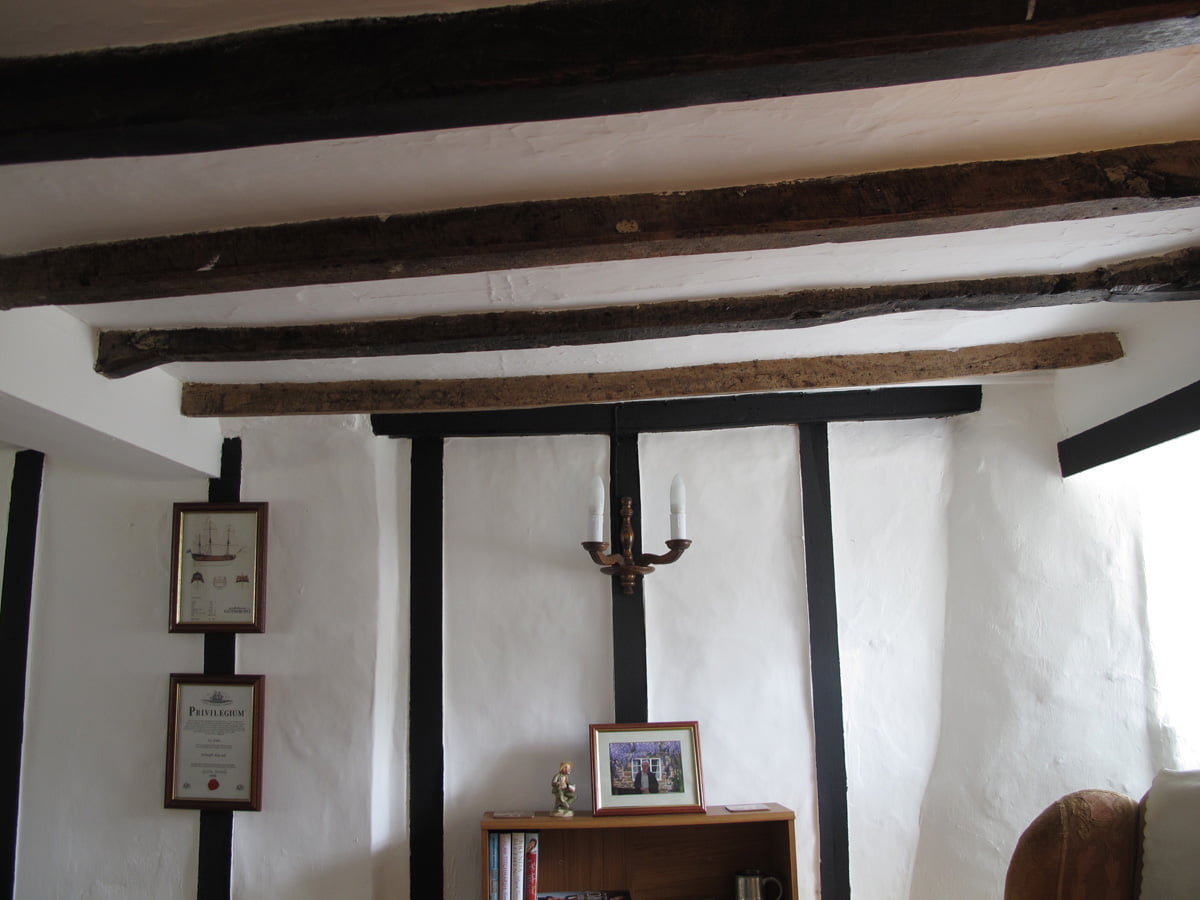
This central beam was boxed in. When we removed the boxing we discovered that someone had taken an axe to it and hacked off the underside of the beam to make it square so they could box it in… Criminal. We will tidy this up and smooth it out.
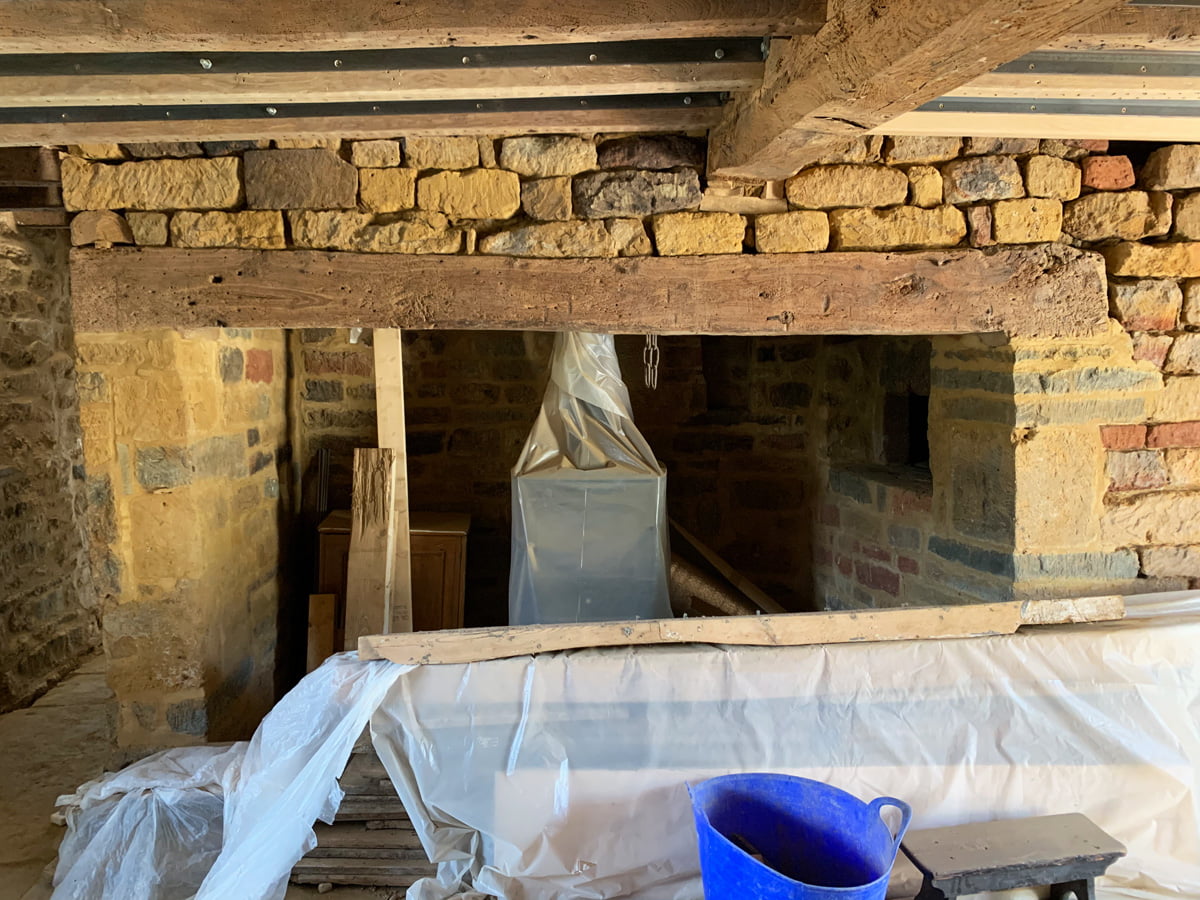
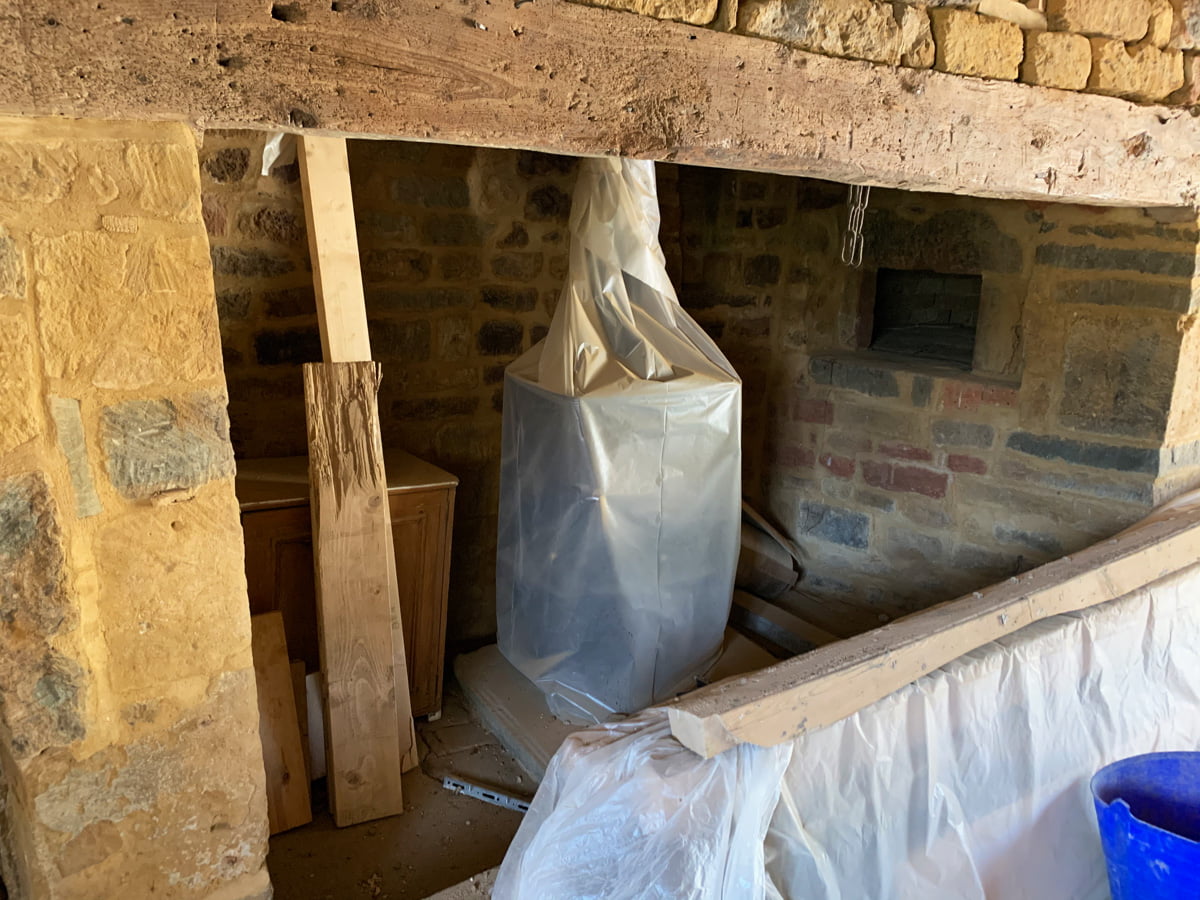
The astonishing brick ‘thing’ hiding this magnificent stone fireplace. This was one of the first things we had a go at removing when we first moved in after a few G&Ts on a Friday night. We removed a brick and looked straight through to the neighbours hall way! They were very understanding…
More of the fake timbers in the study cemented into the old lime plaster, destroying it in the process.
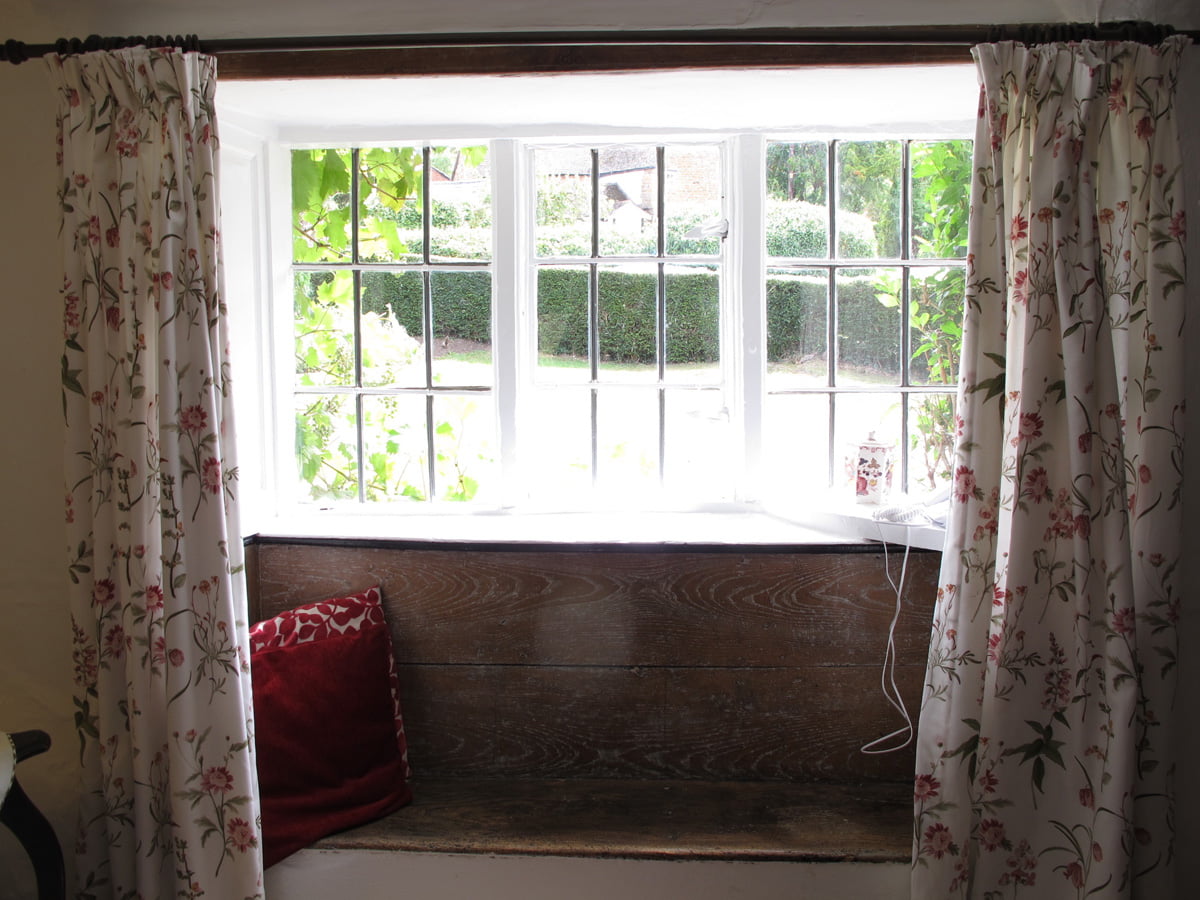
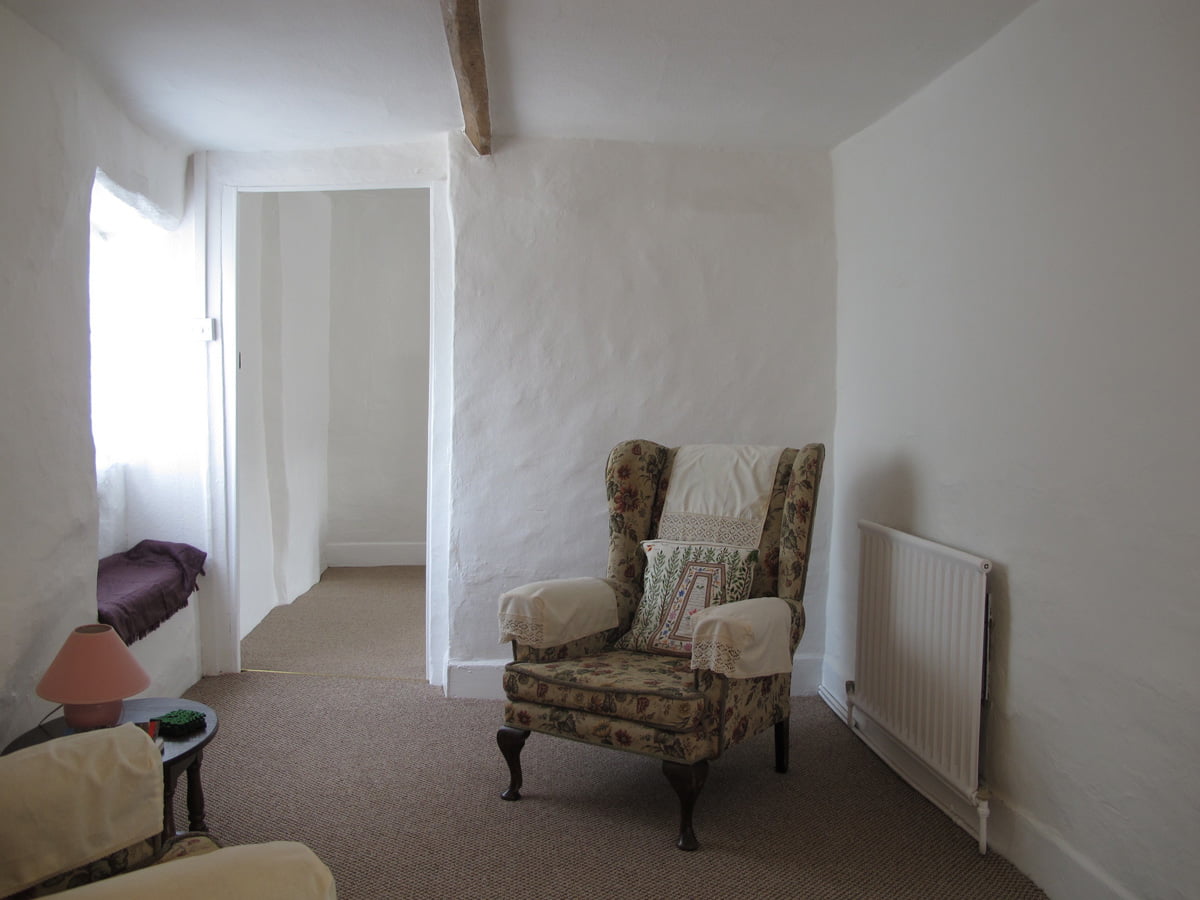
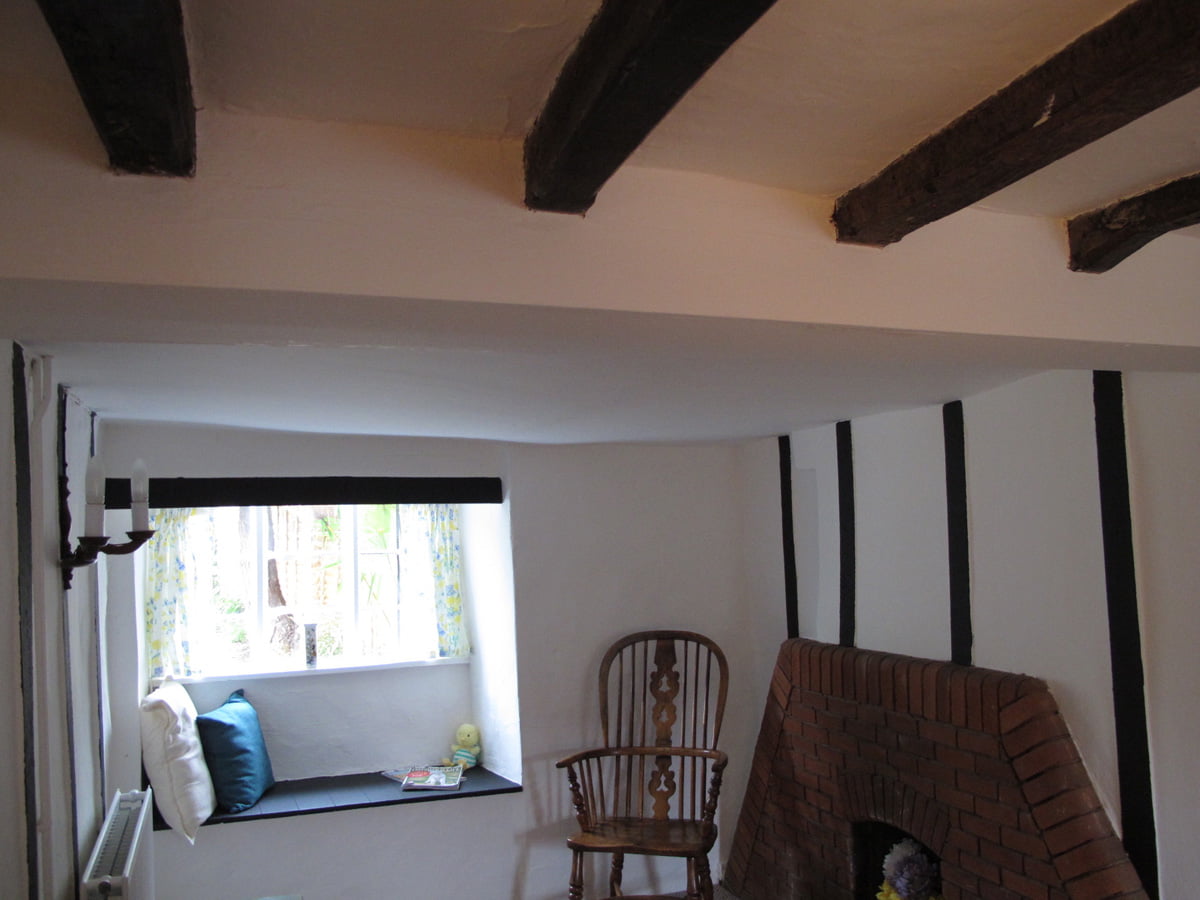
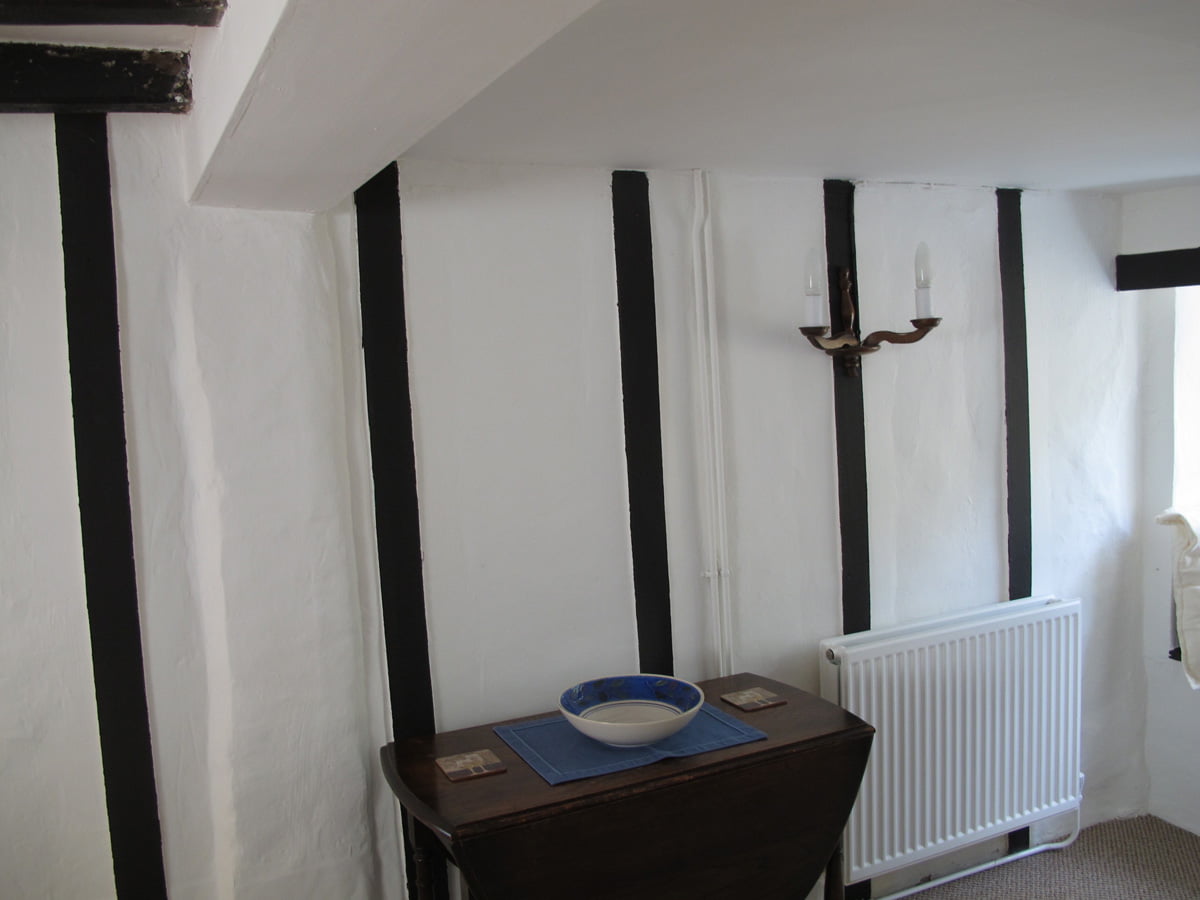
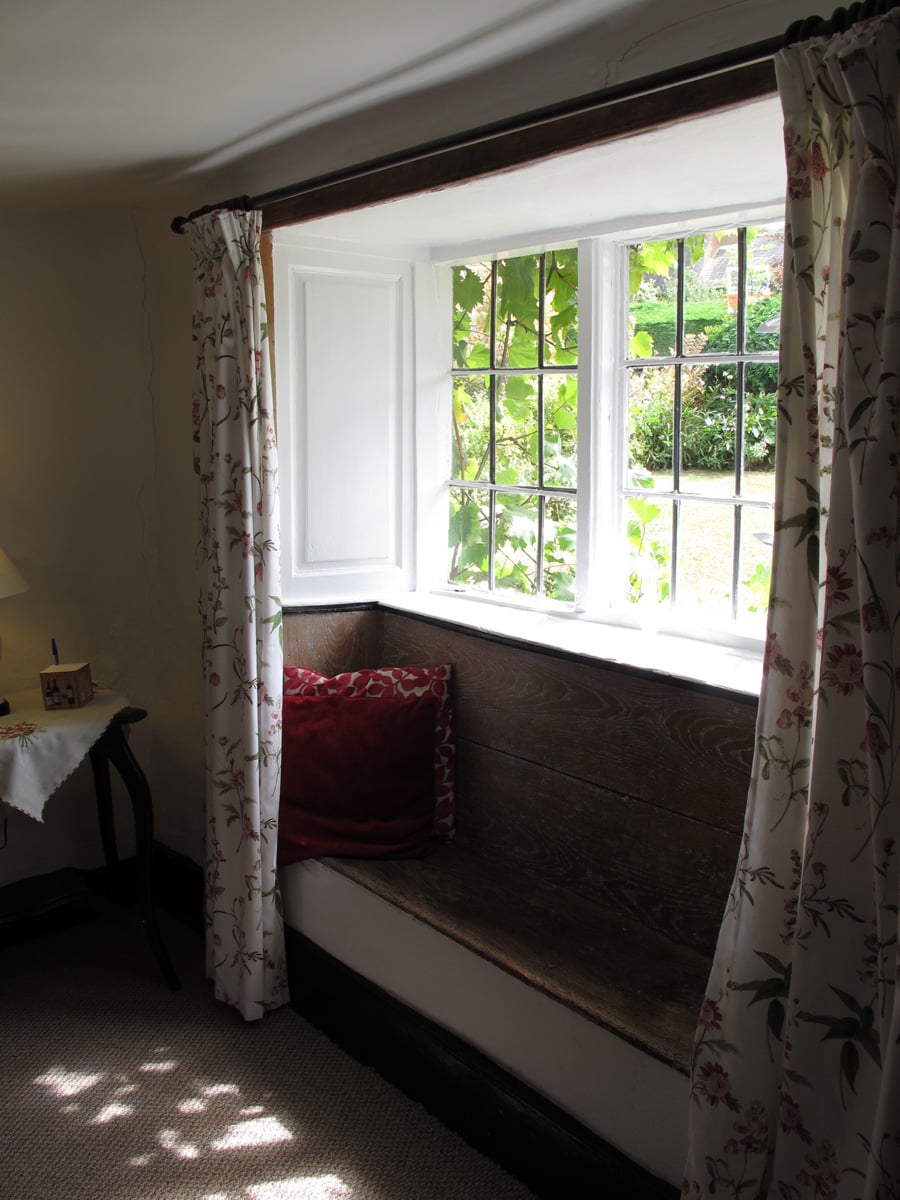
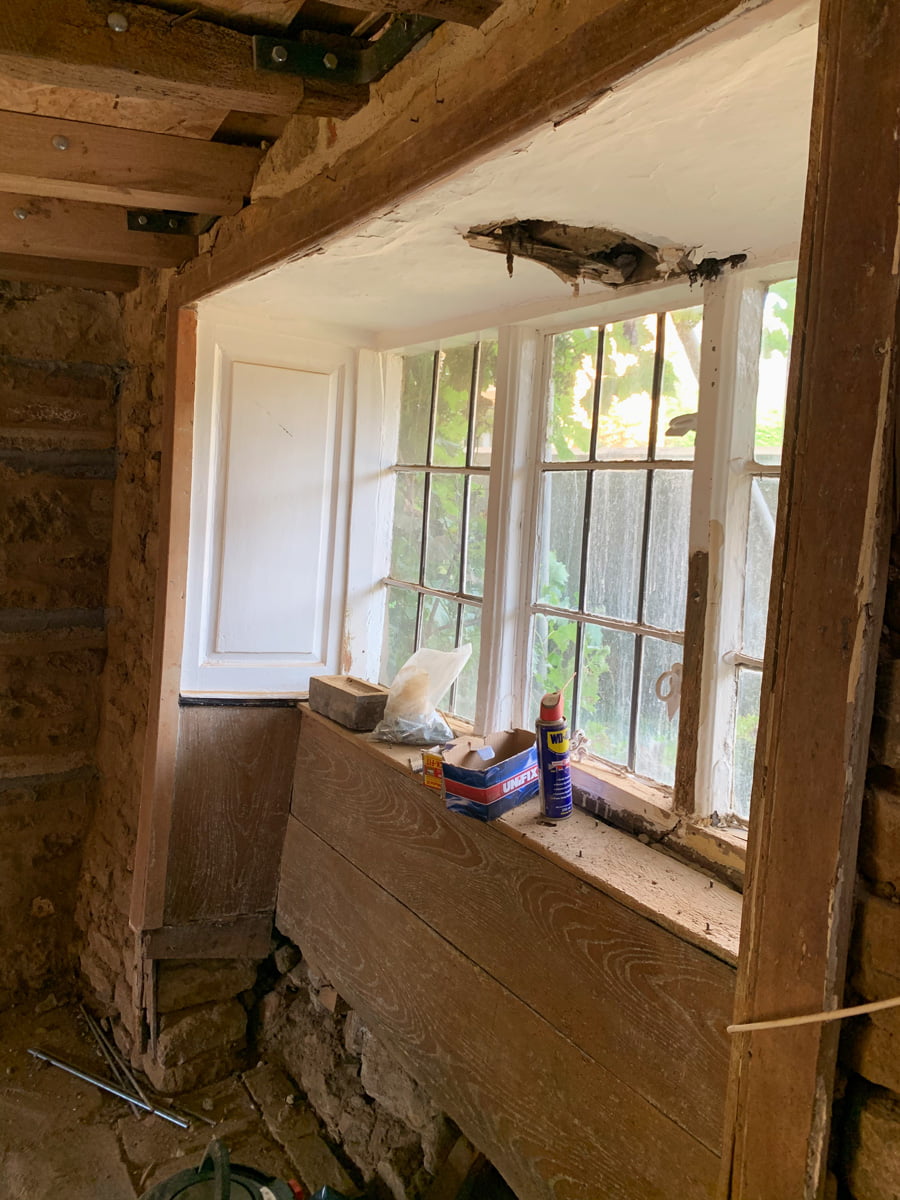
Another favourite feature of ours. The sitting room window with the lovely oak surround and window seat. This window has never opened, it is painted shut and is in such a bad state. This is the most challenging window to renovate.
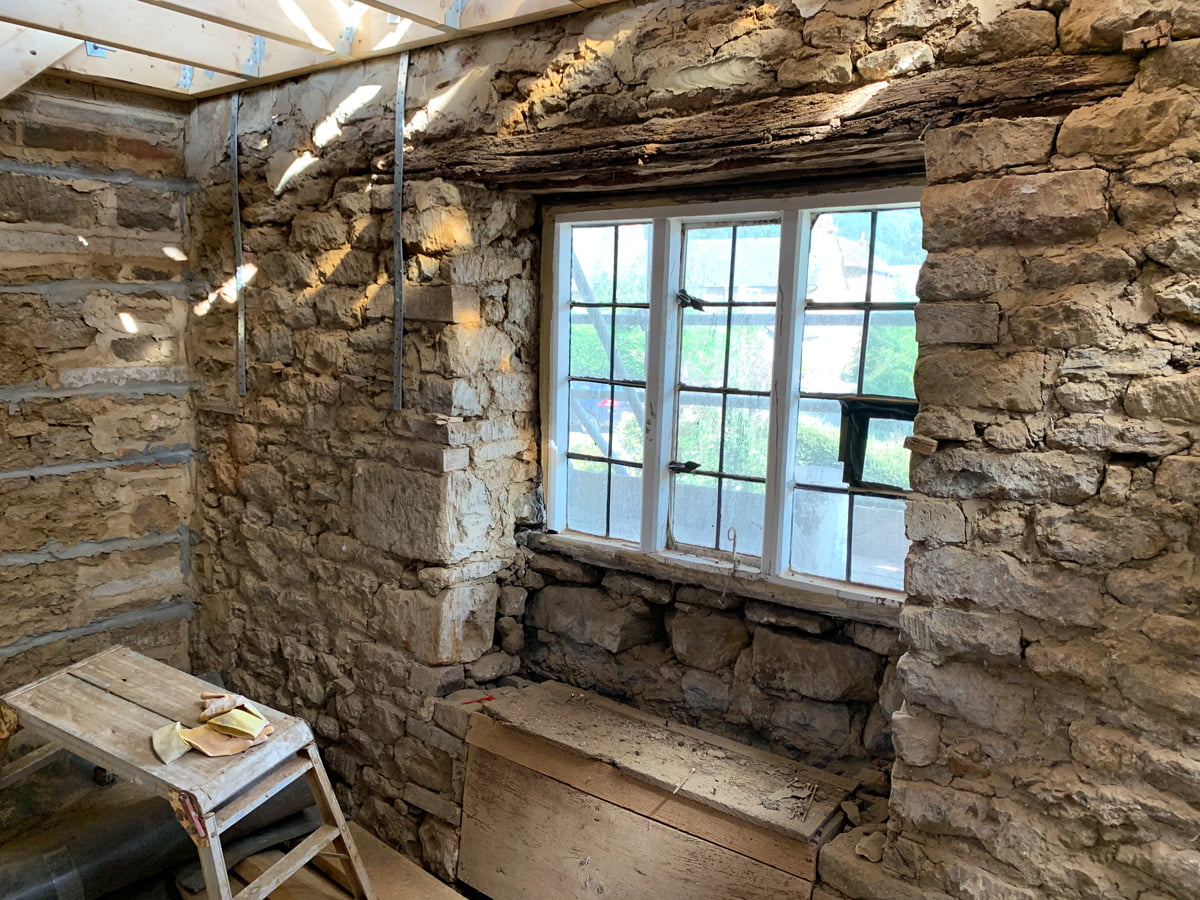
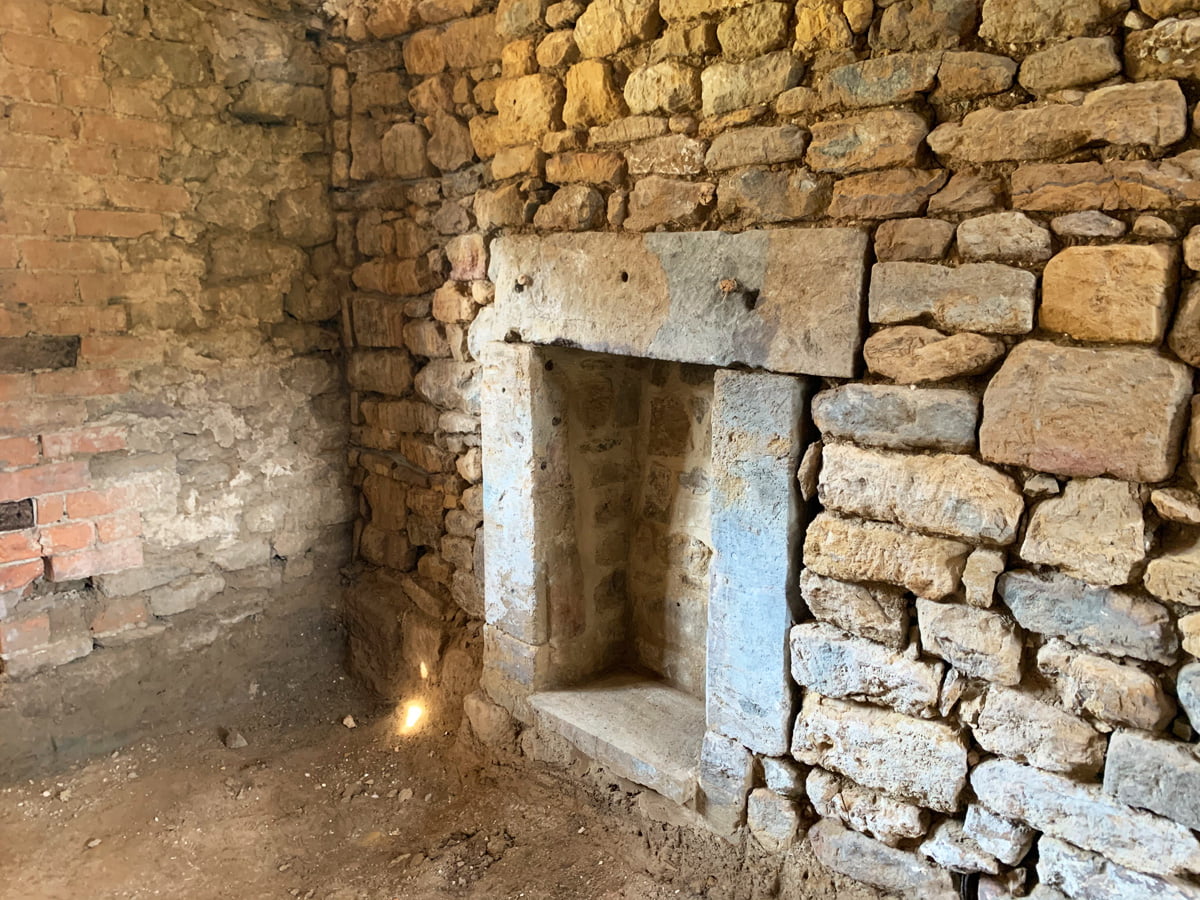
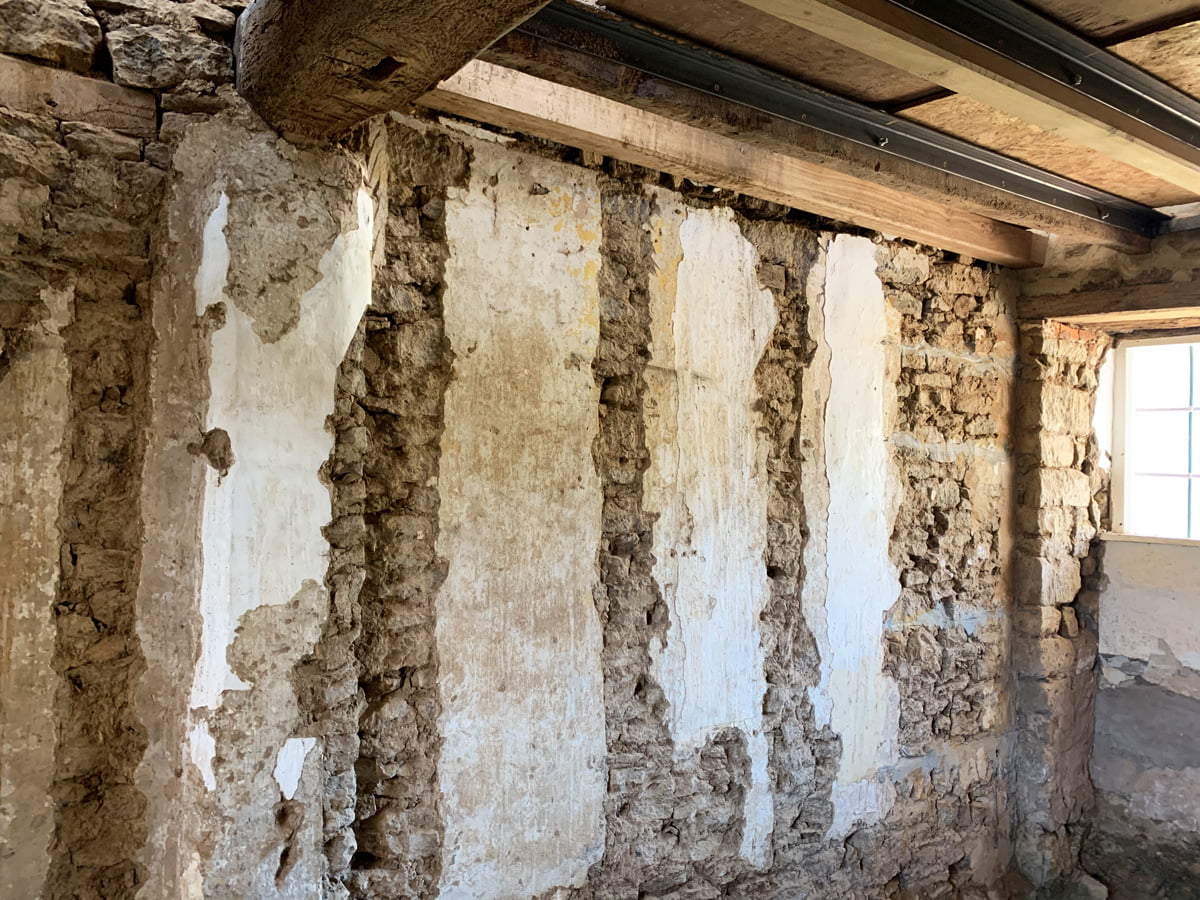
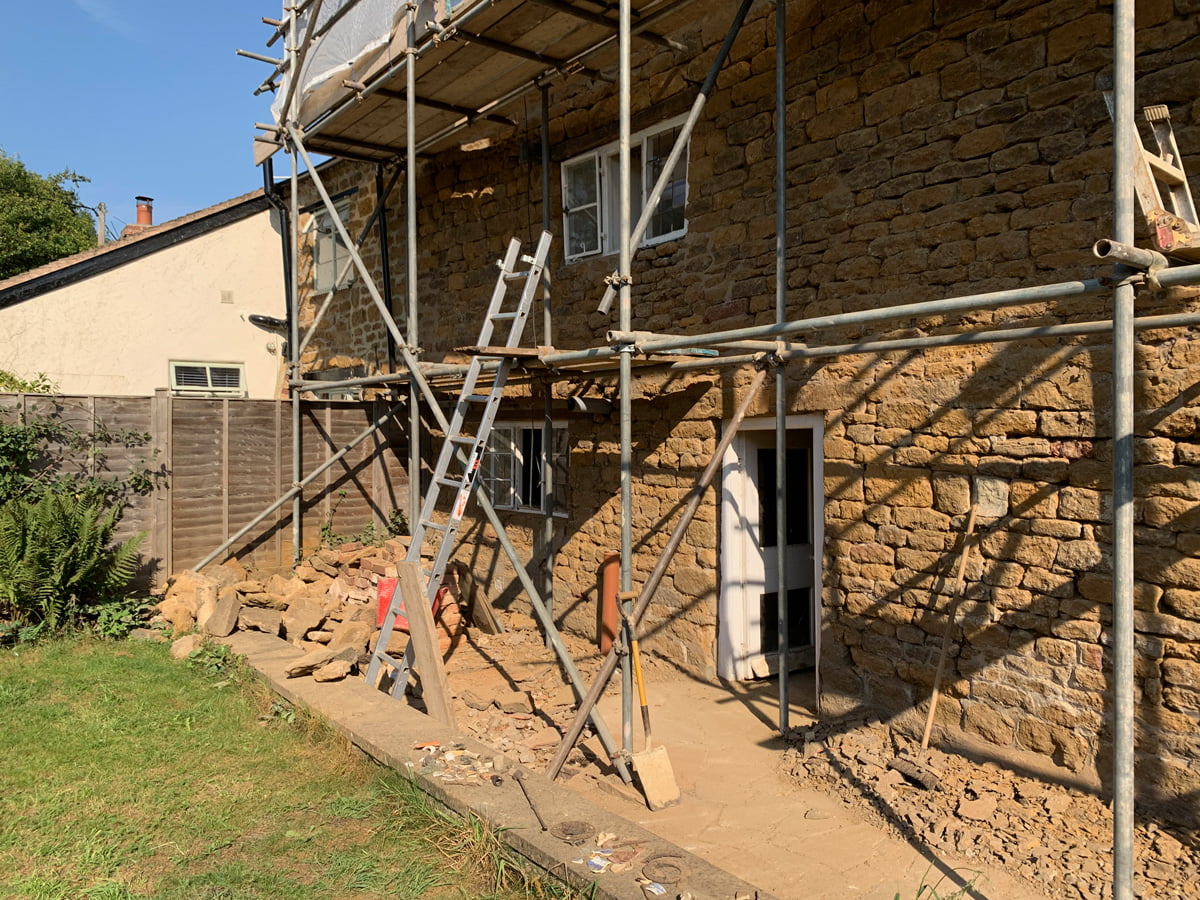
The gable end wall that is so badly damaged from the cement that covered it for decades.
The back garden. The massive fir tree on the left has gone.
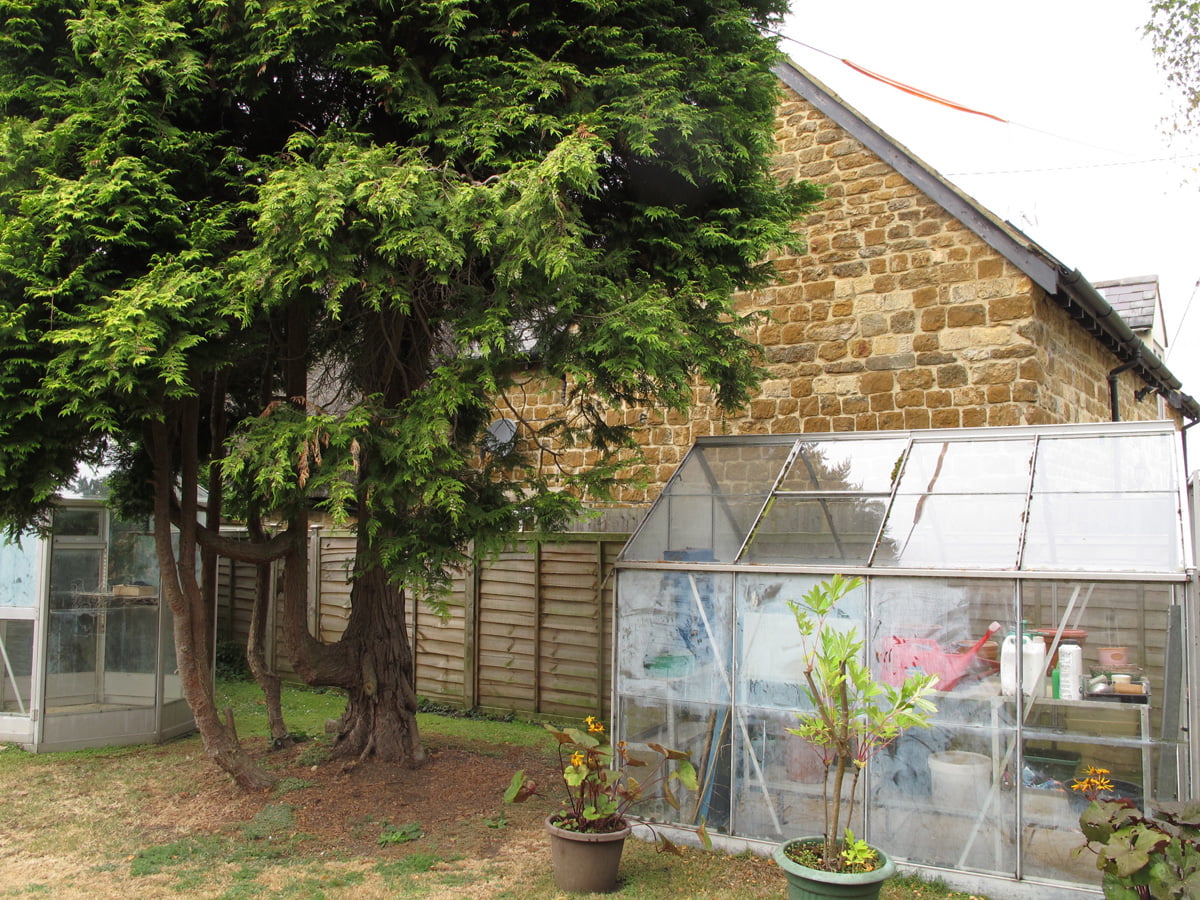
Another massive fir tree that has gone, plus two green houses.
I’m planning on cycling past later so might see you. The work looks fantastic but exhausting. It’ll be worth it in the end x
Please do! We are around and would love to see you in your shorts again! xx
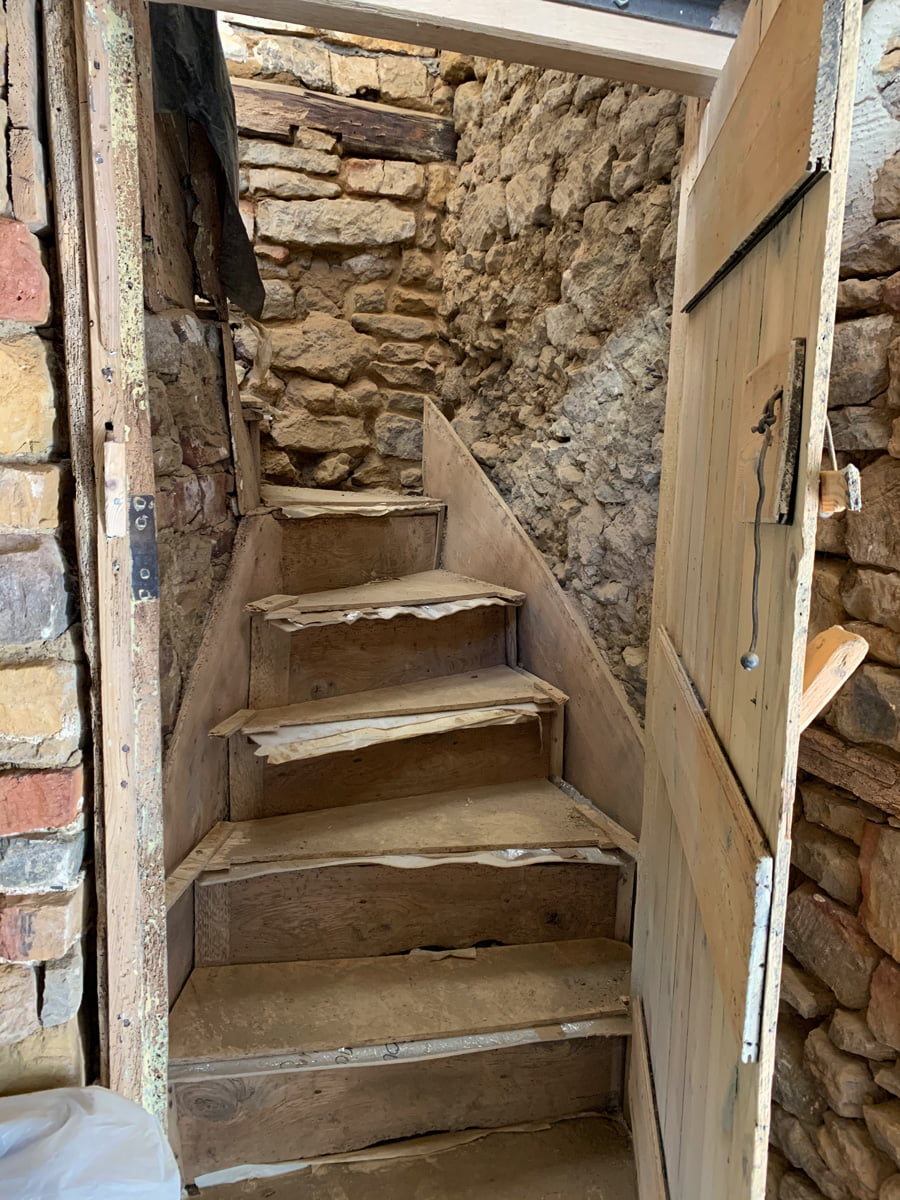
I love the way the stairs have gone from being black to golden!
Aren’t they gorgeous xx
It’s astonishing to see the acts of housing atrocity done over the years. But also is beautiful to see the reveal and your vision emerging. Xx
Isn’t it just! We cannot believe the amount of cement that was smothered over everything. We’ve literally removed several skips worth of cement from inside the house! xx
A few antimacassars and you’ll be 👌🏻
😆😆😆
I know this is an old post. But I keep
Going back to see the before and after as you progress. Is your part of the house the L shaped bit! Is that where you’re staying right now in the short part of the L. Maybe you’ll have to do another one of these soon. So exciting to see it coming together and all that fake ness gone especially those fireplaces 😀😂
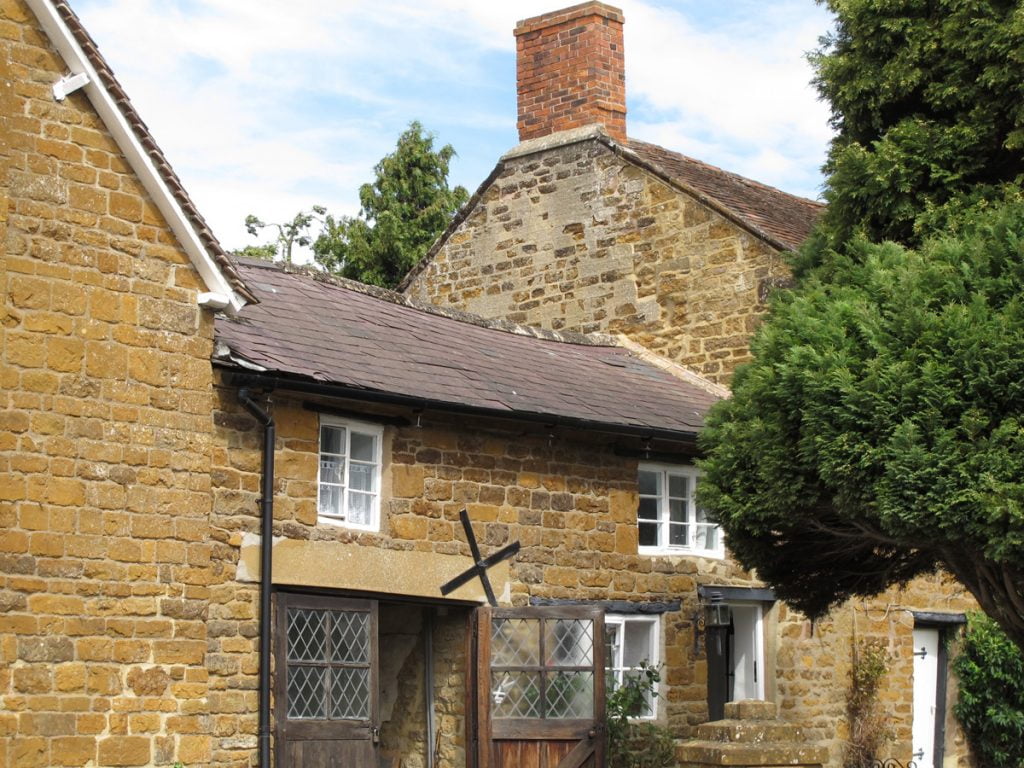
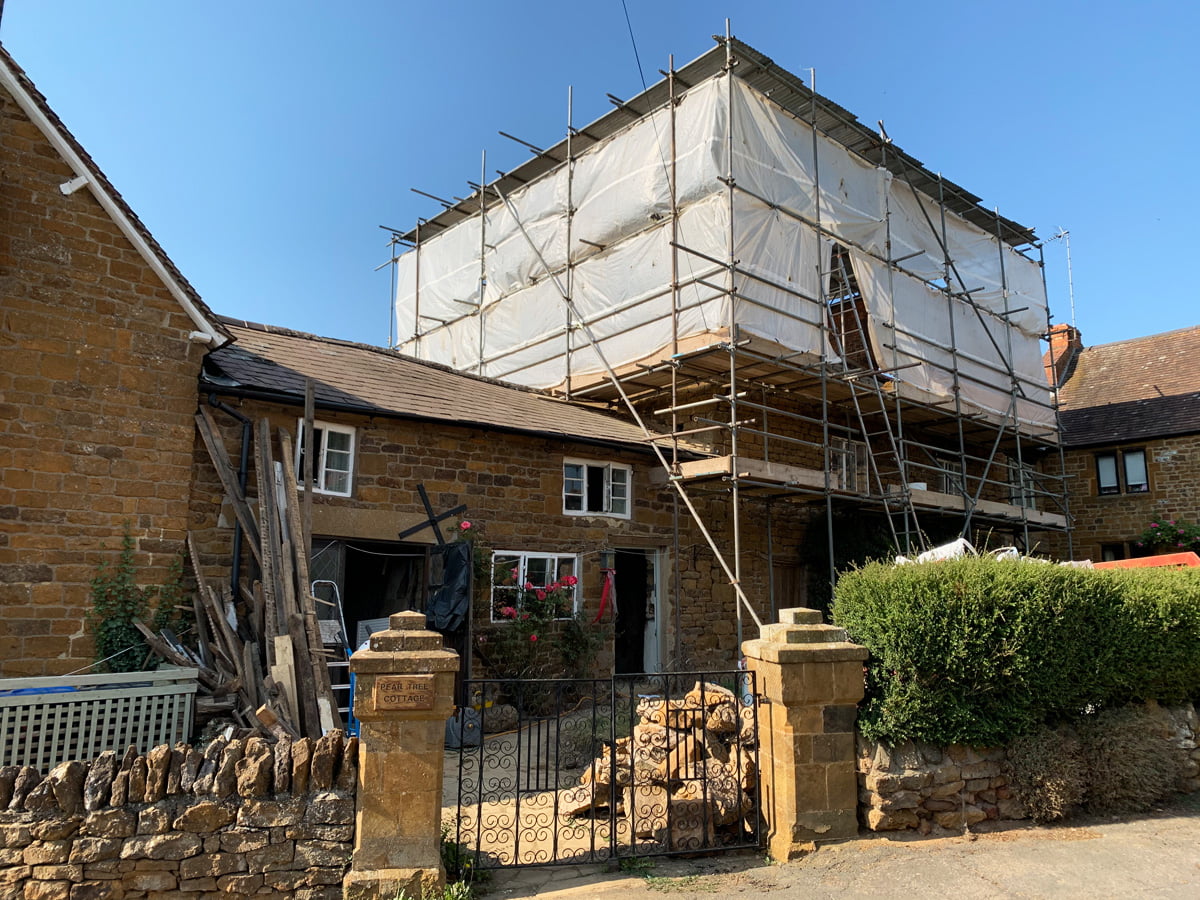
Hi Kate, our house is the two old bits in the middle, so the one with the low slate roof is ours as well (this is to be tackled in phase 2…) The houses on either side belong to our neighbours and we are currently renting the one on the left!
I will try and do some more before and after shots for you 🙂