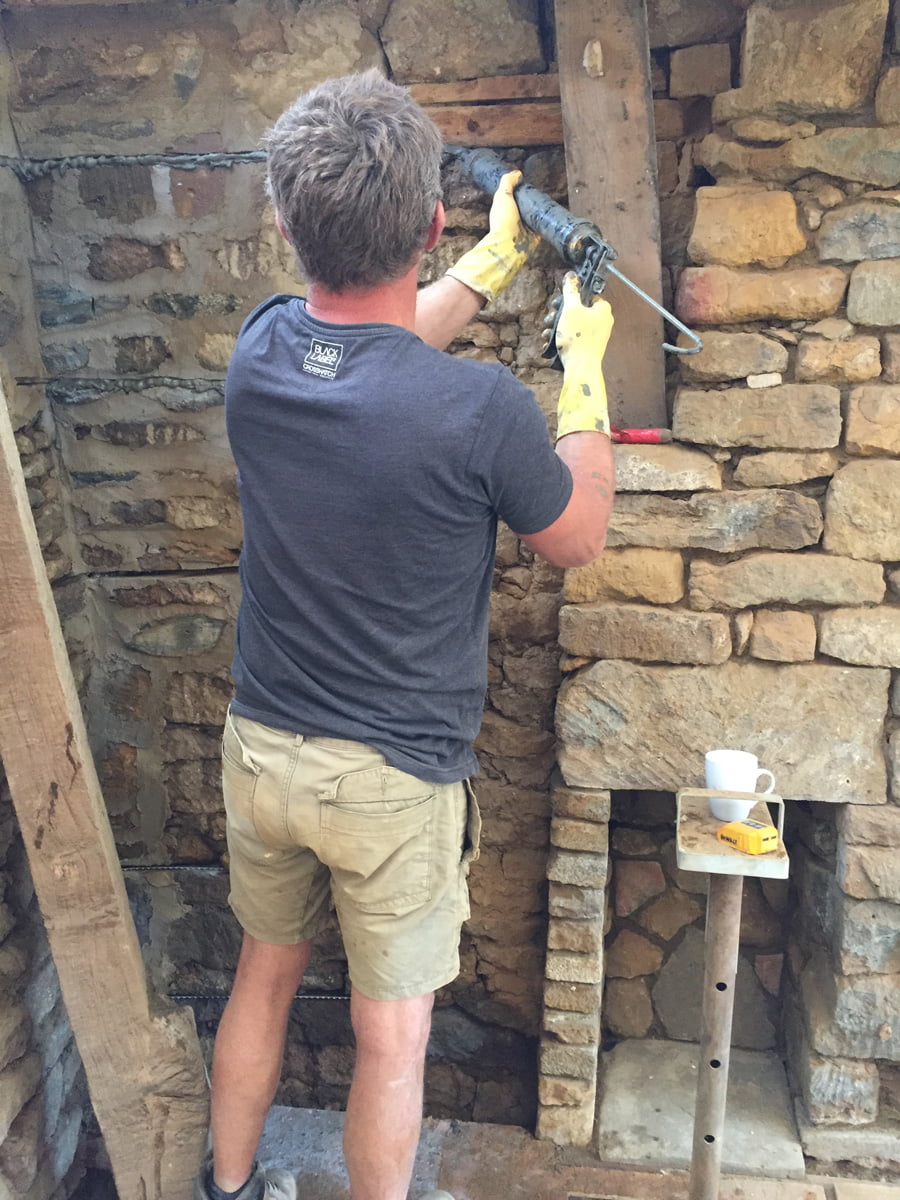
Tom is fast becoming an expert at fitting these steel bars (commonly known as ‘Helibars’). This is a process for ‘stitching’ cracks in old masonry that is recognised and approved by conservation officers as it minimises any damage to the original fabric of the building. The steel bars get hidden between the stones, like an invisible repair, which is far preferable to rebuilding the walls.
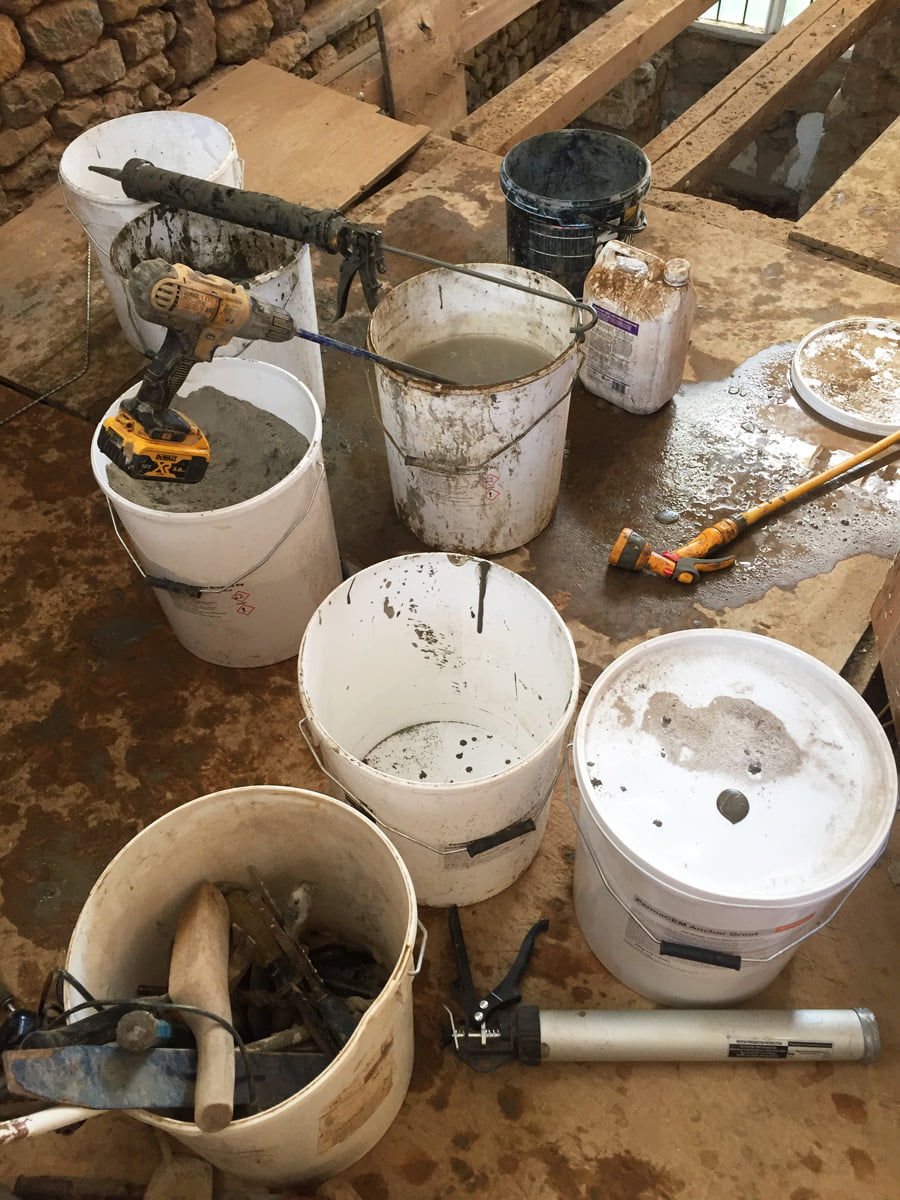
Tom’s toolkit for grouting in the Helibars including 8 plastic buckets and a garden hose! Needless to say it is a very messy process.
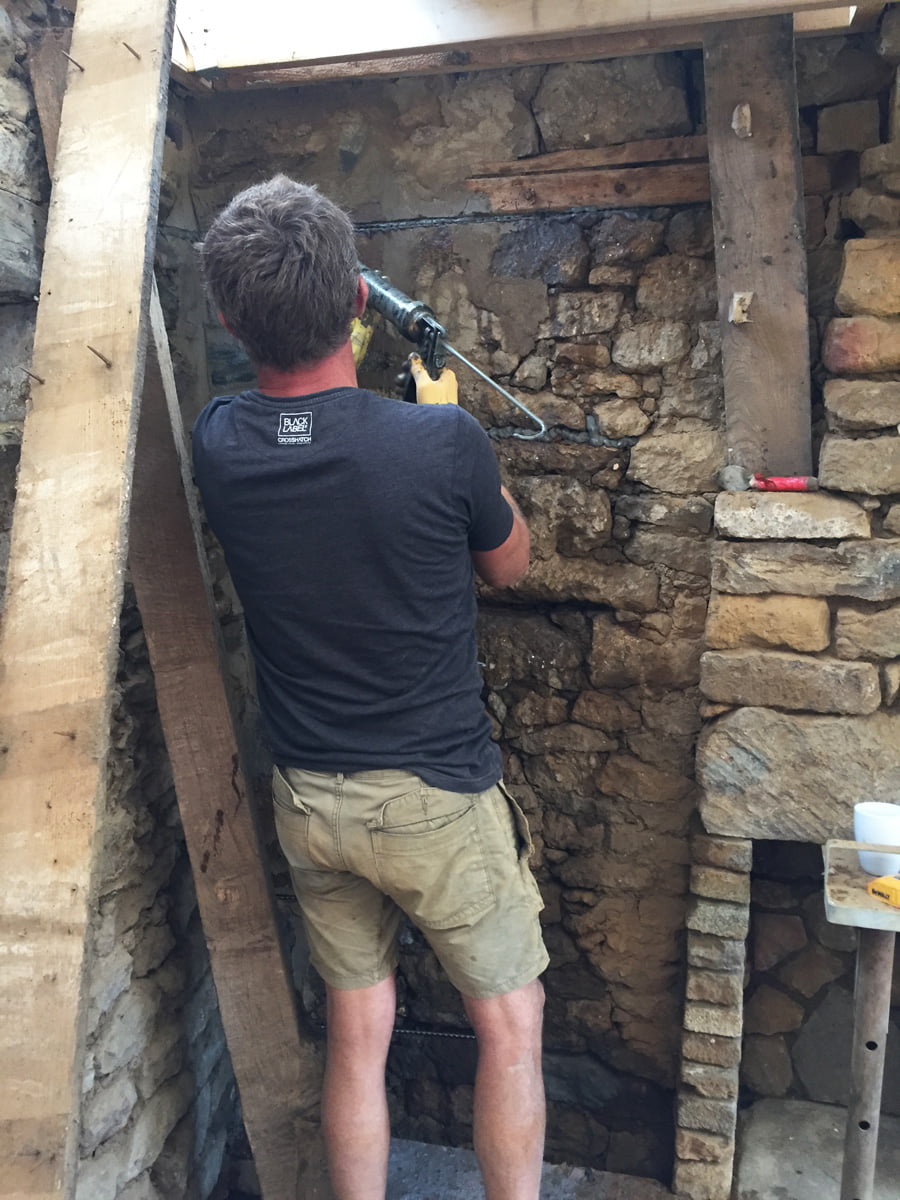
The process is laborious but needs to be done very fast as the grout starts to go off in minutes. Firstly you fill the gap with grout, right into the corner, then you embed the steel bar, then you add more grout to seal it in.
The grout goes off in 30 minutes, after which you cannot remove it.
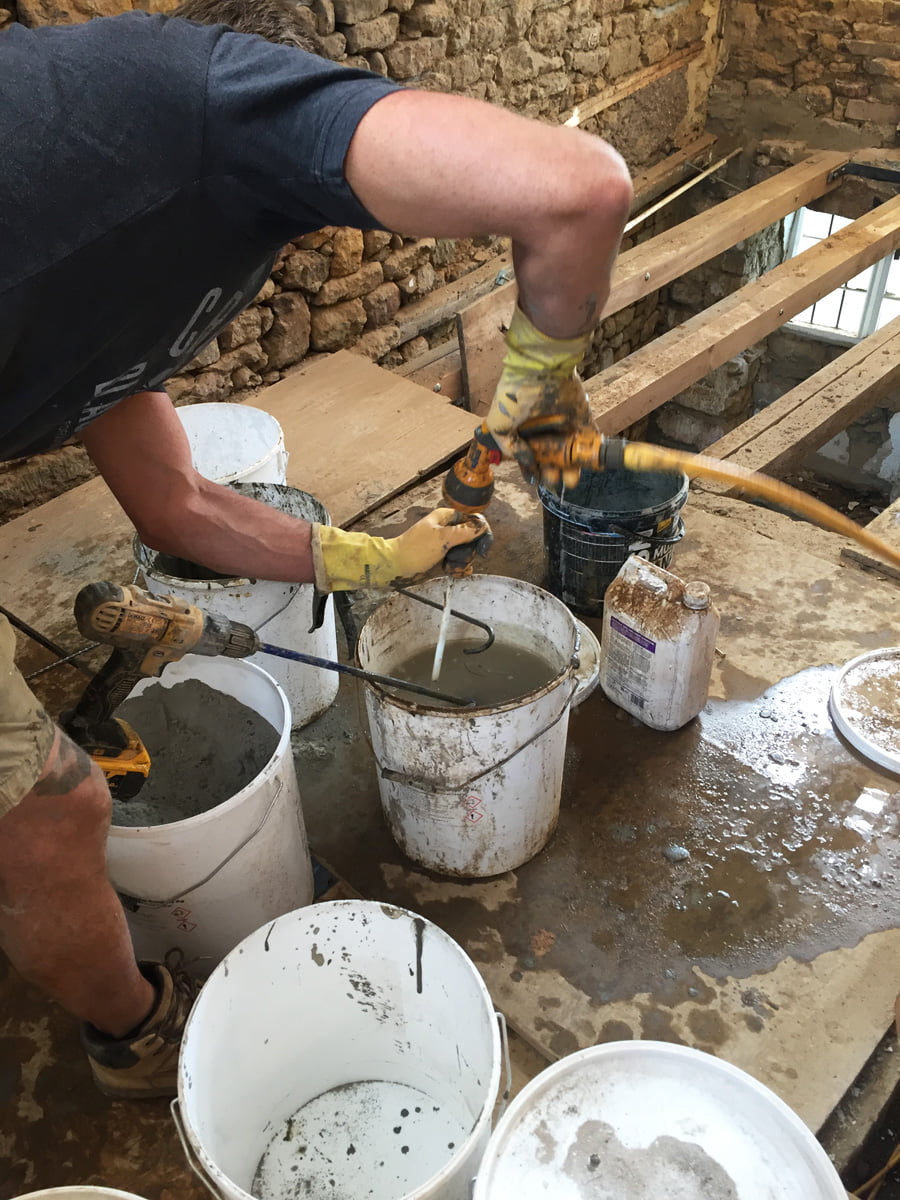
In between, you need to clean the gun and nozzles or the grout sets inside and renders them useless. Hence the multiple buckets and garden hose.
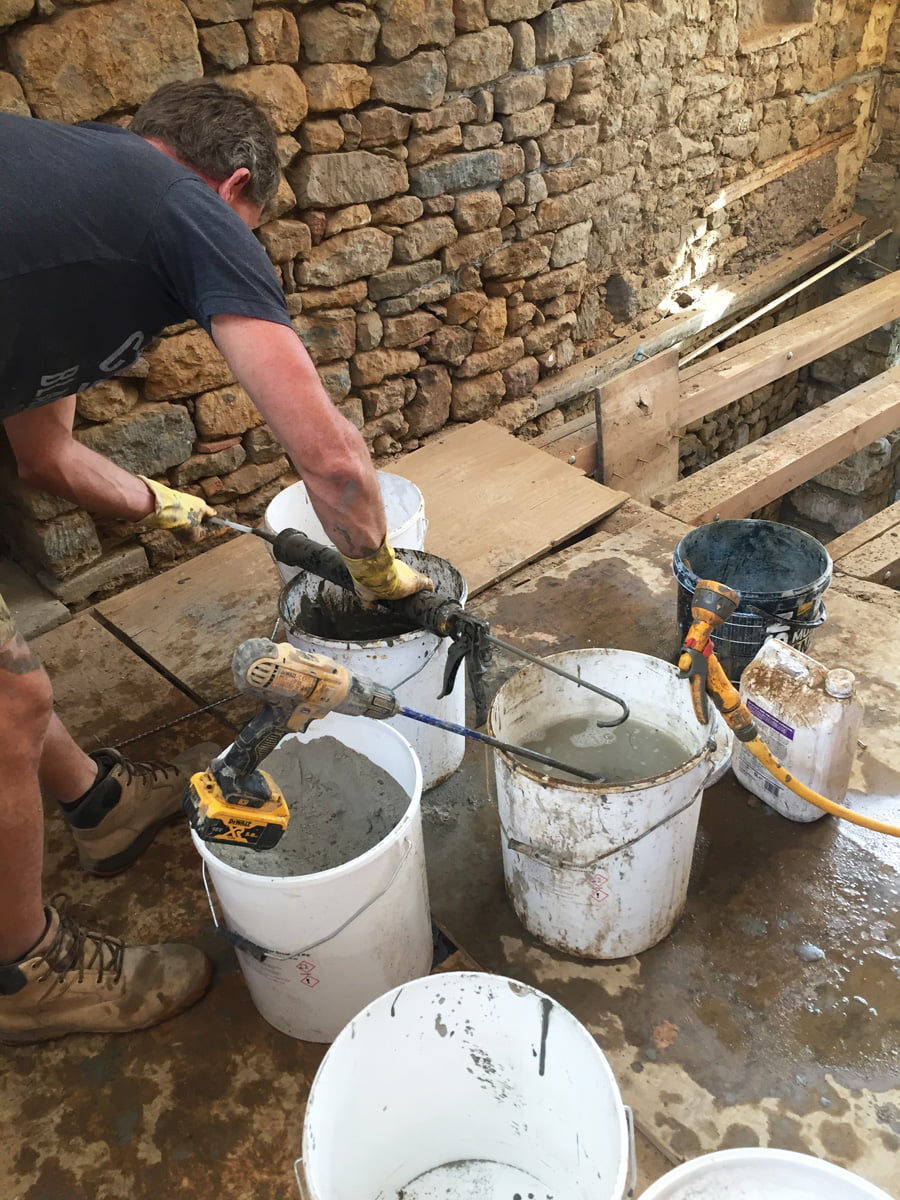
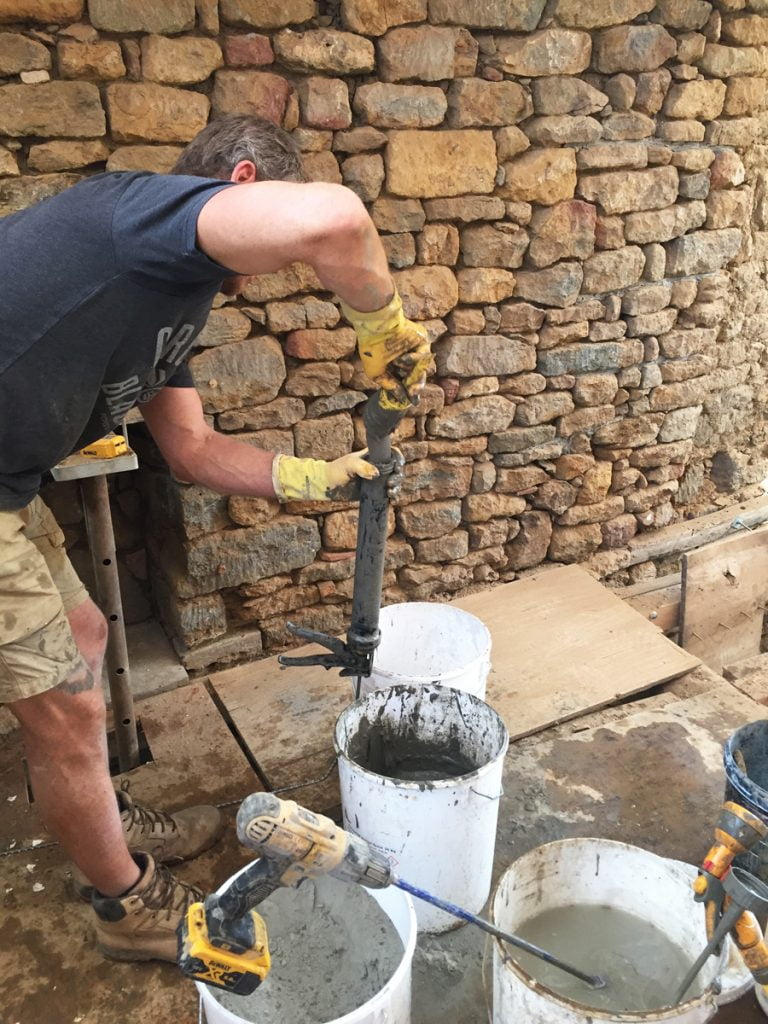
The wall also gets sprayed down with water to prevent the grout from going off so quickly.
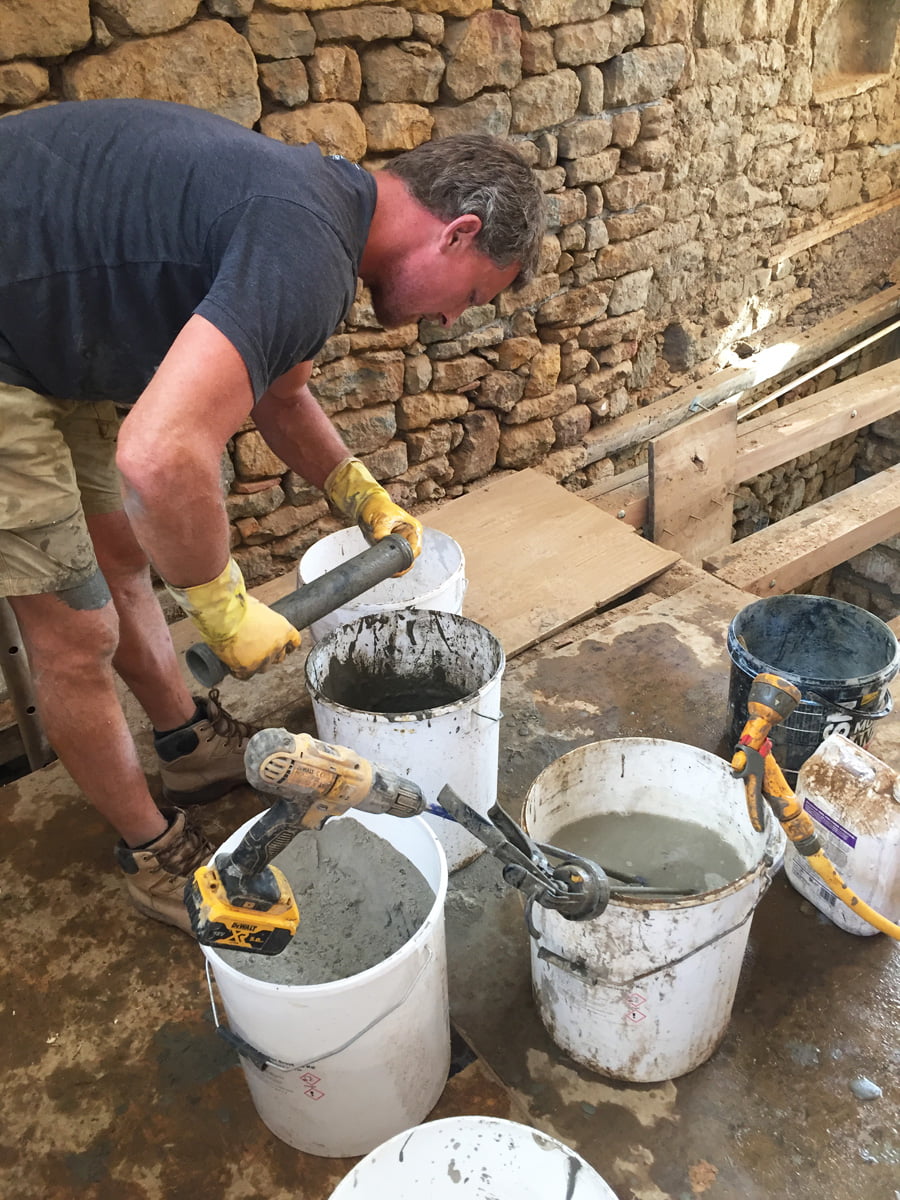
Rinse and repeat. 150 metres worth. Tom doesn’t enjoy this job, I totally understand why.
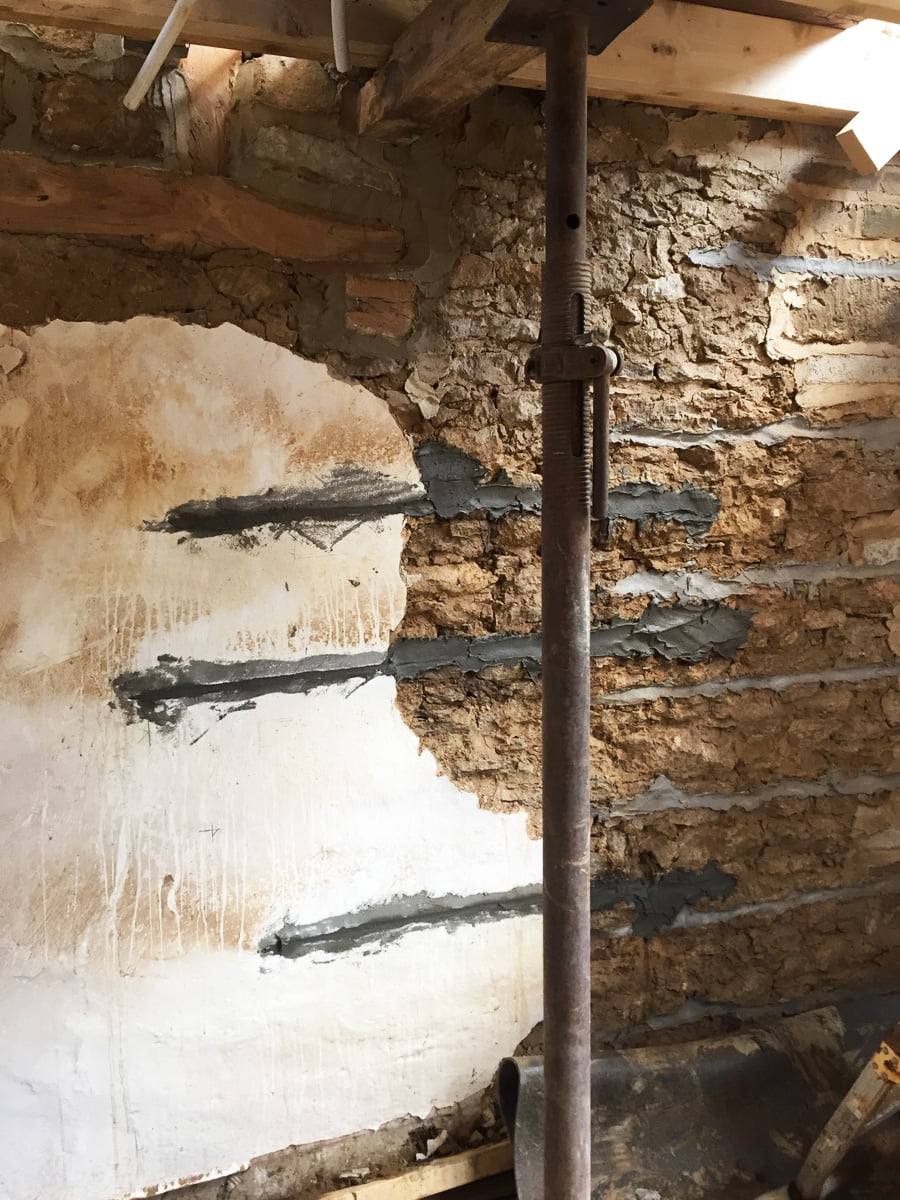
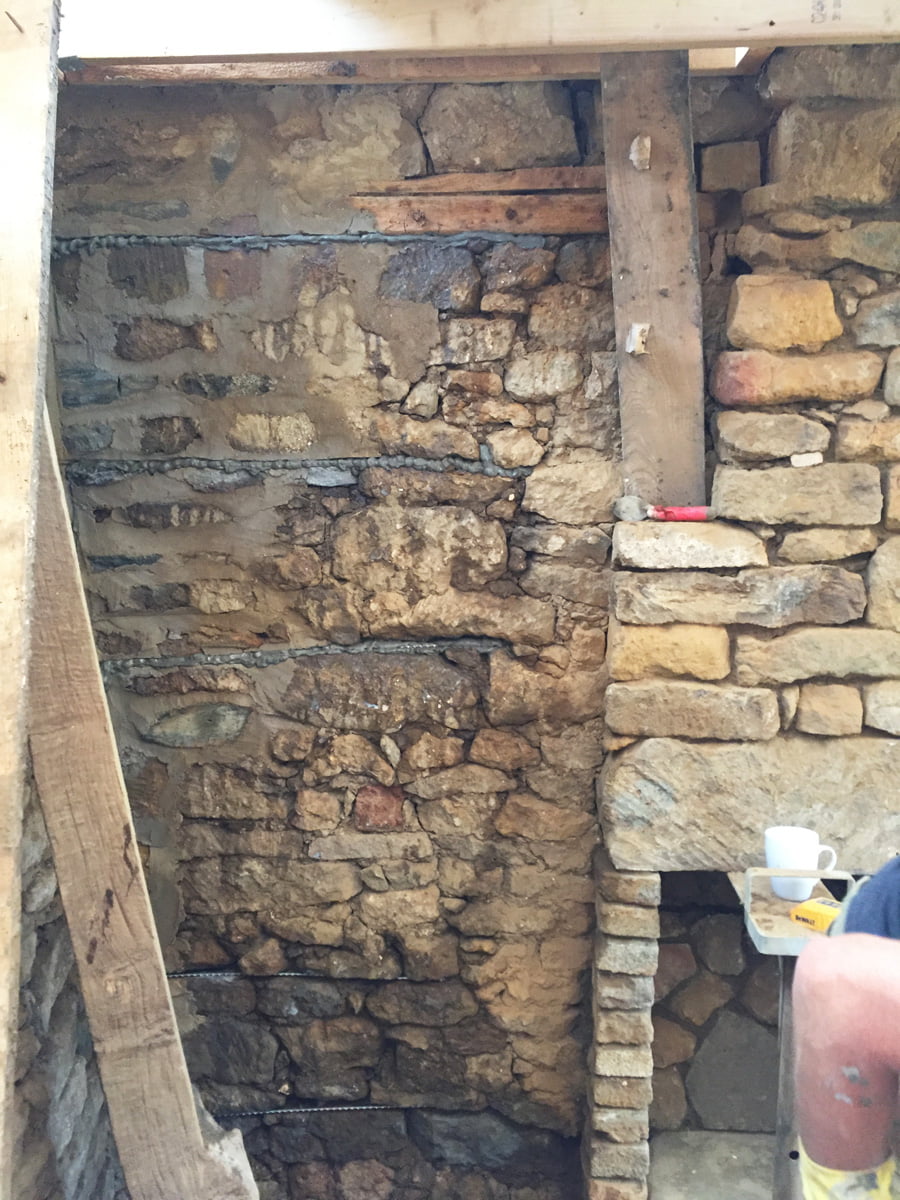
The Helibars stitching the crack in the new bathroom wall are grouted in.
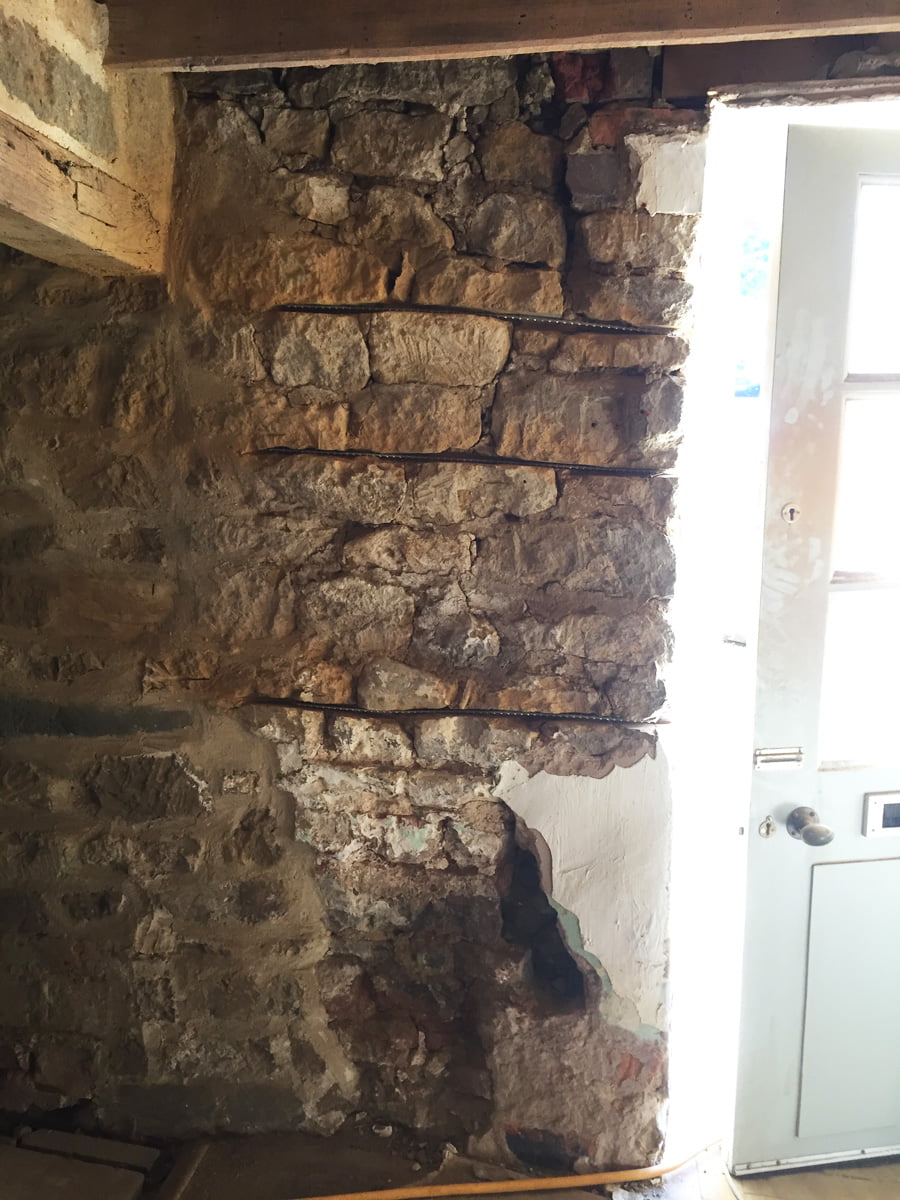
Helibars in the wall in the dining room, next to the front door, are waiting to be grouted.
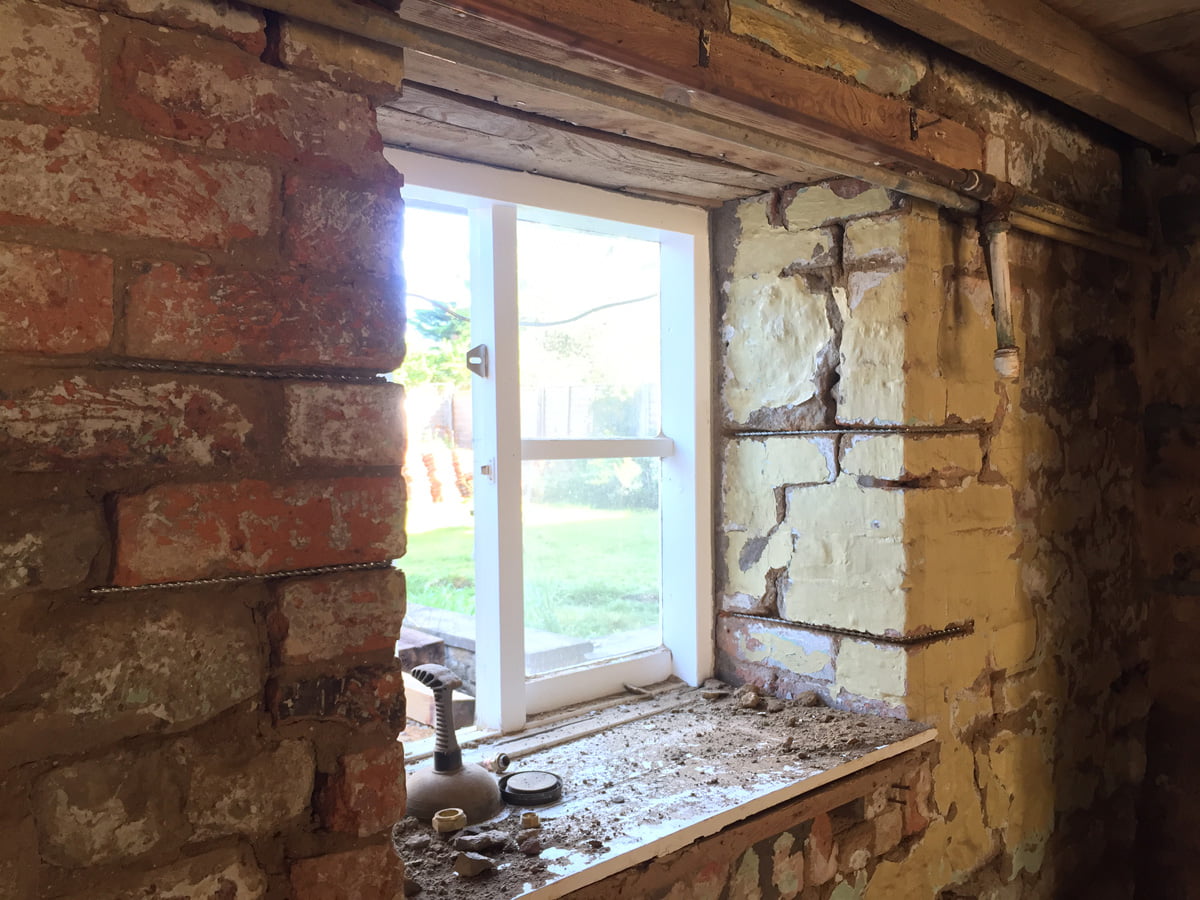
More Helibars in the dining room, this time around the window on the back wall (where the old bathroom used to be).
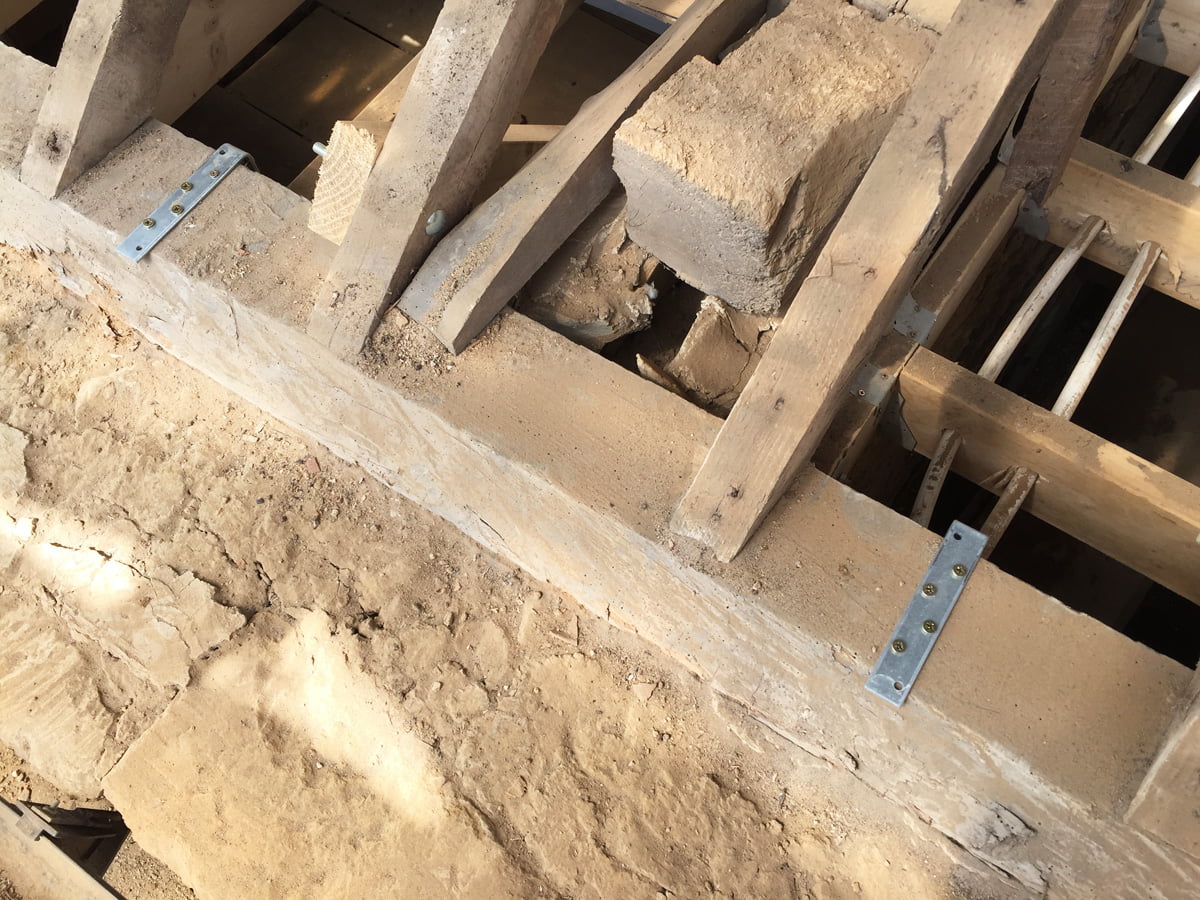
Dan has been busy fixing the steel strapping to the wall plates on the roof.
The front wall isn’t too tricky as the wall plate is sitting on the inside of the wall. The strapping can easily be fixed to this, then fixed down the inside wall. This wall plate would have originally sat on the outside of the wall, this is how much the wall has moved… about a foot!!!
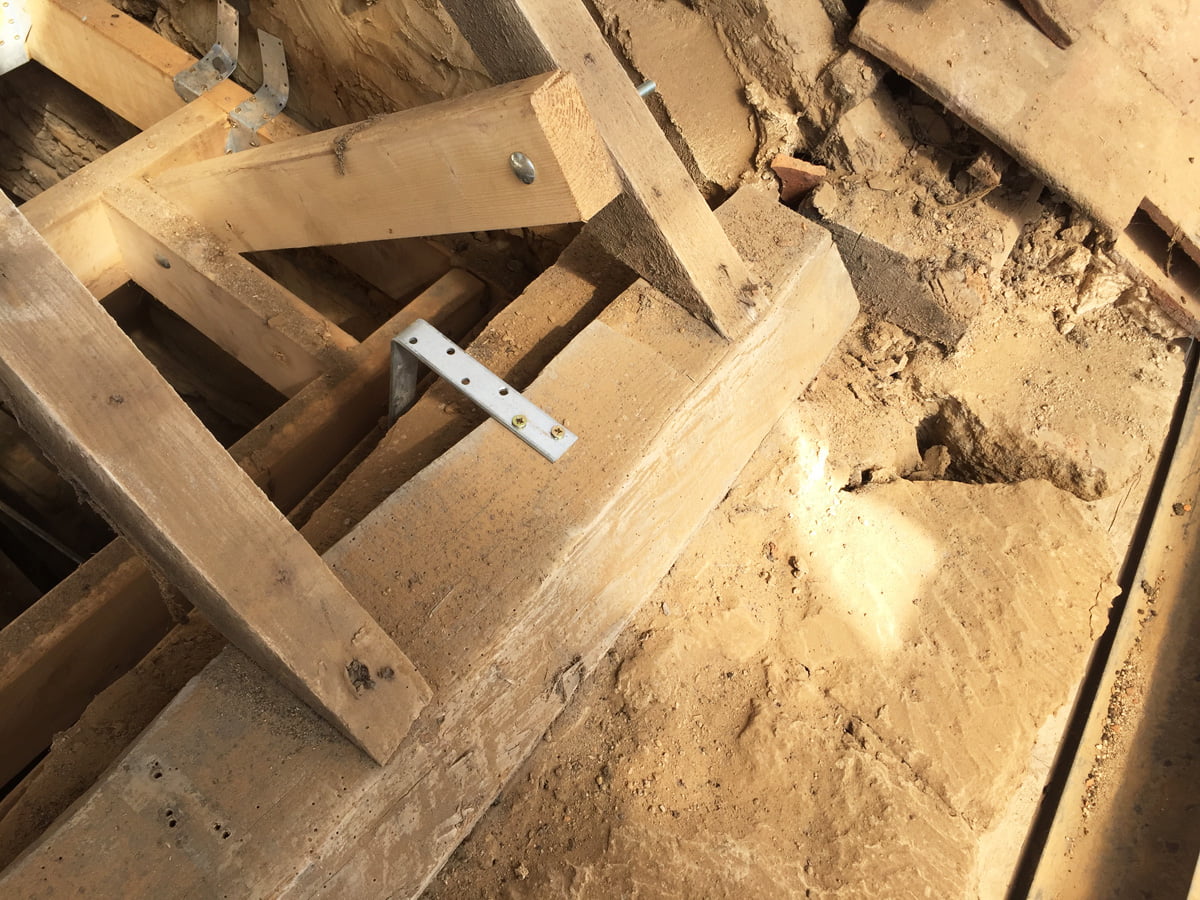
The strapping for the wall plate on the back wall is not so easy. The wall plate (along with the roof) has moved almost to the outside edge of the wall, but not uniformly, in a kind of ‘v’ shape.
Dan’s creative solution involves 2 steel straps and some timber built out from the wall plate so this can be strapped down to the inside wall.

You can see the ‘v’ shape of the wall plate. The wall plate (and roof) has moved, but the wall itself has also moved – inwards in the centre and outwards at the ends.
Me: What the hell?
Cat: If I bend forward my hair will fall over my face and my phone will fall out of my pocket. Don’t you dare take a photo.
Me: Okay.
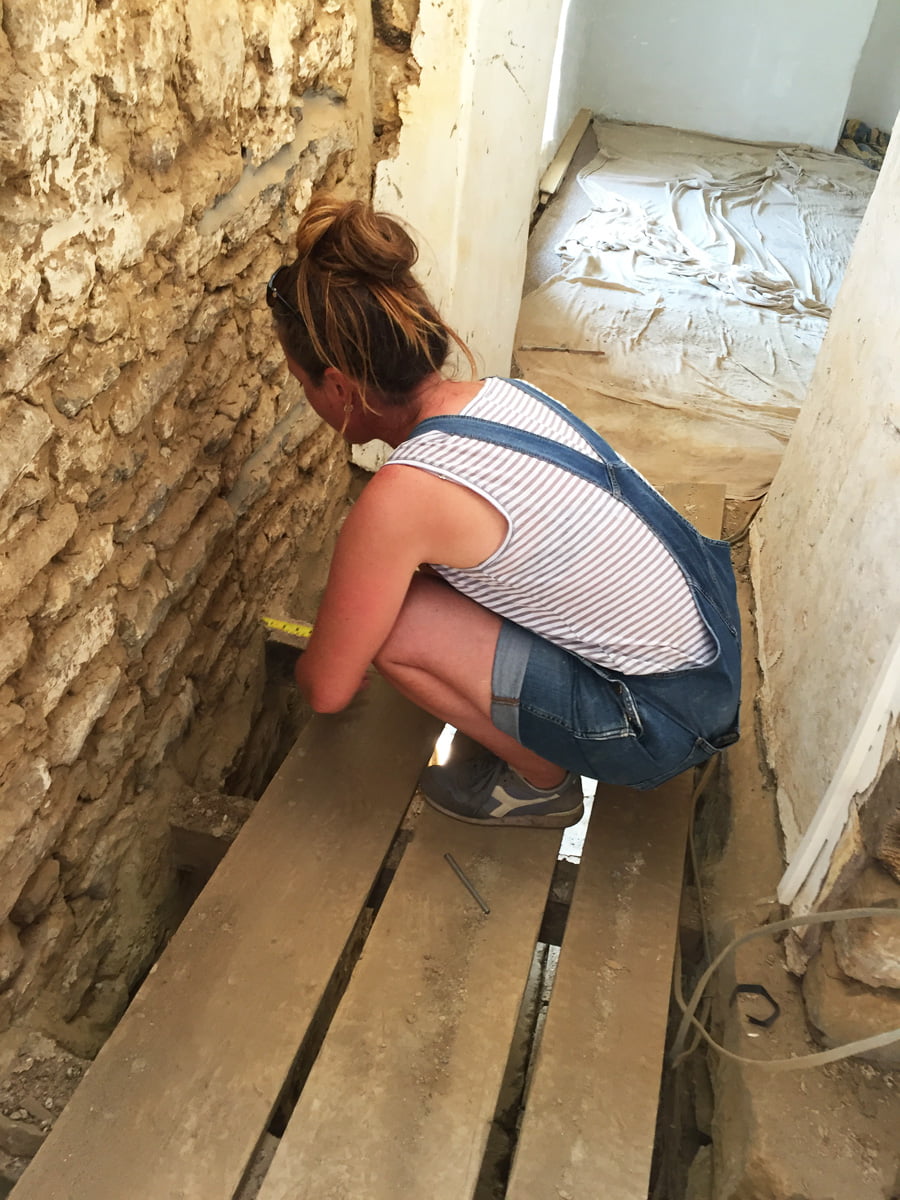
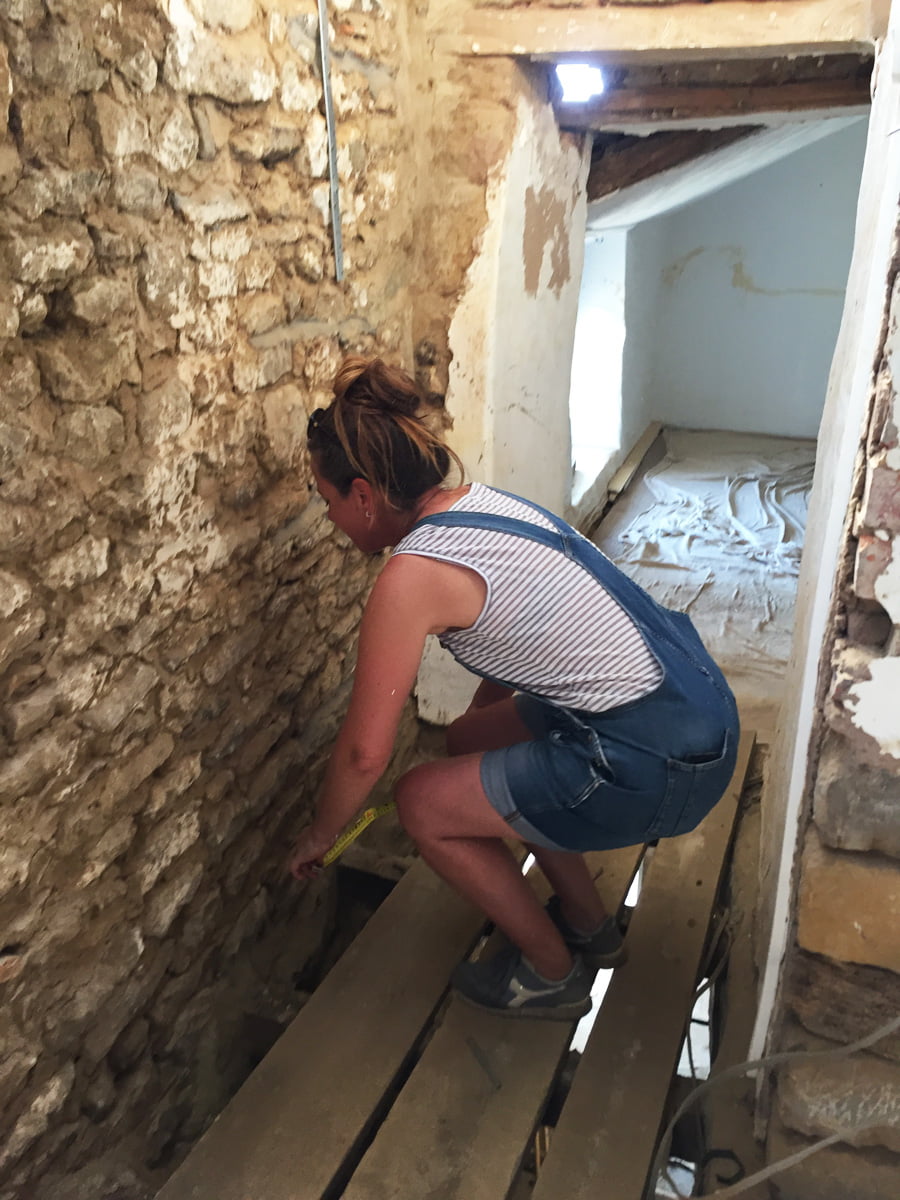
Bloody fussy designers are measuring up for the radiators. We are having traditional cast iron rads but brand new ones from a local company in Coventry: https://www.castironradiatorcentre.co.uk/

We popped into our favourite tile shop and these were literally the ONLY tiles we liked. Porcelanosa. That’s Italian for really expensive.
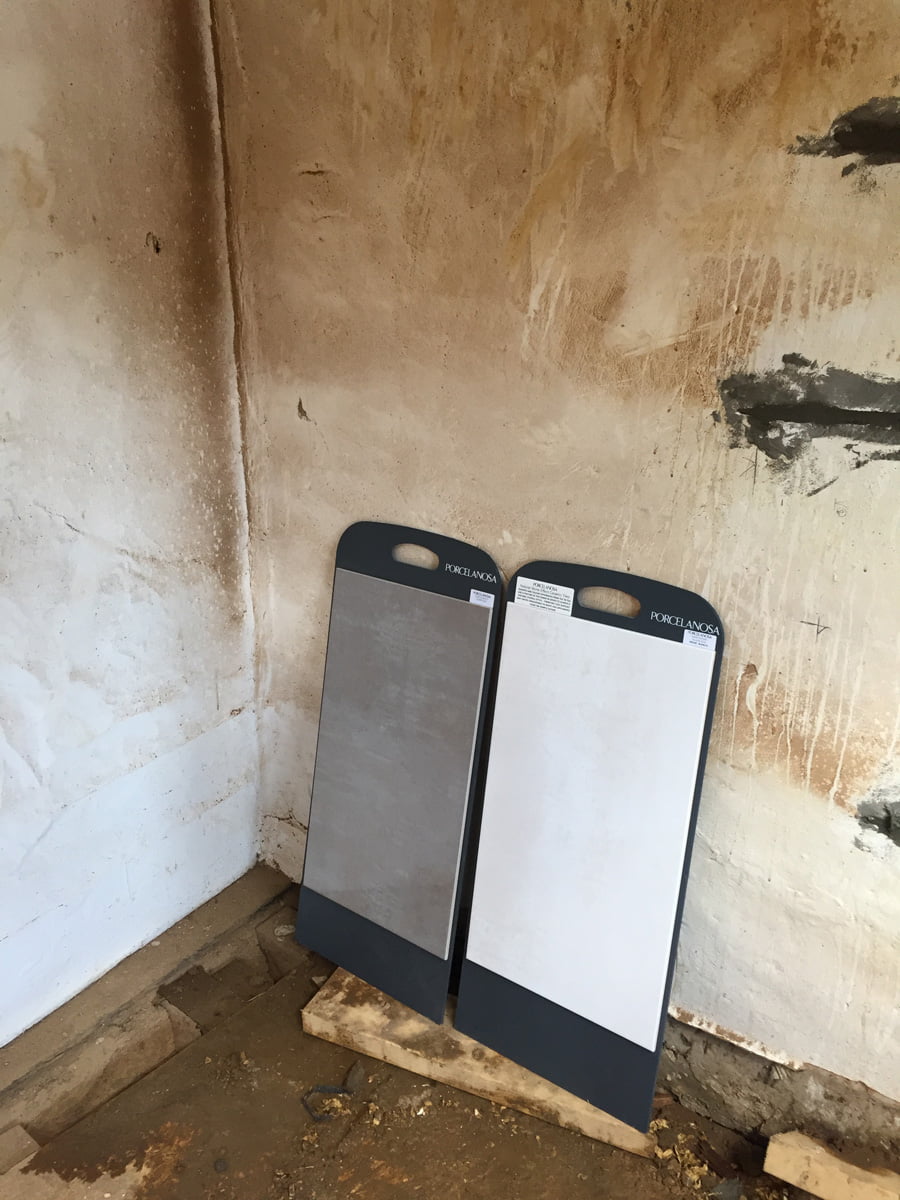
I think the paler tile is a winner. It is going to be a fairly small bathroom and we are only tiling the shower, but we think the darker tile will be too oppressive in this space.
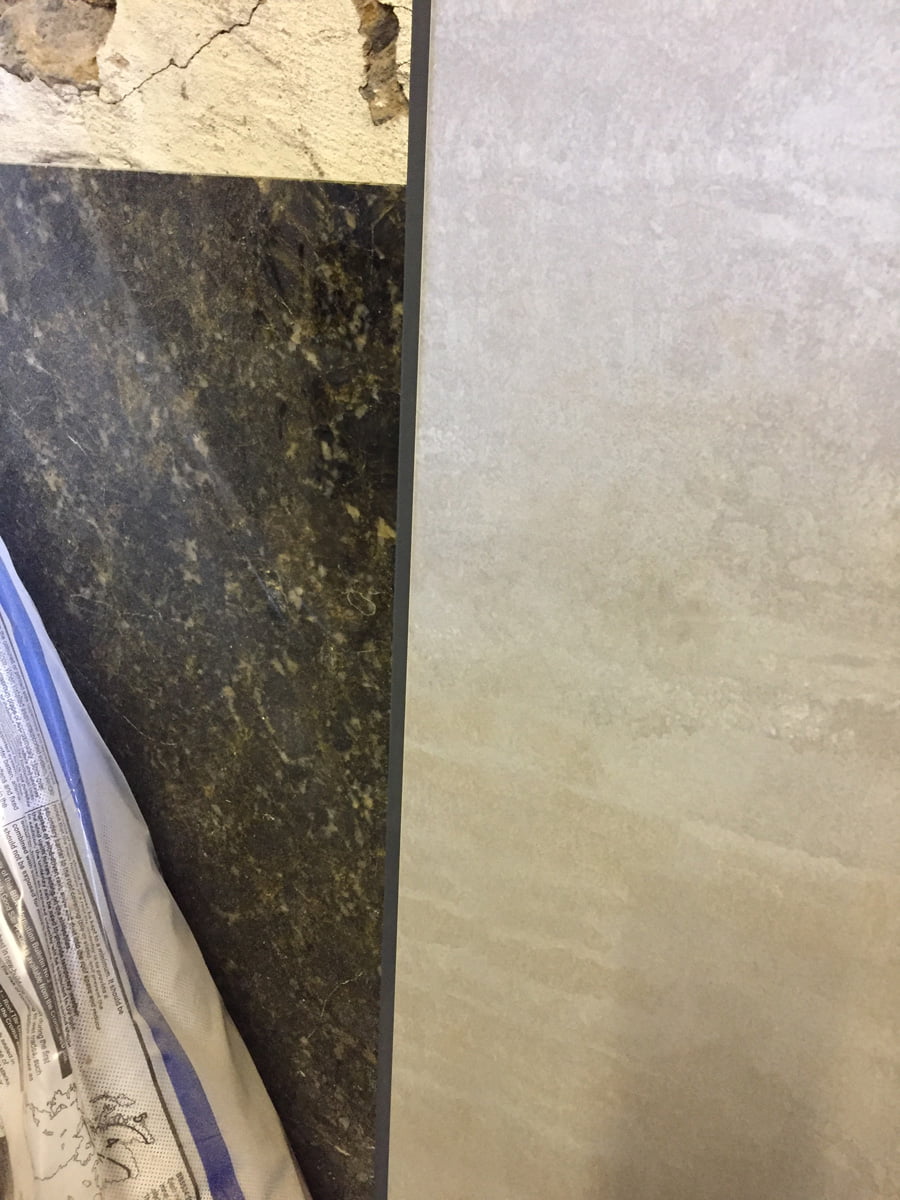
Comparing the tiles with the beautiful piece of black granite that we are going to be using as the plinth for the sink.
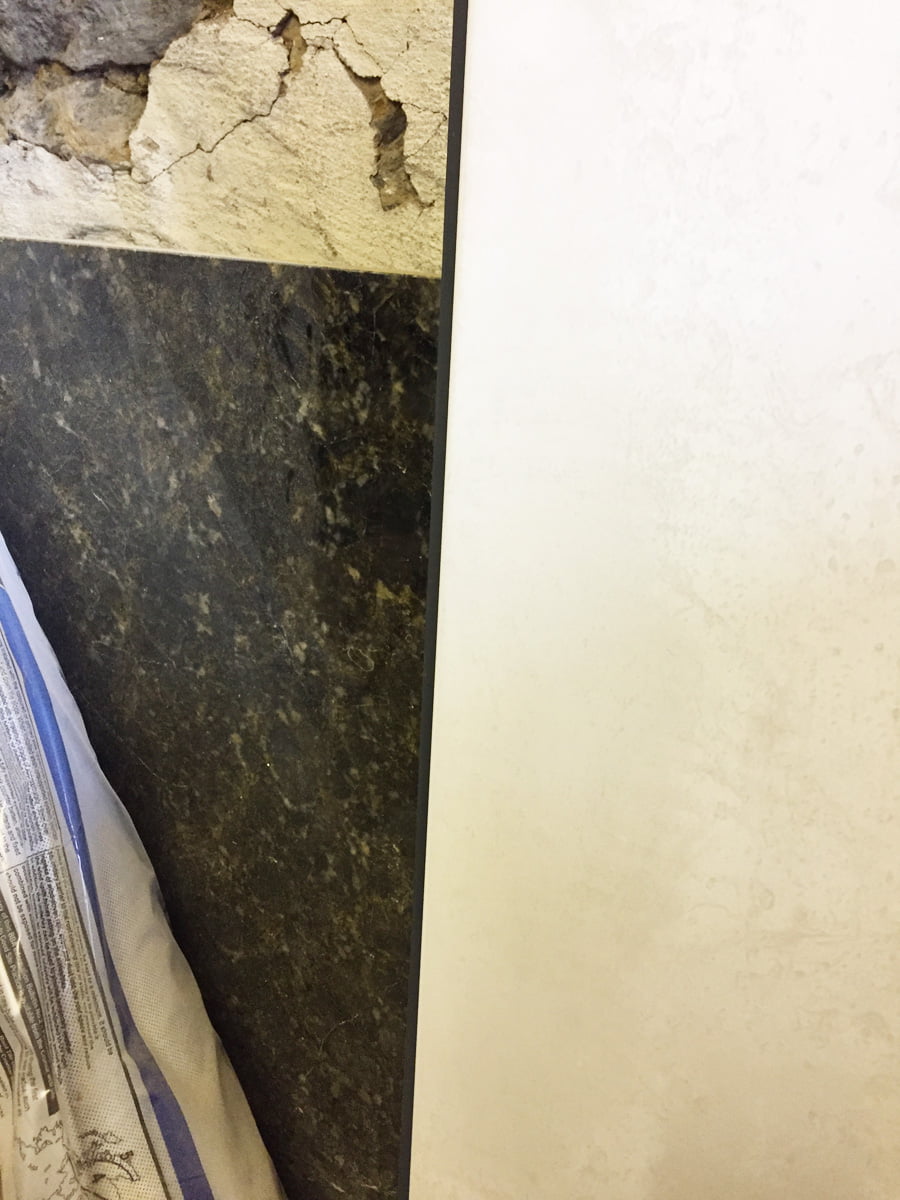
The pale tile is definitely the best match.
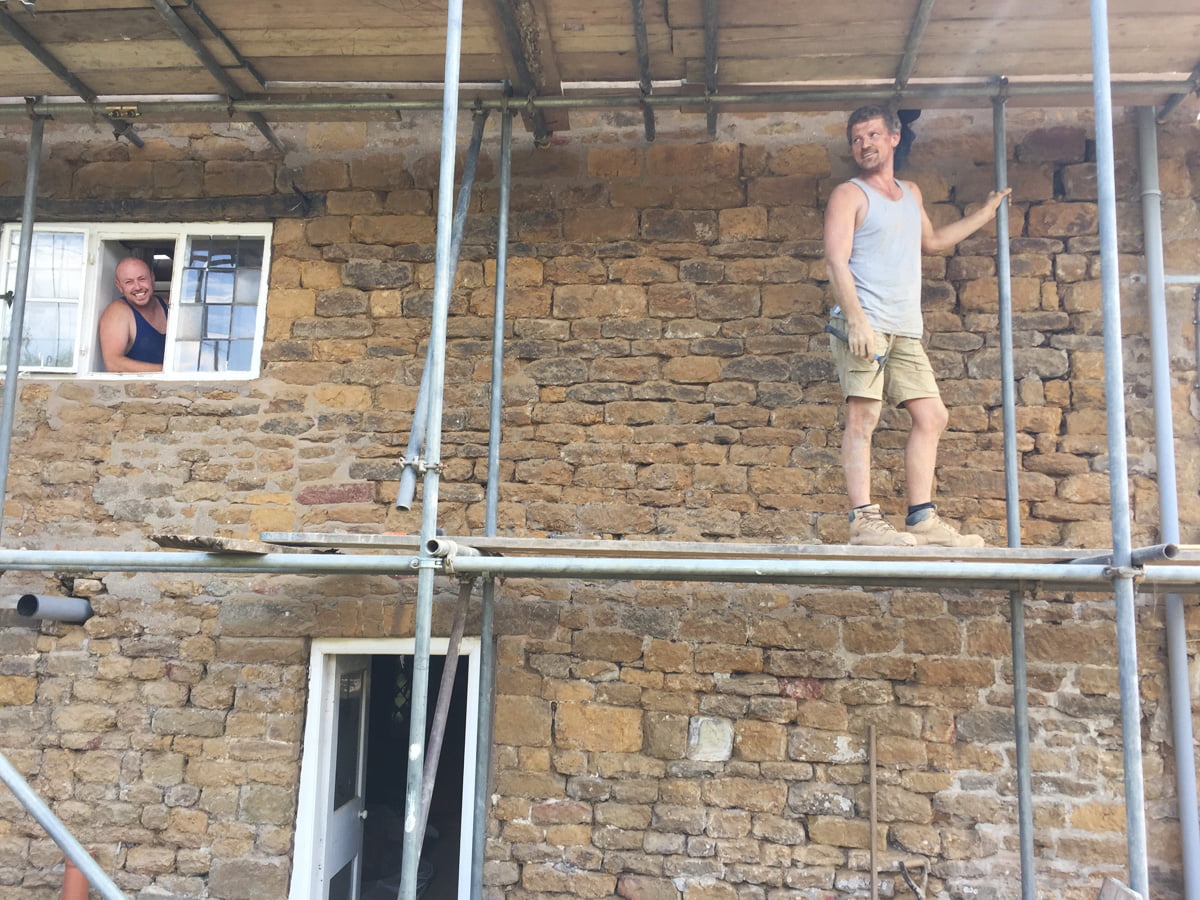
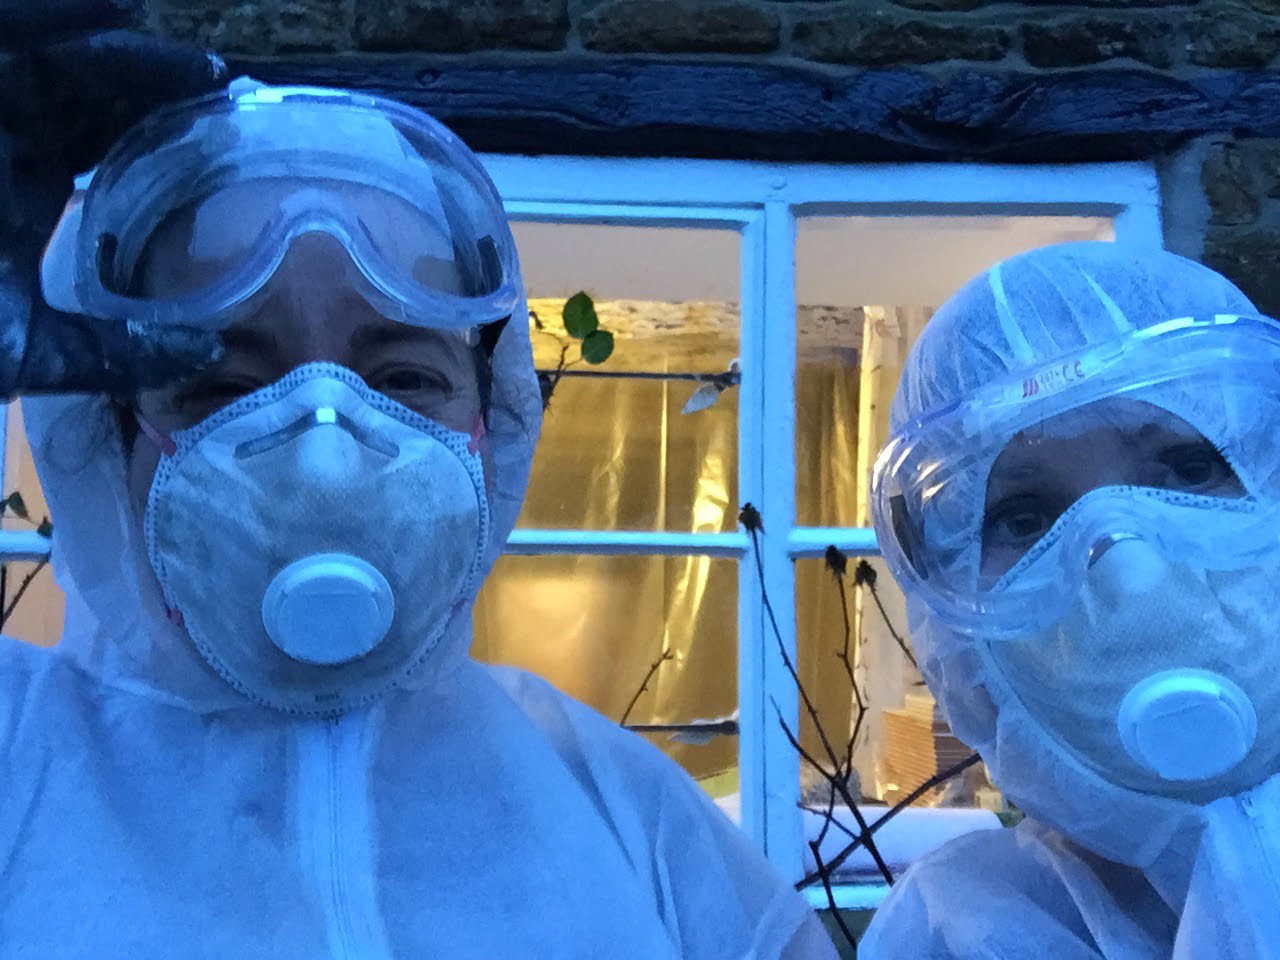
It’s almost as if they posed for this shot (they didn’t).
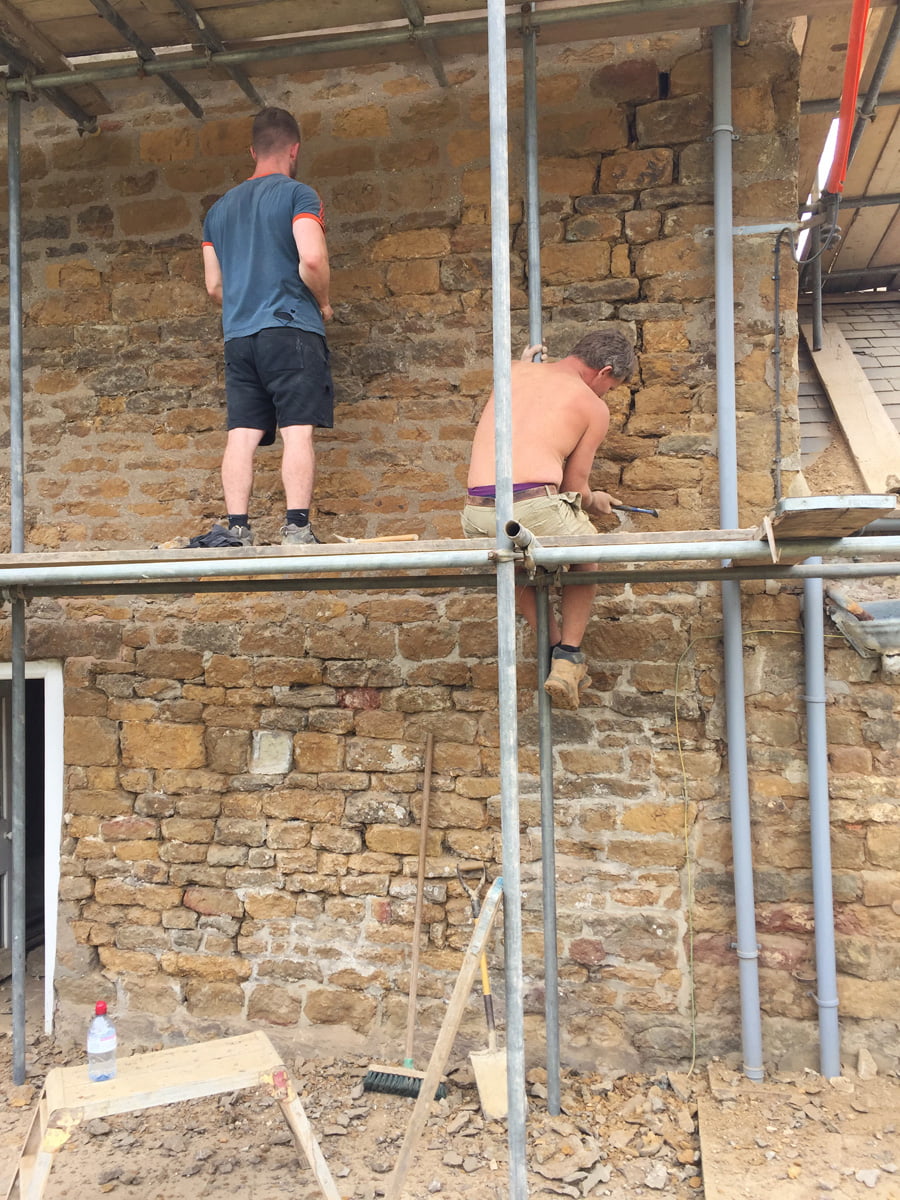
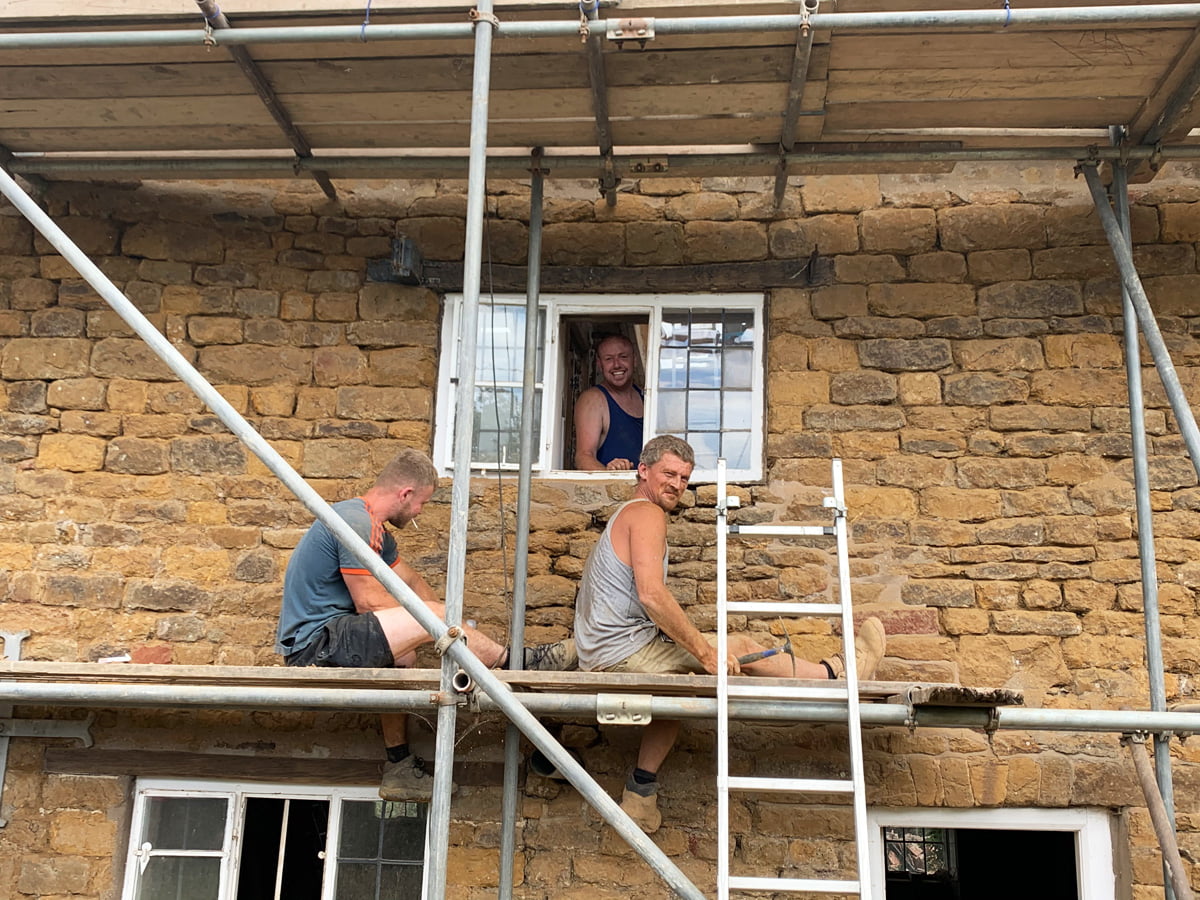
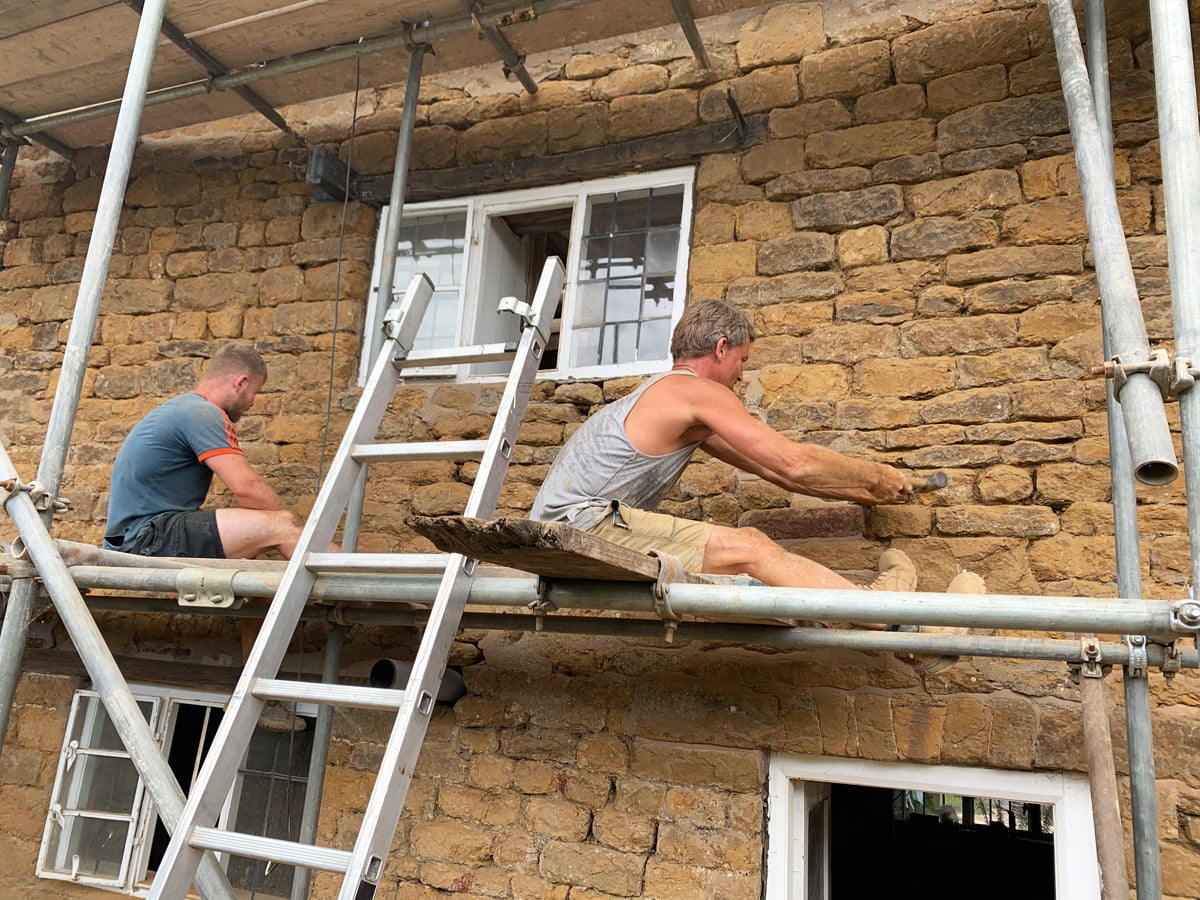
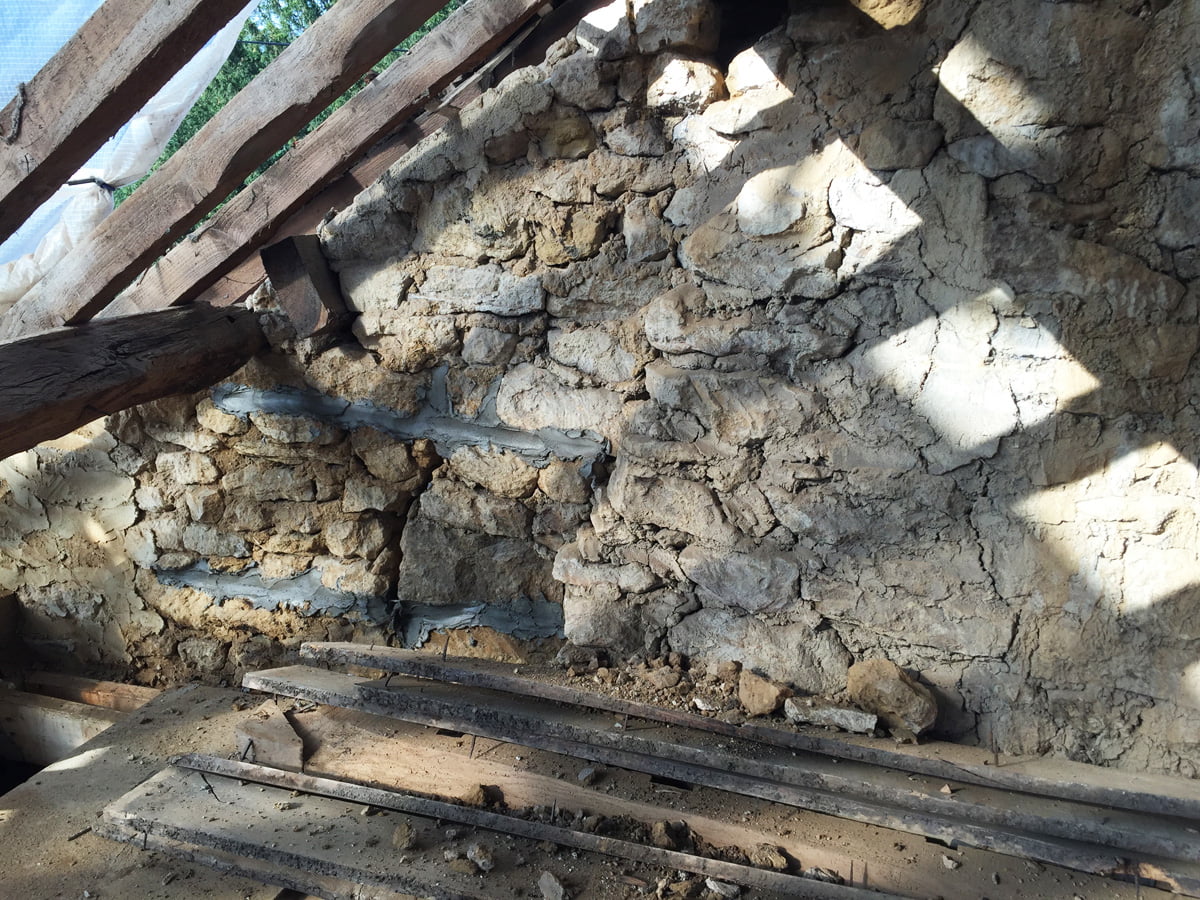
George and Tom are raking out the cement pointing from the back wall today. The hottest day of the year and everyone is melting. There are several layers of cement, all with differing strengths.
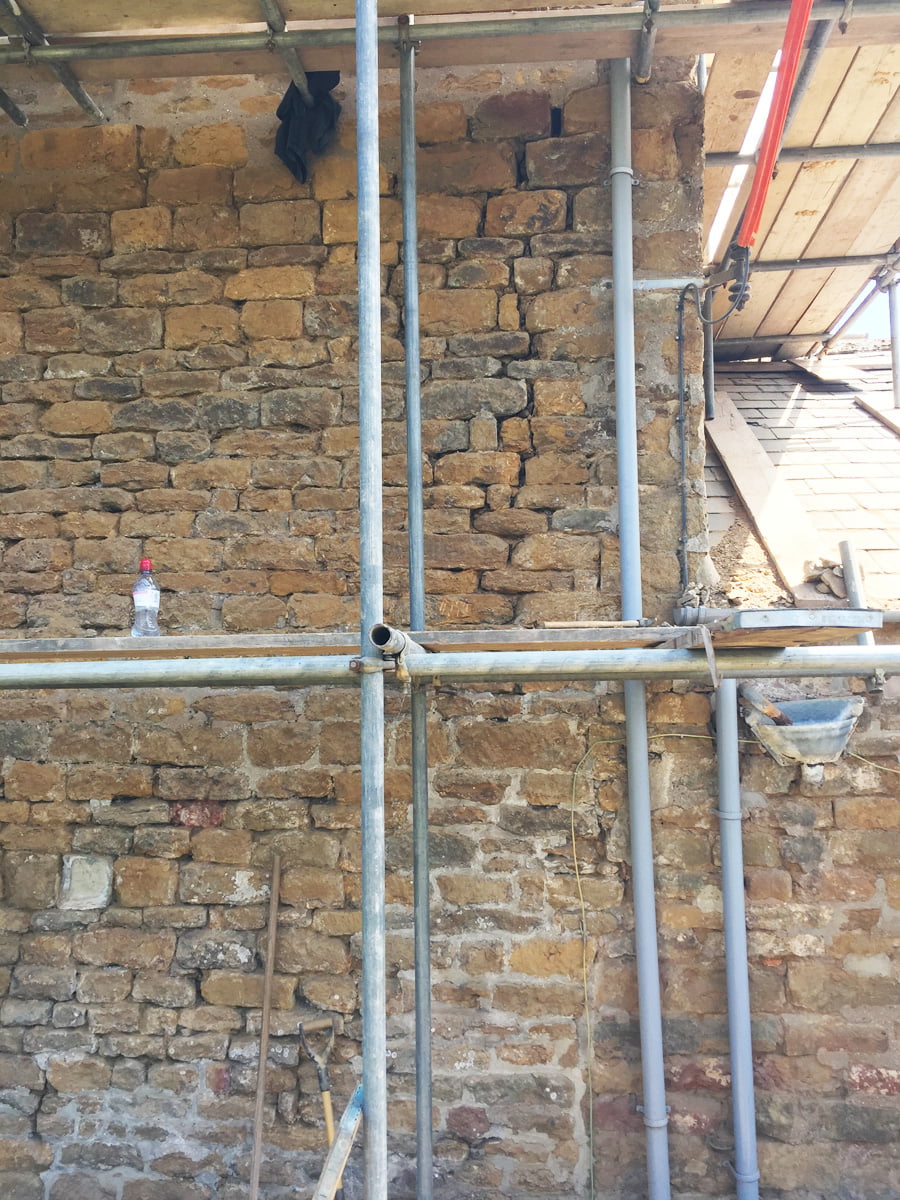
They have uncovered the other side of the crack in this corner (the staircase is behind this wall). More Helibars! The concrete at the bottom of the wall, added to strengthen the crack I imagine, is so hard that it is proving very difficult to remove.
Friday afternoon!
The stone underneath the landing window here is so loose you can actually remove it with your hands. Another hollow bay window. This will need a lot of repairing.
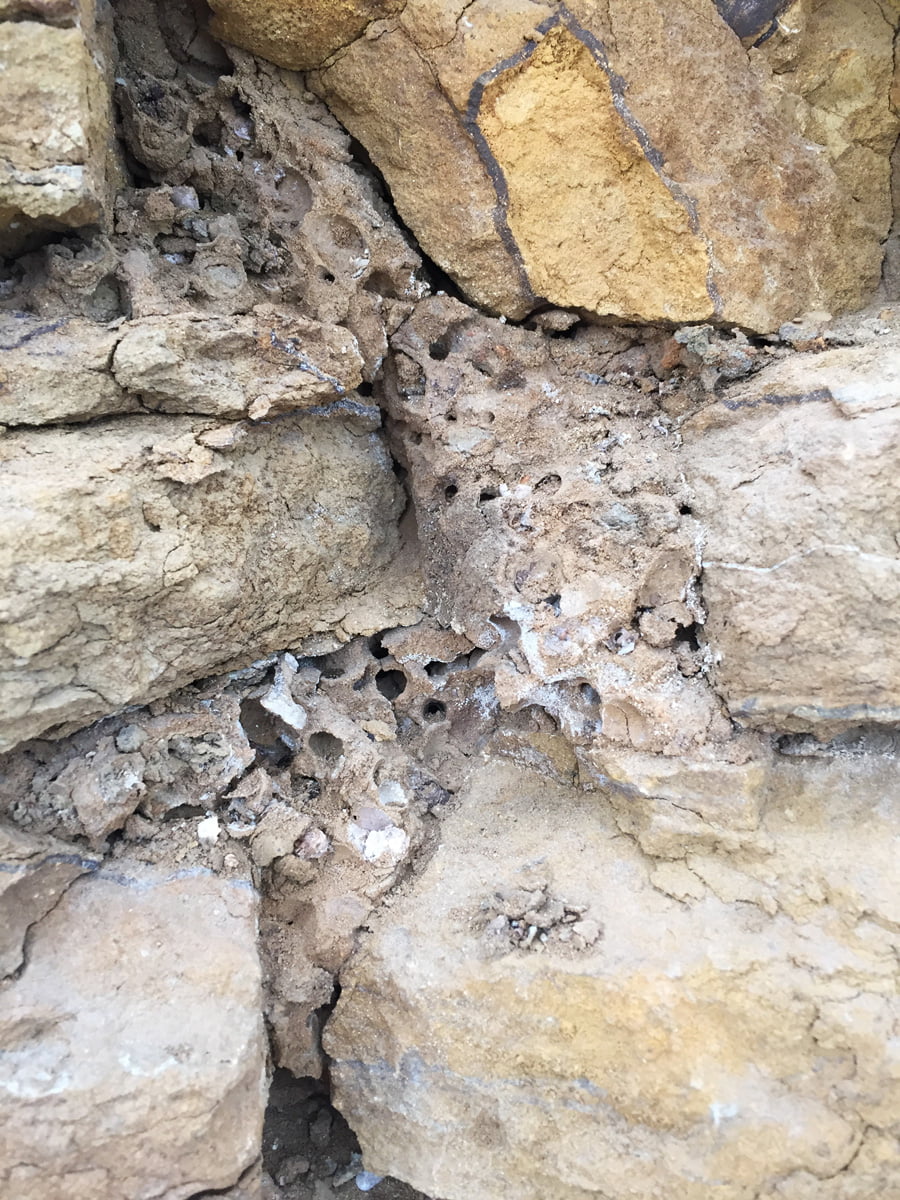
Up on the gable end wall on the roof, we noticed this in the mortar. We have masonry bees in the walls (we see them all the time) and we think this is their home exposed. Fascinating!
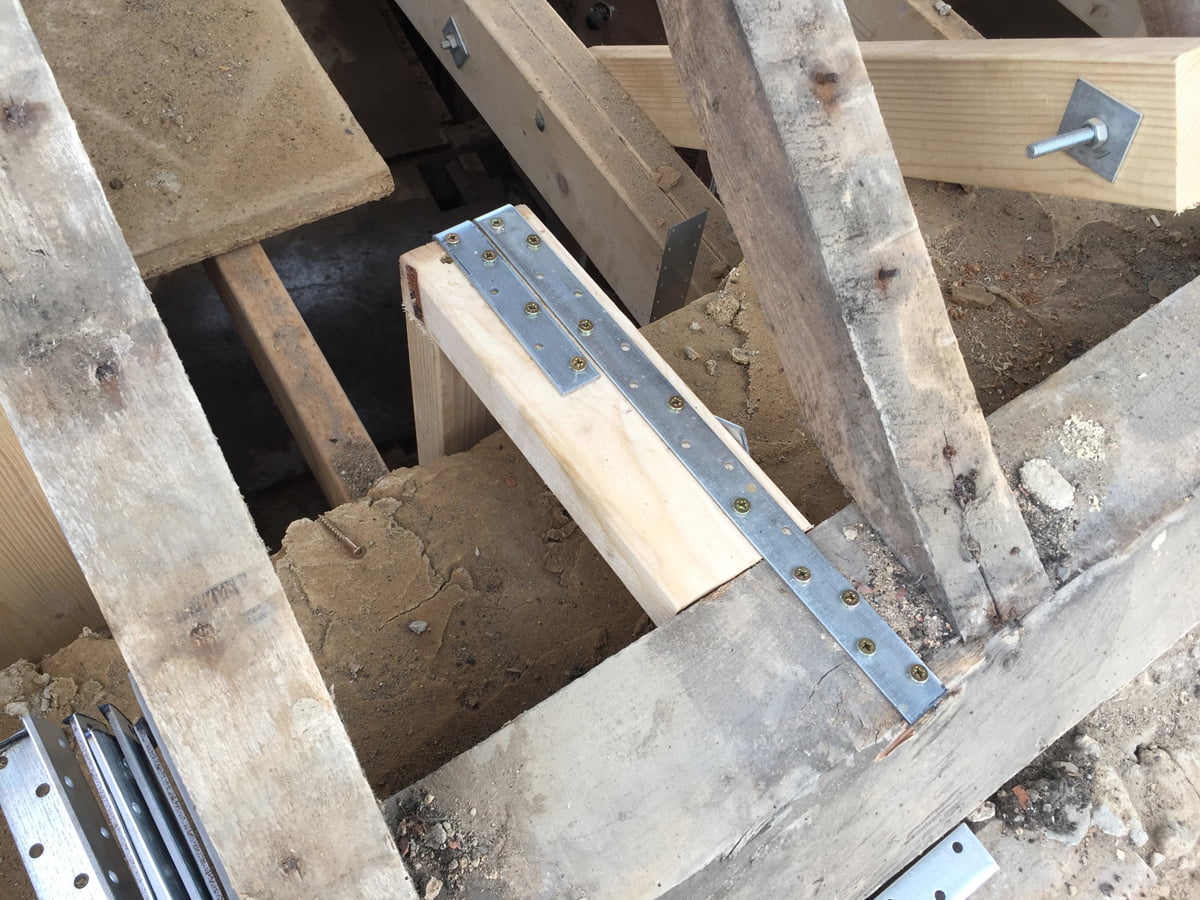
Our roofers, Pete and Roger, popped by to inspect the roof structure and discuss the solution to the ends of the roof – as the walls have moved outwards, the roof is now smaller than the walls.
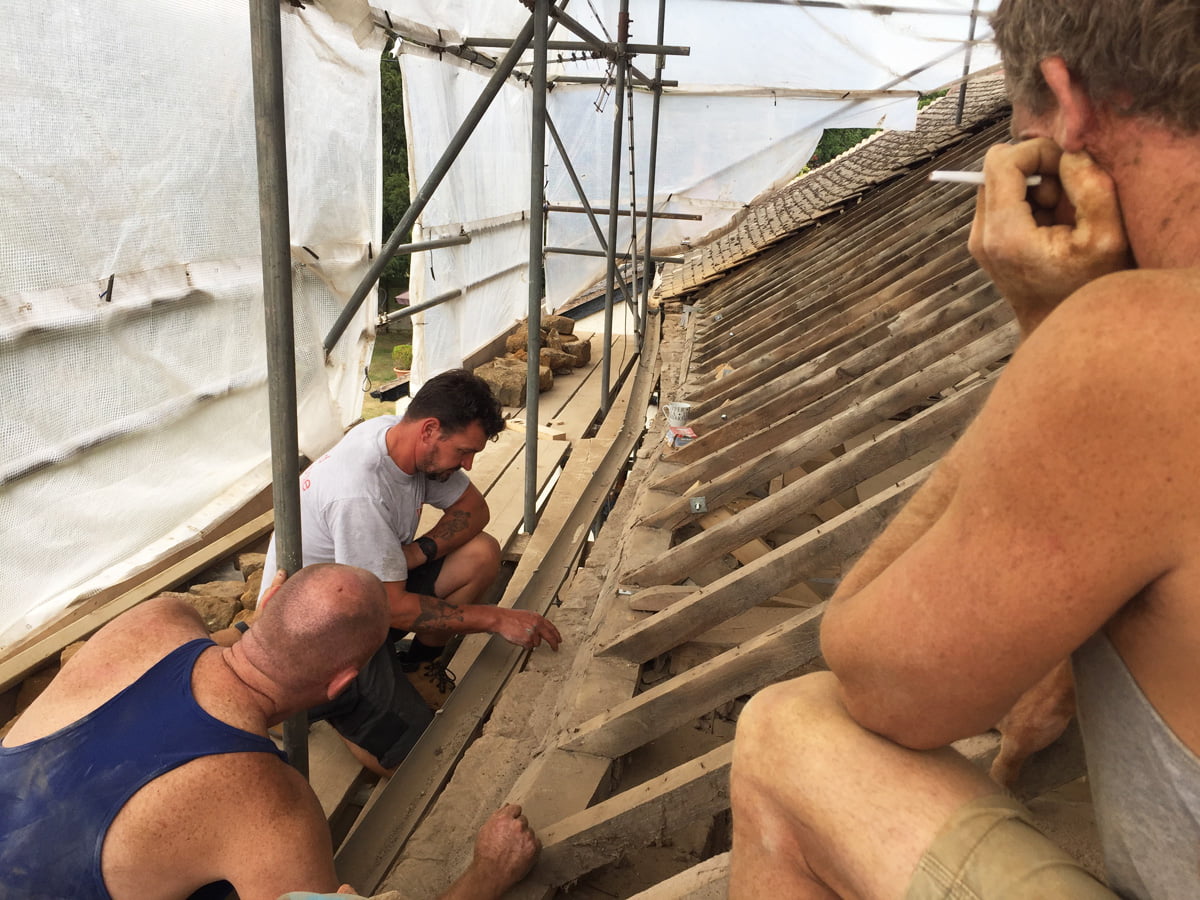
Roger and Dan scratching their heads over the best solution. It’s not going to be easy. You can see the rafters and wall plates finish before the ends of the walls, so they are going to need to build the rafters up towards the end.
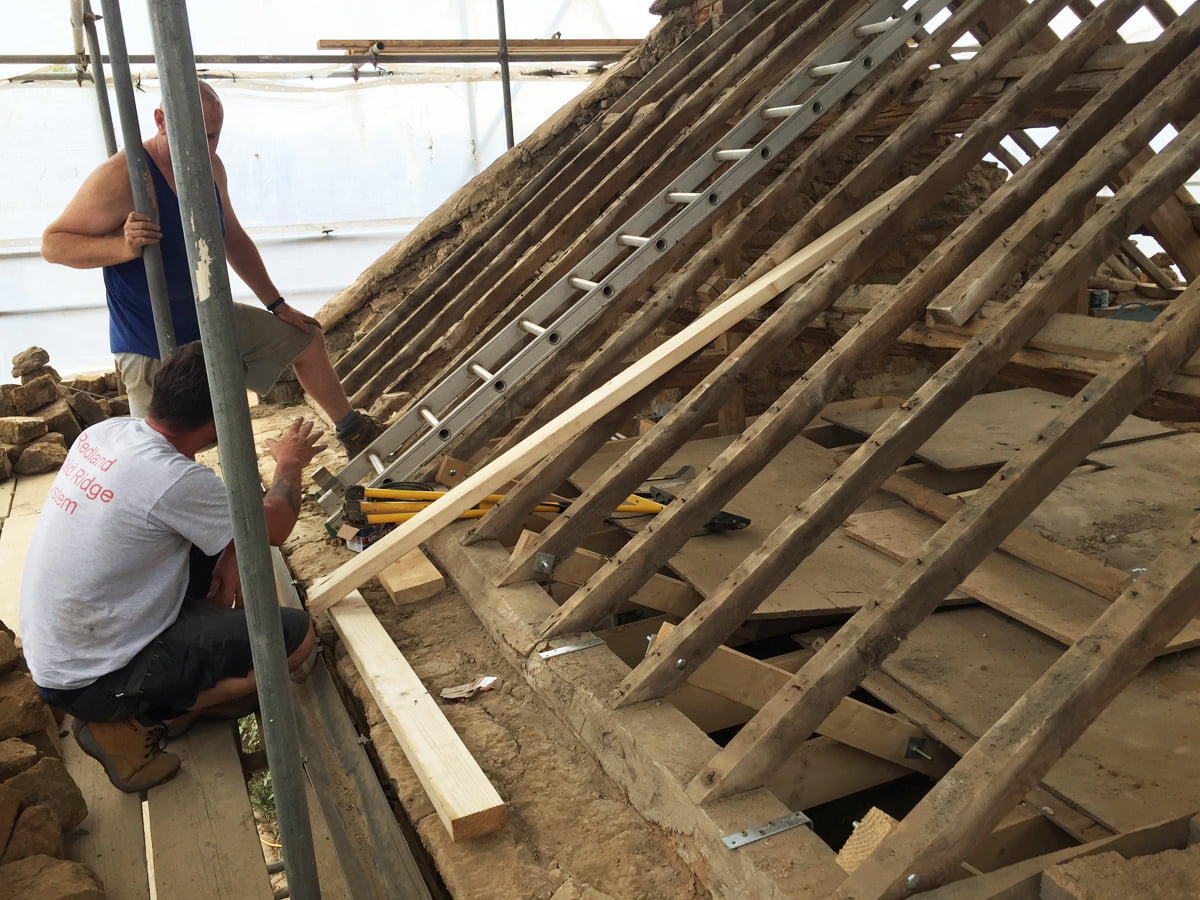
And this is their solution, front and back, another timber wall plate added at the outside of the walls, along with timber fitted from the lowest purlin level, to extend the rafters, rather like a ski jump.
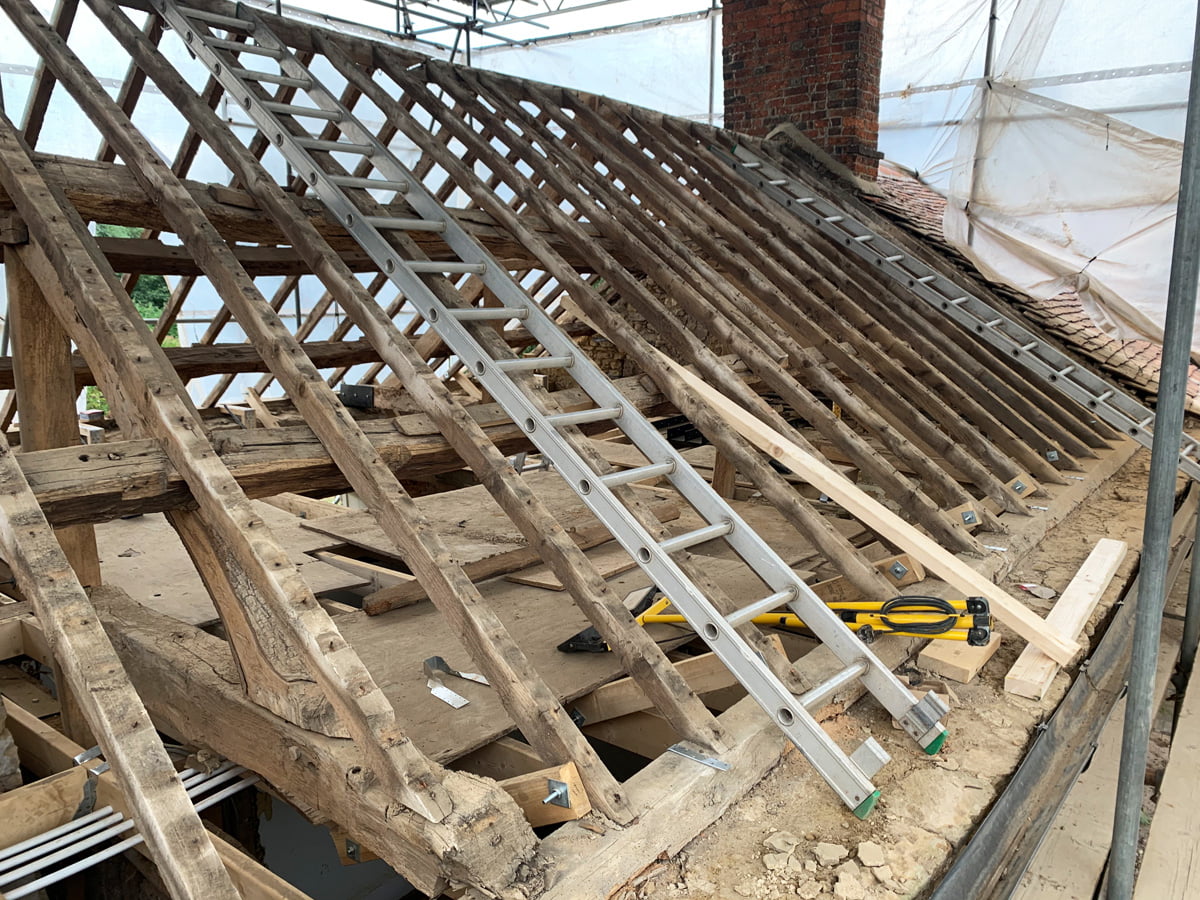
You can see the need for this solution!
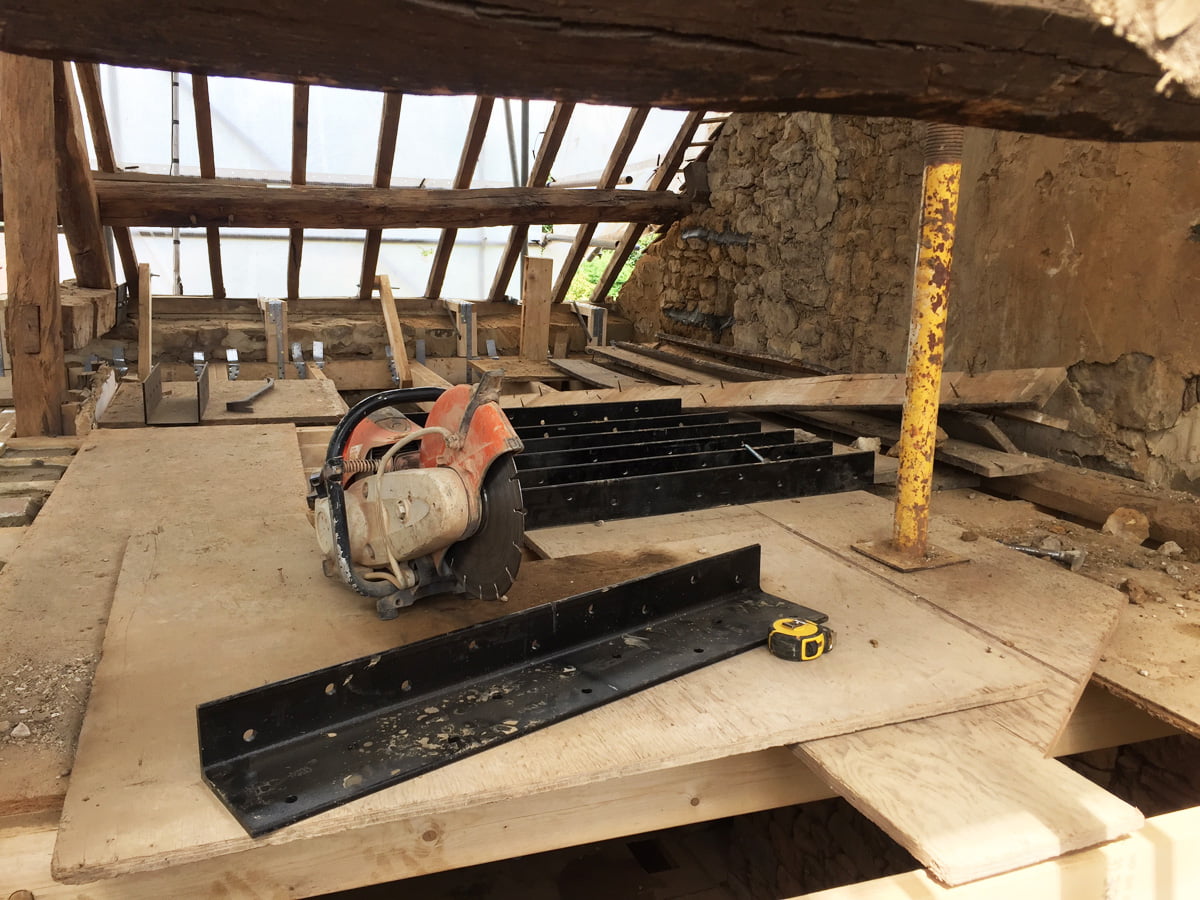
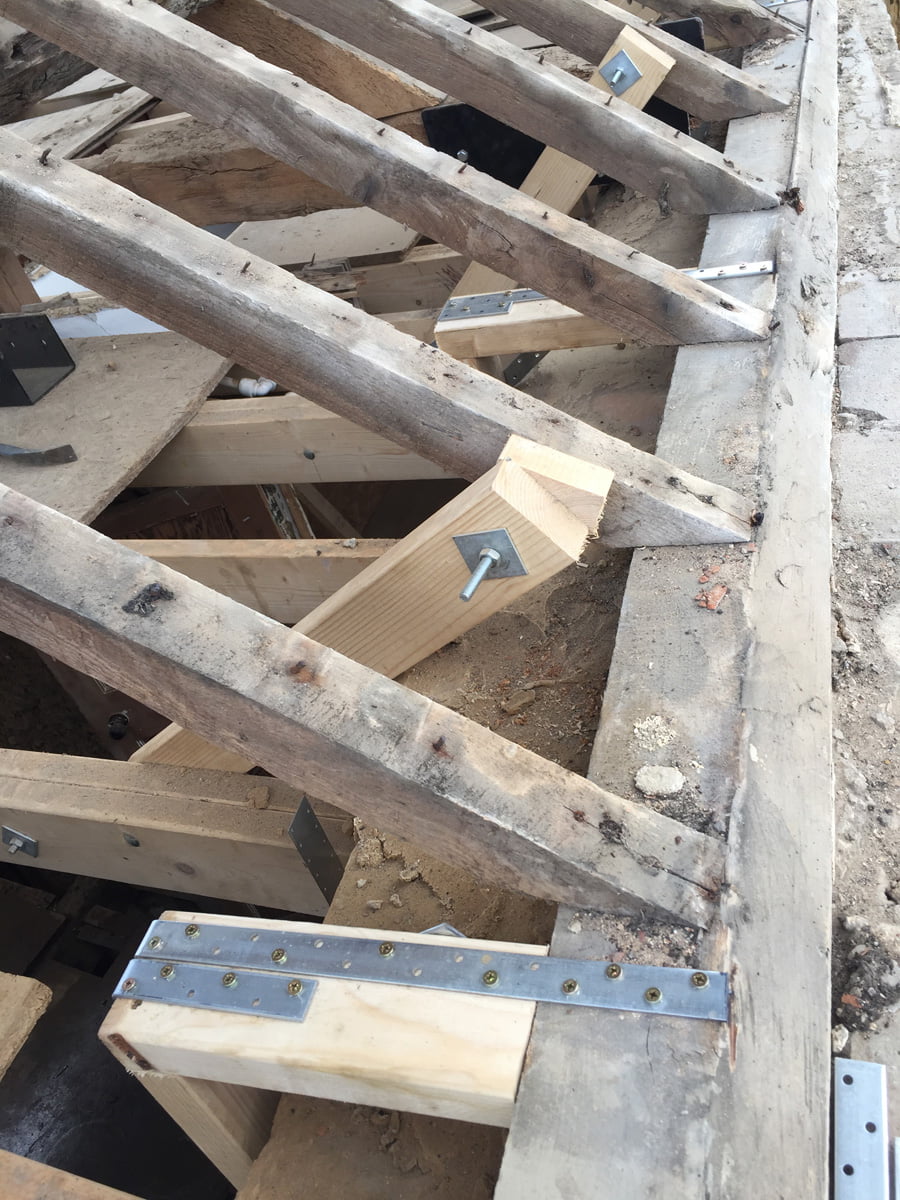
Dan has started fitting the first of the 7 steel angles to the purlin ends.

This steel angle had to be cut down as it was too long to fit into the wall that we share with our neighbour.
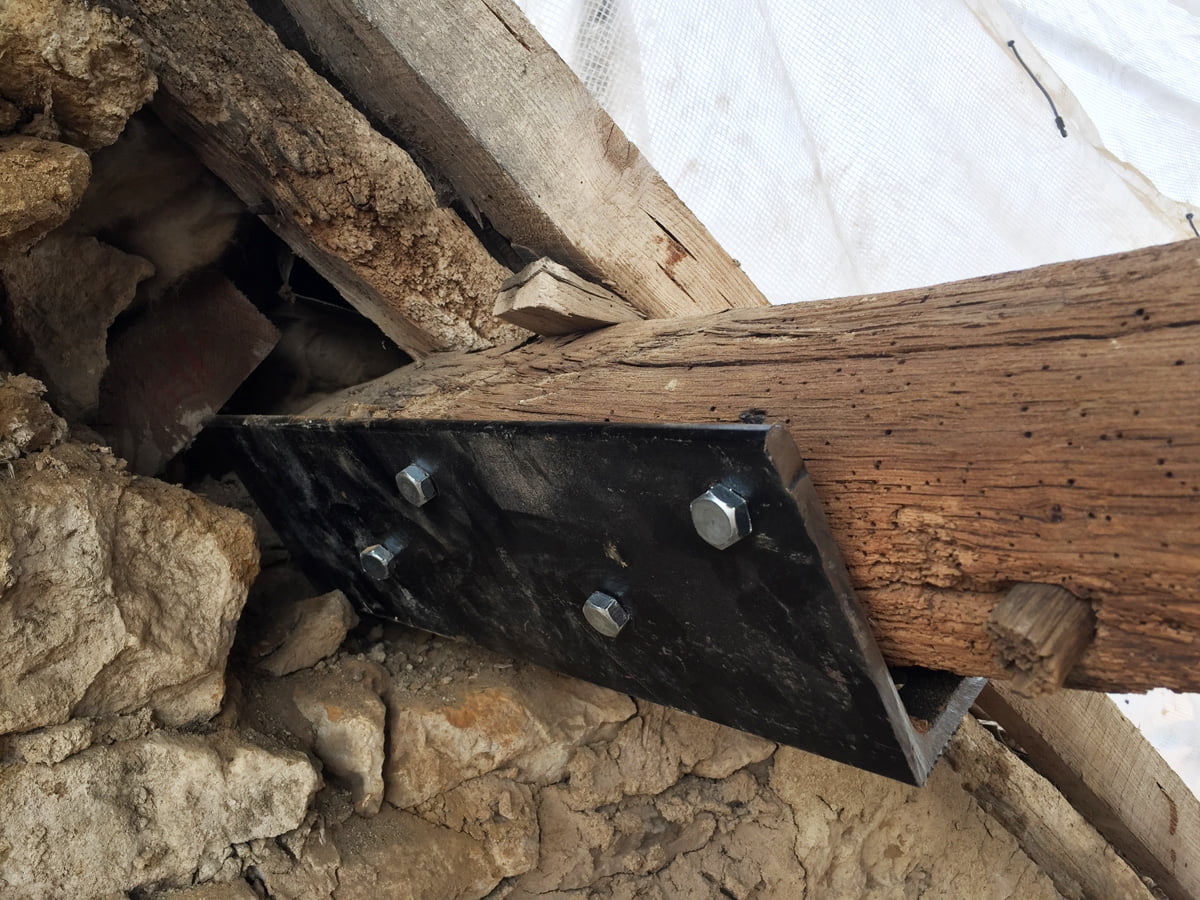
You can just see the neighbours purlin sitting at the back of the hole.
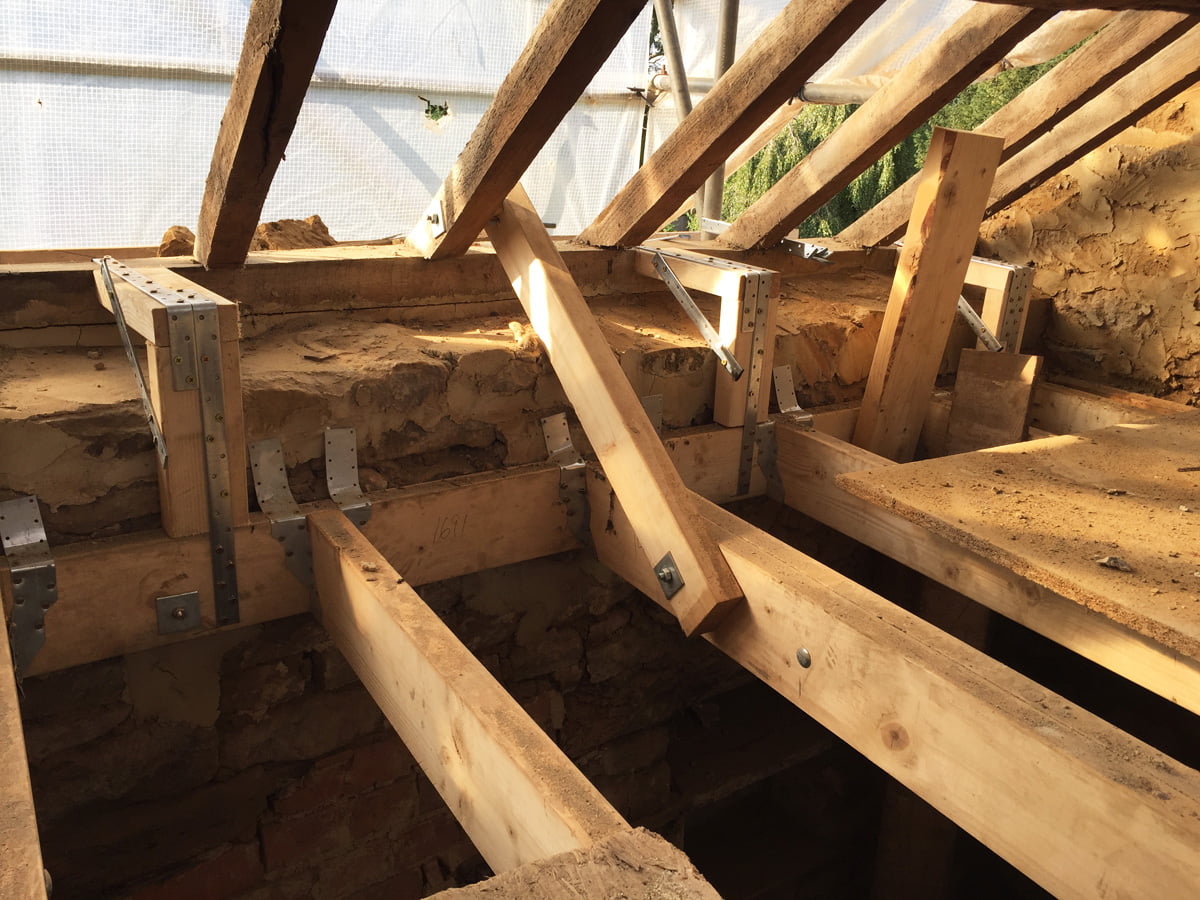
Dan’s creative strapping solution for the back wall plates seen from inside.
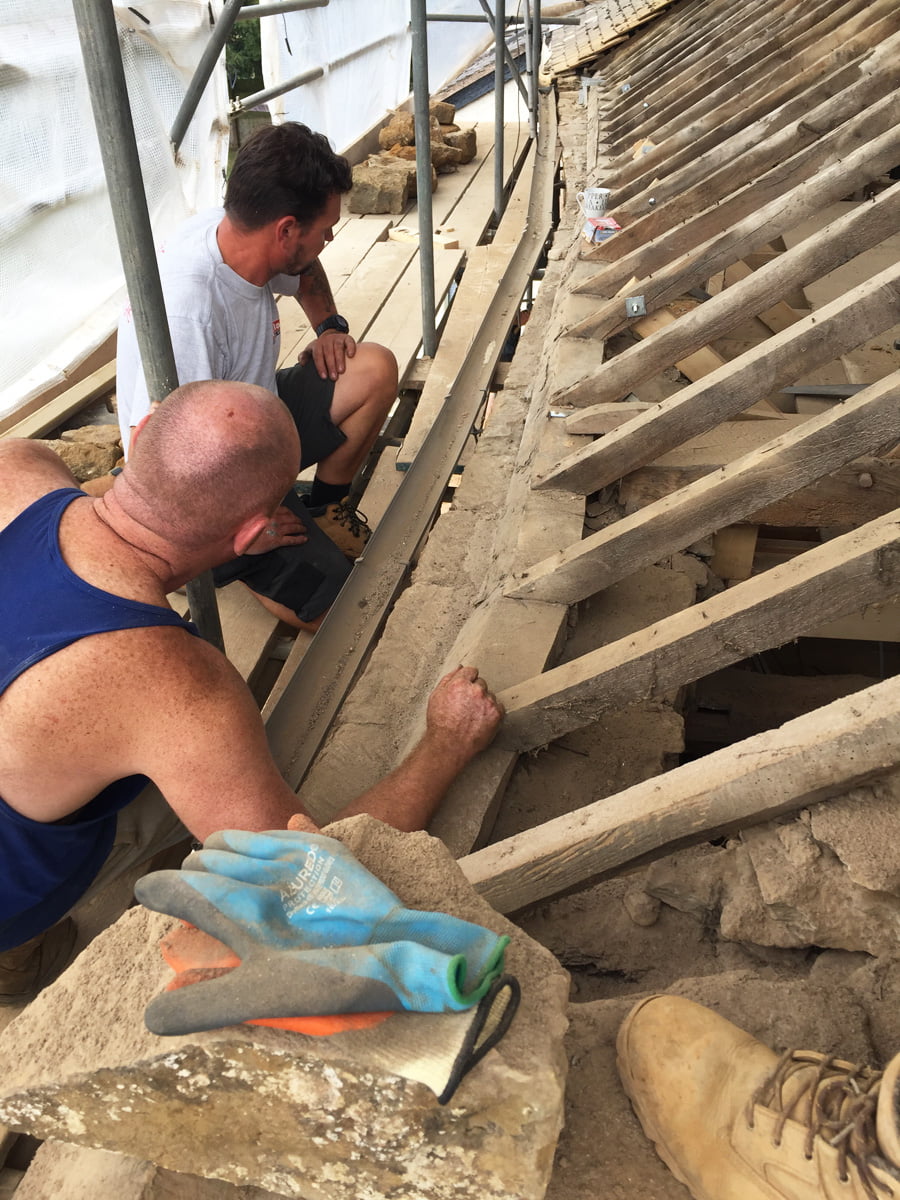
More Helibars were fitted to repair some cracks in the gable end wall that we share with our neighbour. The purlin here is so rotten at the end that we have a steel shoe for it.

Food porn. Our MASSIVE beef tomatoes are ripening!