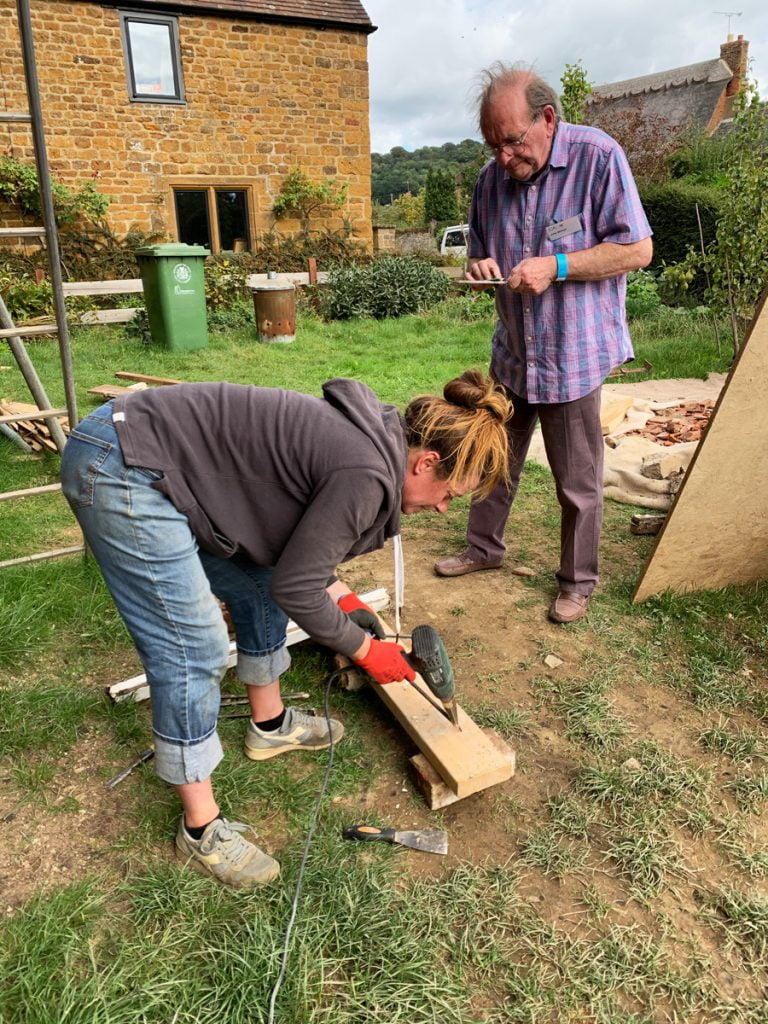
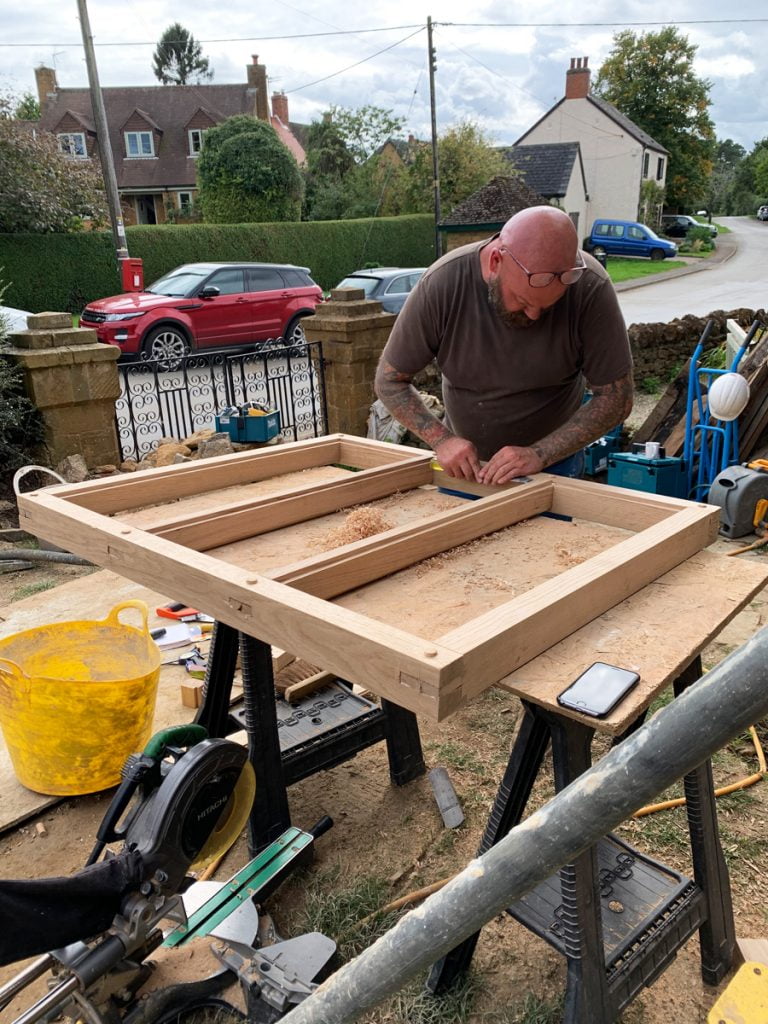
Glynn is back (on his one day off work) to tackle window number 3, the bathroom window. We had assessed the window last weekend and agreed it was beyond repair, the majority of it was rotten sadly, but Glynn is going to build a new window out of oak that is identical to the old window, in ONE DAY! Count down begins…
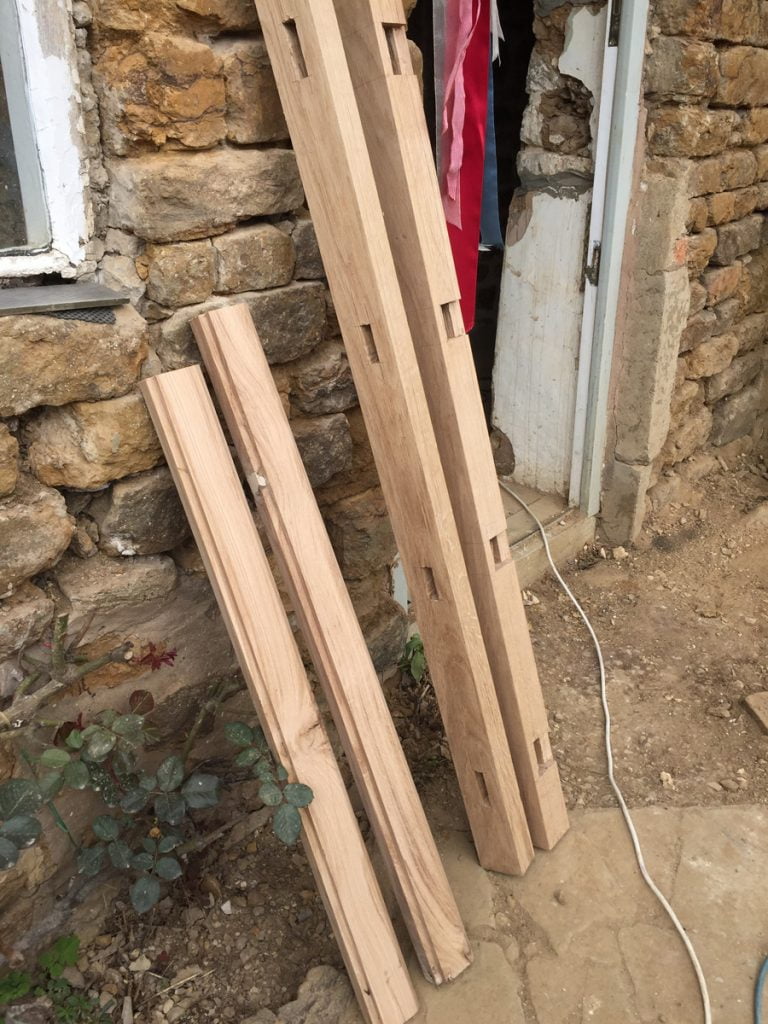
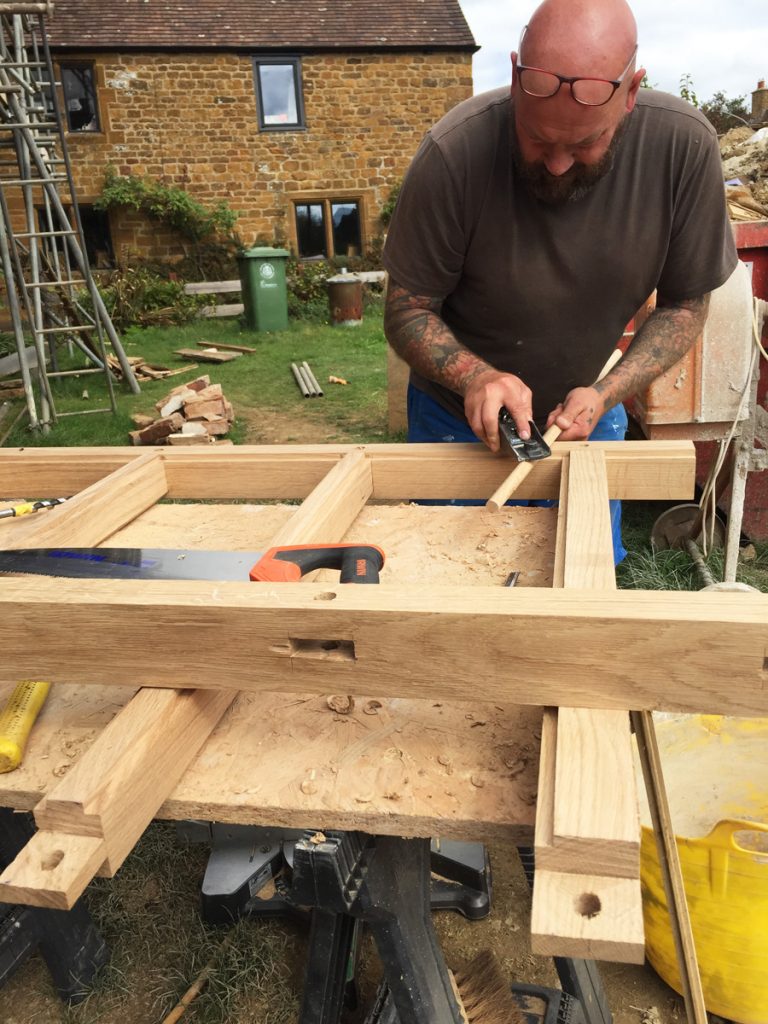
The oak has been pre-shaped and cut to size in the workshop, so Glynn has to custom fit the window (none of our windows are square), cut all the mortise and tenon joints and fit it all together.
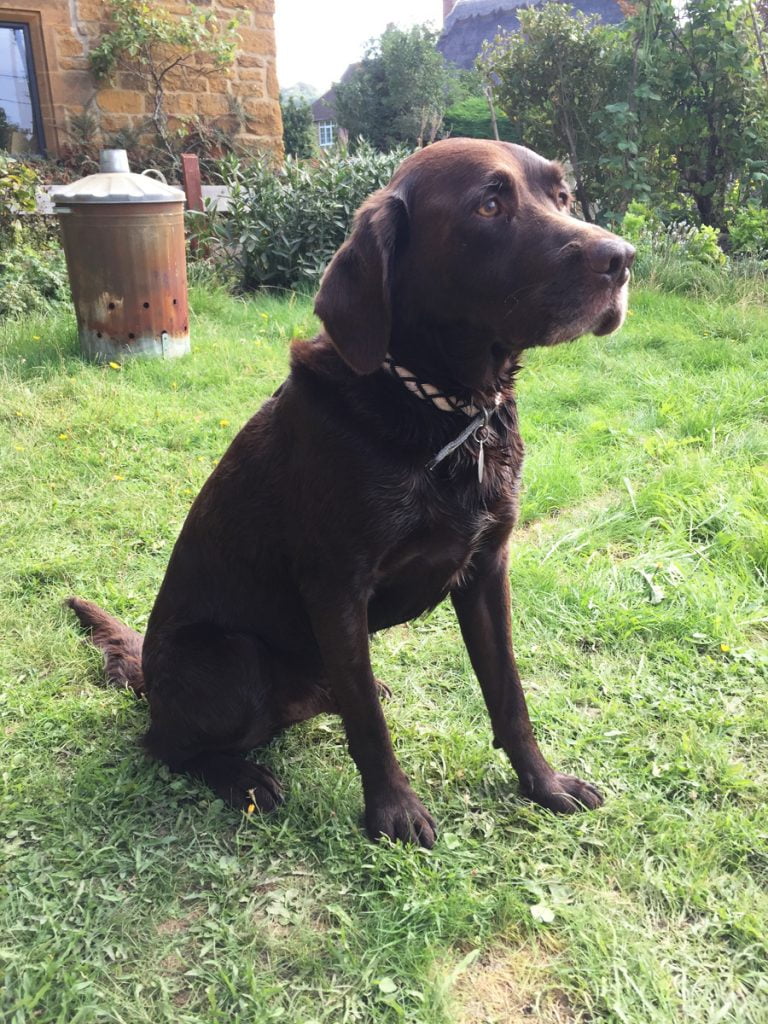
Jasper is happy that his friend Glynn is back, so joins us on the front lawn trying to be helpful.
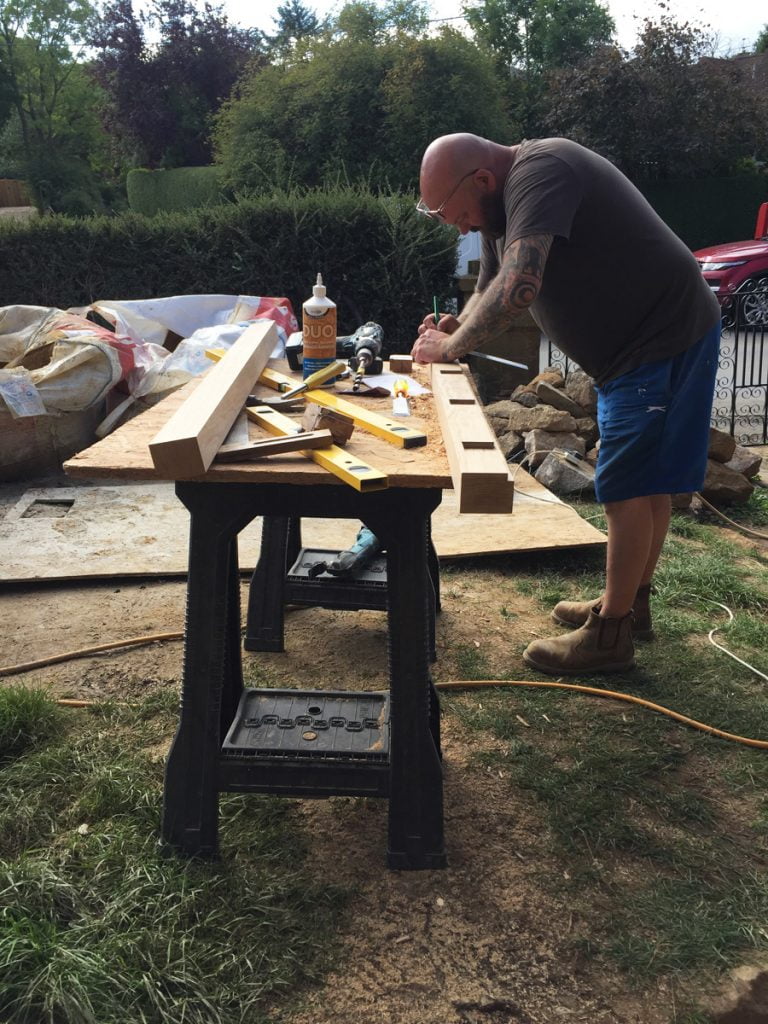
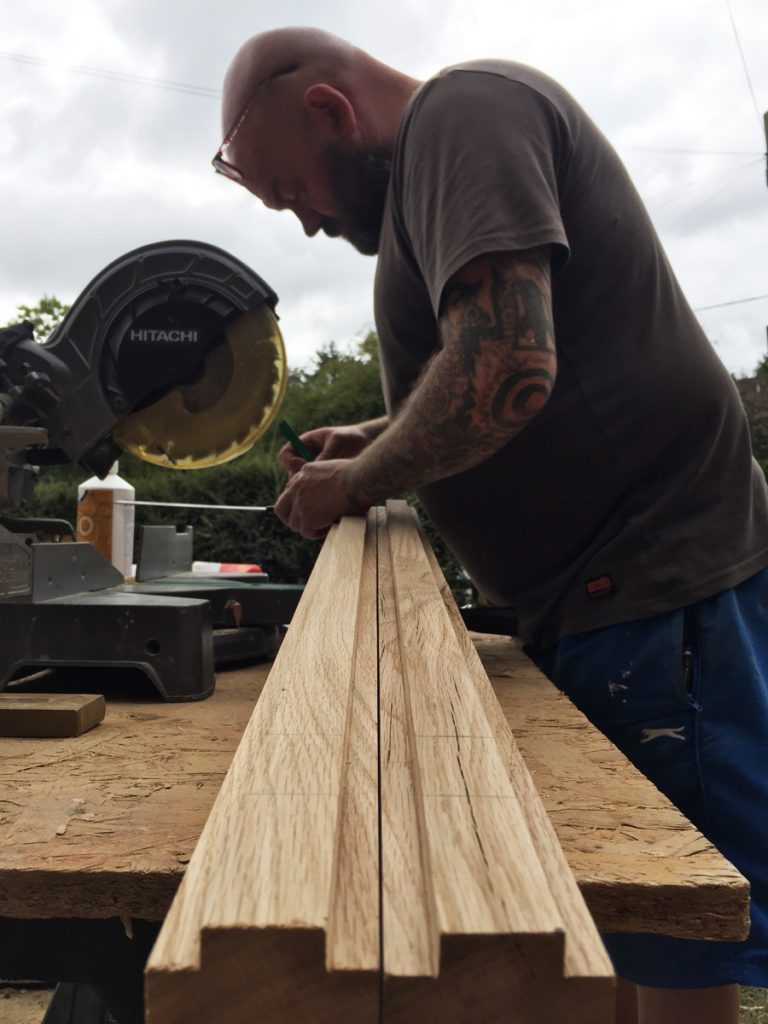
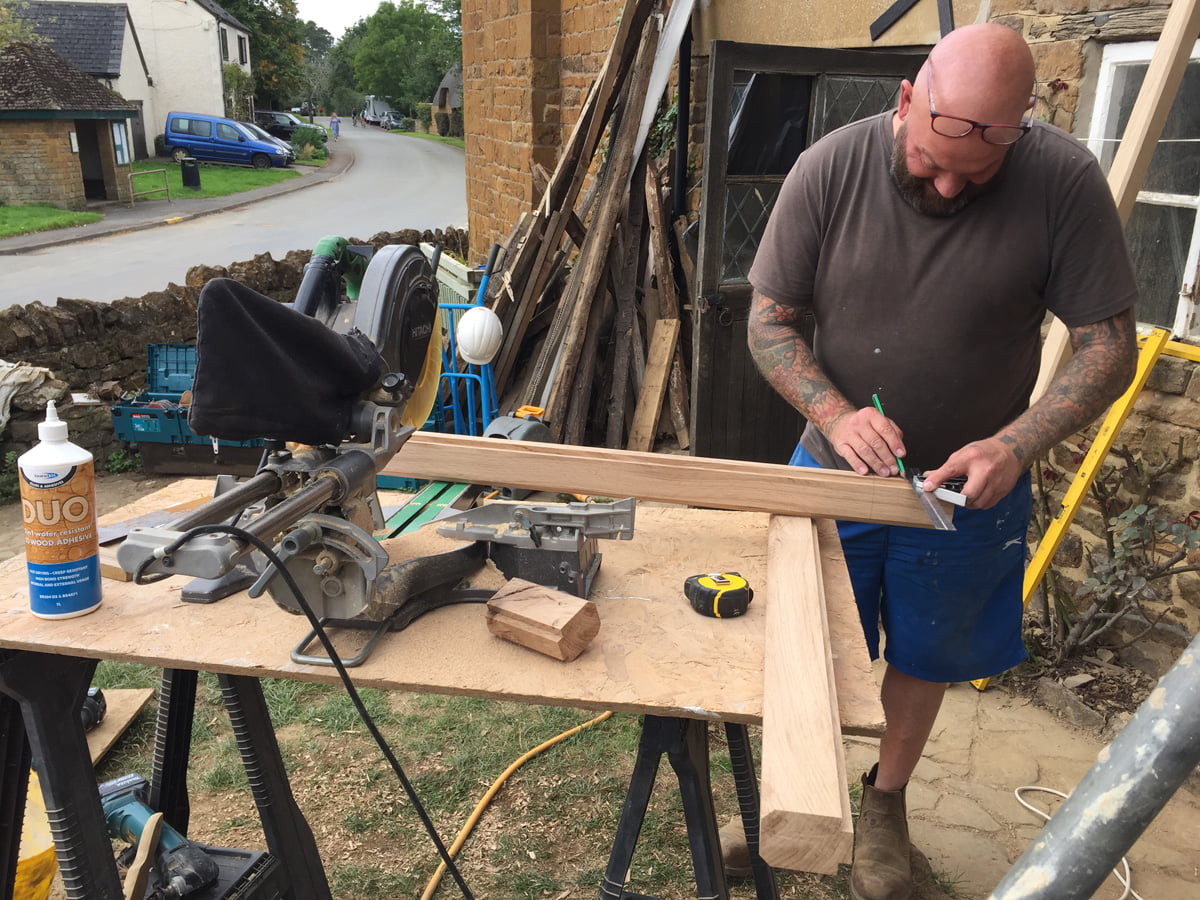
Glynn measuring and cutting the mortise joints.
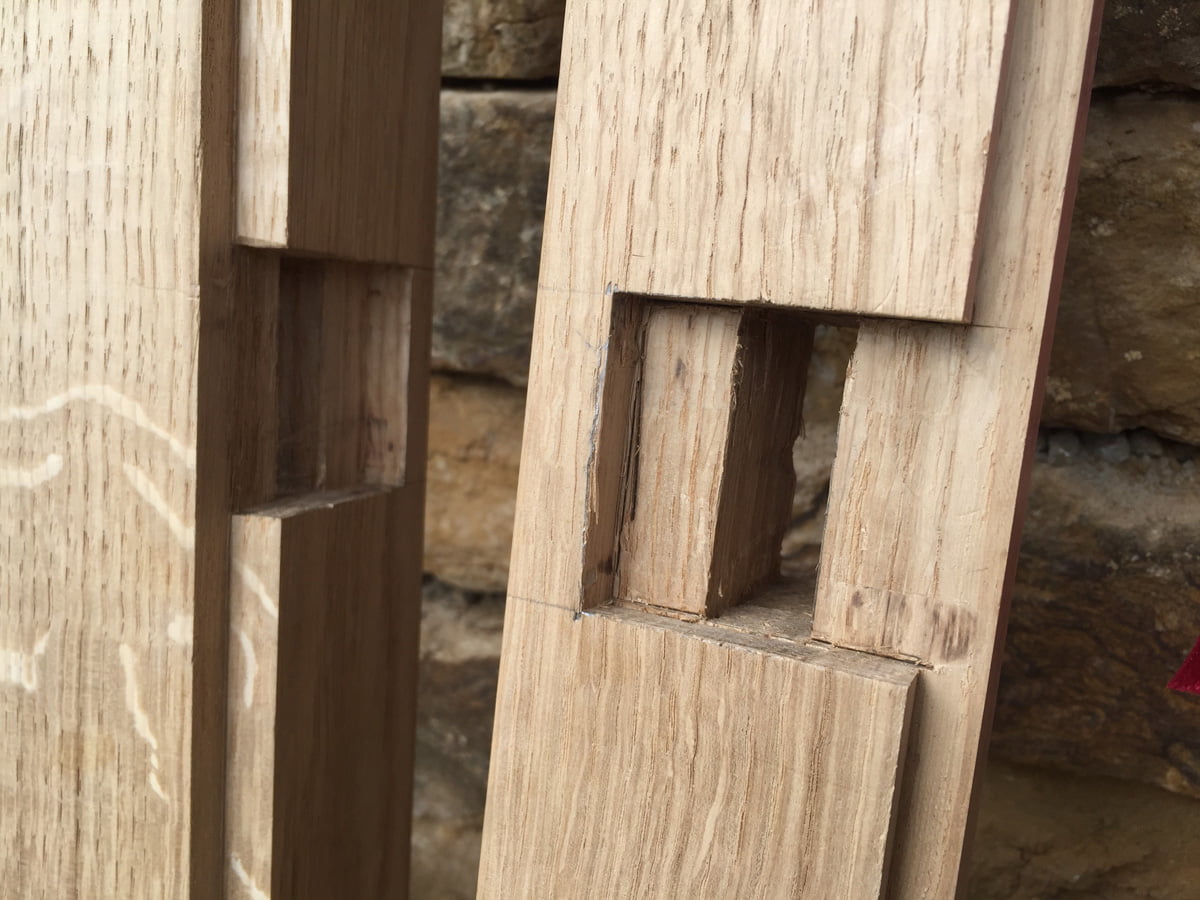
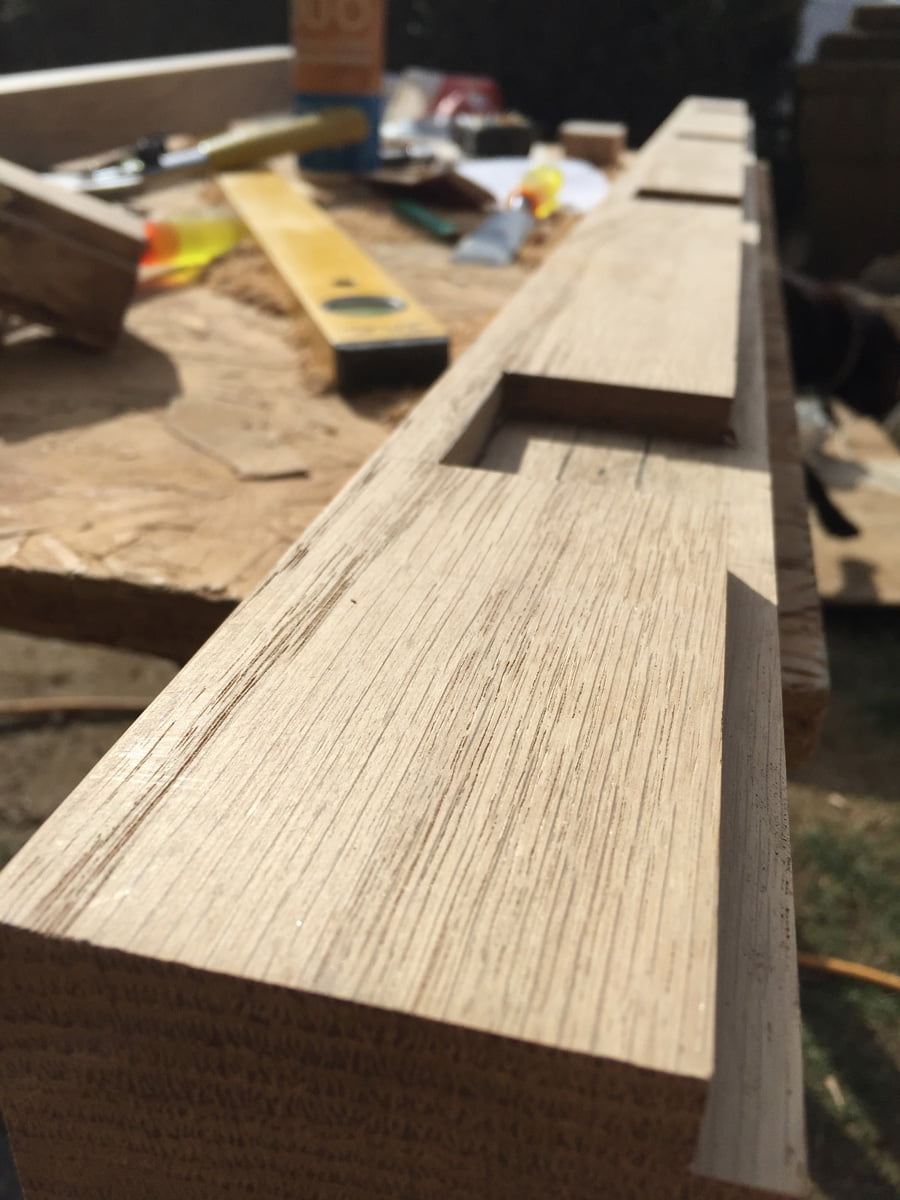
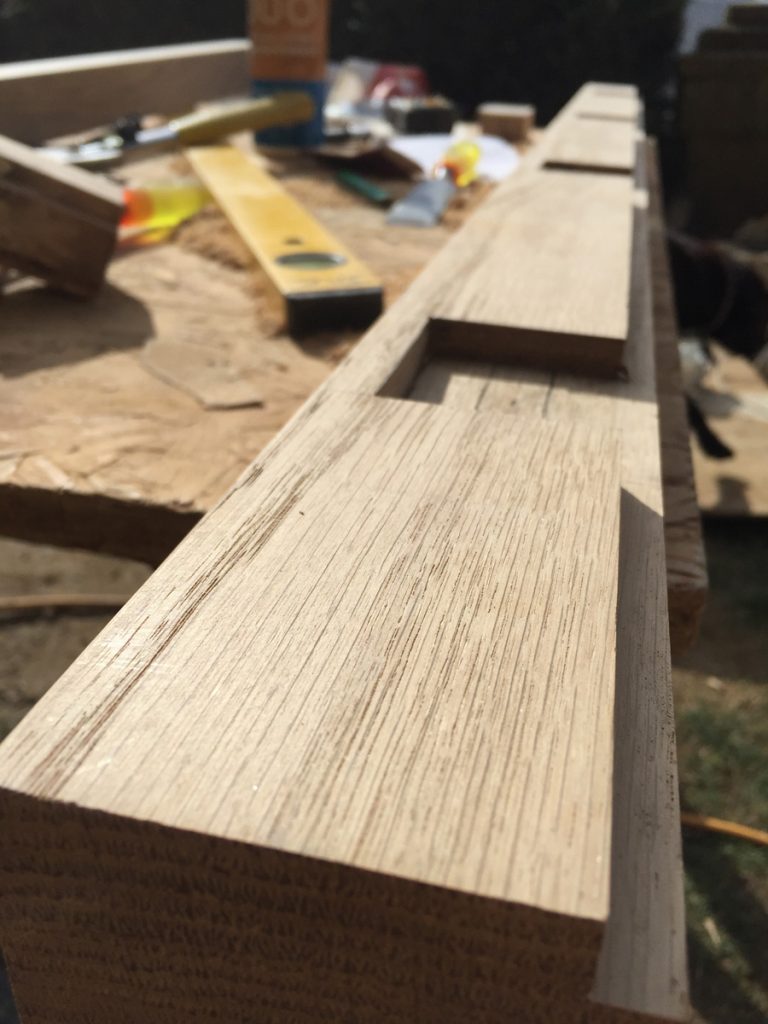
Mortise joints measured and cut into the main frame.
Tenon joints measured and cut into the mullions.
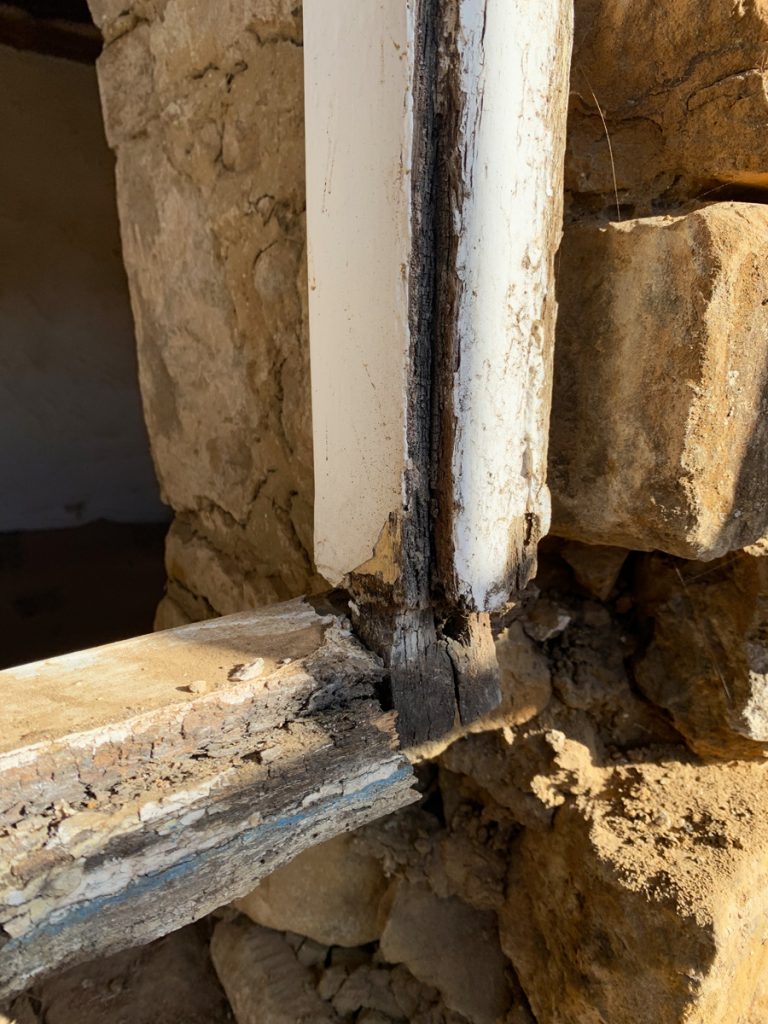
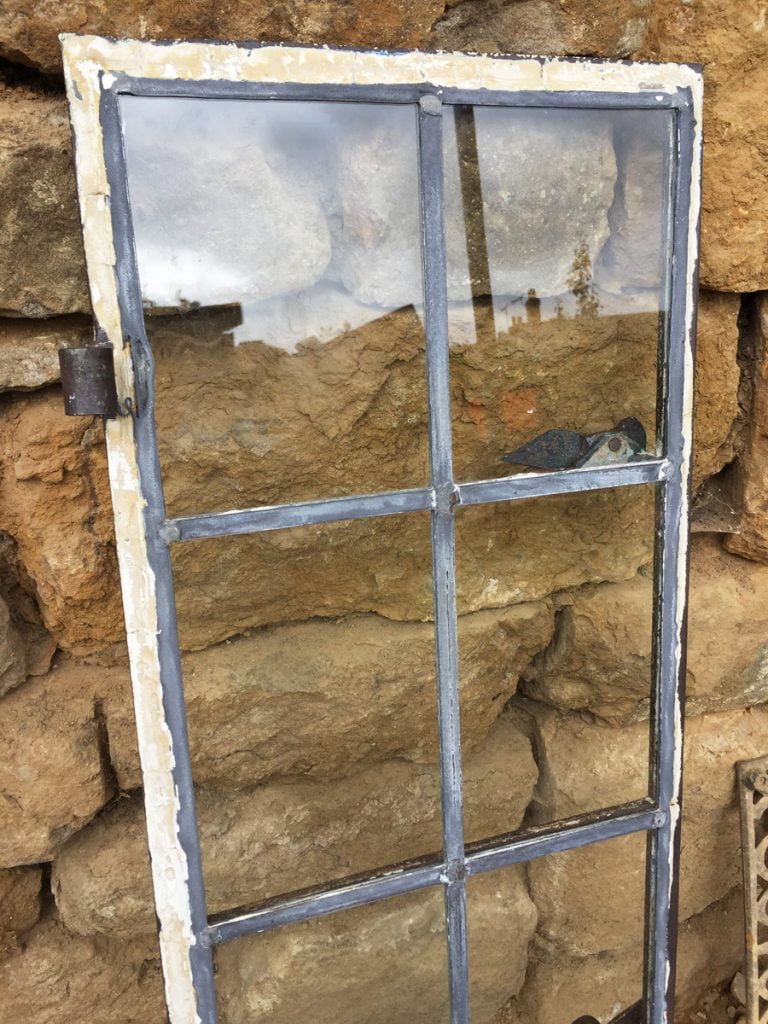
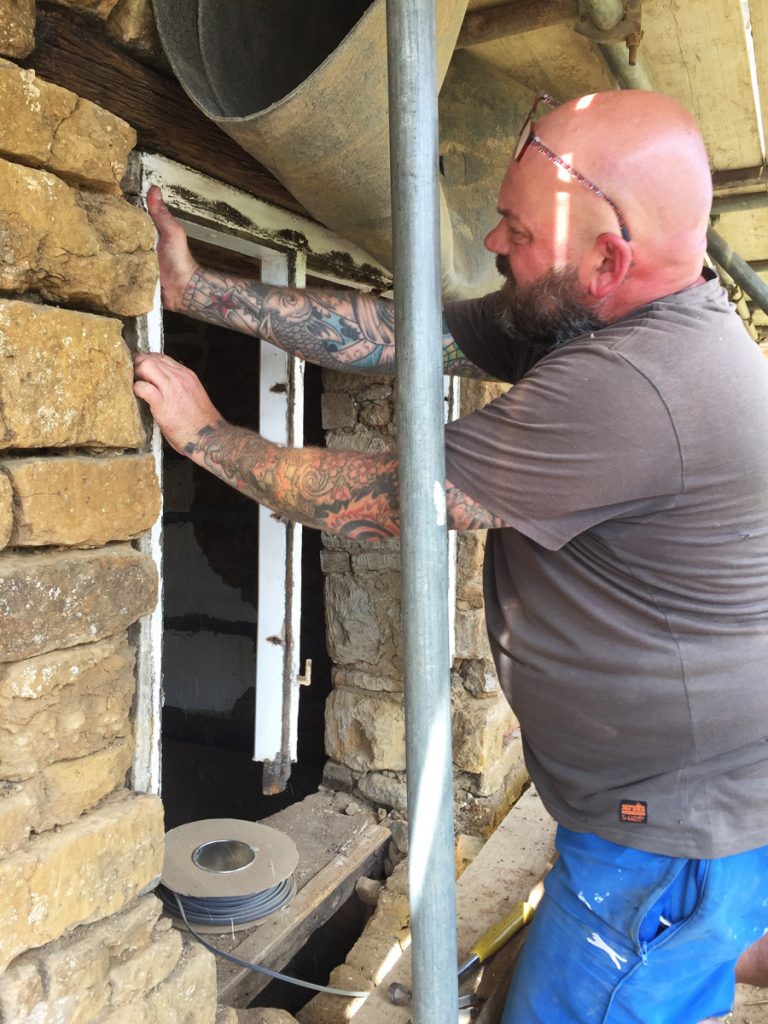
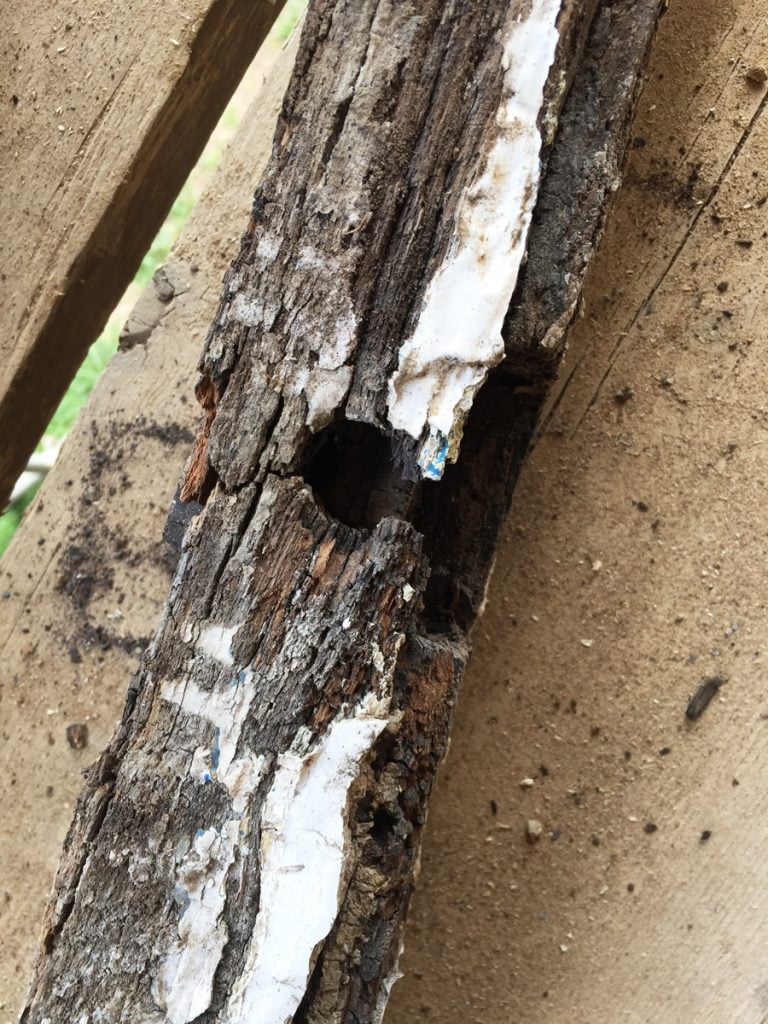
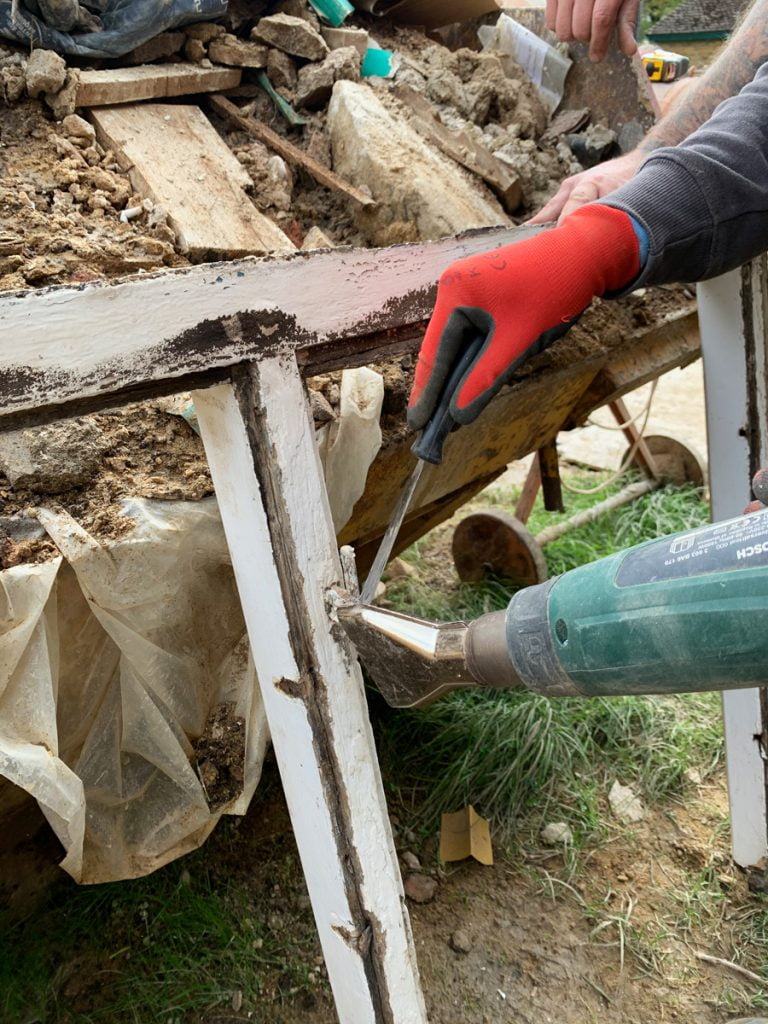
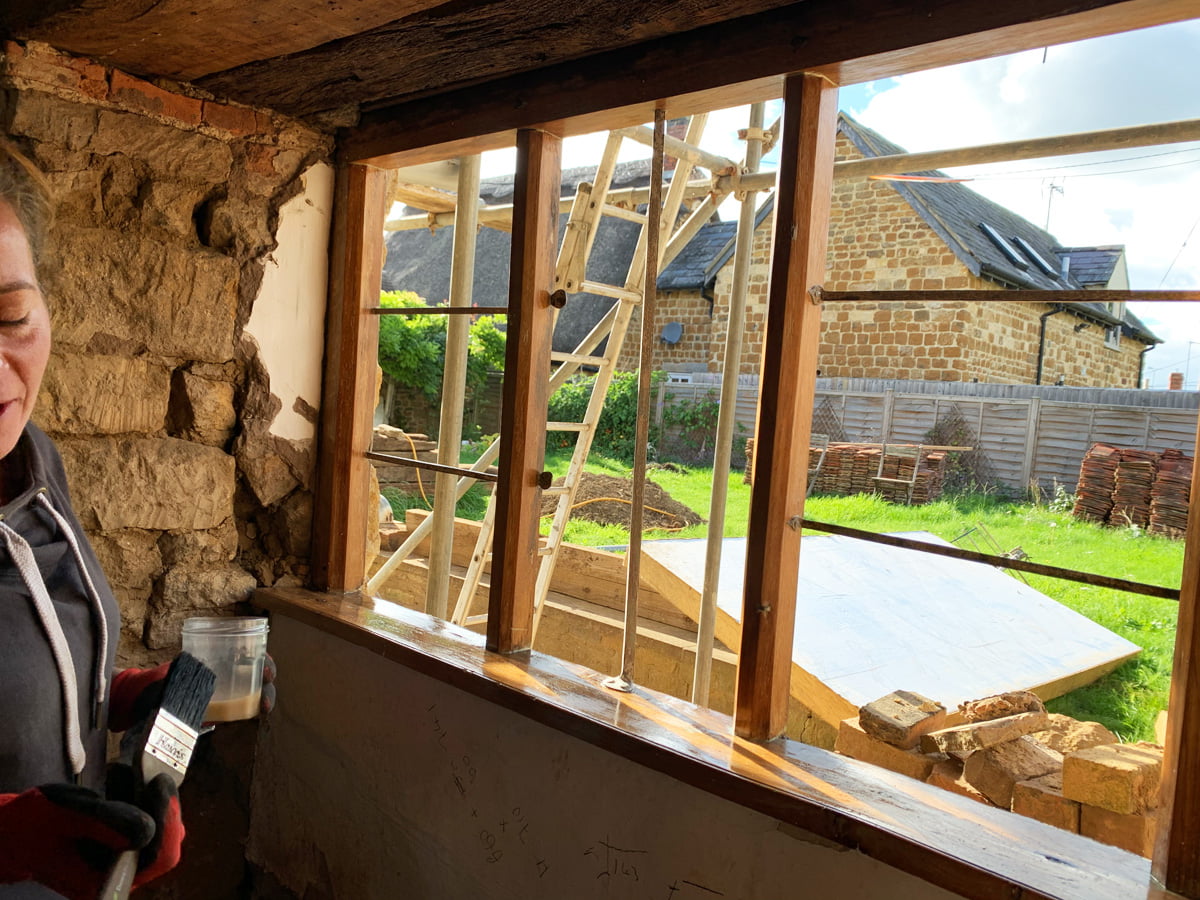
The old window is in a very sorry state.
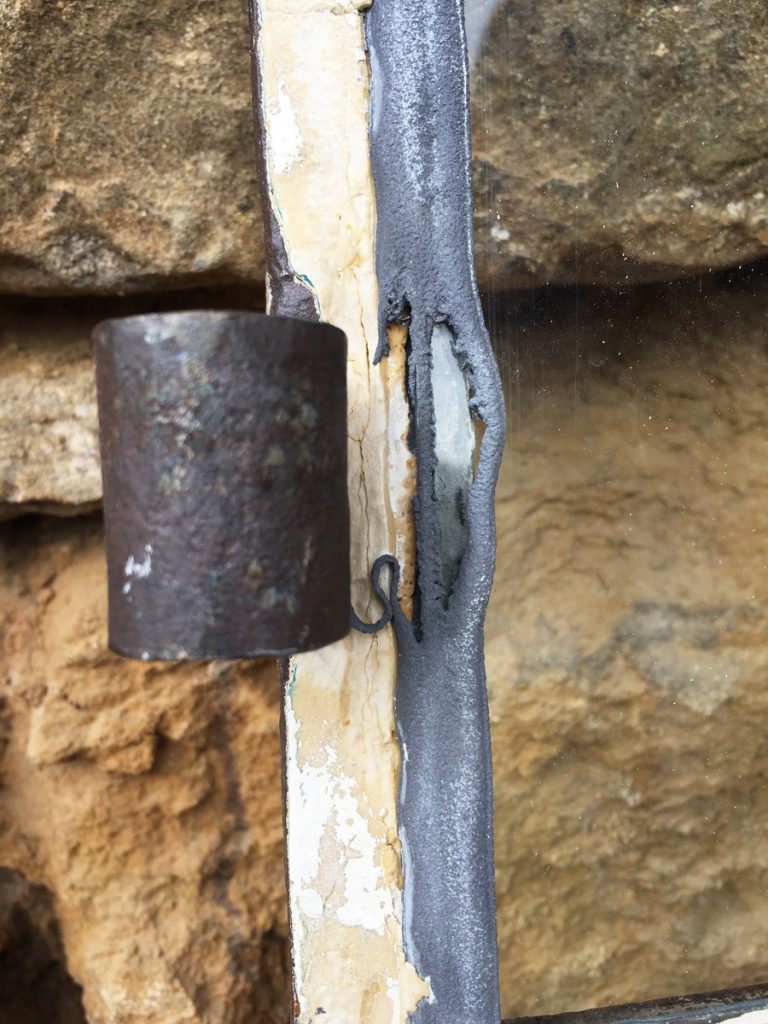
This mullion had rotted away at the top and thus had dropped. Instead of repairing it, it was being held together with metal brackets, paint and filler!
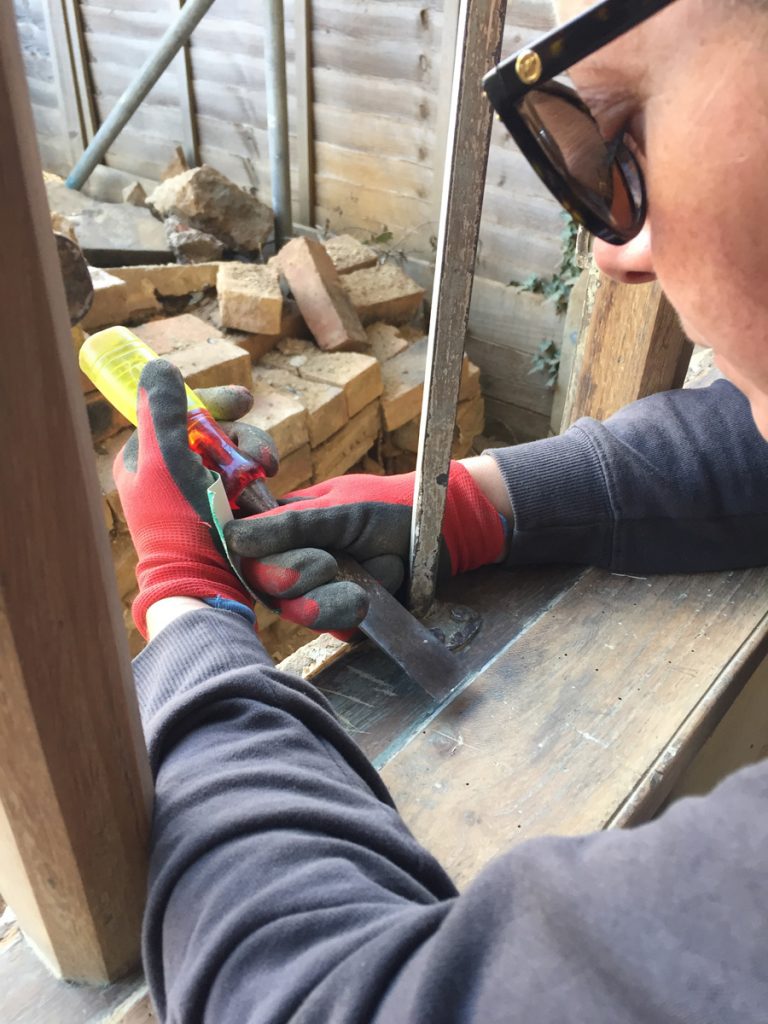
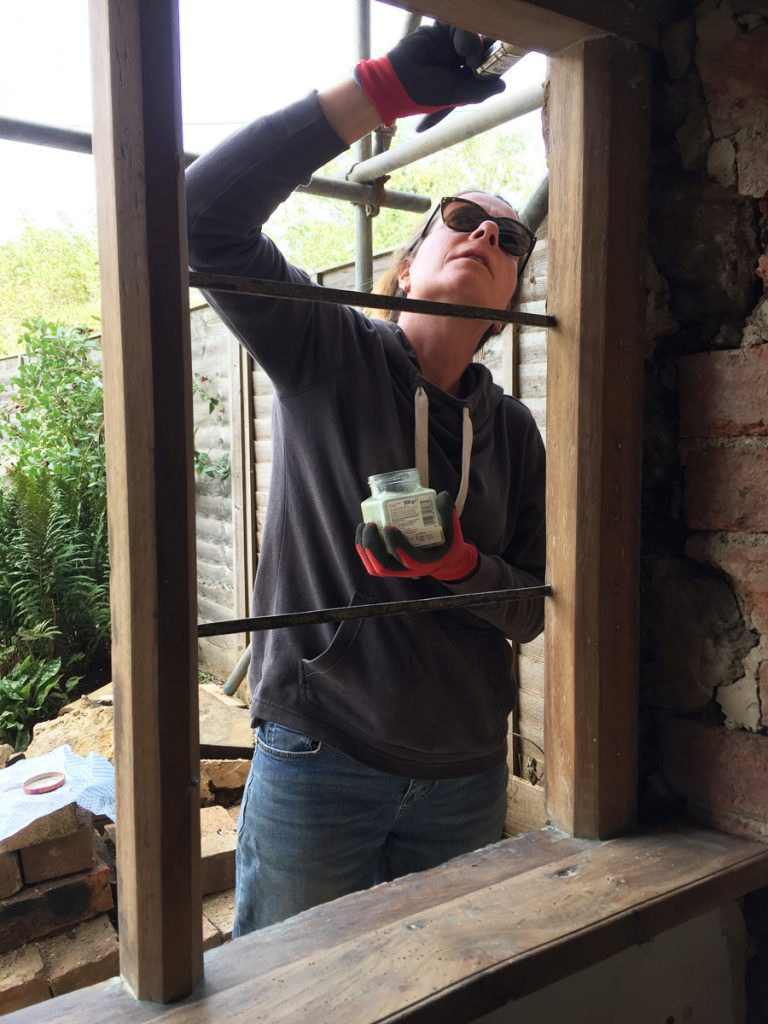
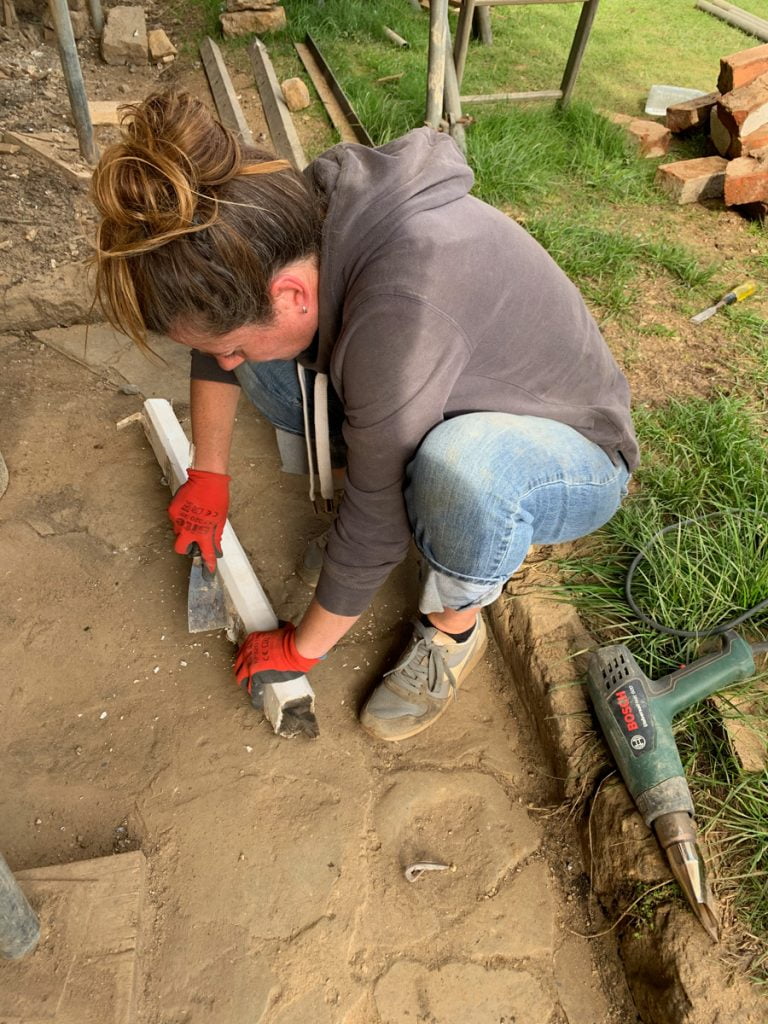
Cat is removing the last of the paint from the rear study window.
Oiling the outside window lintel to protect it from the elements.
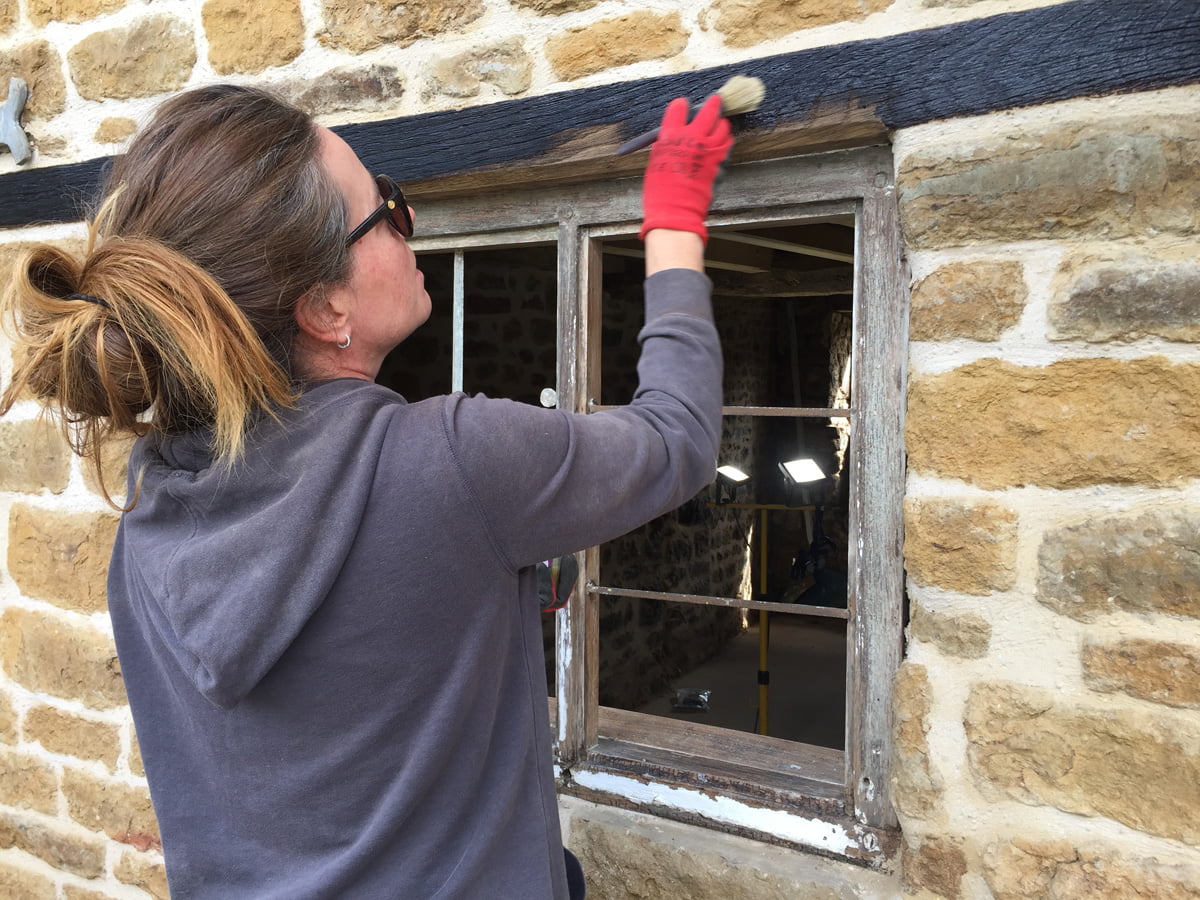
For some reason this particular lintel has gone very dark after oiling it. We are a bit surprised by this as other timbers haven’t gone this dark, maybe the previous finish on it had effected the timber in someway…
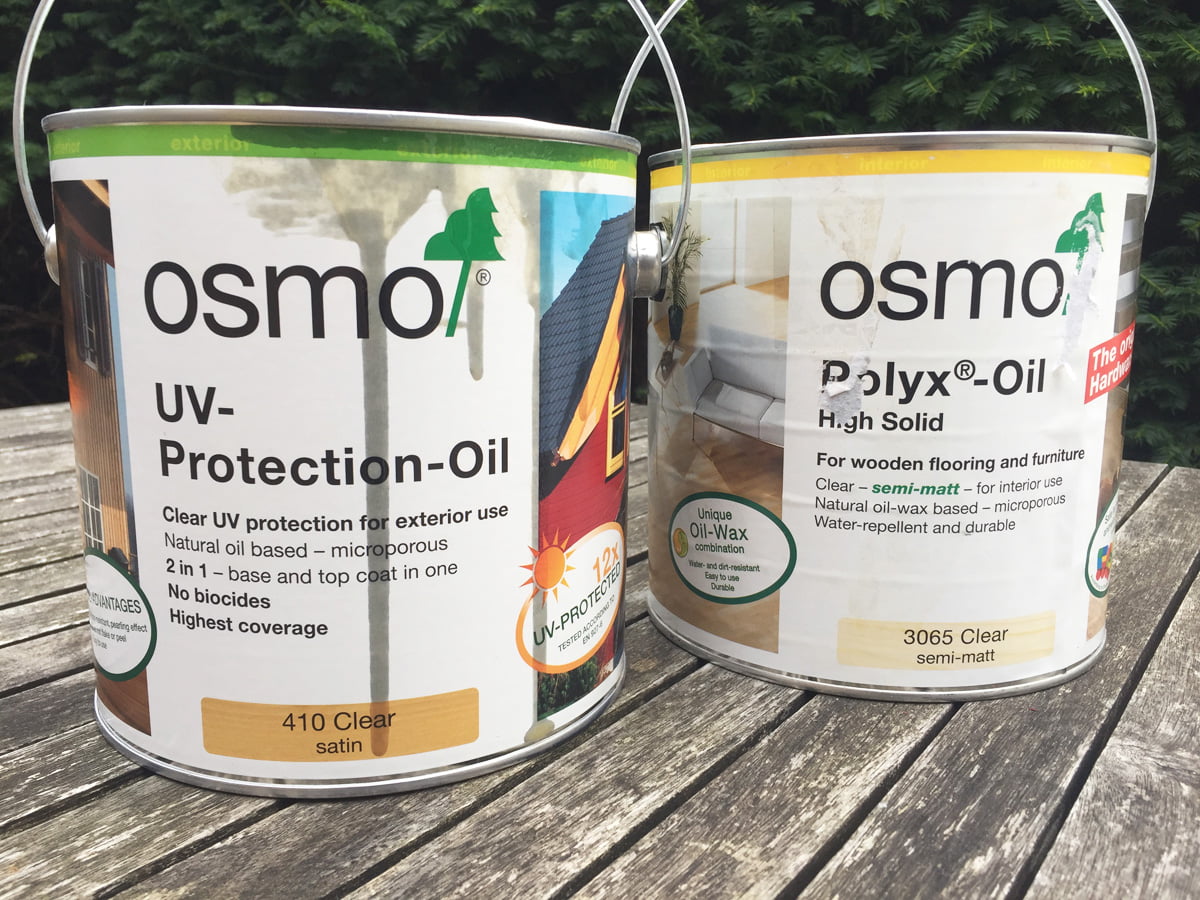
This is the oil we are using on all our exposed timbers, as recommended by the joiners who have made our oak dormer windows. The UV oil will be used on all external timbers, and window interiors that get a lot of sun (the front of the house). The Polyx oil will be used on everything else, floorboards, interior lintels etc.
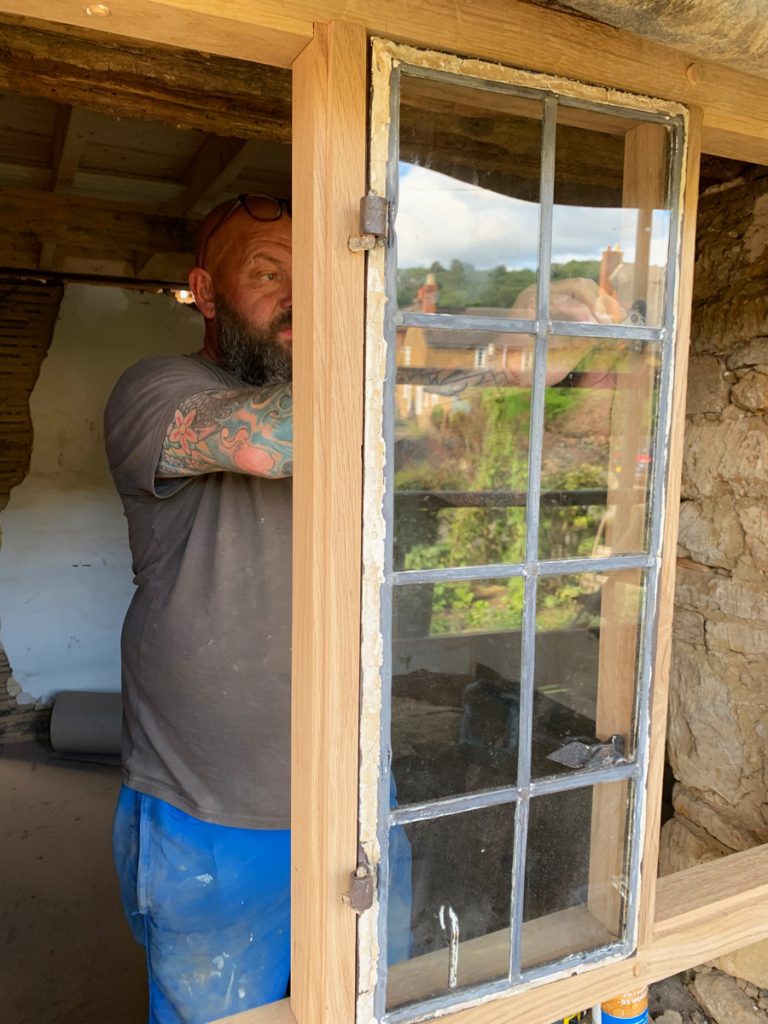
The metal window from the middle casement of the bathroom window.
The lead is okay, but could maybe do with a bit of repair work. All the other leaded casements have been taken by Lee Boswell for repair, but we thought this one was okay.
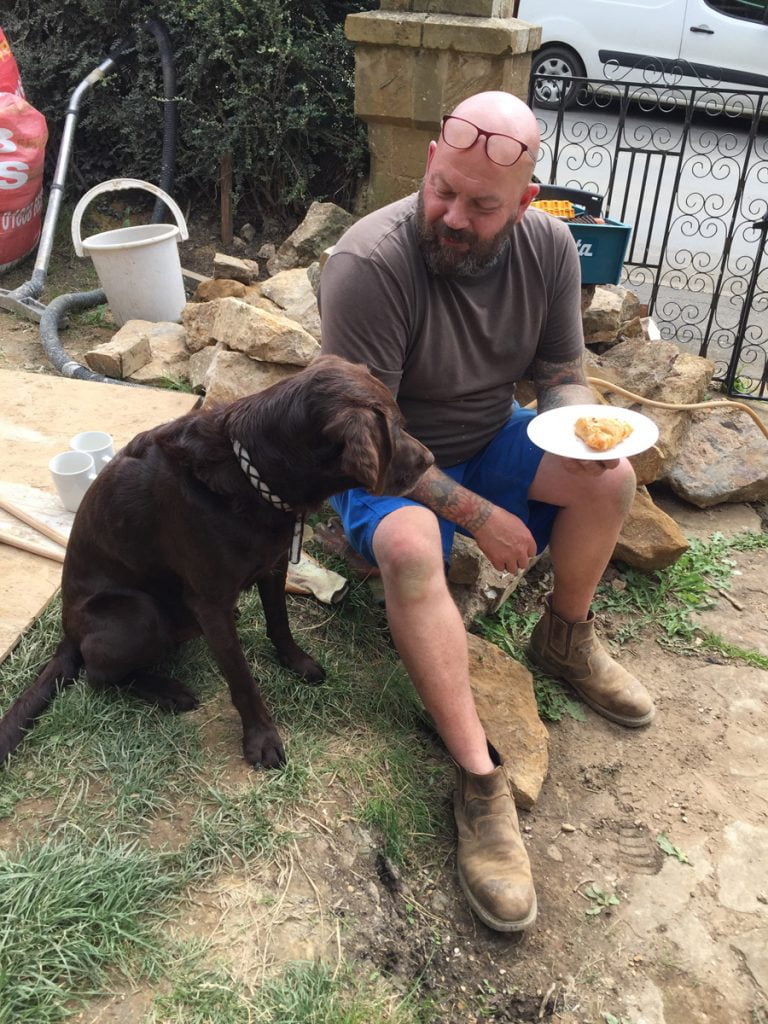
Jasper’s idea of helping.

To build a window using traditional mortise and tenon joints is quite a process. The frame has to be put together and taken apart several times so it can be measured up and the holes cut for the dowels. The dowels are the cylindrical bits of wood that lock all the joints together tightly.
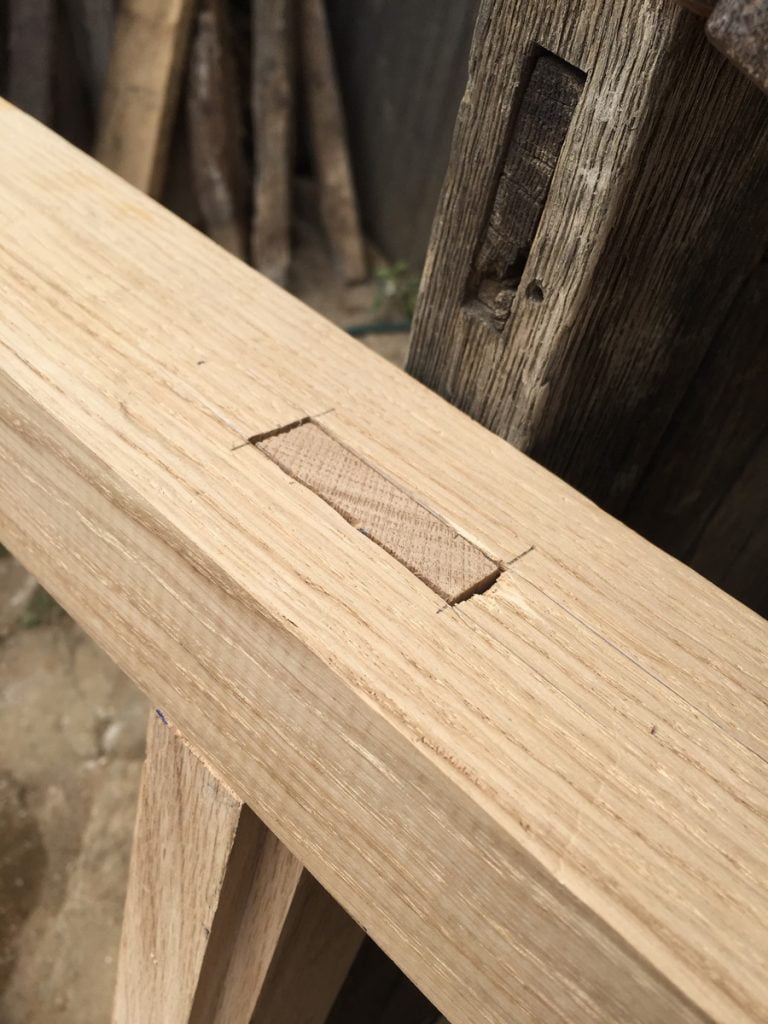
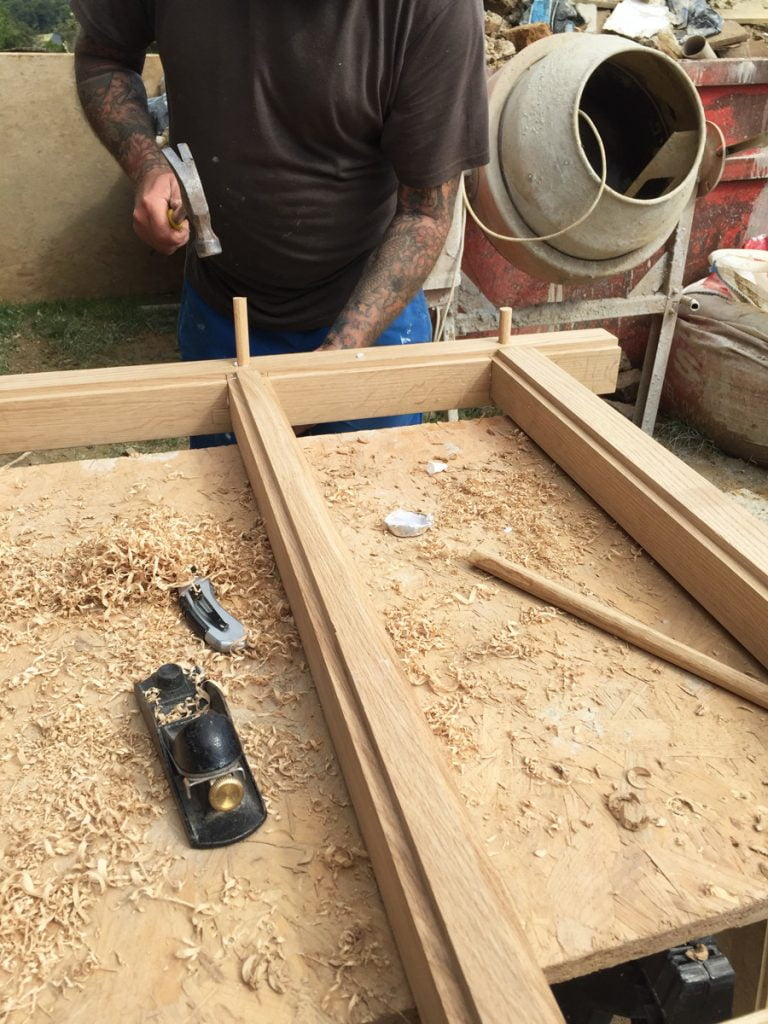
The mortise and tenon joint on the new window frame, in front of a mortise and tenon joint in the garage door.
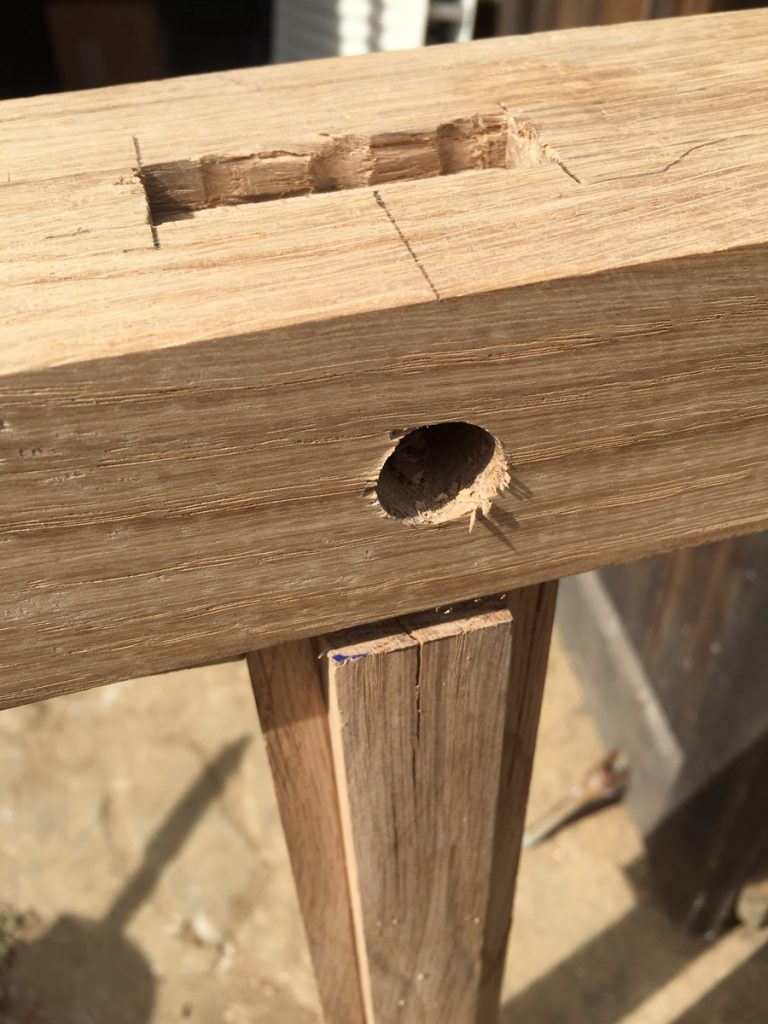
Holes cut for the dowels.
The dowels being planed to size.
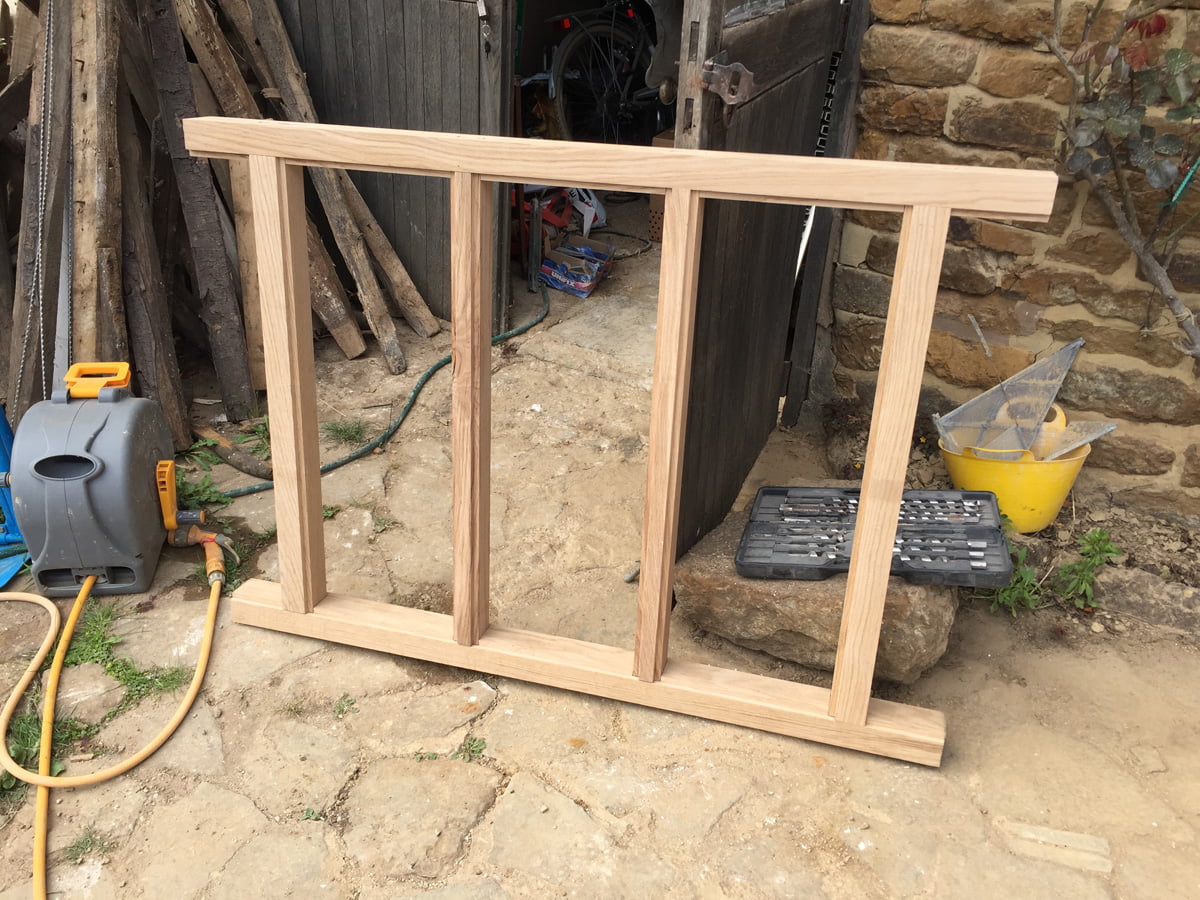
The frame is put together. Wow!
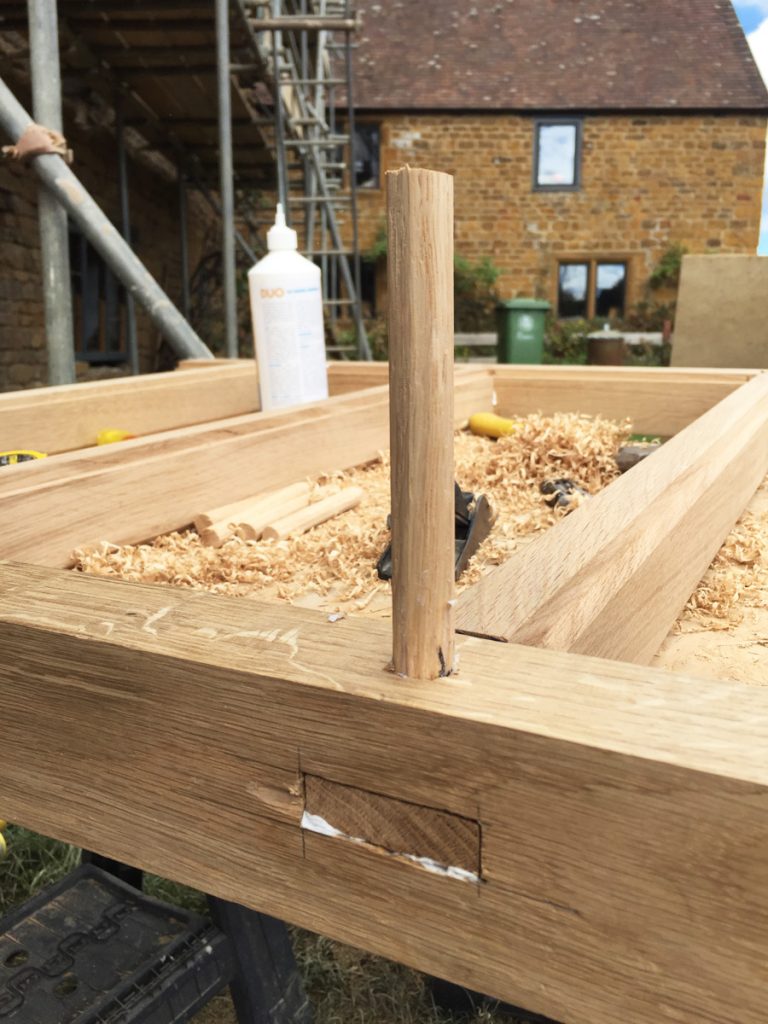
The dowels are fitted. They get rubbed in wax to make it easier to fit them.
The dowels get hammered in as they are a very tight fit. The further they go in, the tighter they lock the joints together.
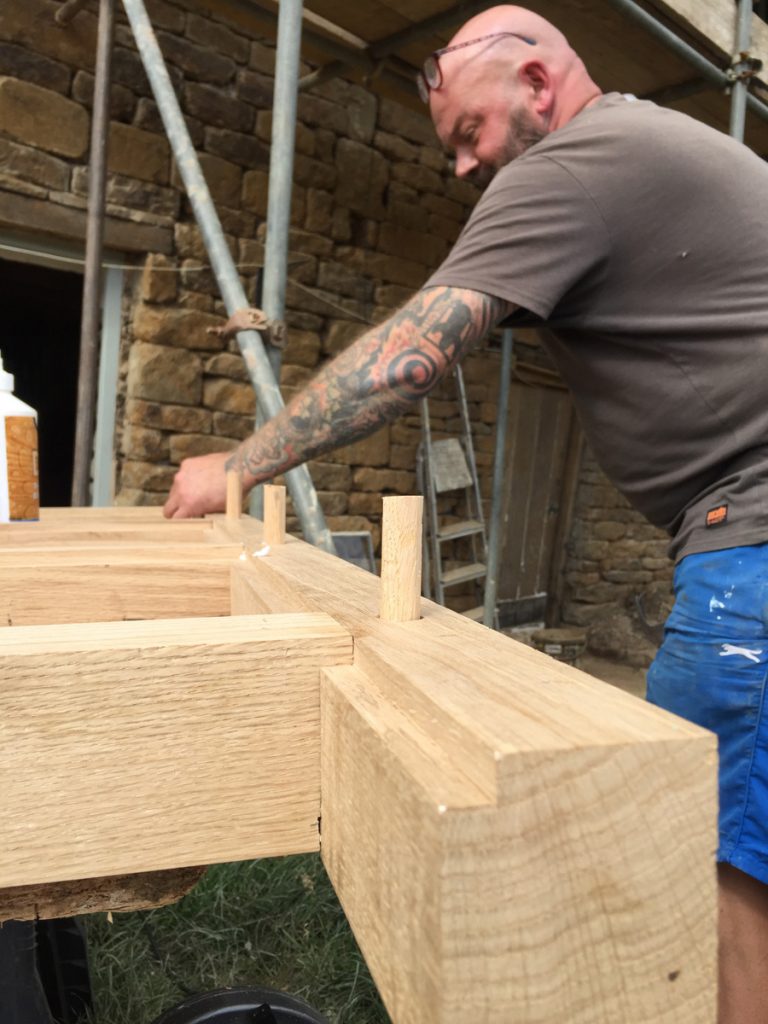
The dowels go right through before being cut to size.
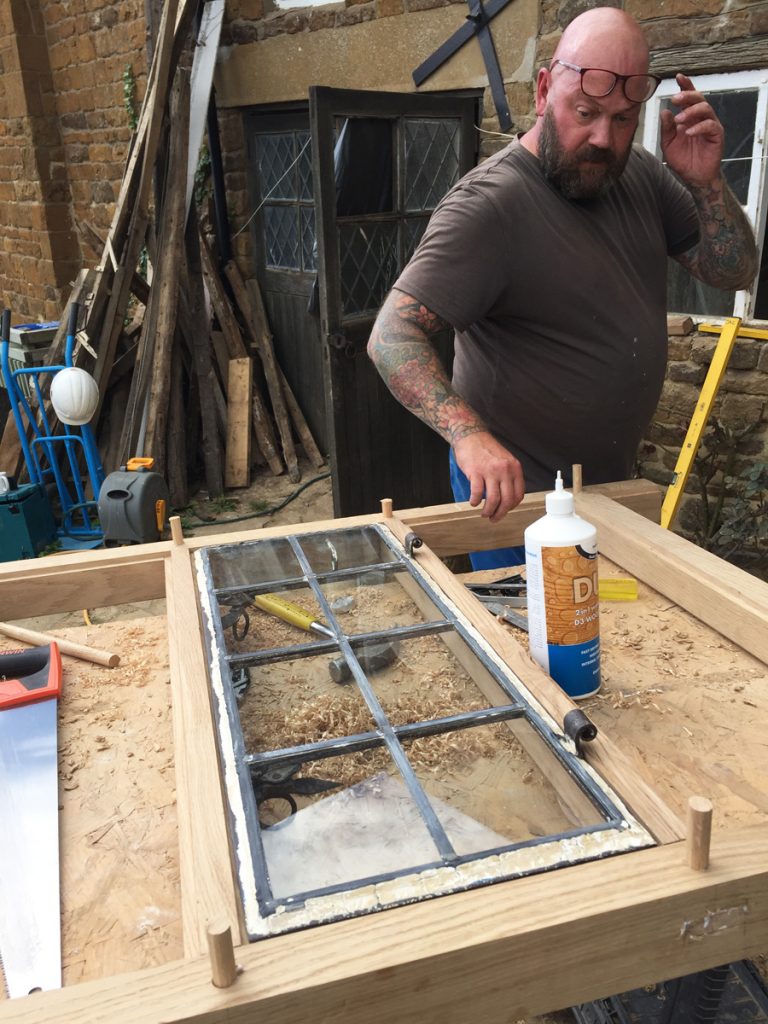
The metal casement window is a perfect fit 🙂

The old window gets dismantled and taken out.
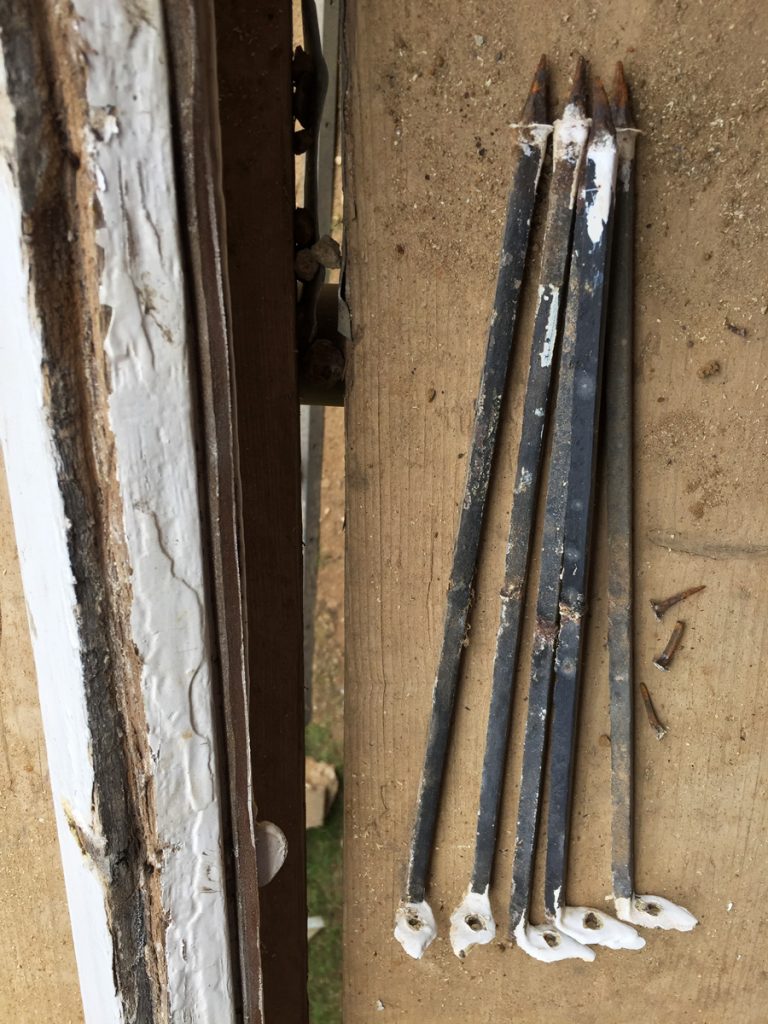
The metal bars that go across the windows horizontally need all the paint stripping off before Glynn fits them to the new window. It is hard to see but they are painted black with white ends.

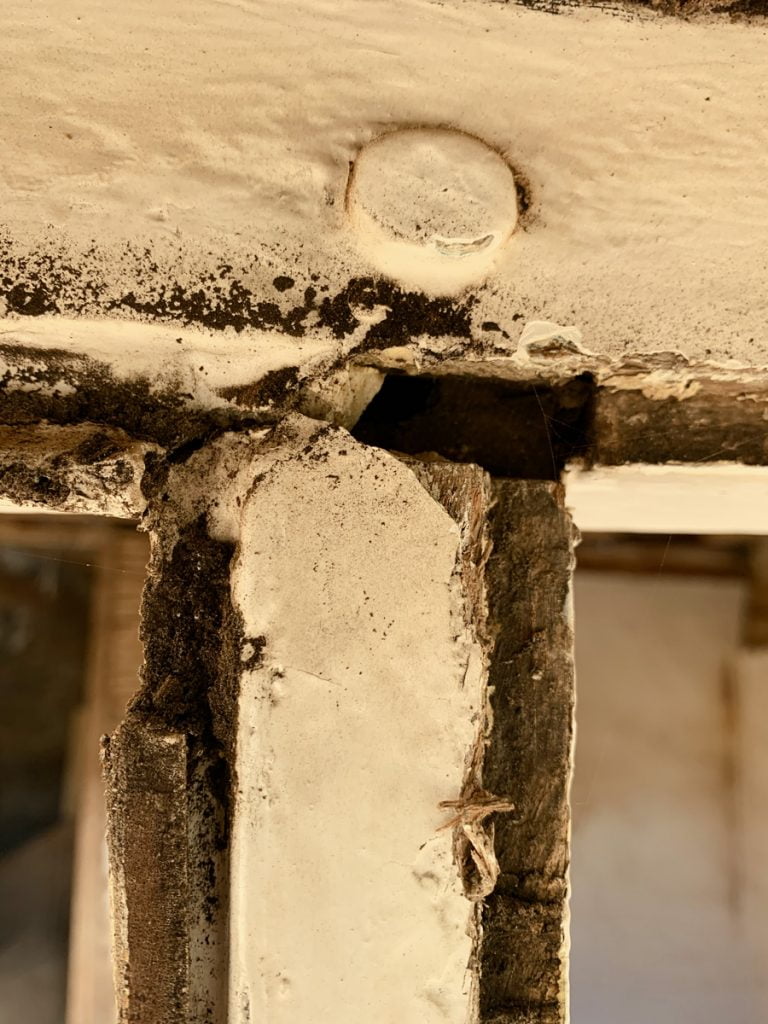
The rotten old frame with steel brackets holding it together at the joints.
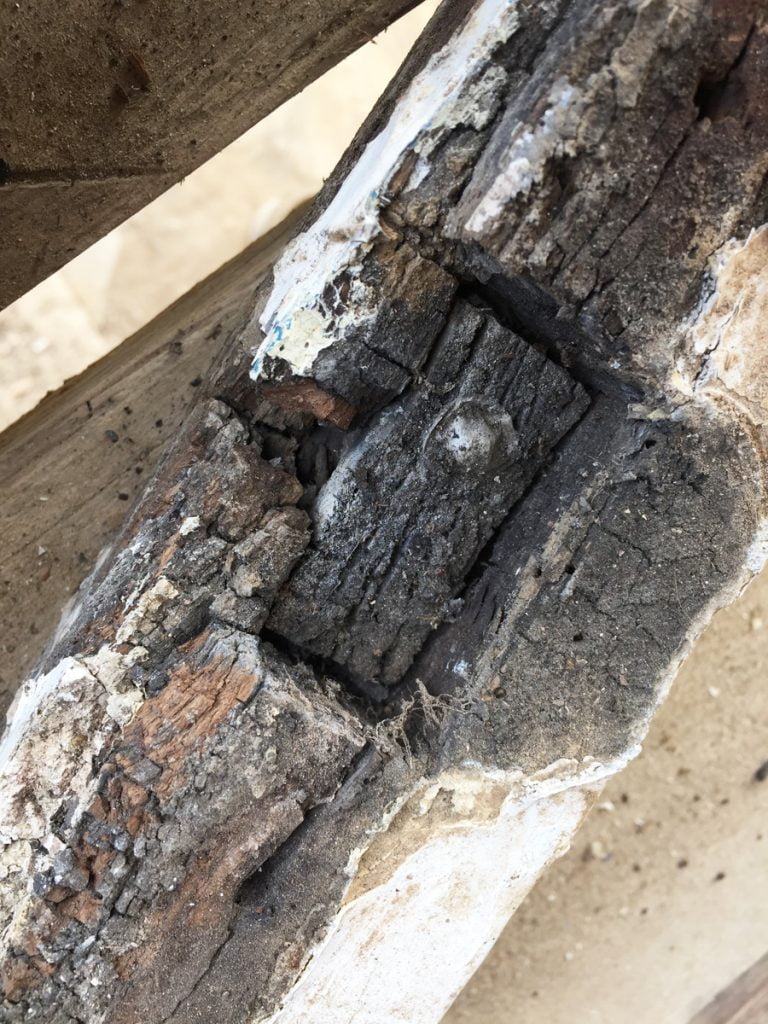
The old mortise joint, it’s a bit rotten.
Oof.
Our Dad popped by after having spent the morning at an old car rally in Gaydon, in his driving shoes and decent clothes, so we put him to work sanding paint off the metal bars.

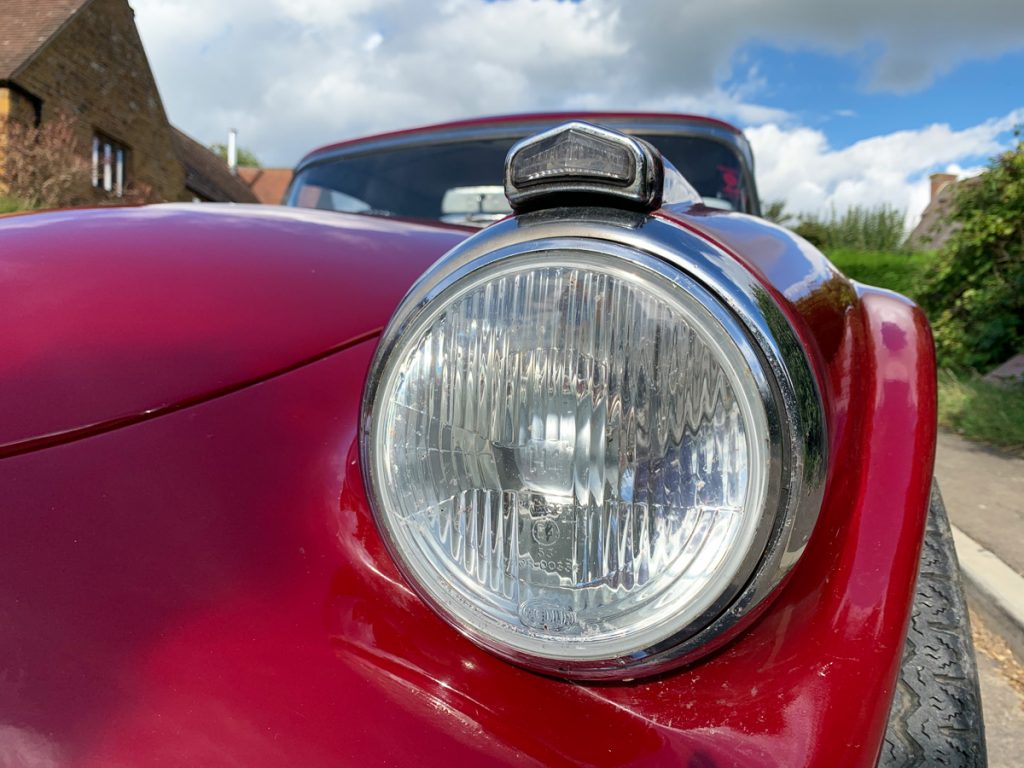
Dad’s beautiful Daimler Dart SP250, all cleaned and polished for the rally.
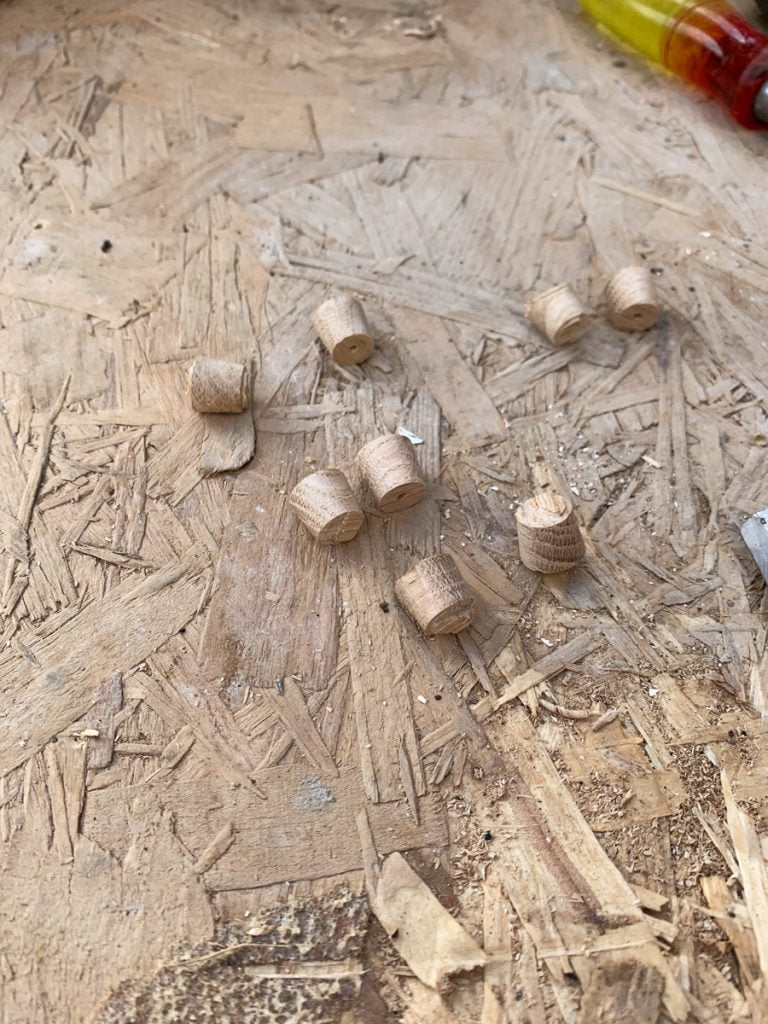
The oak plugs for the sitting room window, to cover up any screw holes.
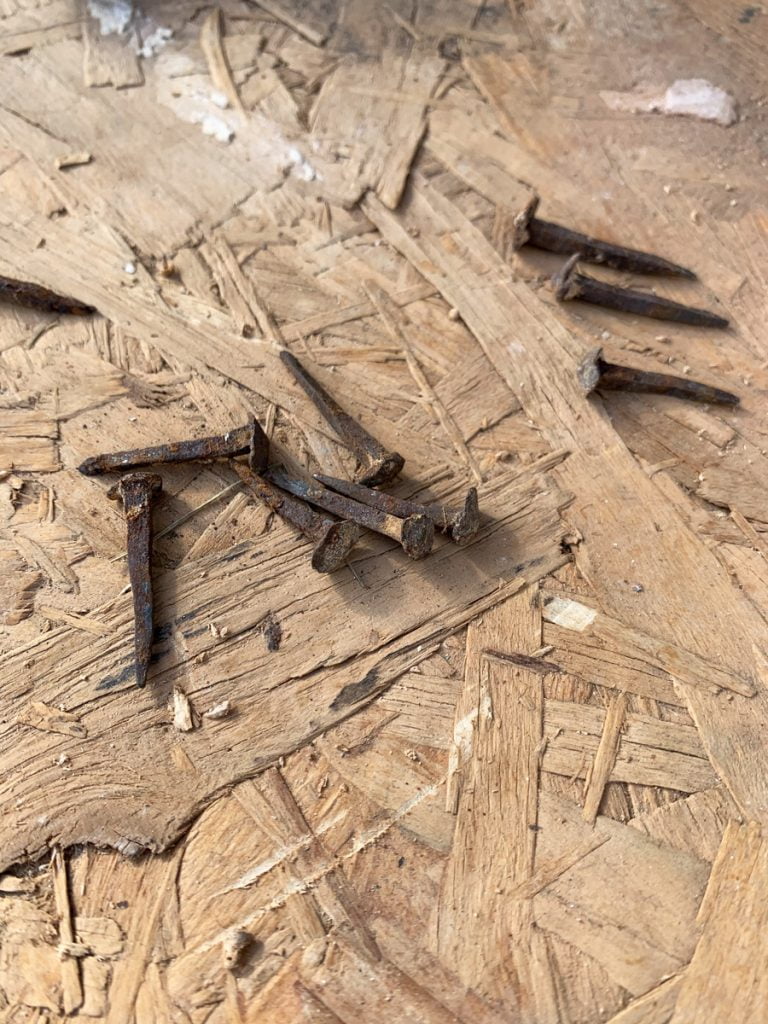
These are the old handmade nails that were holding the metal bars on the windows. We cleaned the paint off and will be using them on the new window.
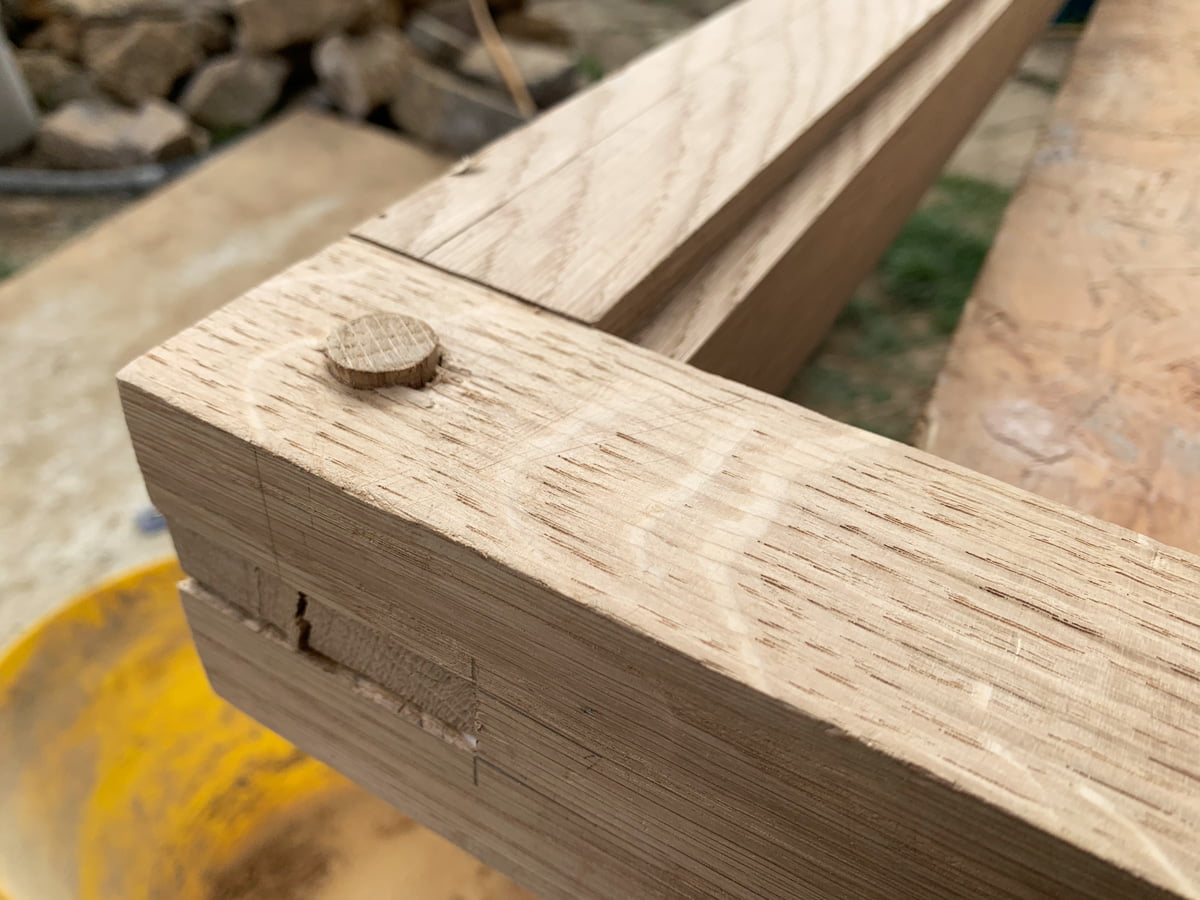
Glynn is leaving the dowels slightly proud as that is how the original frames were made, we prefer them like this anyhow.
Fine tuning.
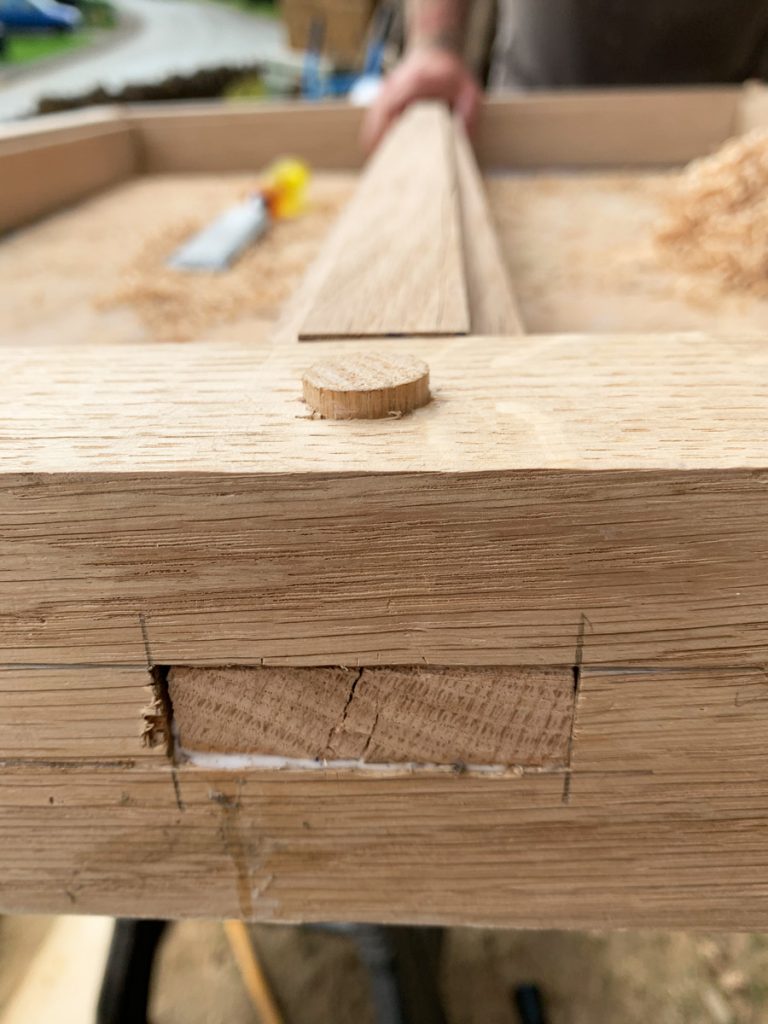
Mortise and tenon joint held together with the dowel and a bit of glue. Should last for years, hopefully another 3-400 years!
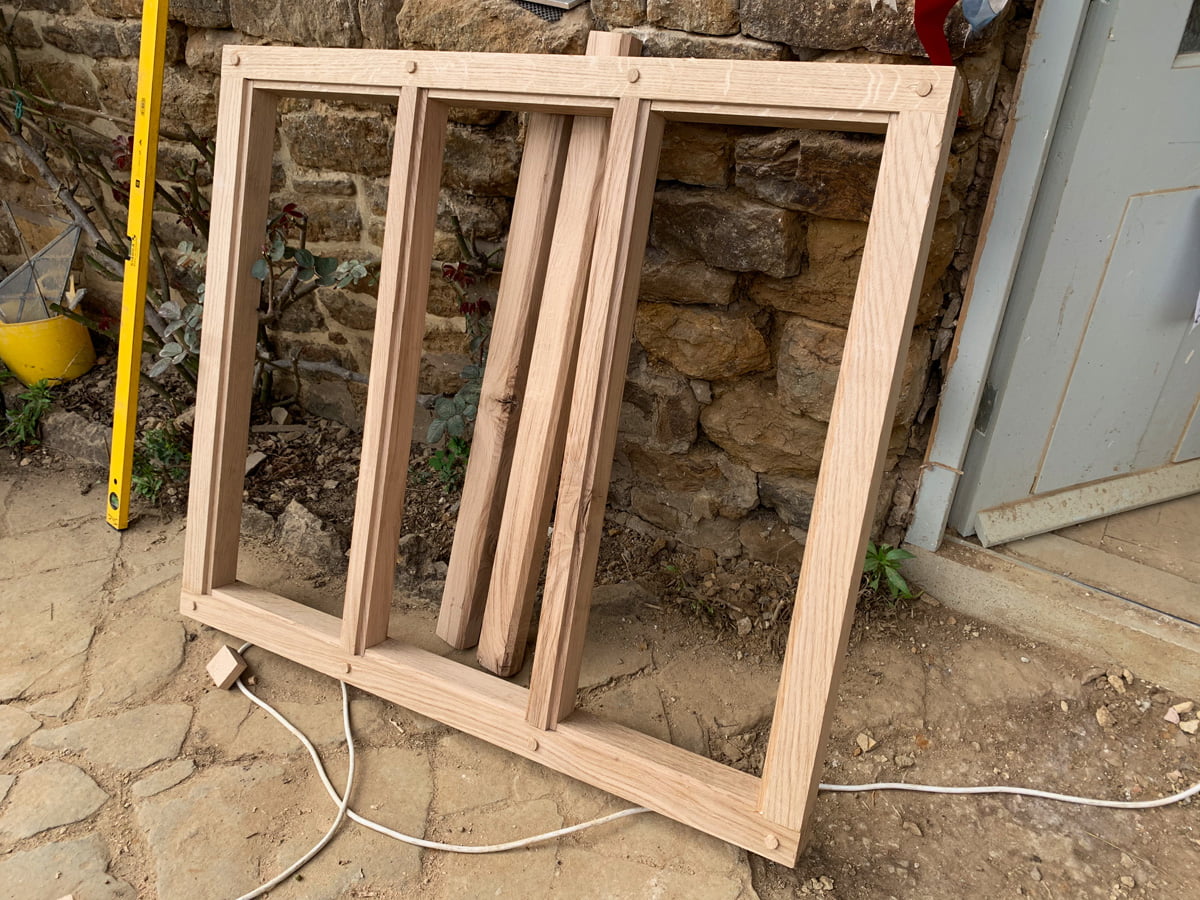
WOW. It’s a thing of beauty!
Cleaning the paint off the old hinges, ready to be fitted to the new frame.
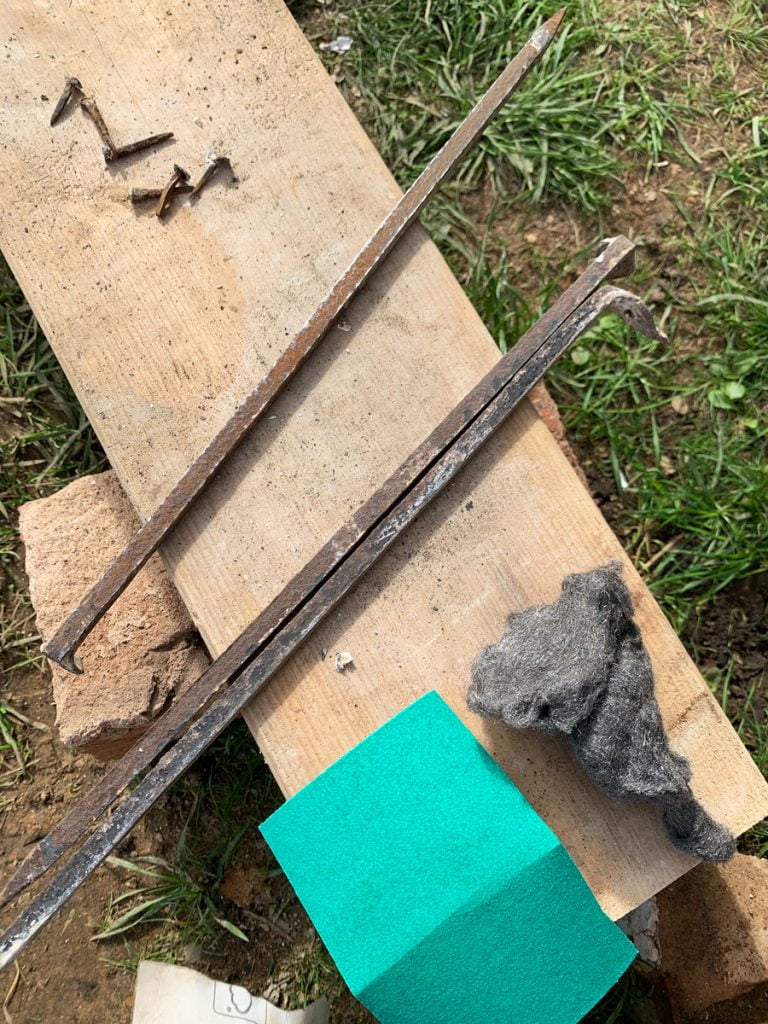
Metal bars with their old nails, sand paper and wire wool.
All hands on deck for cleaning up the accessories. Cat, Zanna and Dad are all scraping paint, trying not to hold Glynn up…
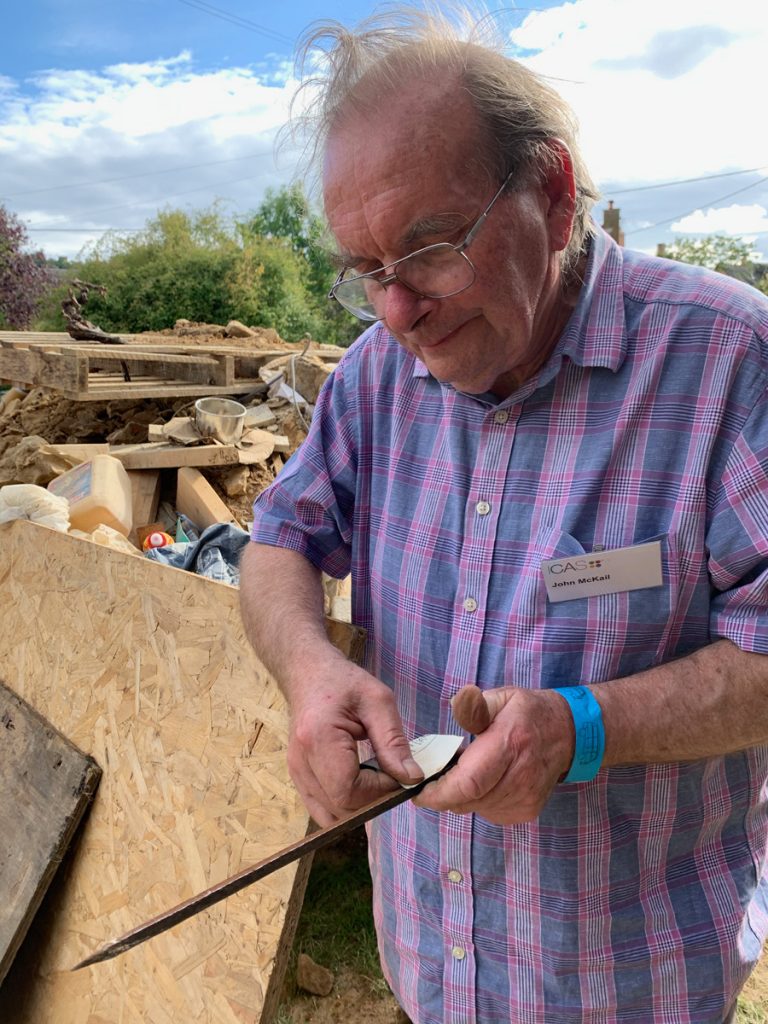
Dad with his name tag still on, just in case we forget who he is.
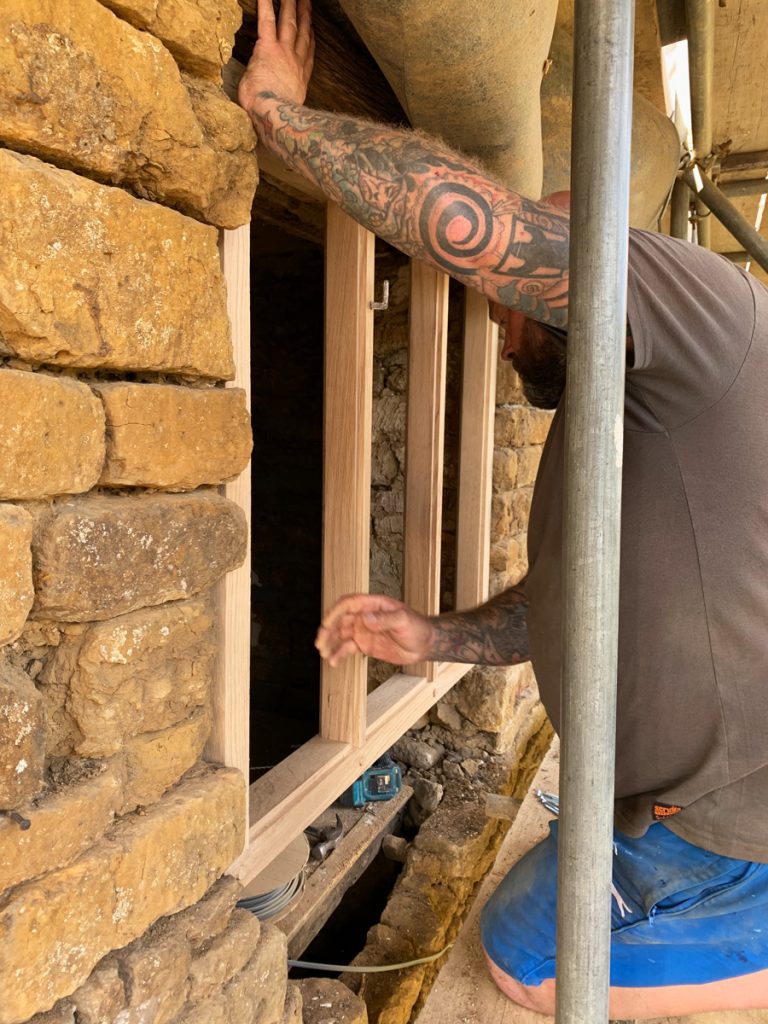
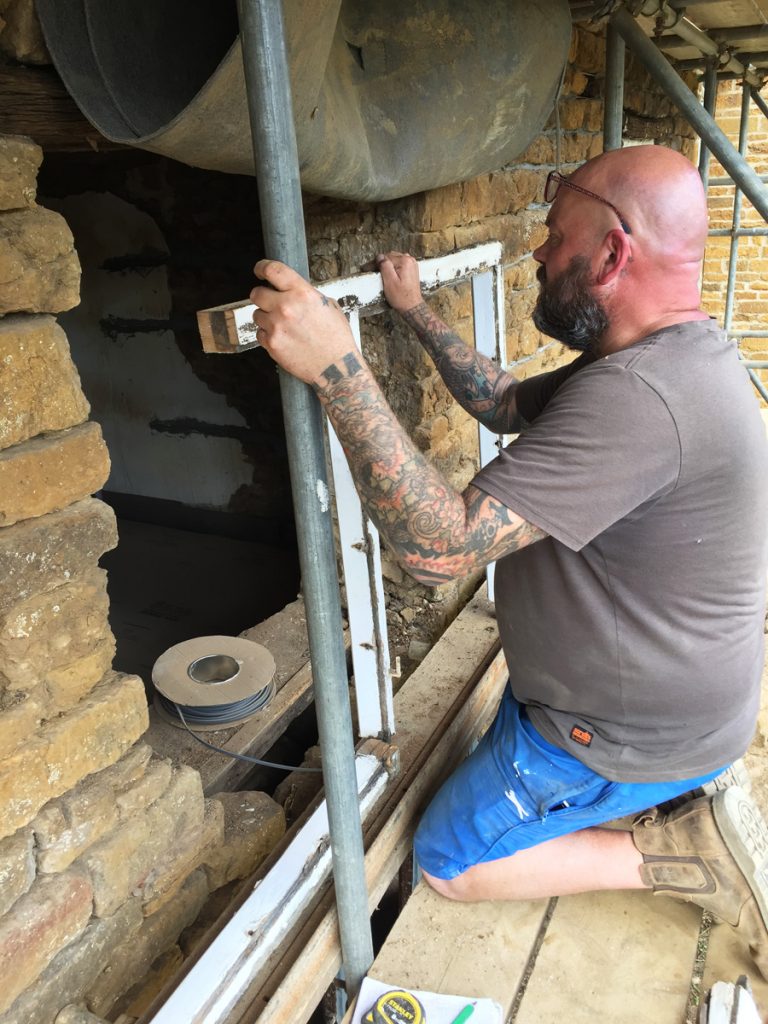
Fitting the window. The last window was not straight due to the walls not being straight, it leaned out at the top, so the new window gets fitted at the very same angle. It would look odd on this house if it was straight.
This is going to look amazing with the new leaded lights.
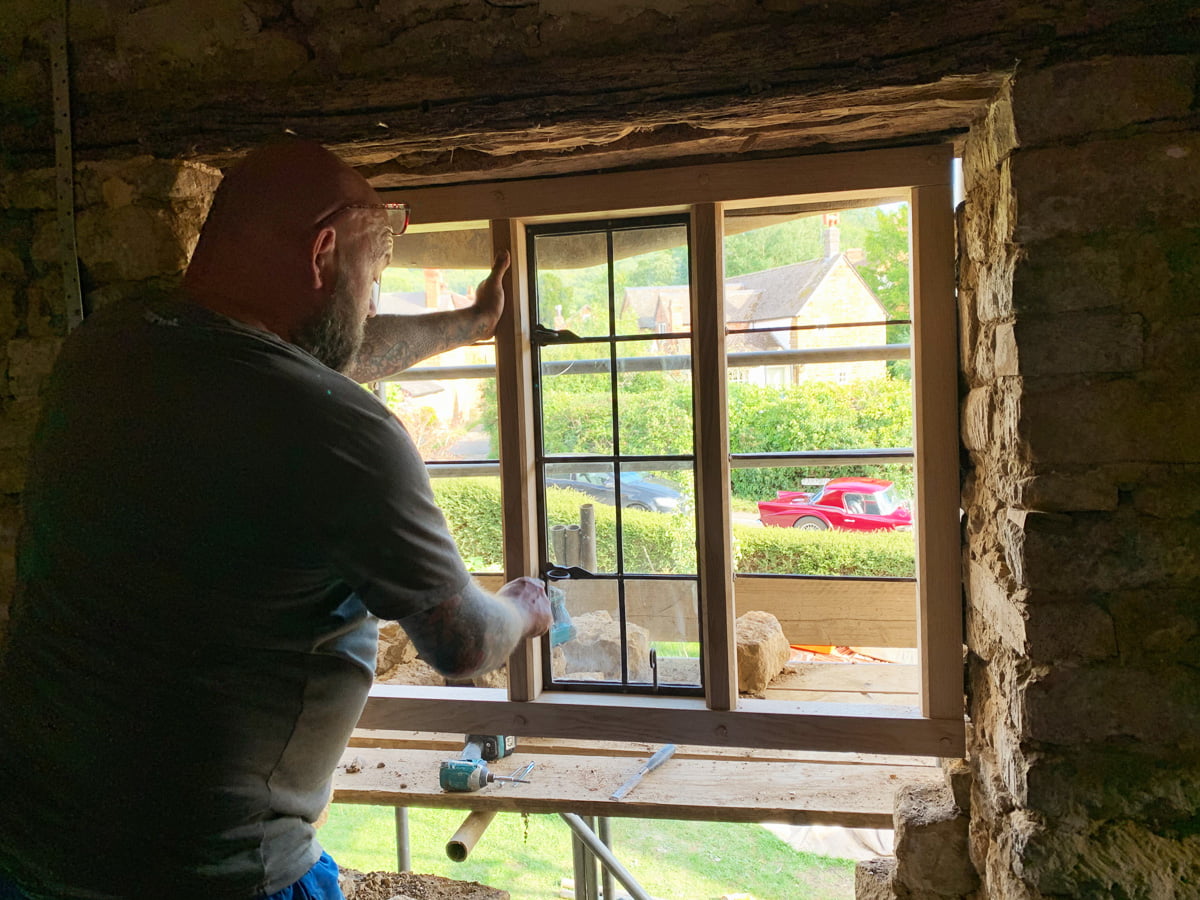
He’s done it! A window in a day! And no ordinary window, a solid oak, mortise and tenon jointed window. And it’s beautiful. Thank you Glynn!

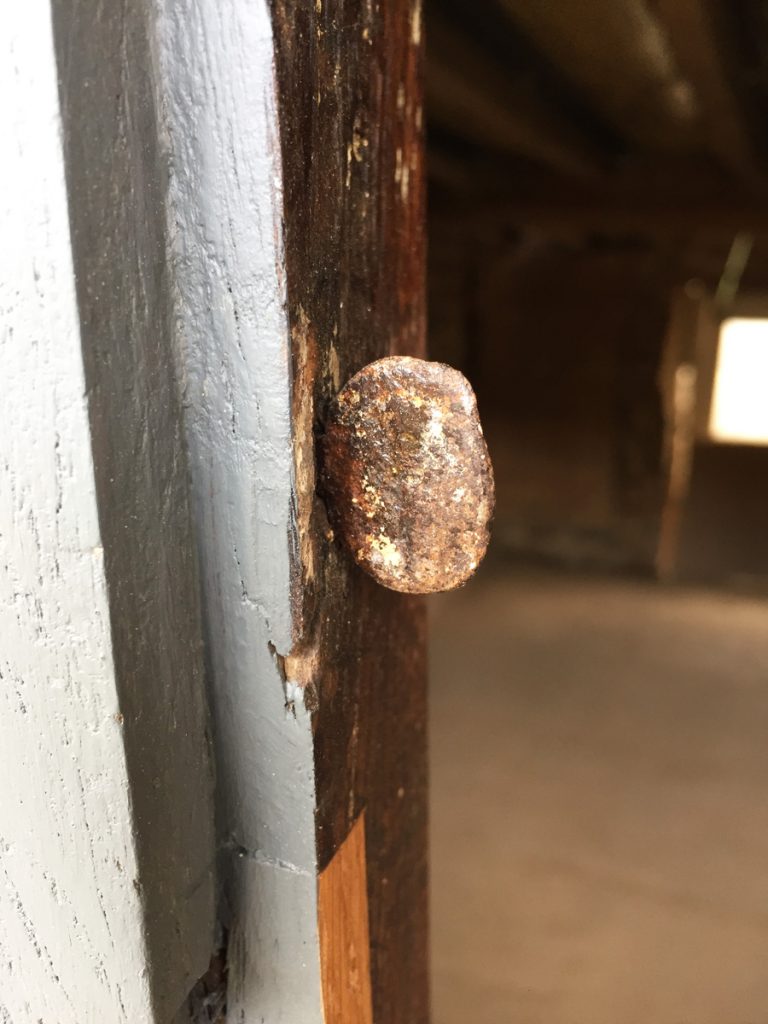
The end of one of the metal bars, fixed on with its original handmade nail.
This is the catch on the sitting room window. There was two, but one of them snapped off, so we shall be getting new ones made, identical to the old ones.
Cat finishing oiling the rear study window. It also looks beautiful, the oak frame is stunning.
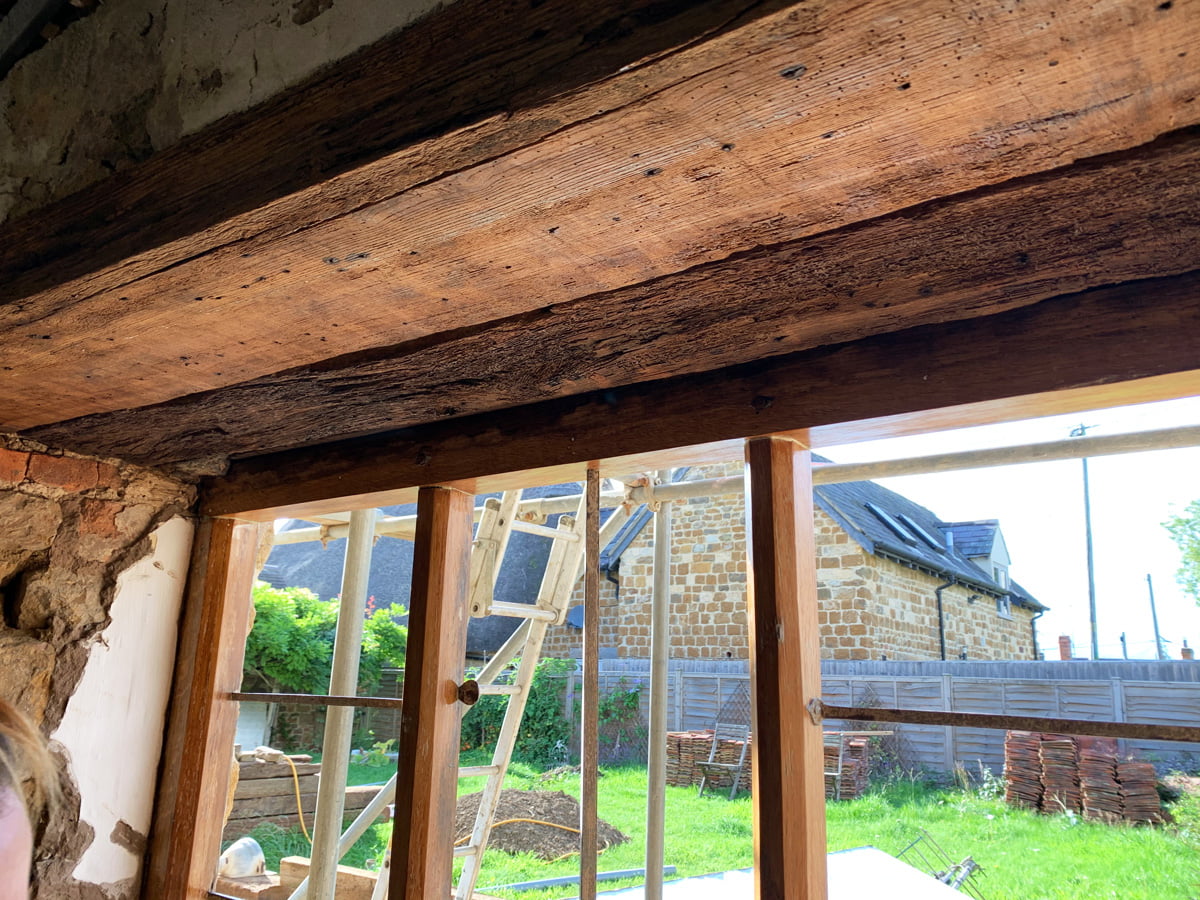
Lintels above the study window also now oiled.
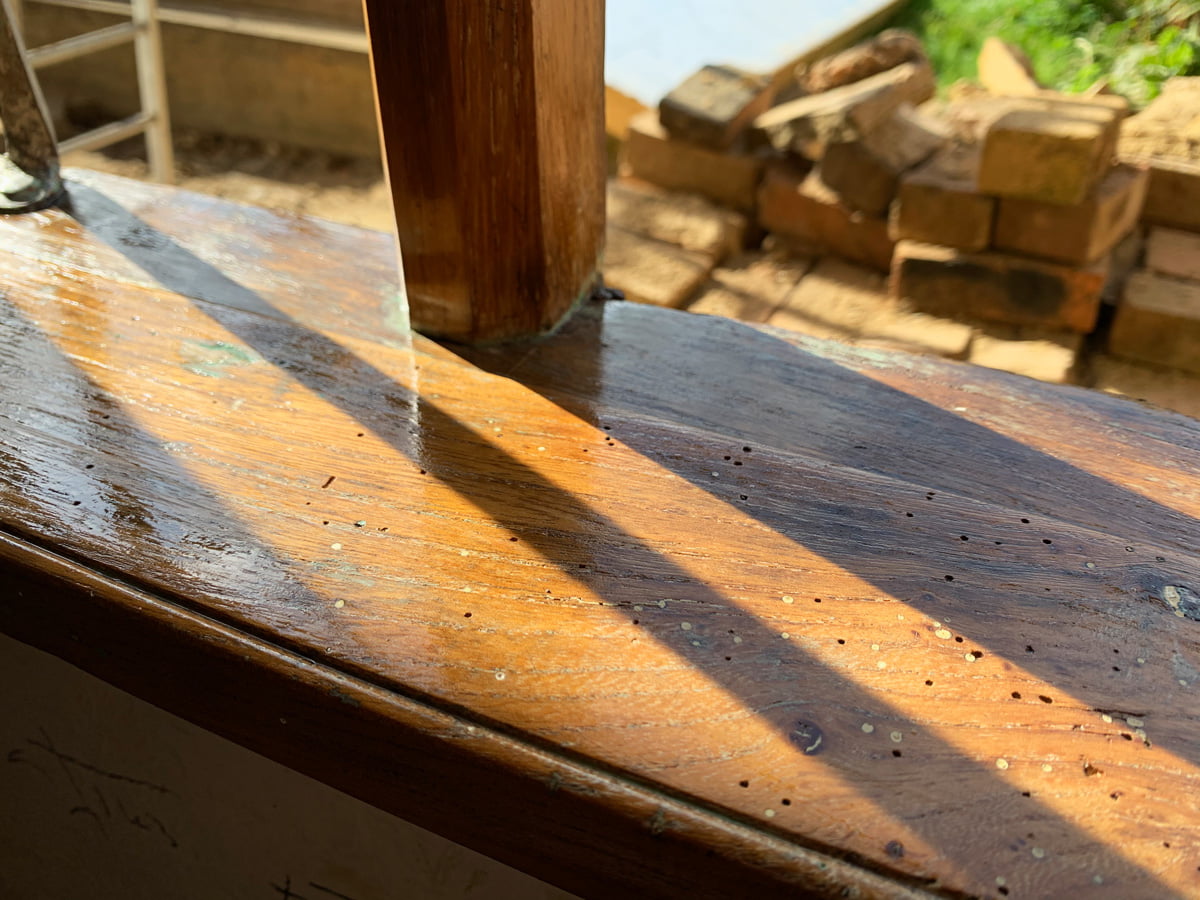
If this is an indication of how all our exposed timbers are going to look then we are very happy. The colours are so rich and warm.
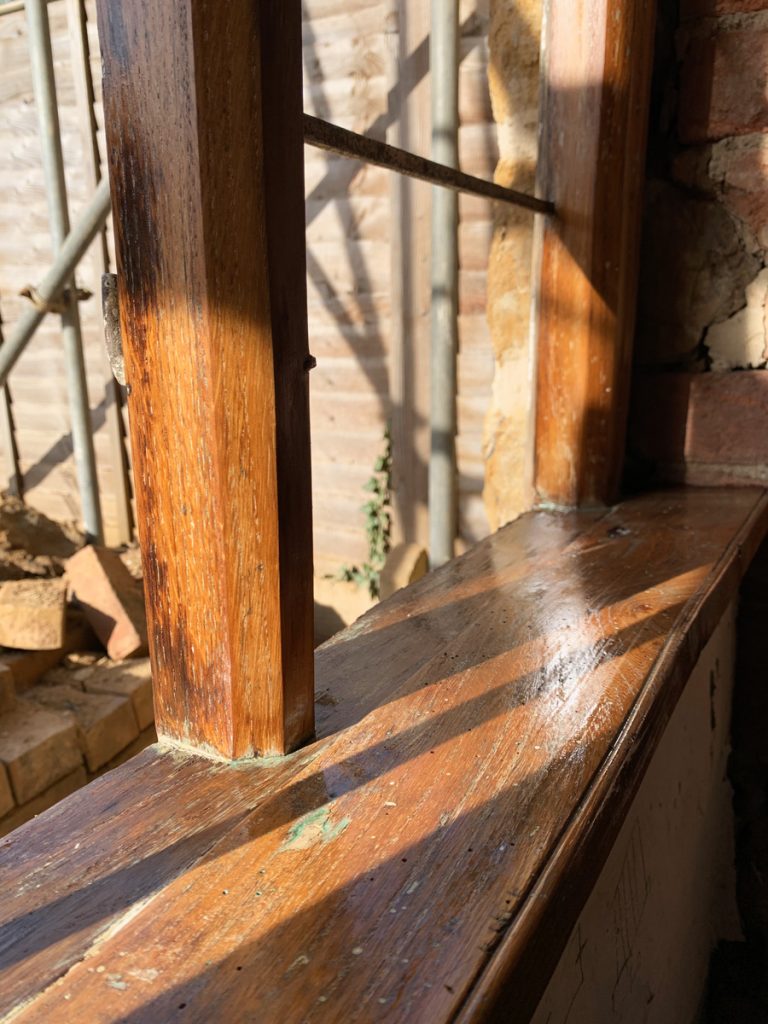
We love that there is still a bit of paint residue, showing the history of the window. This green was everywhere in the house.
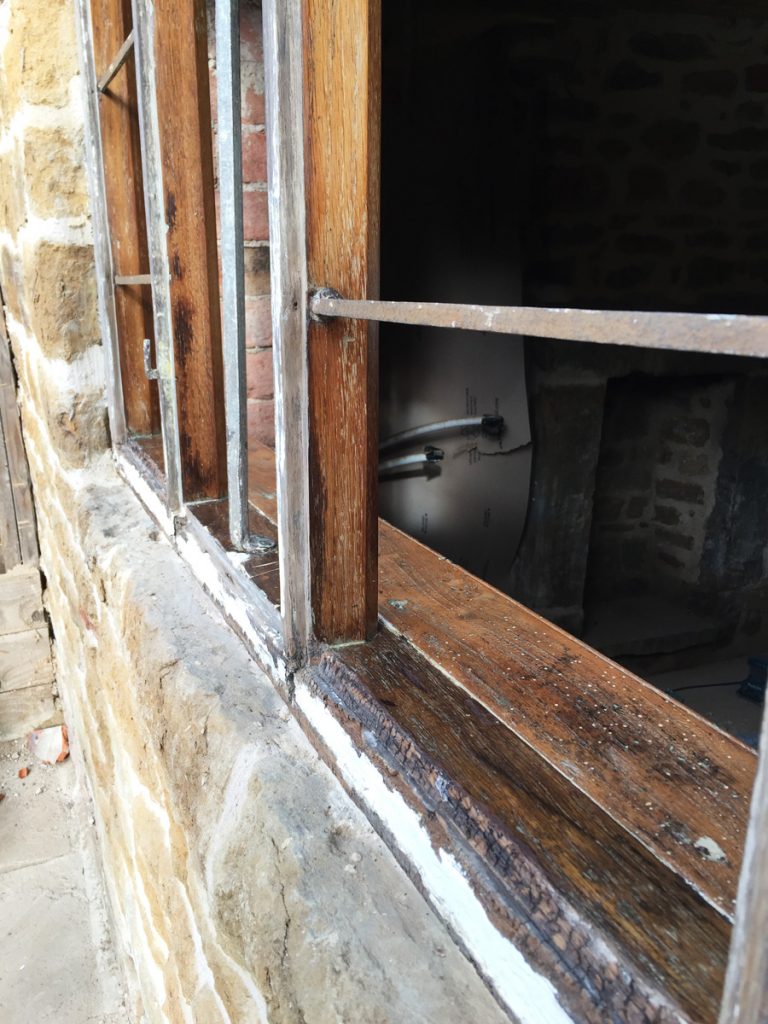
The rear study from the outside. The bottom sill will be repaired by Glynn, then the outside will be painted.
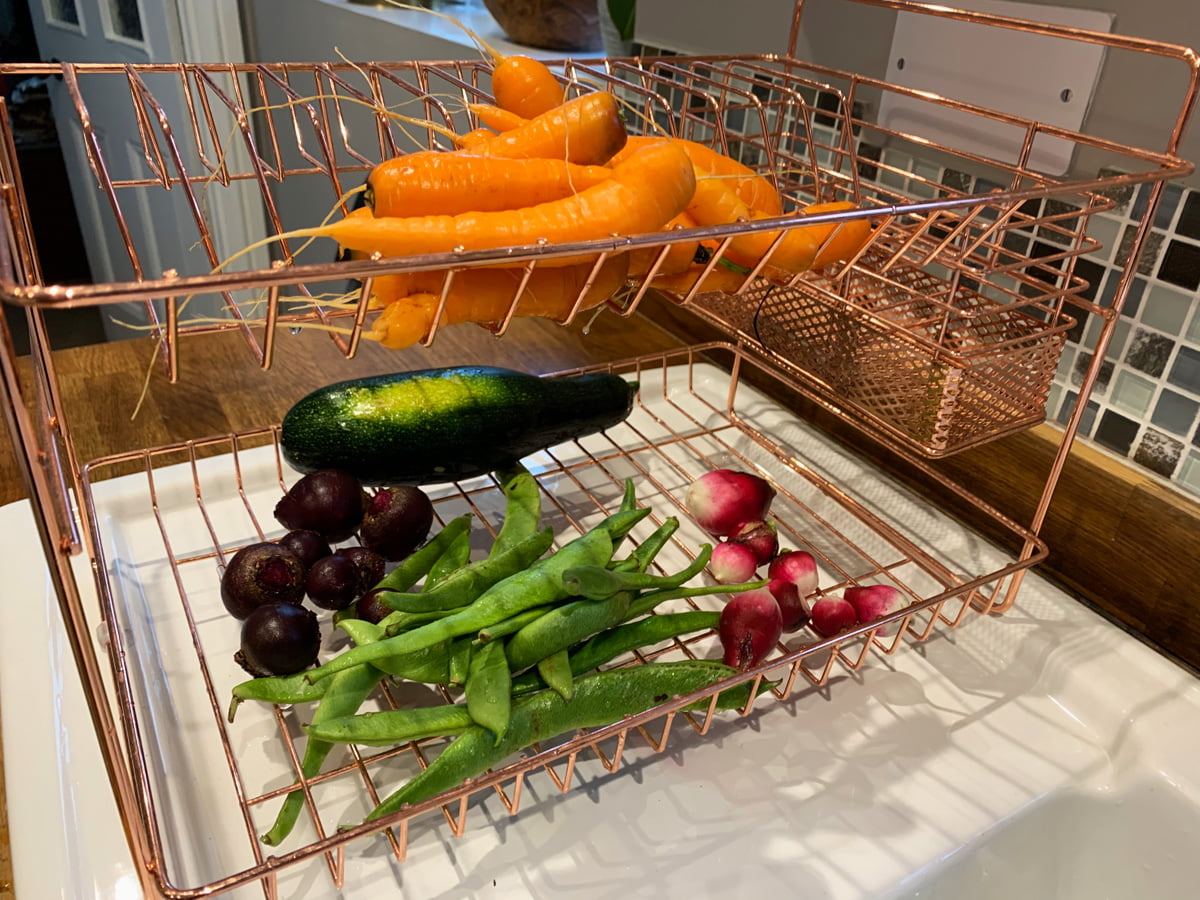
Cat’s vegetable patch has been abandoned a little (we have been sooo busy, even too busy to harvest), but today she harvested the carrots, courgette, beetroot, radishes and runner beans.
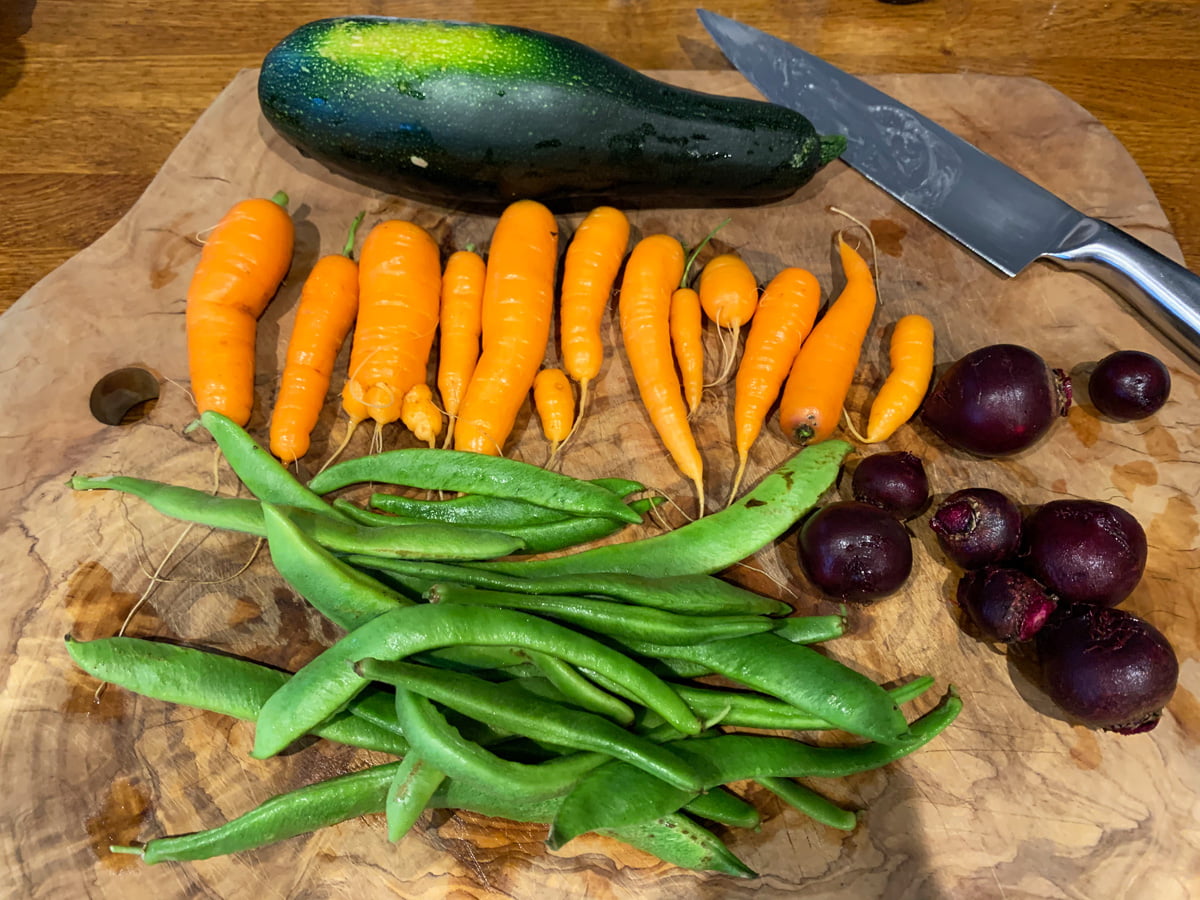
All cooked up for our Sunday dinner of roasted veg with halloumi and pork and pepper sausages from the farm shop. Yum.
Your workman are so skilled. Huge respect for the amazing work that they’re doing xx
Aren’t they just! We are so fortunate to have found Tom and Dan and also to know great craftsmen like Glynn. We know Glynn from our mis-spent youth in the Green Dragon pub in Stratford, we still go to gigs together 🙂