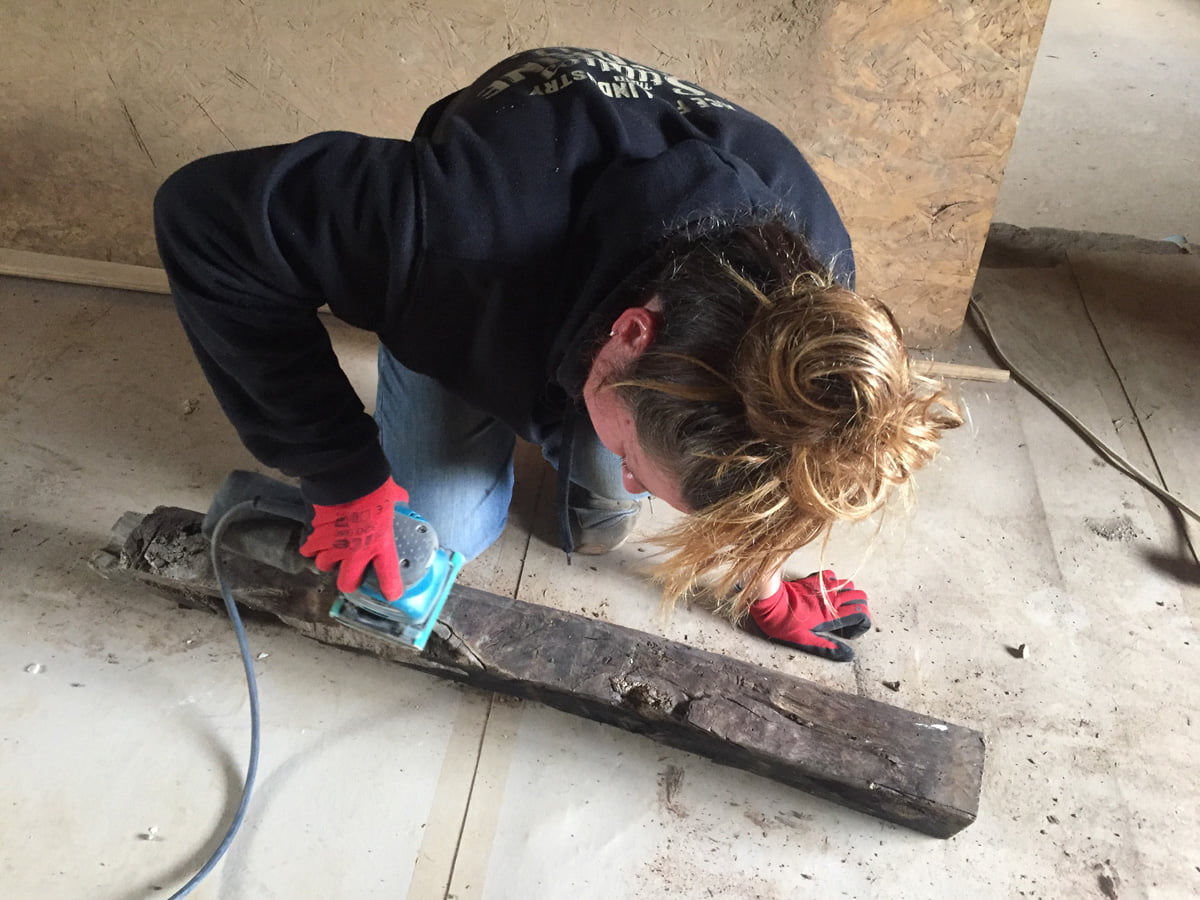
Dan is back up in the attic today fixing the steels to the oak purlins ready for Tom to build the purlins back into the gable end wall.
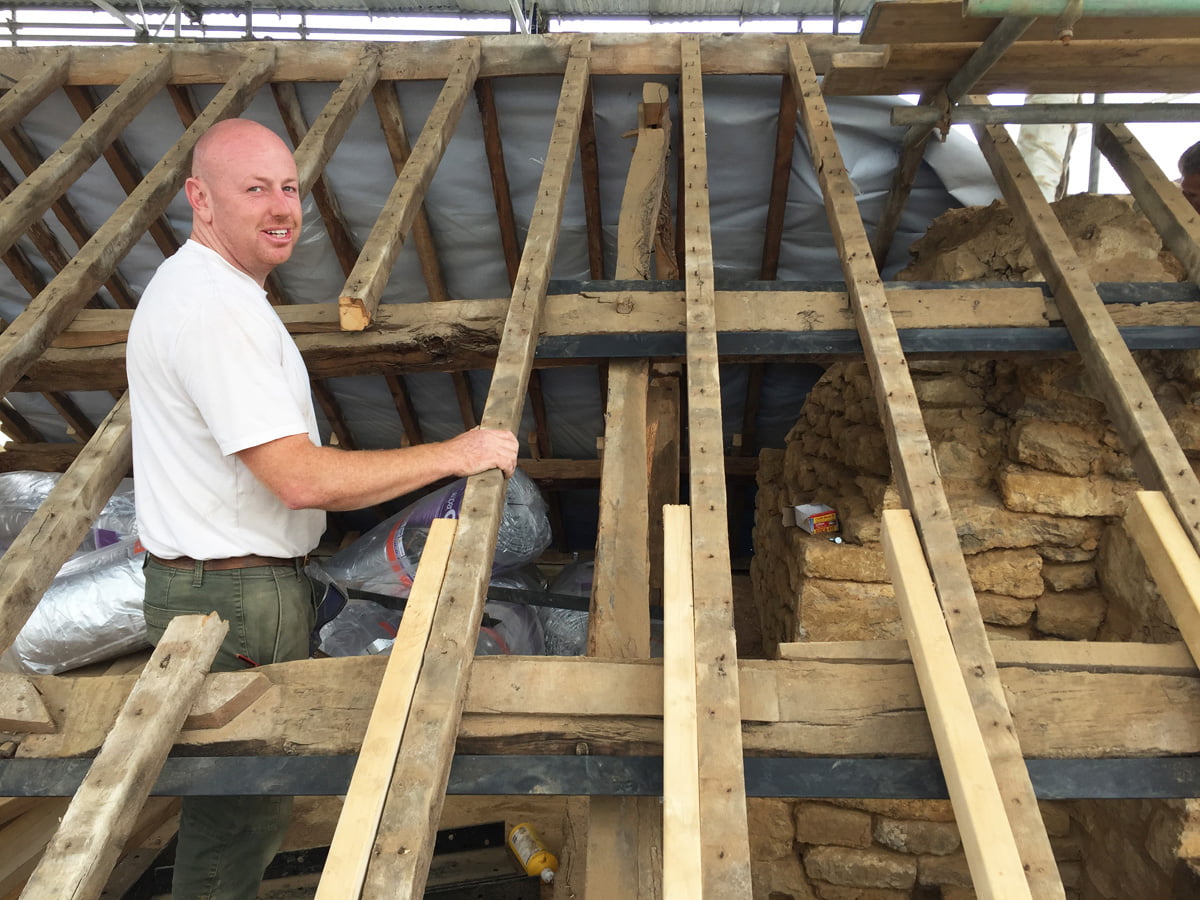
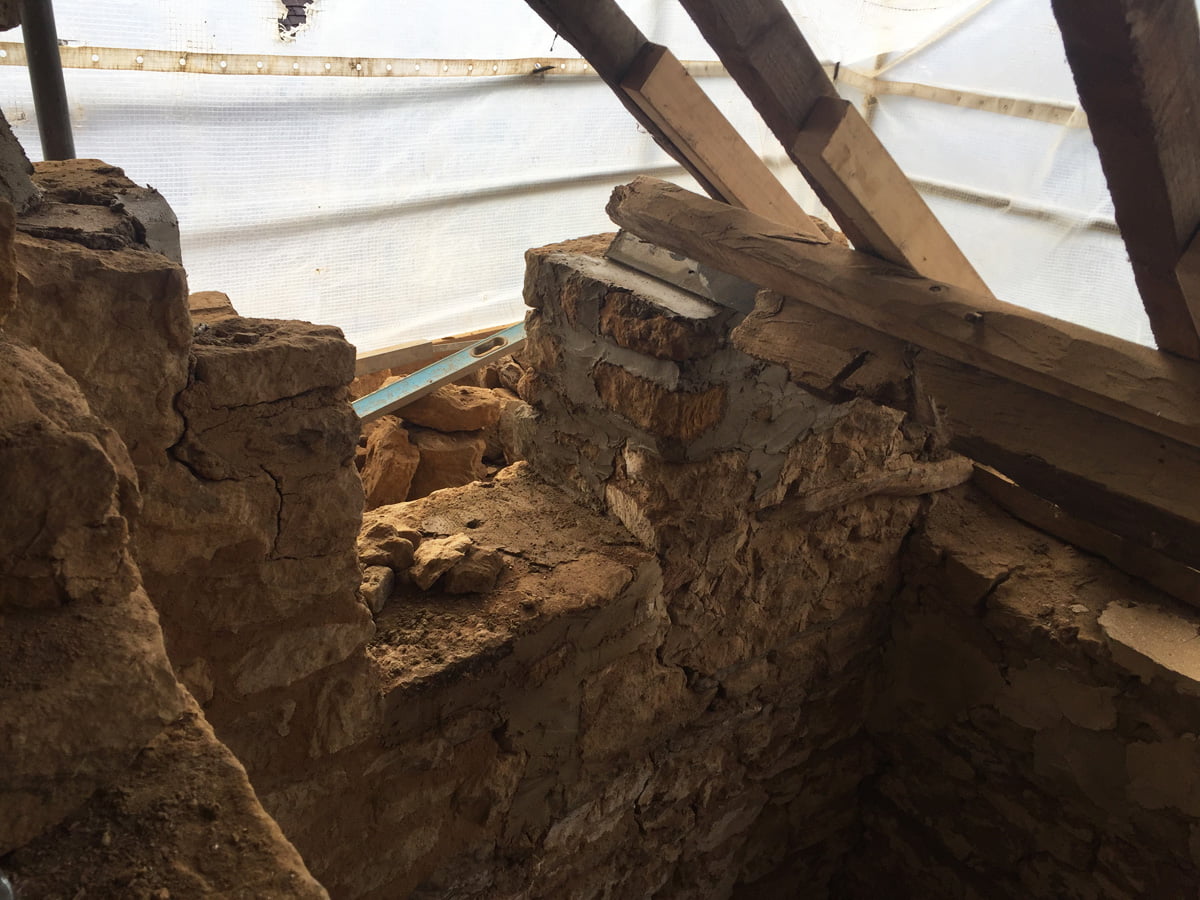
These two purlins to the right of the chimney breast are by far the worst ones, neither of them have reached the wall for some time… Bits of oak had been nailed on to the ends so that they did reach the wall, but these are not a permanent solution. Our structural engineer had specified the steel angles to be used the last time he visited, and these were delivered by Douglas from Riteweld last week. You can see where the top purlin had broken its back over the A-frame, so this has two steels fixed to it, top and bottom. Dan is standing where the dormer window will sit, the top purlin will actually be cut here so it being broken isn’t so much of an issue.
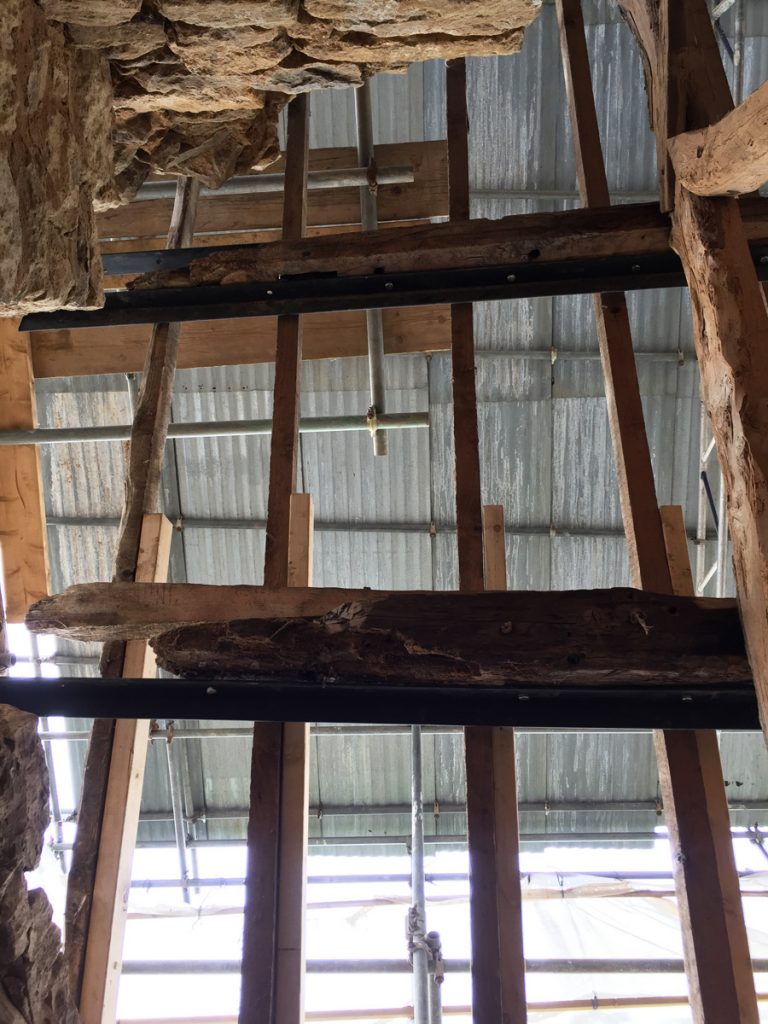
The two purlins from below, looking up from the staircase. You can see how much they have both rotted away from the wall! The steels span the full distance from the wall (left) to the A-frame (right).
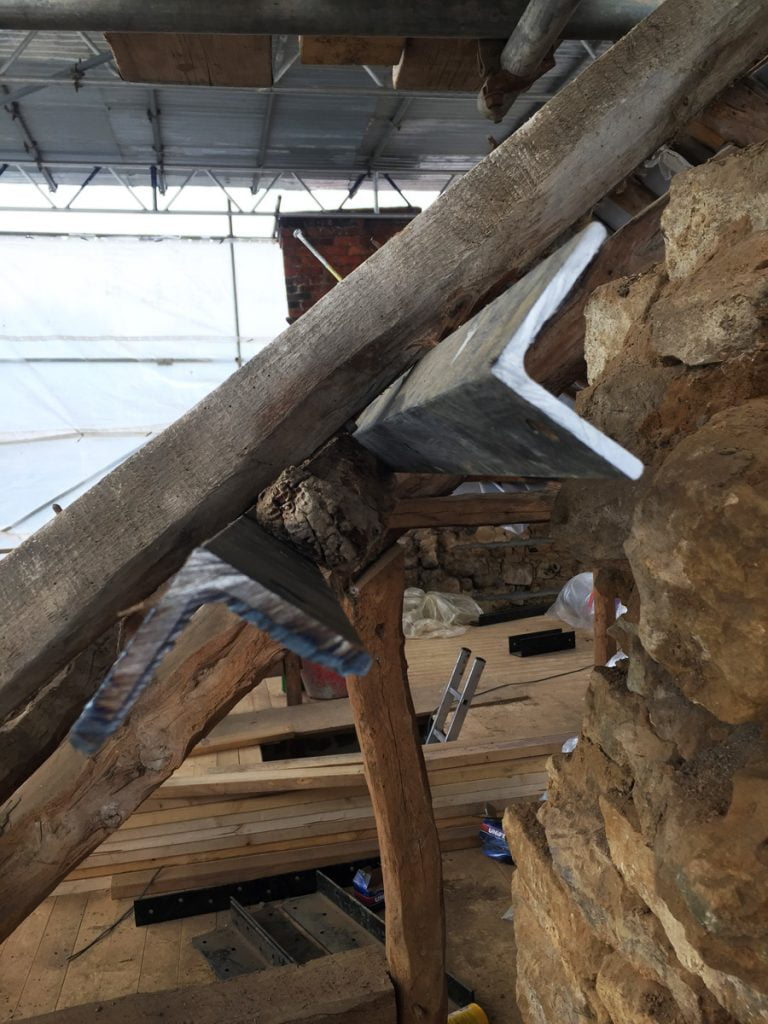
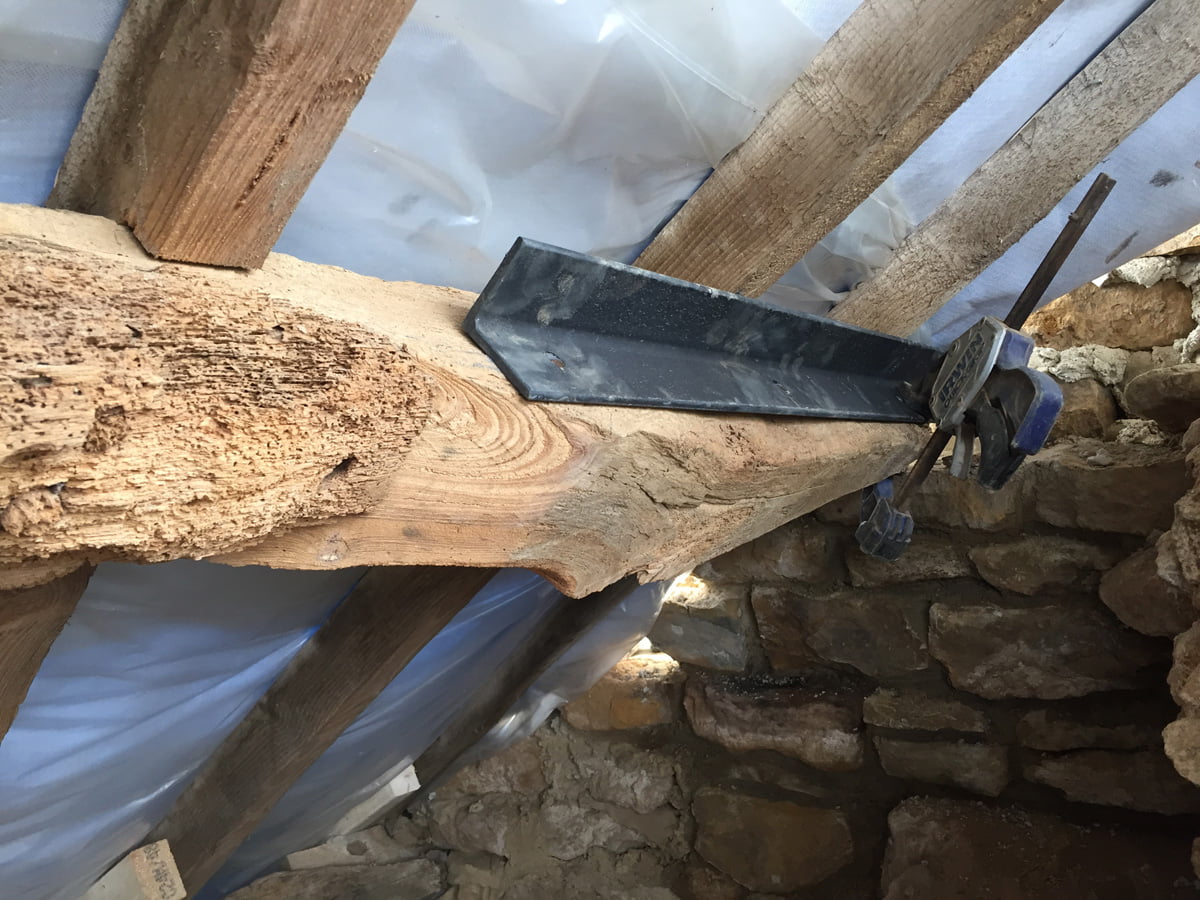
The end of the top purlin with two steels, looking from the wall. These ends will be built back into the wall.
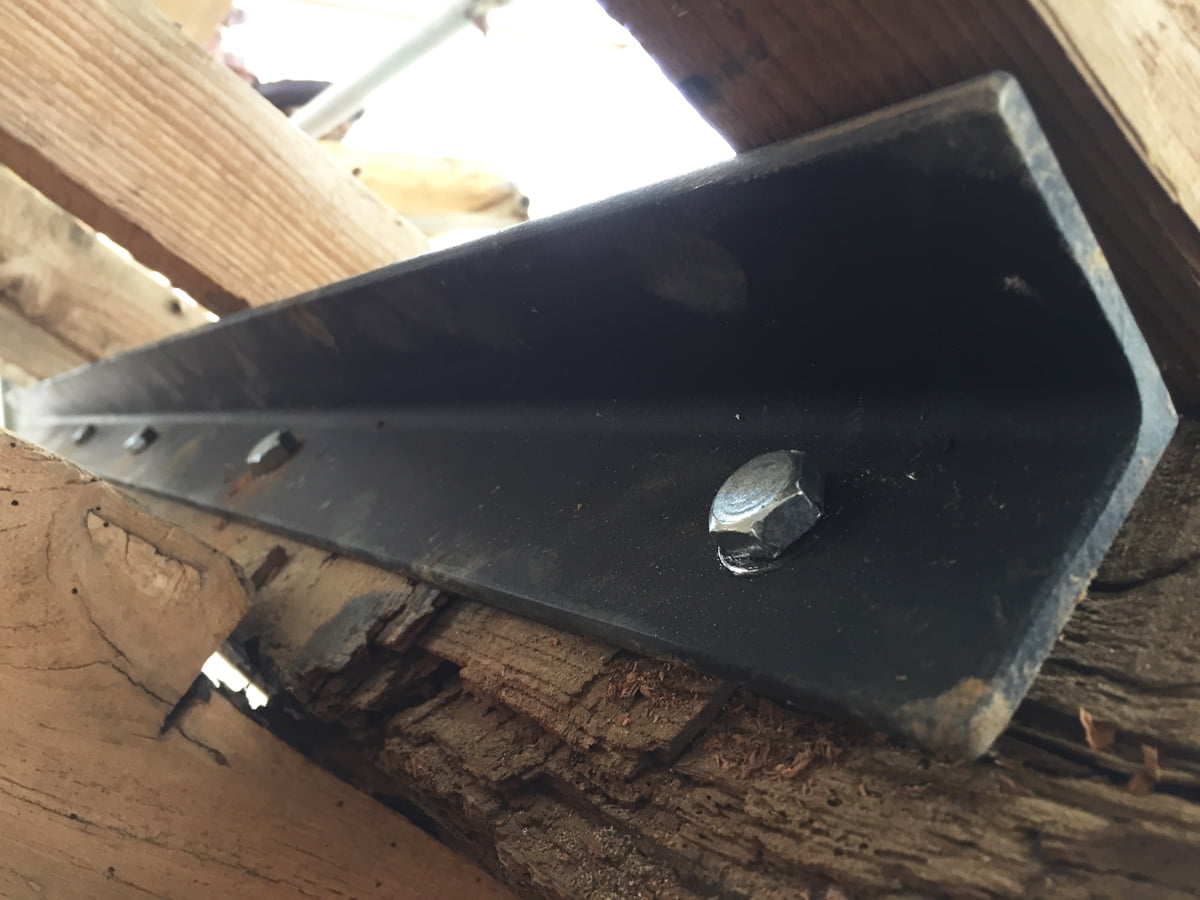
The steel angle bolted to the top of the purlin. The steels are 60mm x 60mm and will disappear behind the plasterboard ceiling.
The steel angle waiting to be fitted to the end of the purlin to the left of the chimney breast.
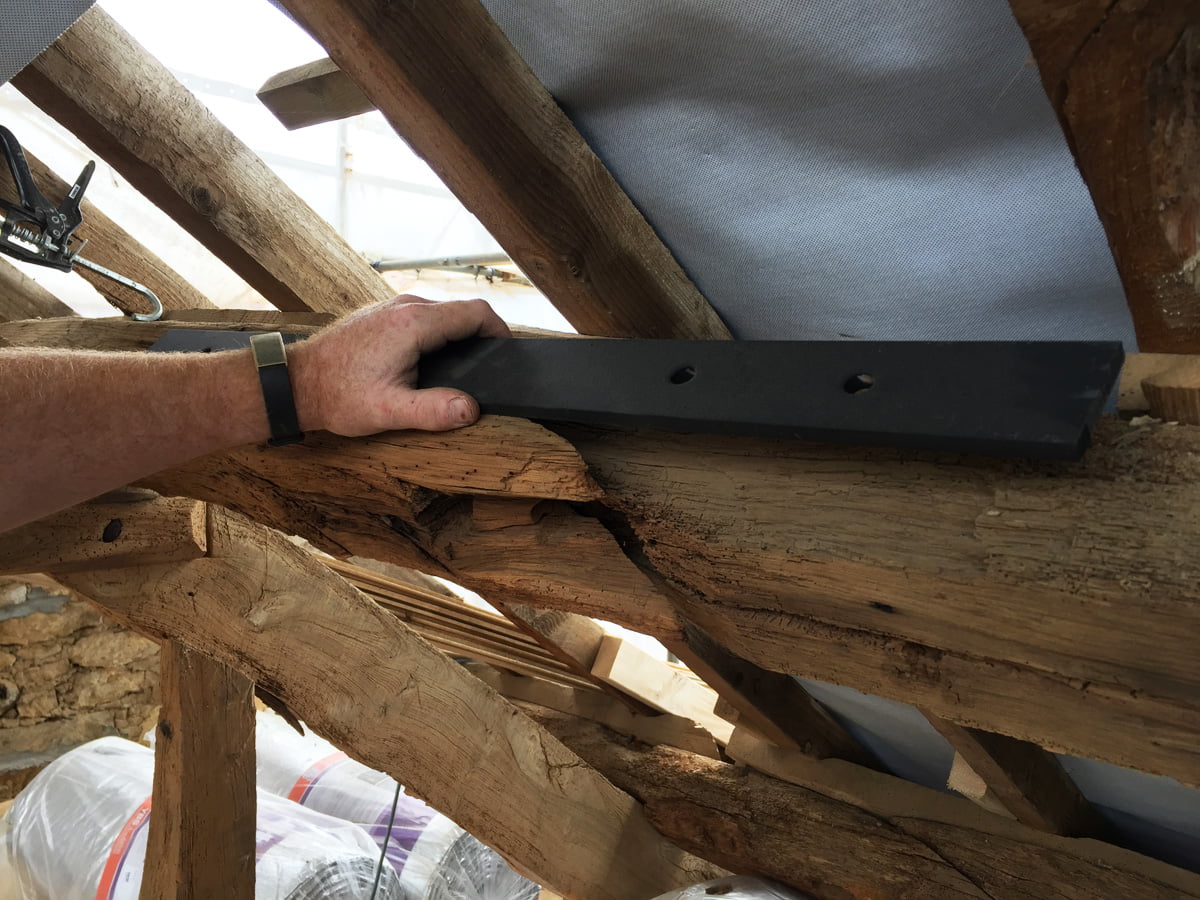
The steels to repair the purlin where the joint has come apart over the years. There are two steel plates to be fitted, one above and one below the joint.
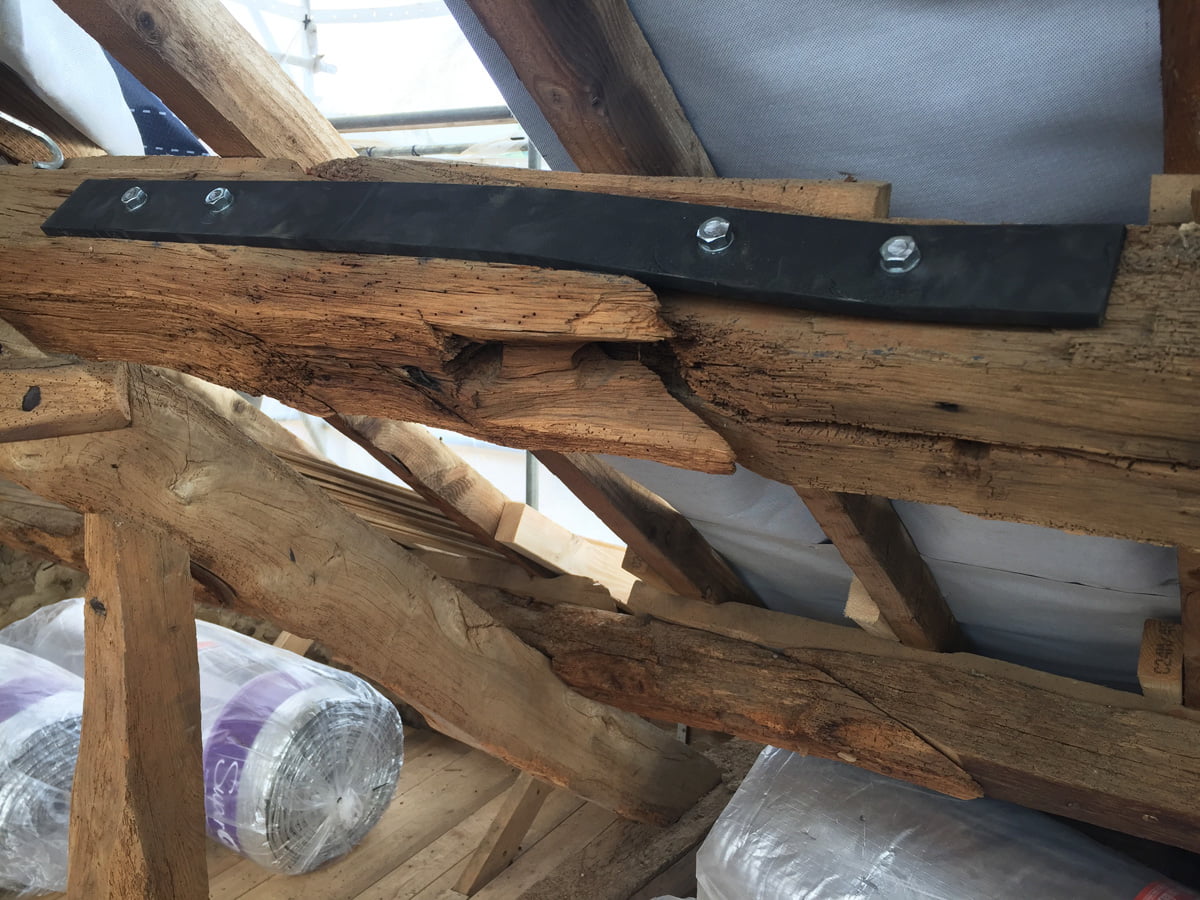
The steel plates have been fitted. I genuinely have no idea how Dan bent the steel for a closer fit (but I will ask him). This steel plate is 10mm thick!
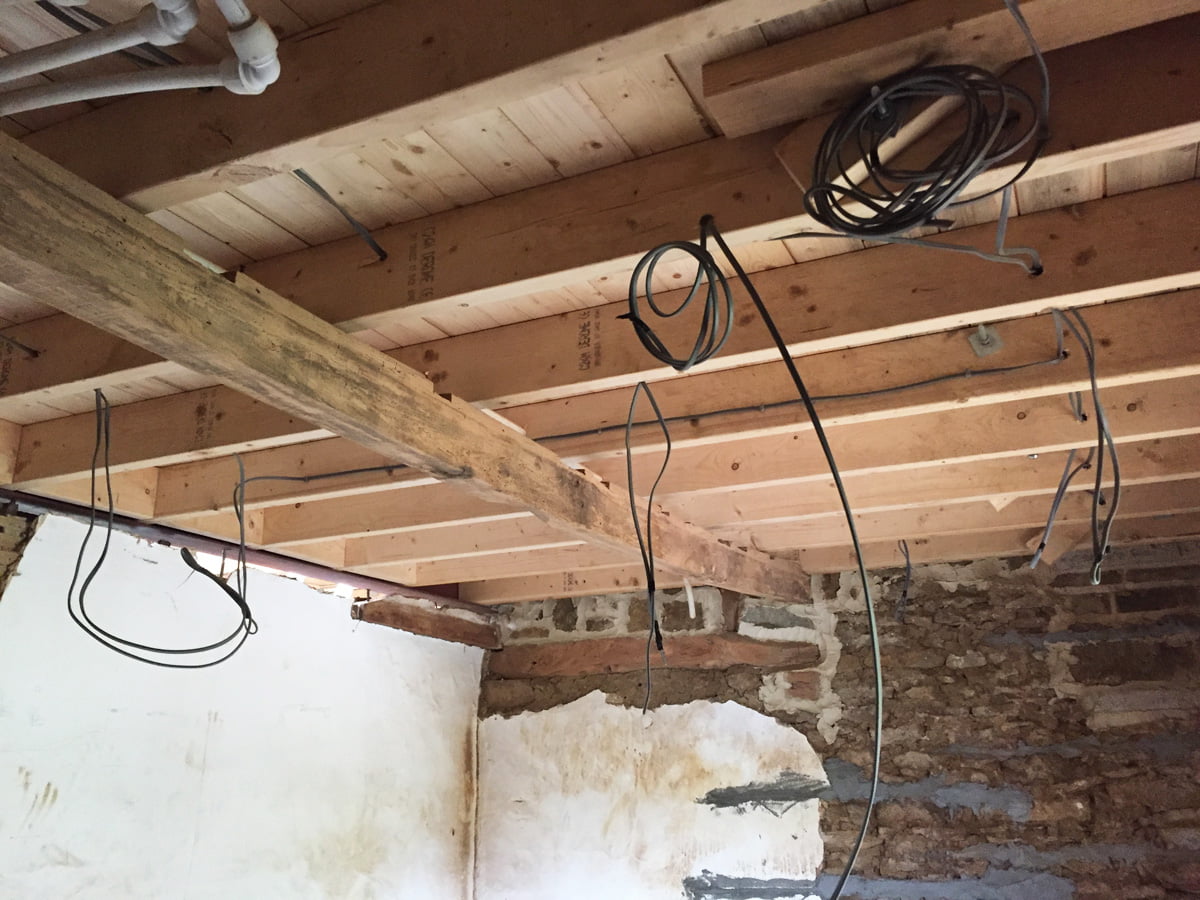
Our electrician Sam returned today to fit and position more cables and switches. These are the cables positioned for the down lights in the bathroom.
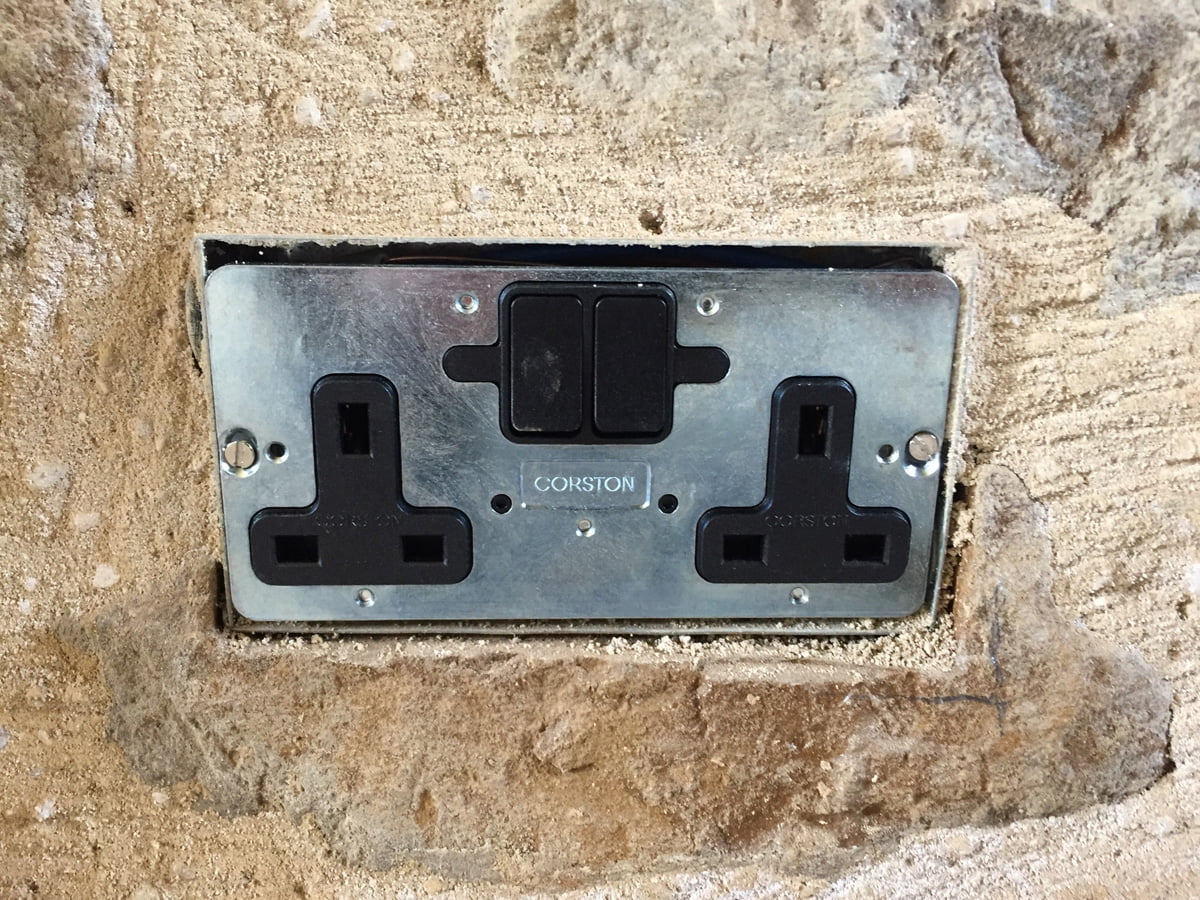
We had a minor panic last week with the posh Corston switches and sockets that we want to have. We discovered that due to the design they require 35-45mm deep back boxes, not the usual 25mm depth… This could be disastrous as we have already had nearly all of the back boxes fitted in the standard 25mm depth, with some mortared into the exposed stone walls. This could mean re-doing all of this work. We weren’t too happy about this, and received a swearing emoji from the usually smiley Sam when we messaged him about this.
Thankfully, however, this morning Cat went over this with Sam and worked out that in fact we should be fine with our existing back boxes. Phew! Above is one of the Corston switches fitted to our existing 25mm back box in the exposed wall in the study. This is the back plate, the finished cover goes over the top of this, and it all fits fine. Sam has managed to fit the cables into the back by removing the rigid grey sheath so the cables are more pliable. We will need to cut out a bit more of the stone around the front so the cover fits flush with the stone, see the pencil marks in the bottom right corner. Thankfully there aren’t many sockets and switches fitted into exposed stone walls.
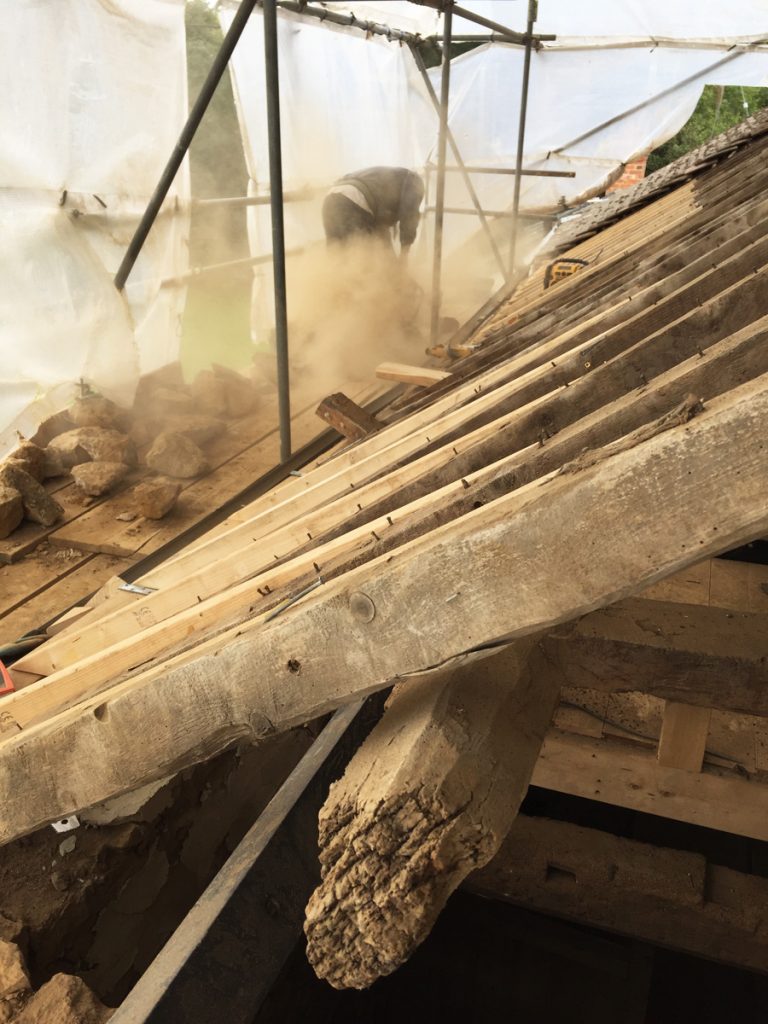
Tom has been working bloody hard recently and today is no exception, and he is minus a George. He is on a tight deadline to finish the gable end wall by Friday in time for his very well deserved holiday! Tom has barely paused for breath for months and he works on other smaller jobs and his own house at weekends and in the evenings…
The gable end wall is looking so much better with all the repairs to the damaged stone work. What was essentially a badly built rubble wall that was crumbling away to nothing, is now strong and sturdy and much more suited to carrying the weight of the roof and the chimney.
The blocked up window being reinstated. The existing lintel had to be removed to fit the steels from the purlin ends into the walls. The other original lintels had rotted away and were long gone unfortunately, but we are using some of the old joists that came out of the study to replace them. The wall is so thick that we will need 4 lintels in total, so we have found 3 more that are suitable.
Each lintel needs cleaning up, sanding and then oiling before they get fitted. Once they are in they will be very difficult to reach as the window is at the top of the staircase, so finishing the timber now is prudent.
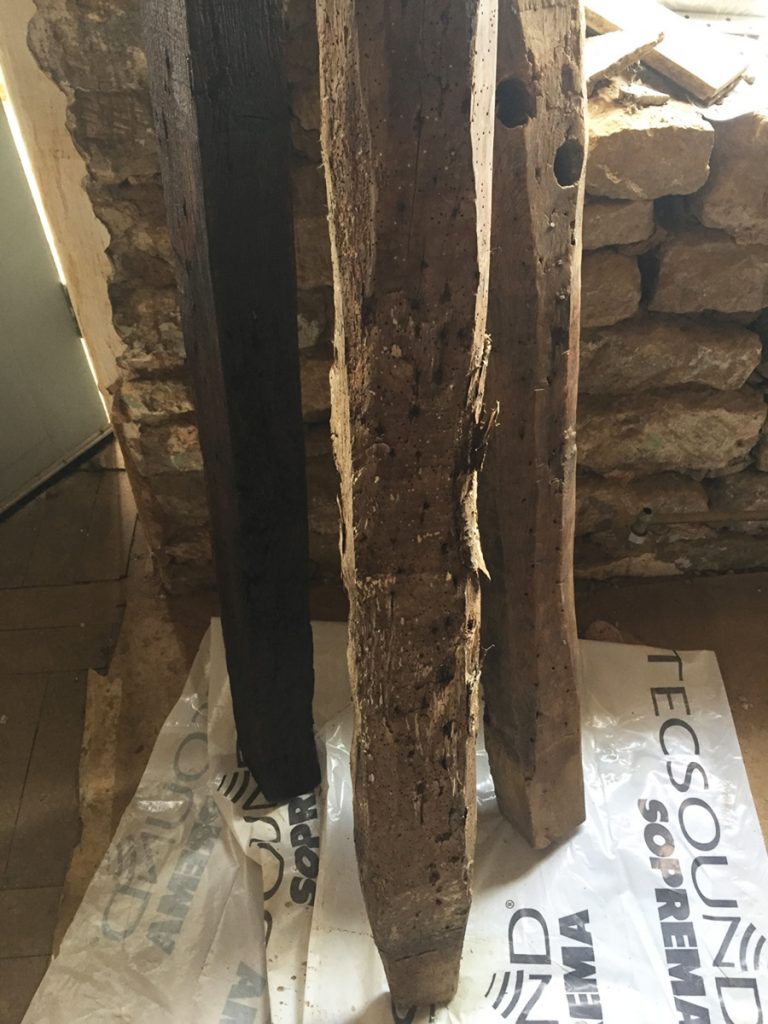
3 of the 4 lintels prior to finishing. The 2 on the right are old joists from the study. The lintels only need to be around a metre in length, so using parts of the old joists that weren’t too rotten works really well. We are so happy these are getting re-purposed 🙂
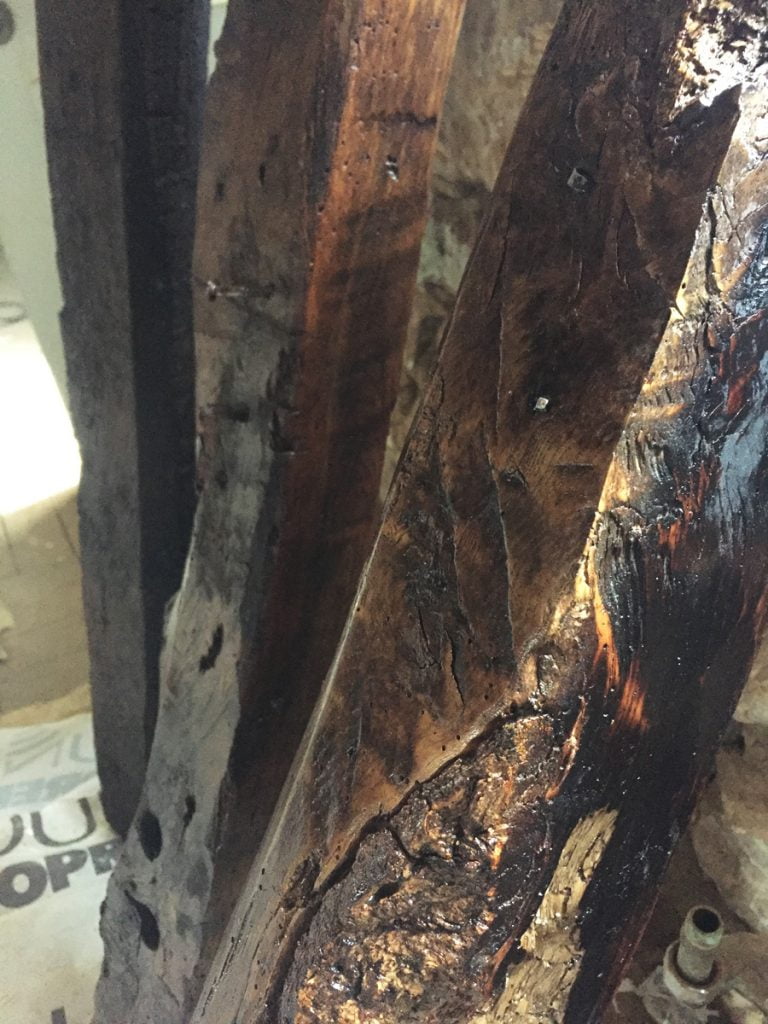
The 2 old joists all cleaned and oiled. The colours, textures and saw marks are absolutely gorgeous.
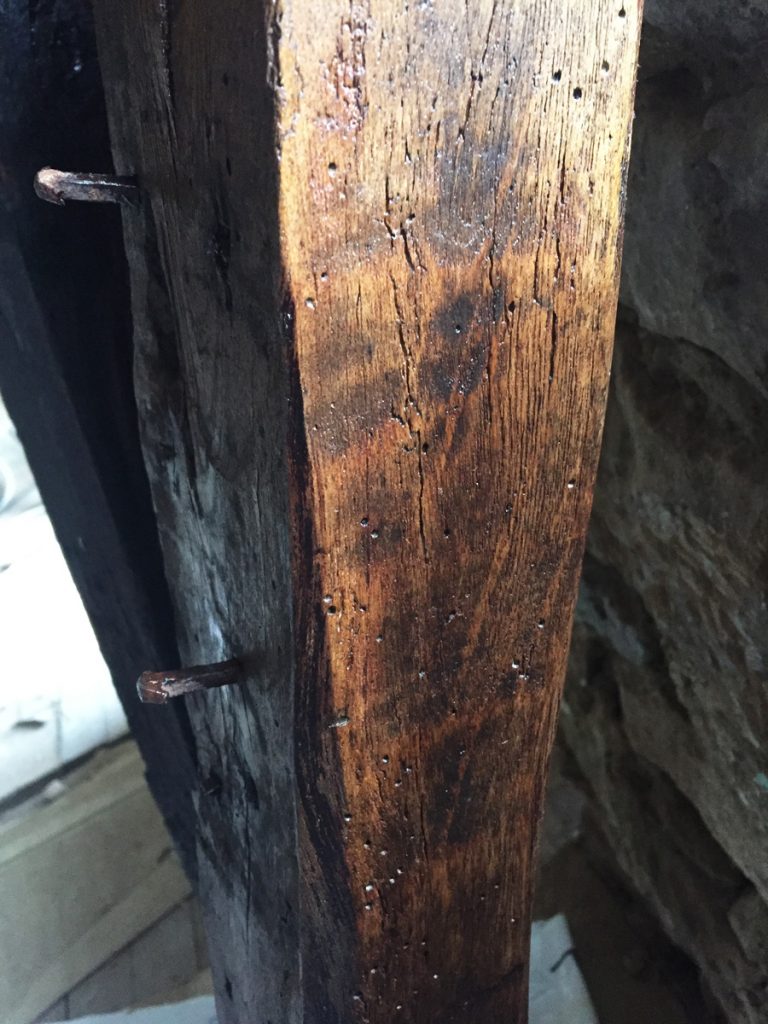
Gorgeous!

Our beautiful new bathroom window has been oiled on the inside. The outside will be painted with primer.