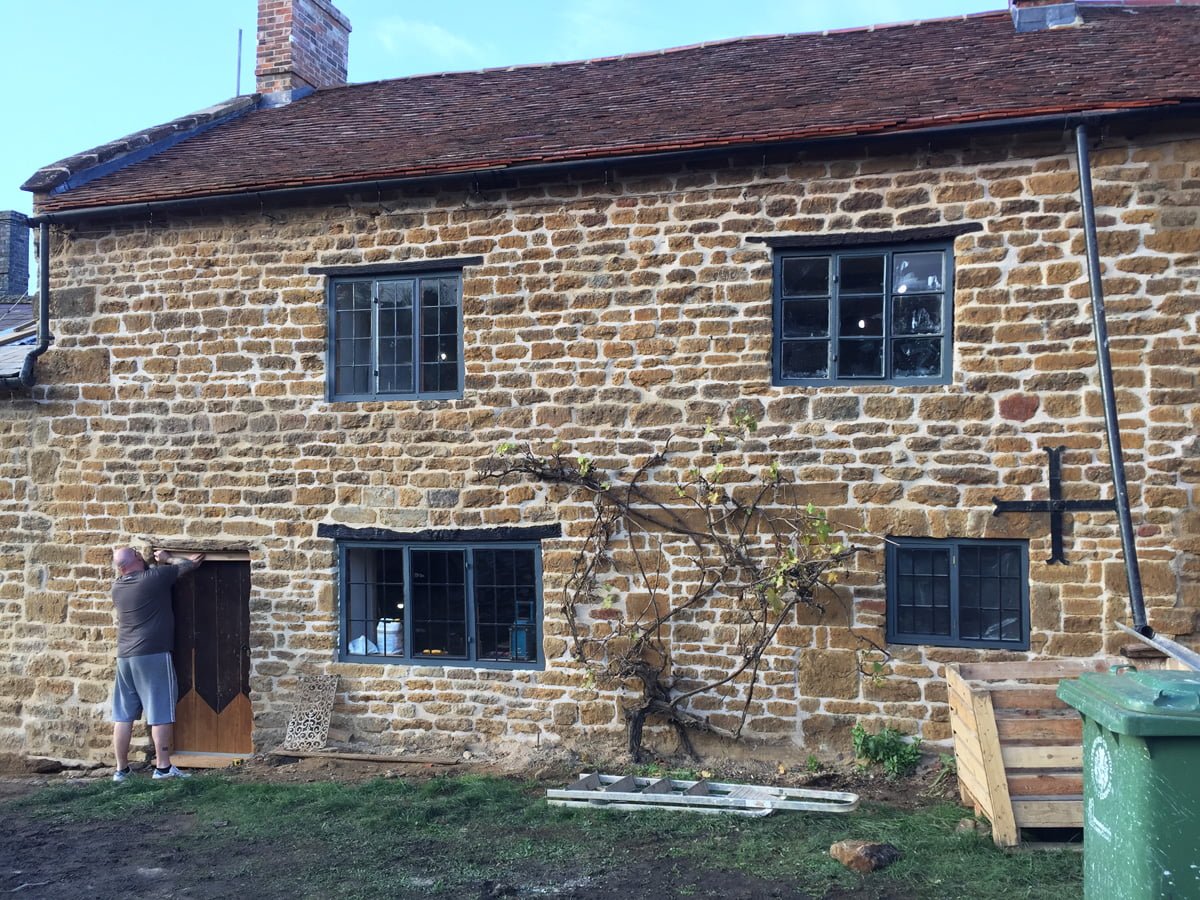
A cold, damp Saturday morning and Glynn is here to hang the old front door. We have also removed the plastic covers from the windows at the front now as they no longer need protecting from the elements. This is the first time we have seen the windows all together and they look even better than we had ever hoped! We love them!
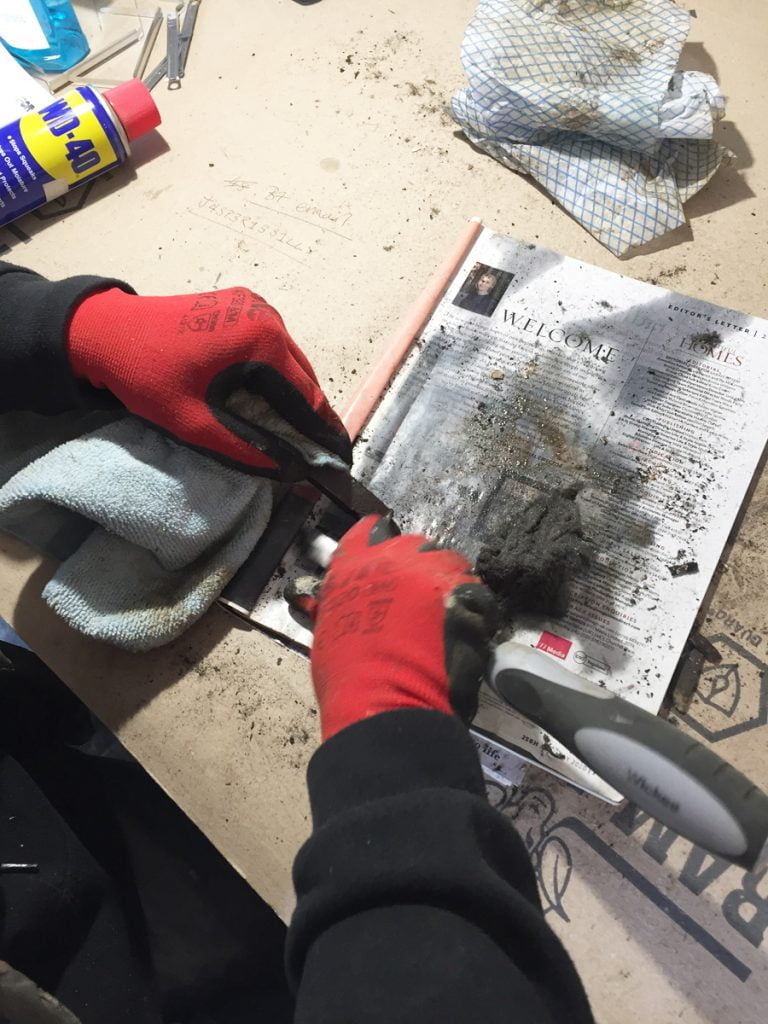
Cat is back from Bristol and back to scraping, painting, oiling. This is one of the old iron hinges for the front door.
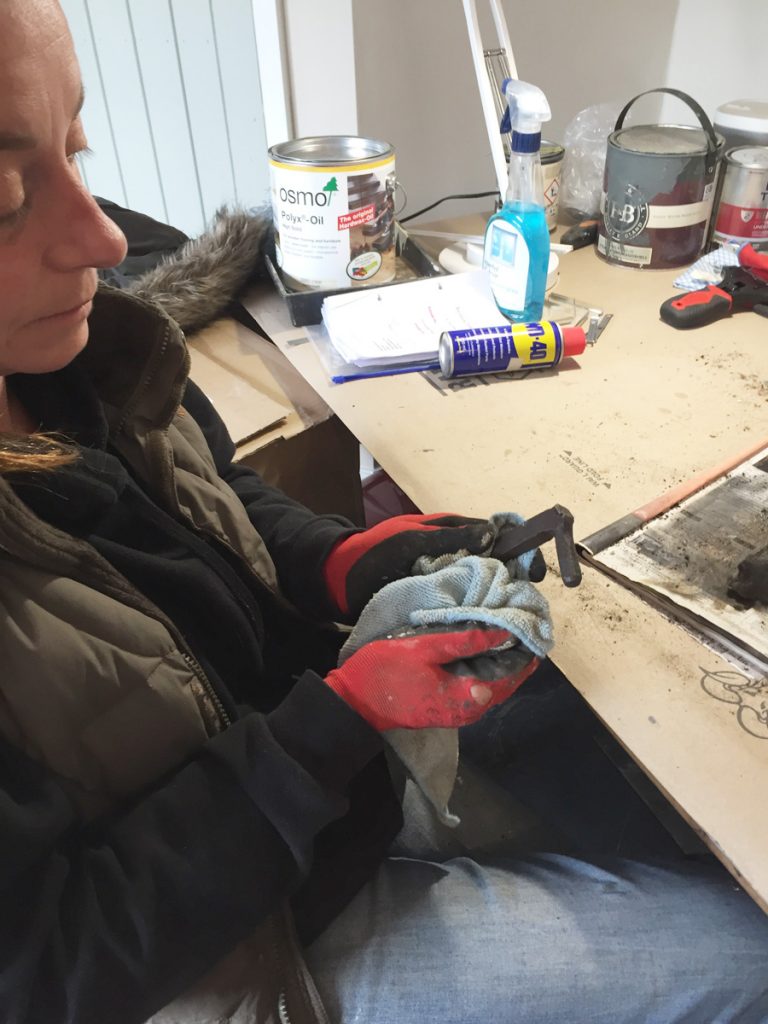
The hinge needs cleaning and waxing to protect it from rusting.
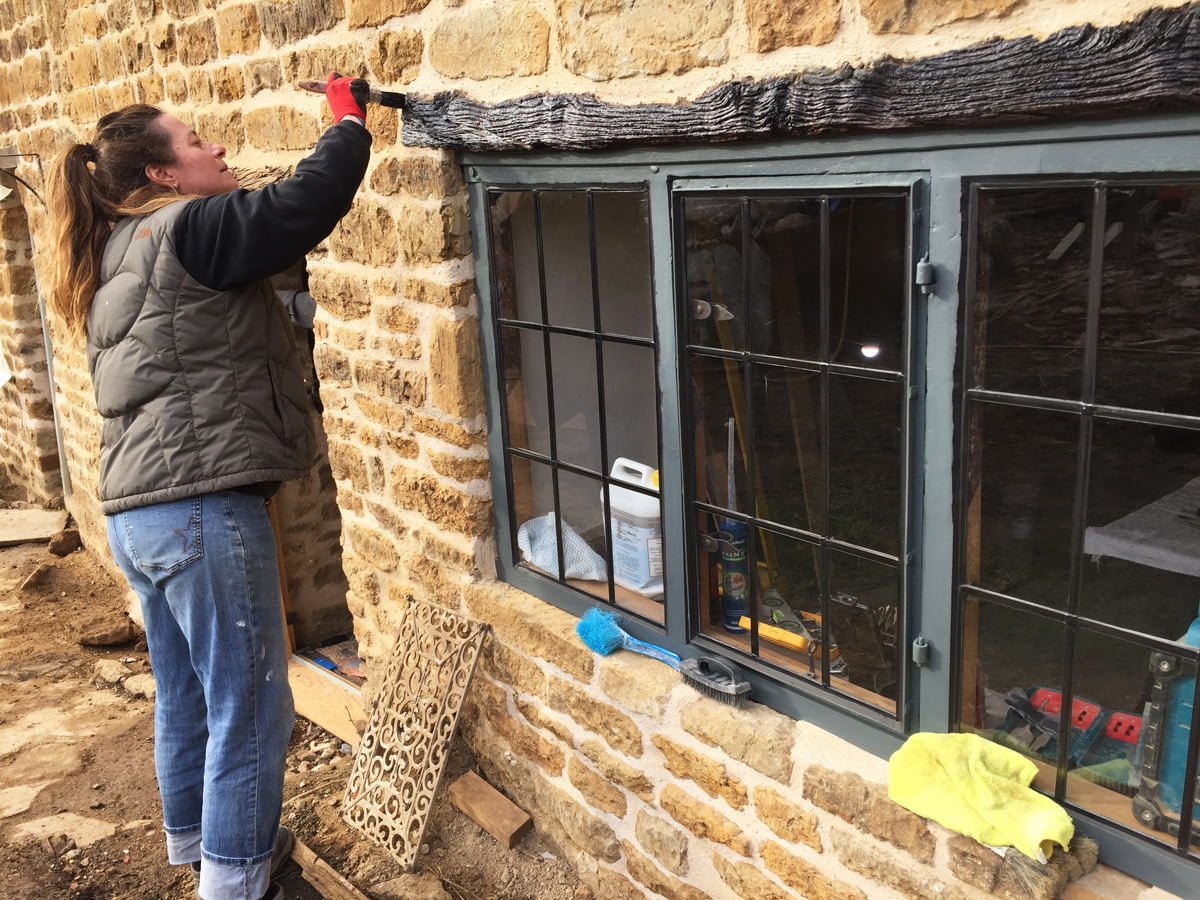
Now the plastic cover has been removed, Cat can oil the lintel above the sitting room window.
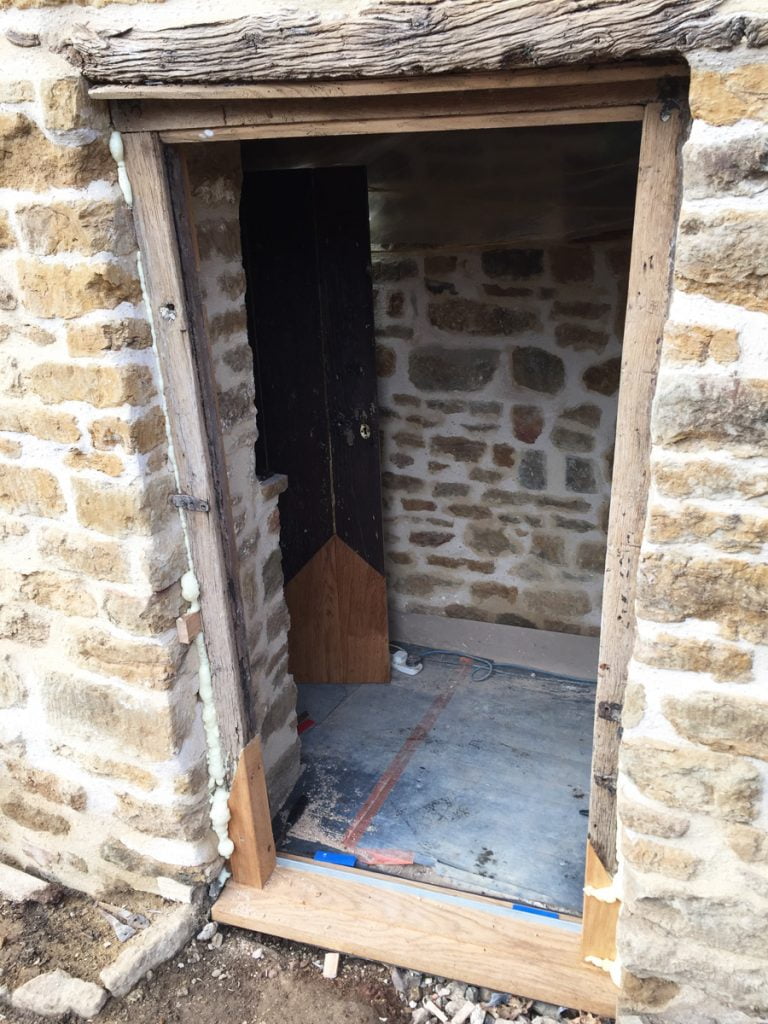
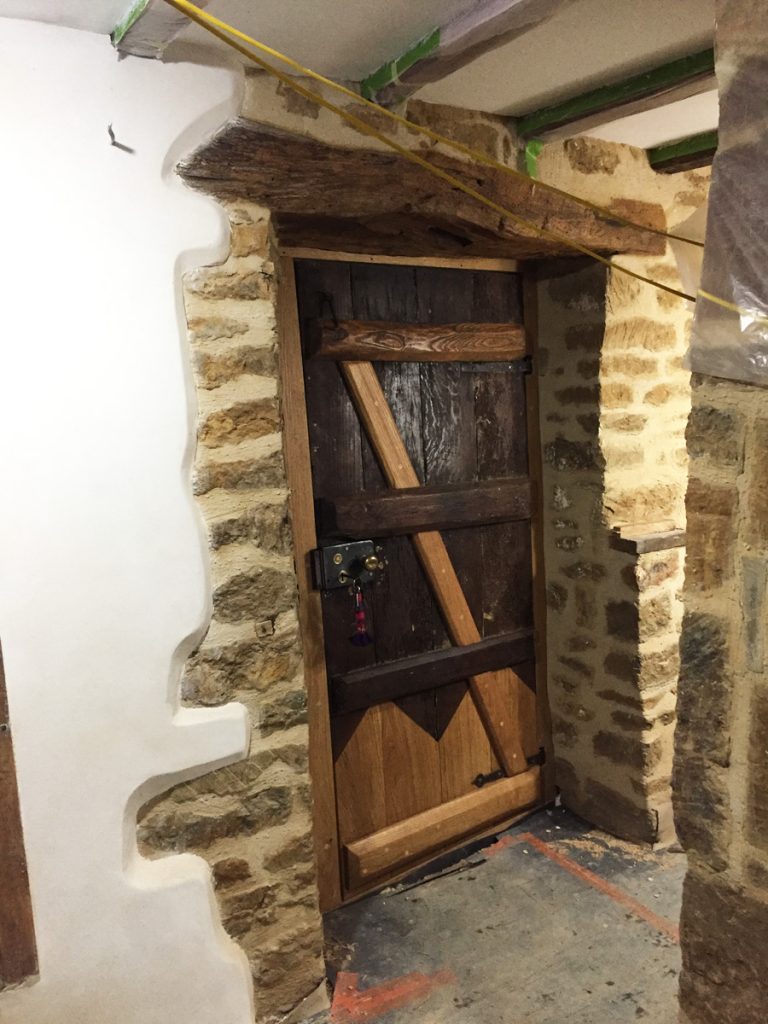
The front door frame with the old door standing in the corridor, ready to be fitted.
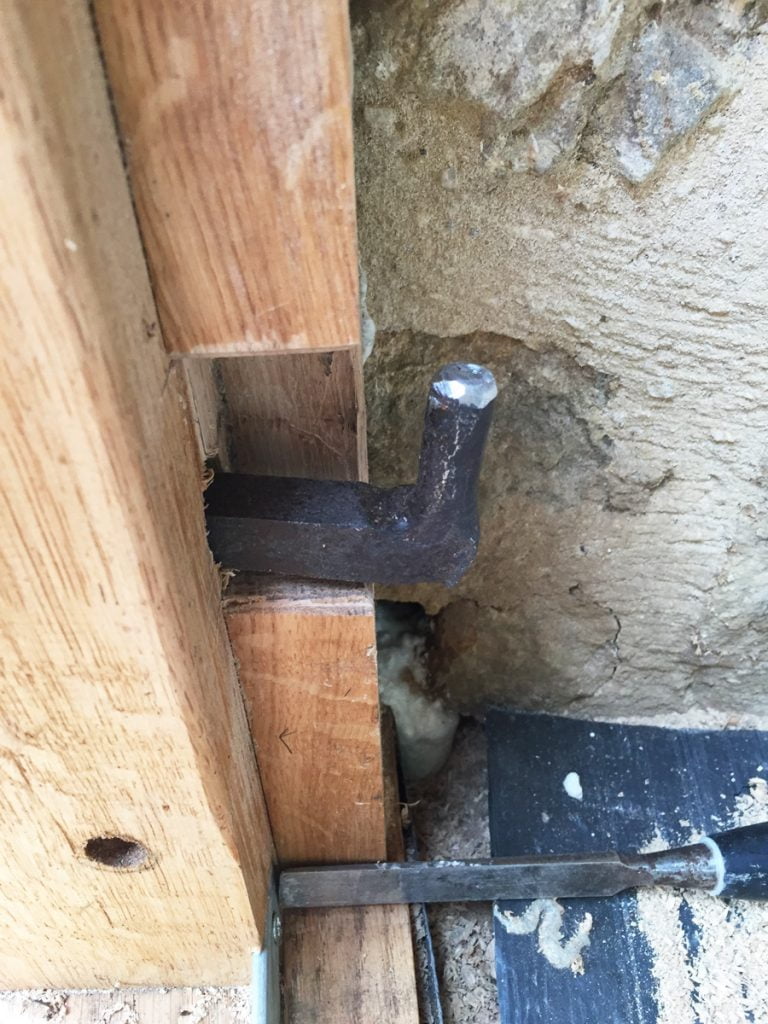
Glynn is fitting the hinges but they are not making life easy, they are the type of hinges you get on a gate or a barn, not a domestic door. To get the door to hang straight and square, so that it opens, requires a great deal of calculating and fiddly work.
Cat is almost gleeful to be back on the windows.
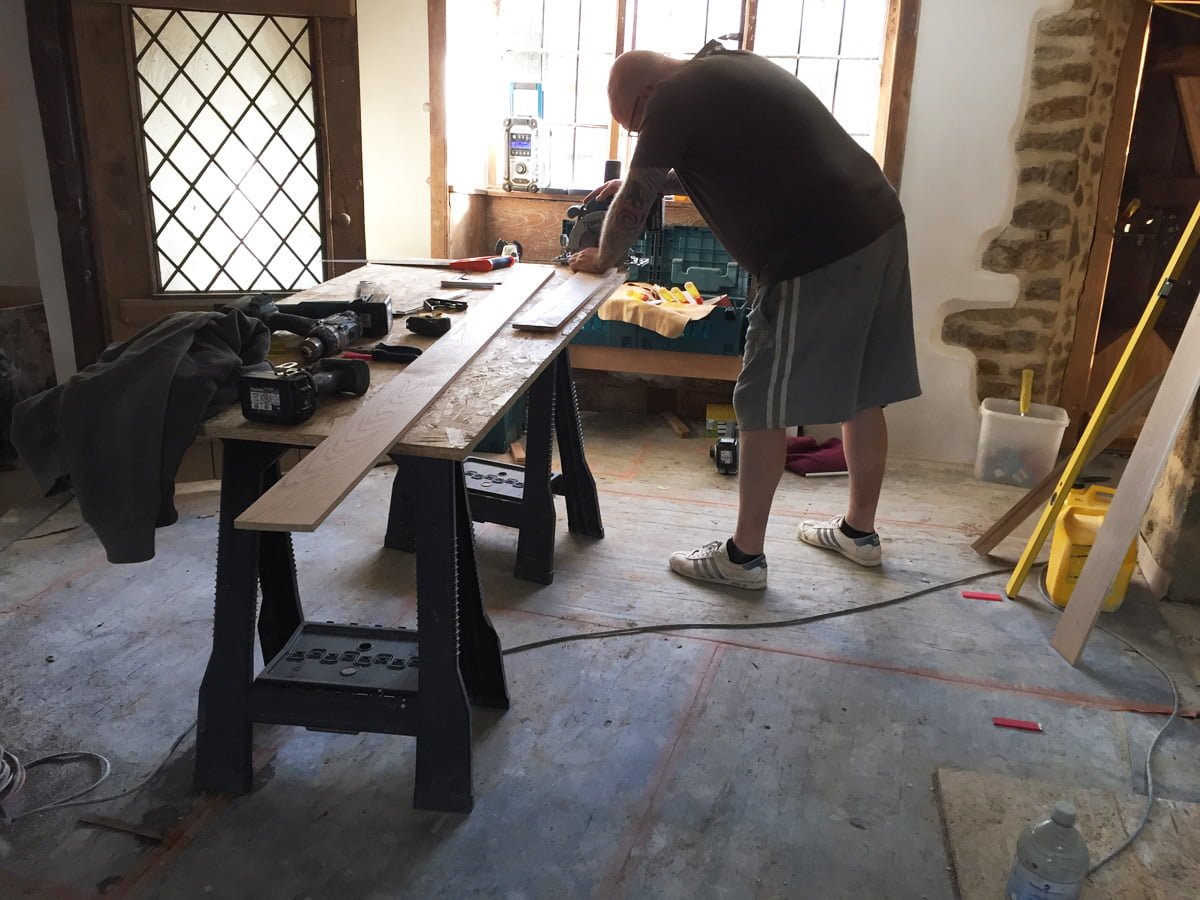
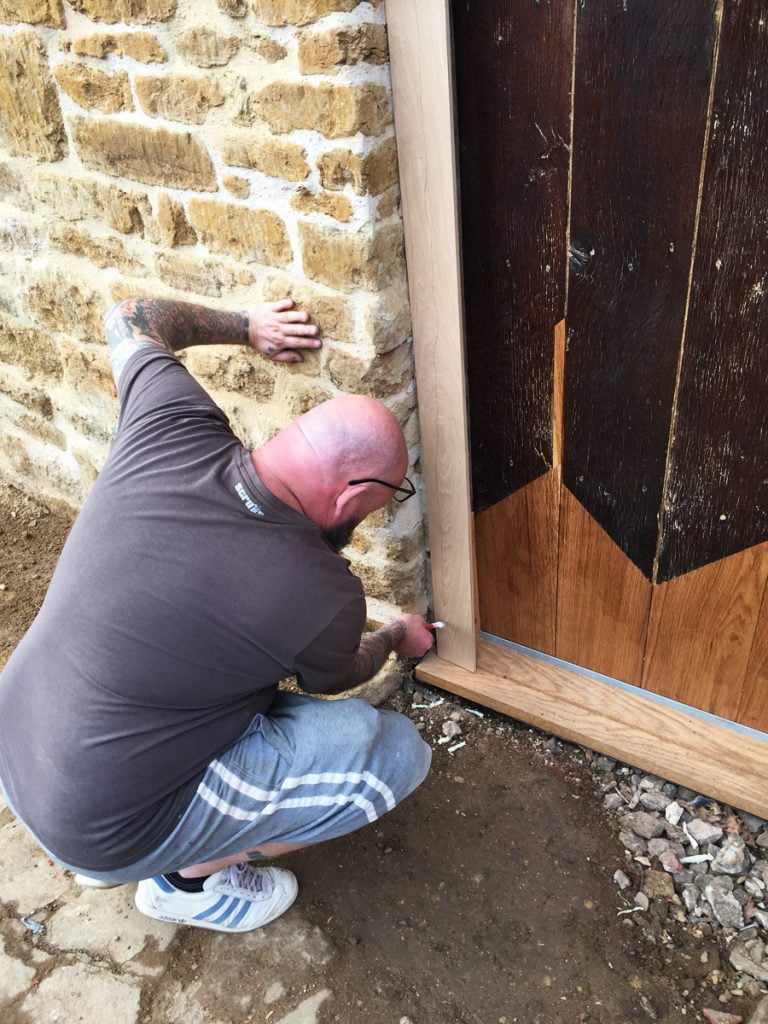
Glynn trimming the oak for the fillets that will sit around the outside of the front door frame.
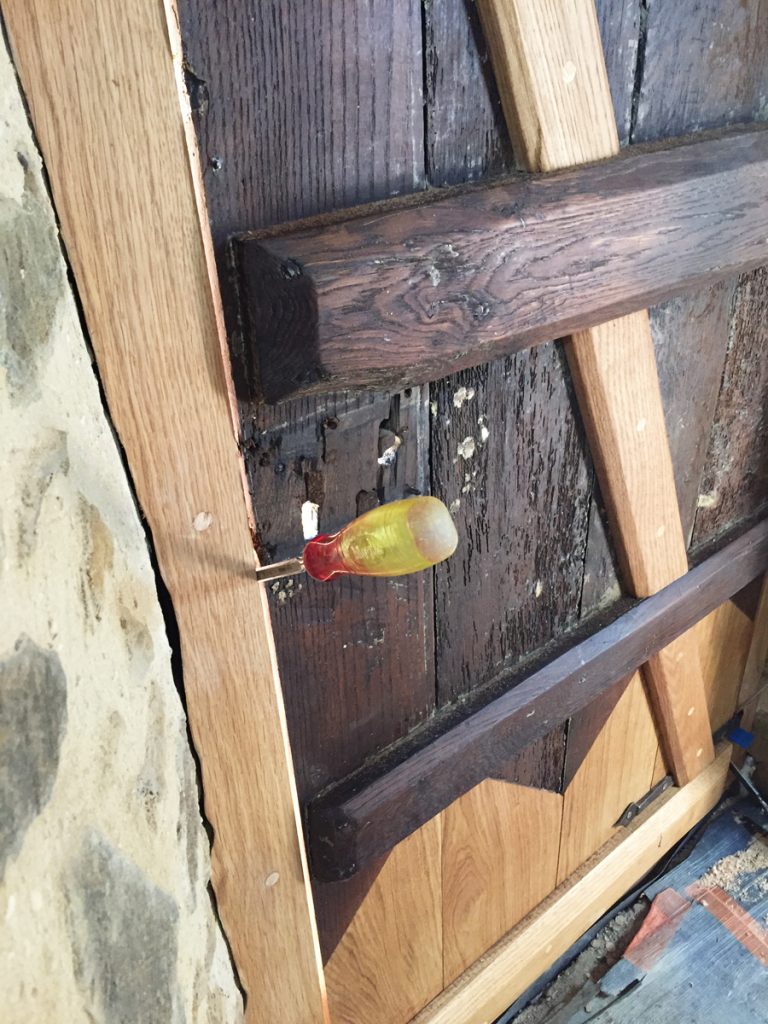
The door gets hung on the hinges, which have now been glued in place. The wedges and screwdrivers are added to hold the hinge in the correct position while the glue sets.

It’s a nerve wracking hour while the glue goes off, as Glynn doesn’t know for sure that the door is going to hang correctly until it has set…

Our Architect’s son drops by to offer his assistance!
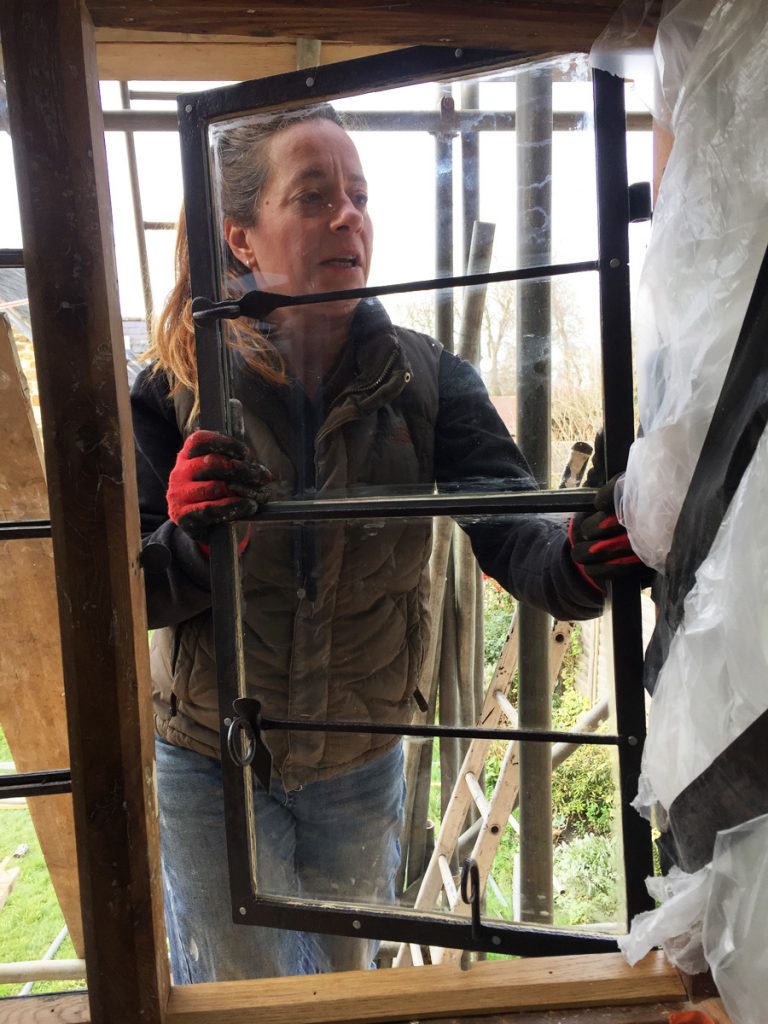
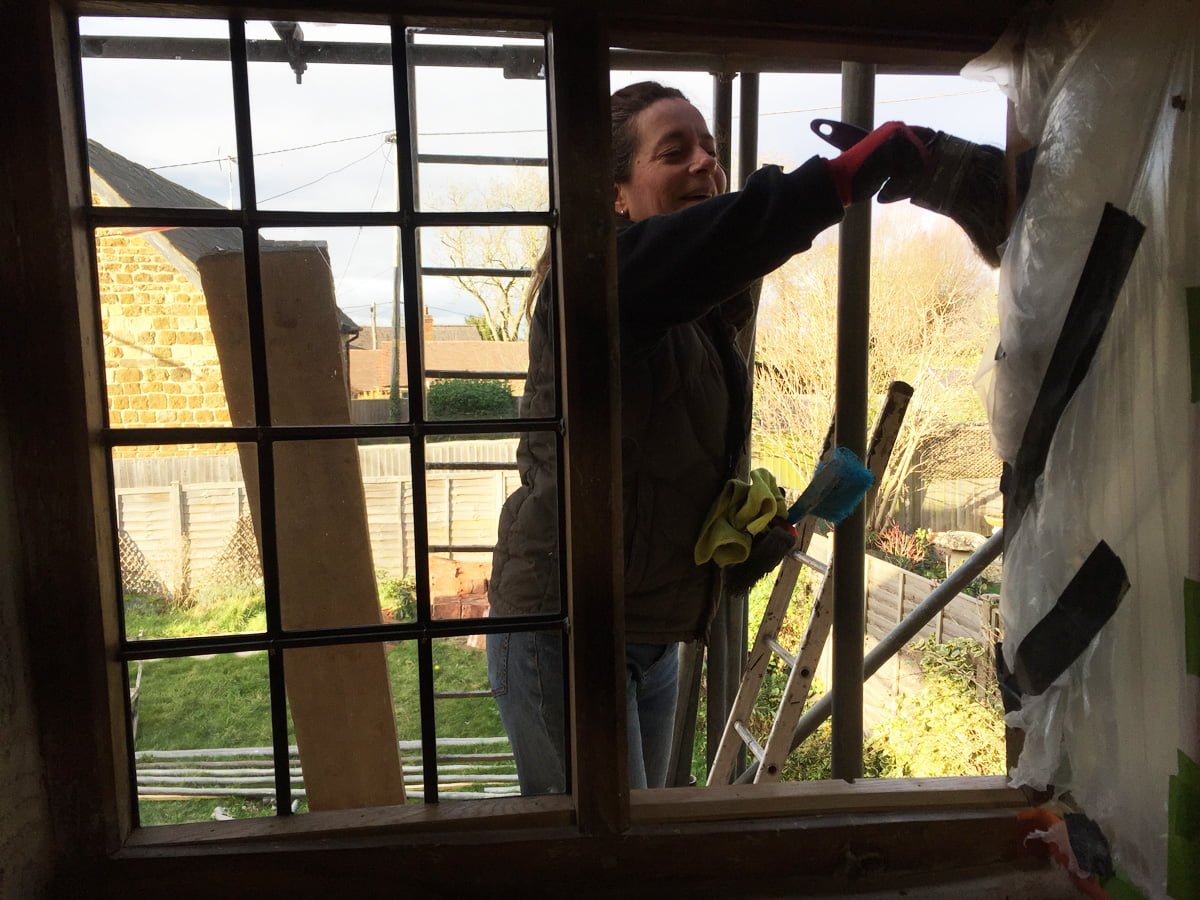
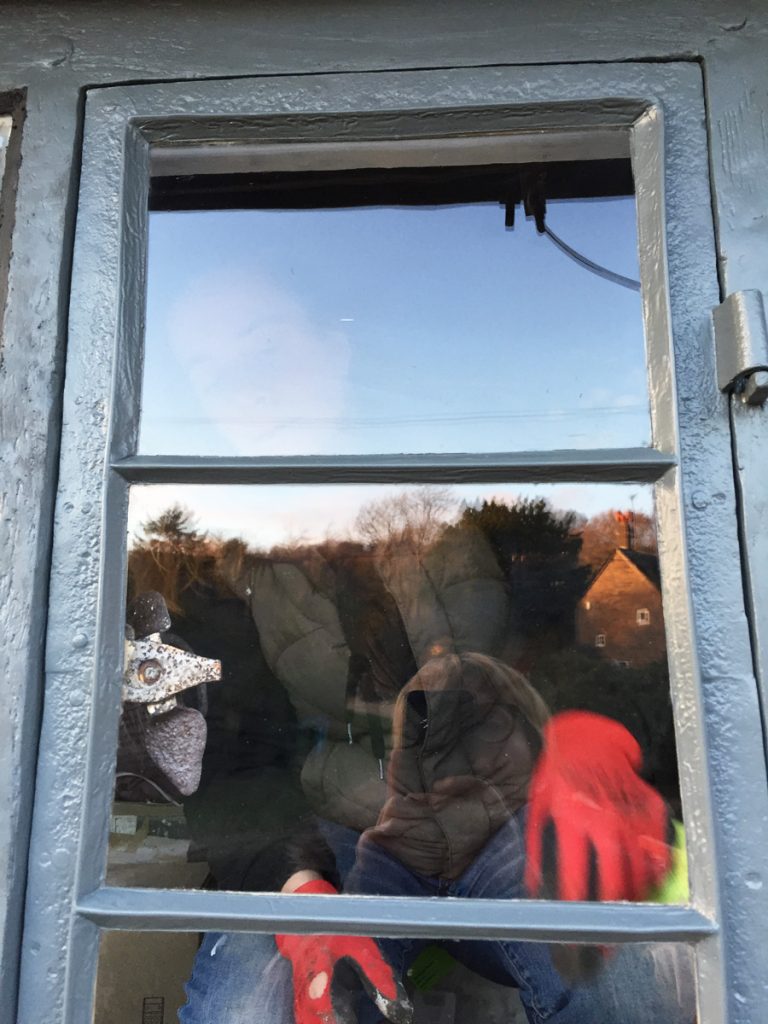
The moment Cat realises that this is the wrong metal opener for the landing window. This is in fact the one for the dining room window, the landing one is the only one that Cat hasn’t yet painted. This will have to remain open to the elements for another couple of days…
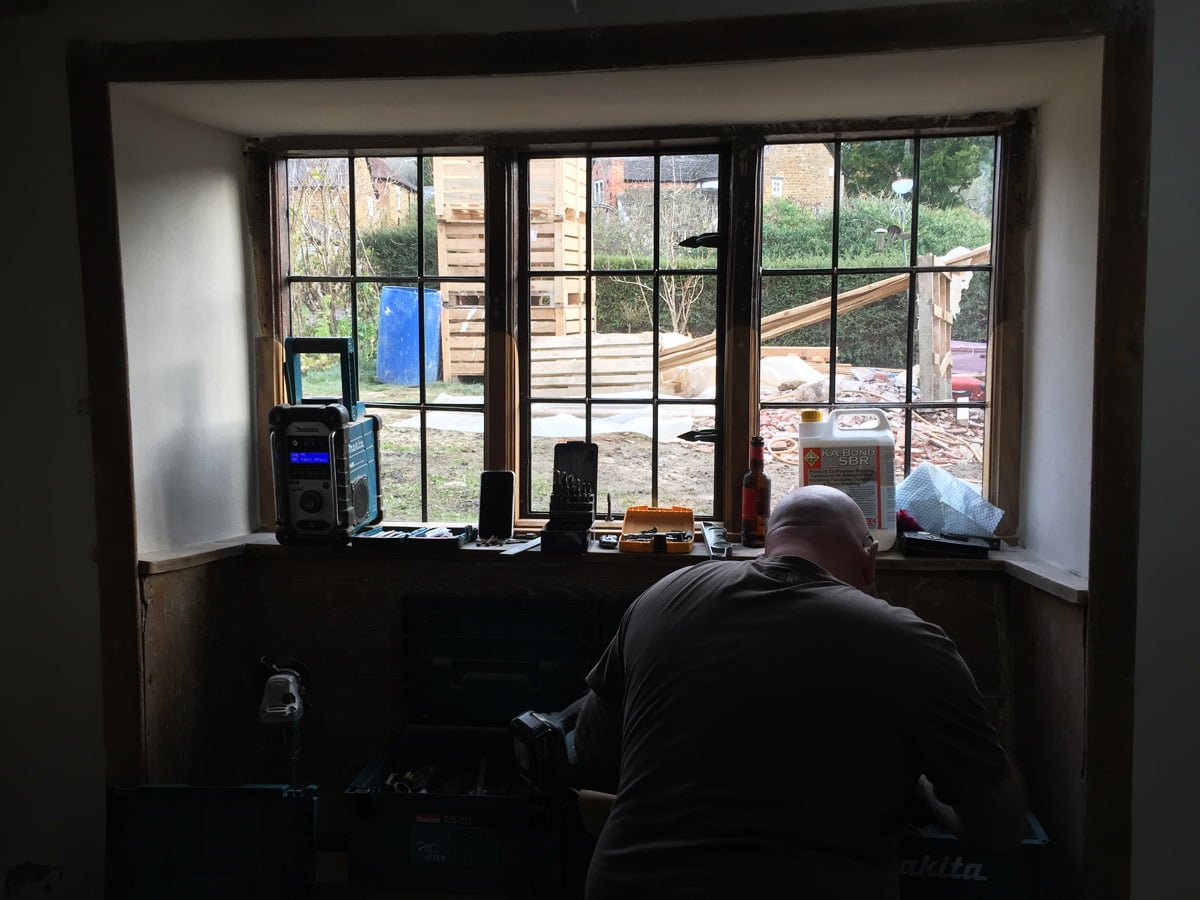
This is the first time we have looked through the sitting room window without looking through dirty plastic sheeting, and it looks utterly fabulous!
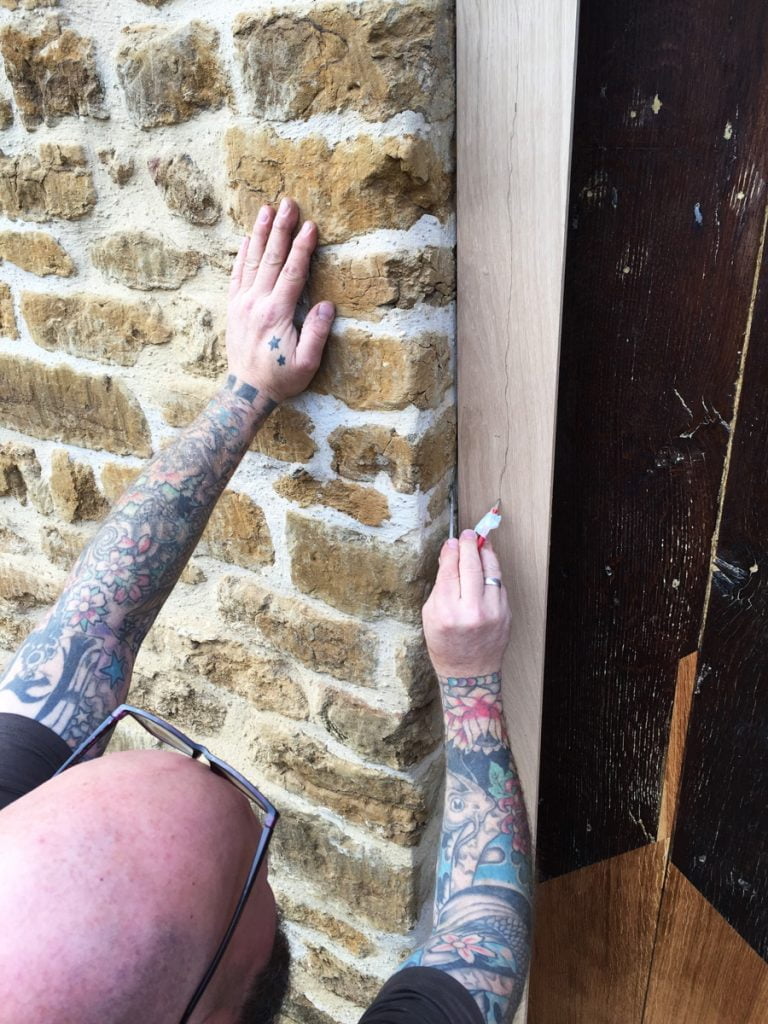
Glynn’s scribing process involves a compass set to the correct width. He places the oak against the wall and runs the compass down the wall so it scribes the shape of the wall onto the oak.
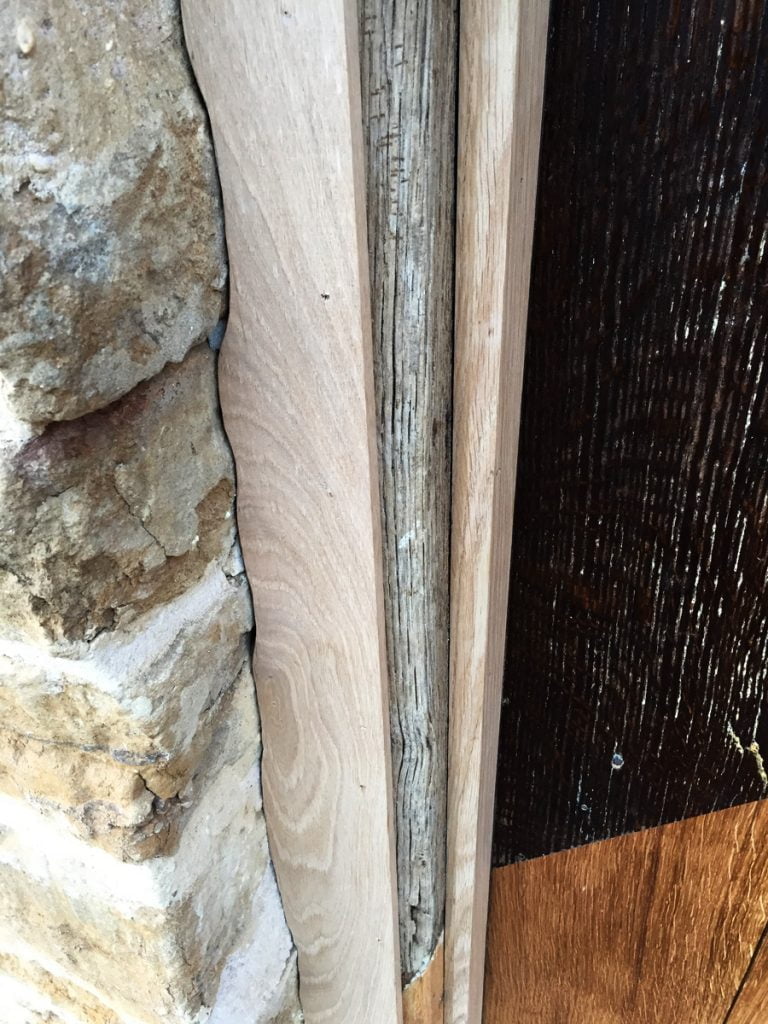
The scribed oak fillet, fitted onto the outside frame.
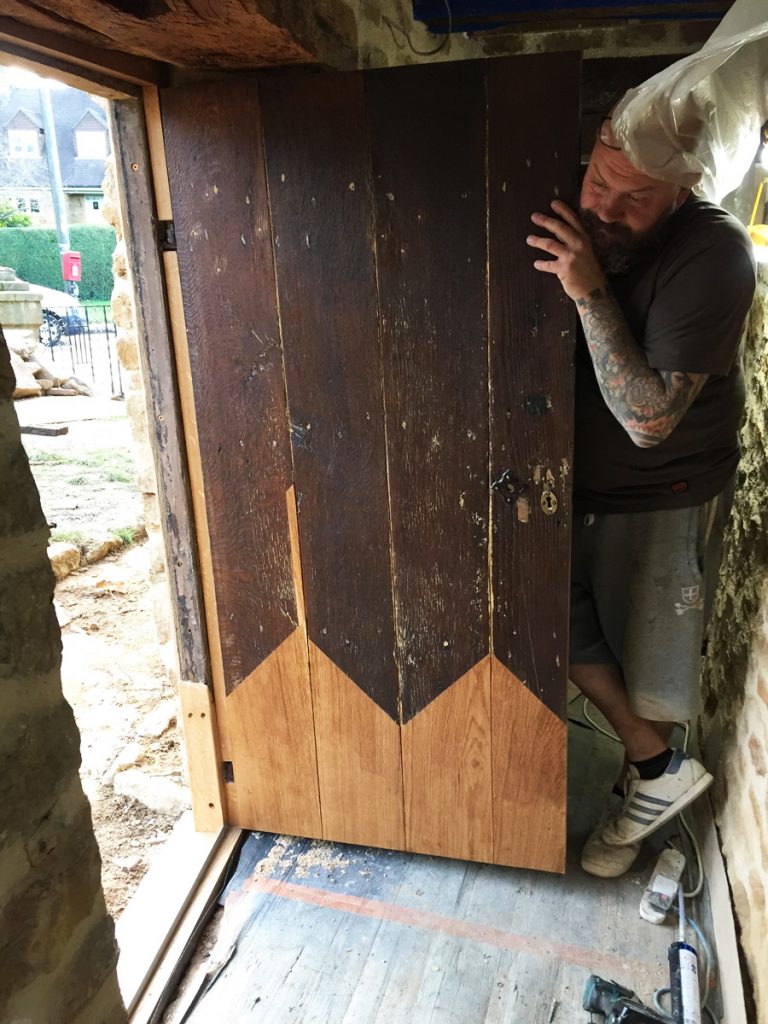
Ta dah! It opens perfectly and looks amazing! Glynn is very chuffed (and relieved) that this worked first time, it had to as once the glue has gone off there is no moving the hinges! The only way to open this door was with a crow bar as the hinges had dropped out of the rotten frame.
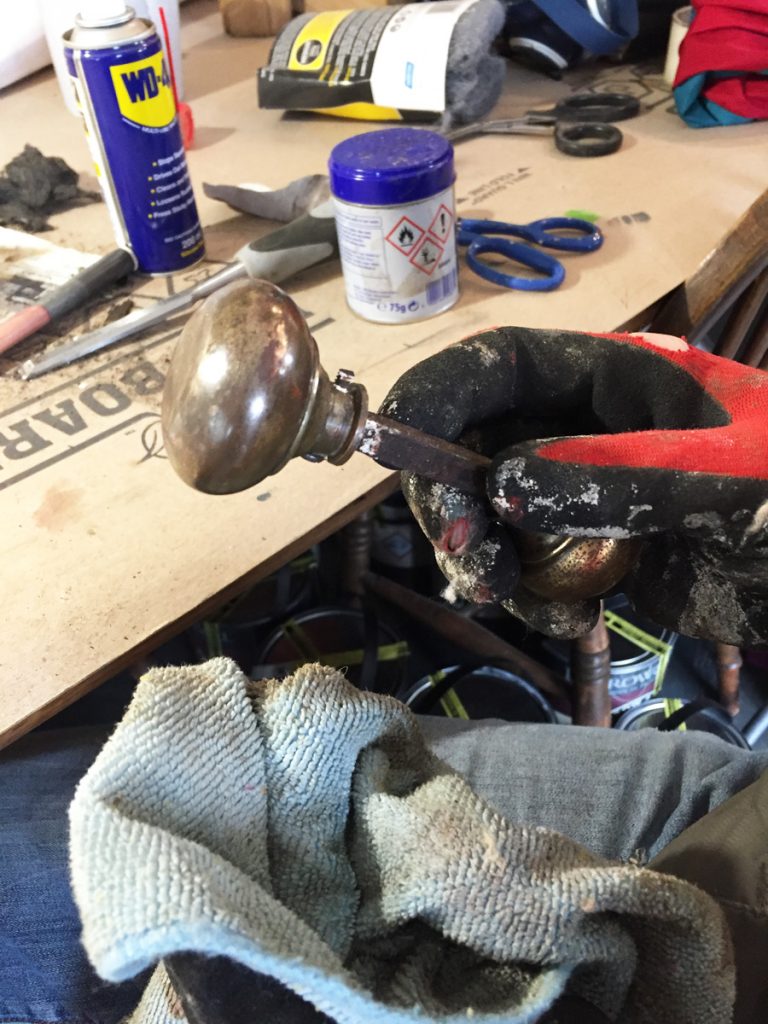
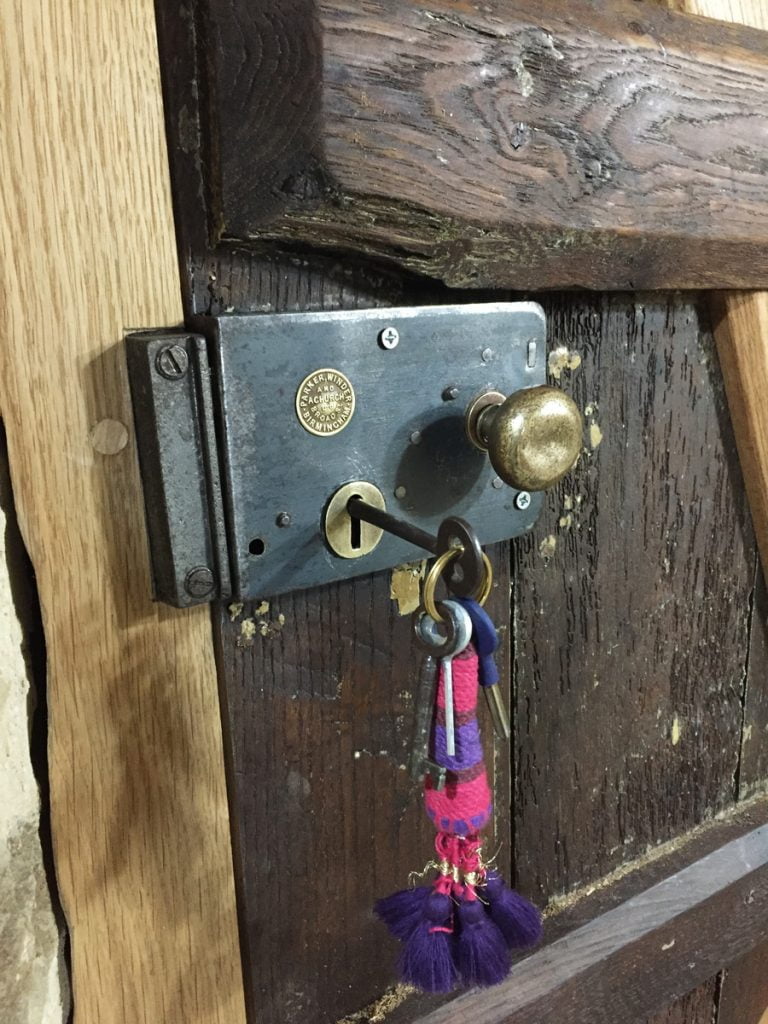
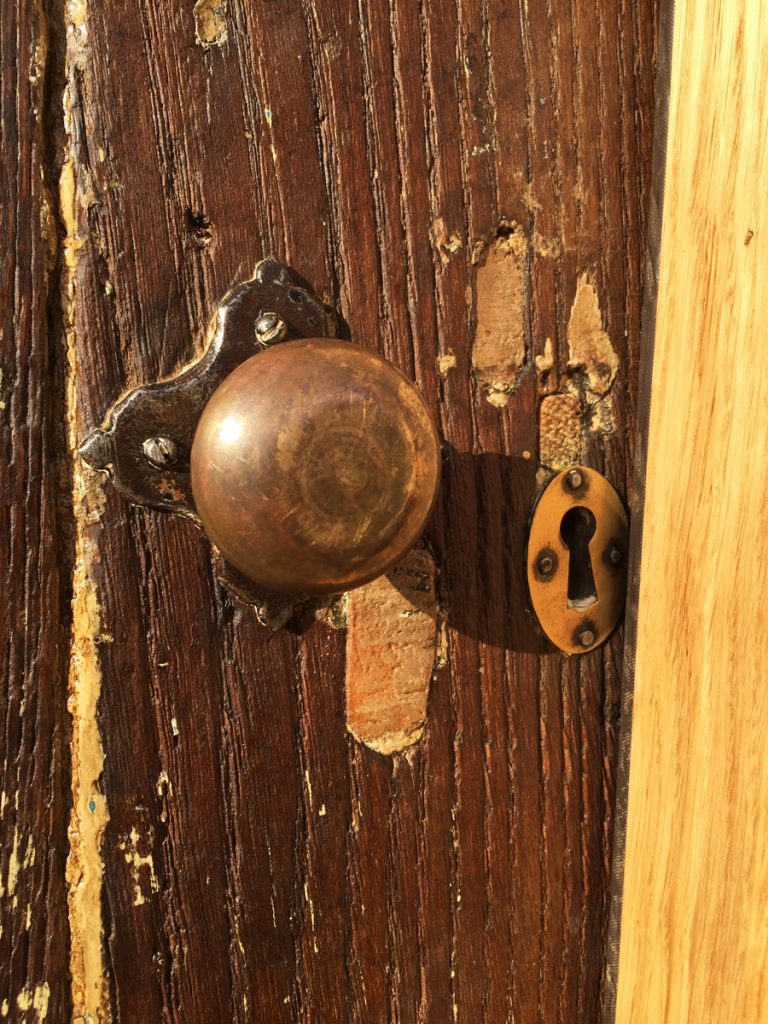
The old brass door knob is given a clean and polish.
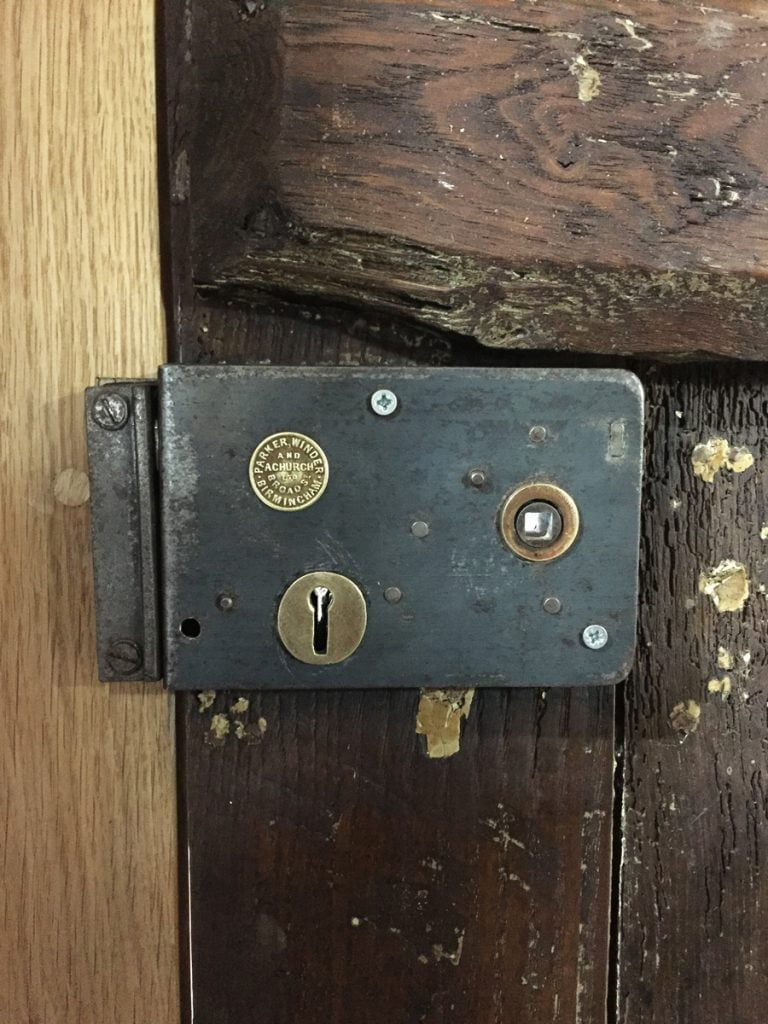
Cat has cleaned up the old door lock, it had rusted over the last few months after sitting in the damp house. Glynn has fitted it back onto the door so it doesn’t wobble and rattle anymore. And it works 🙂 The pozi screws are only temporary until we have some slotted round headed screws to match the old ones.
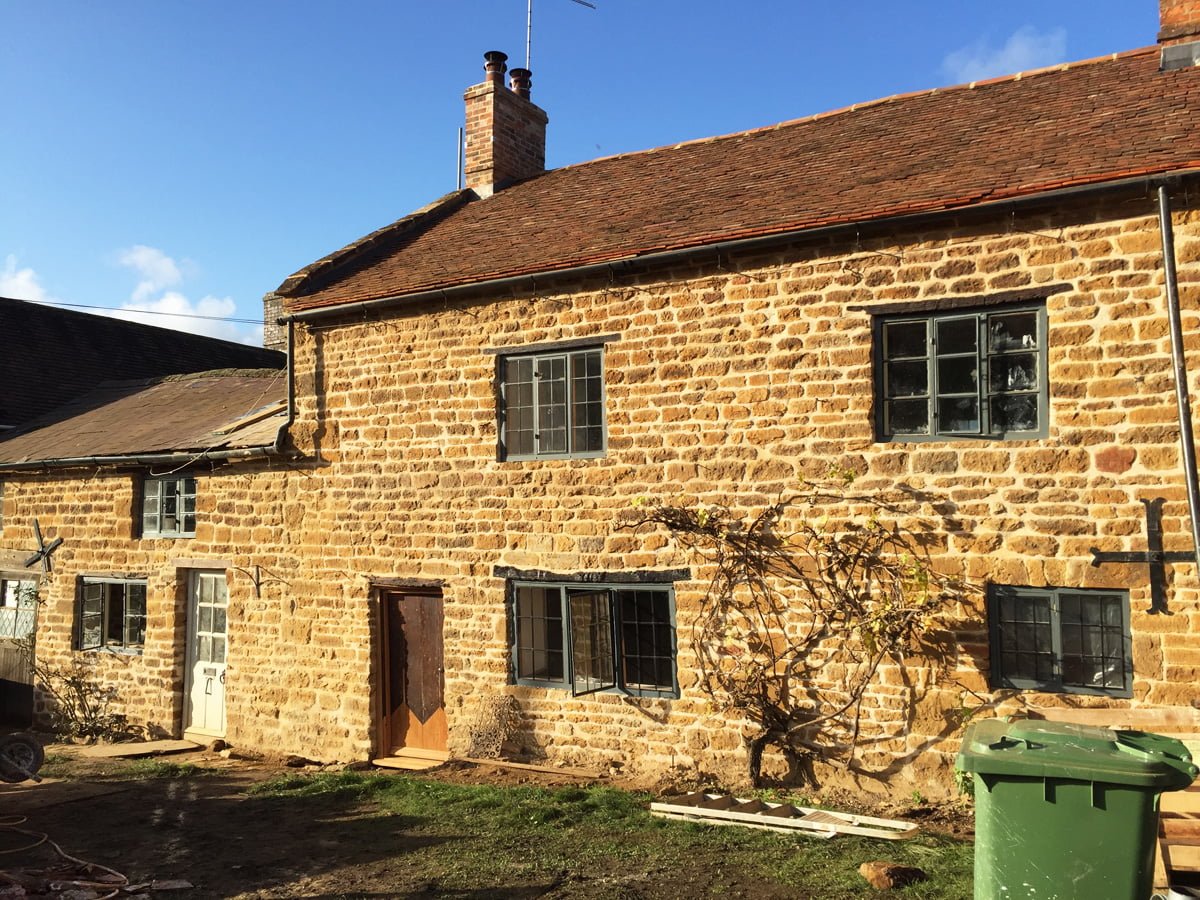
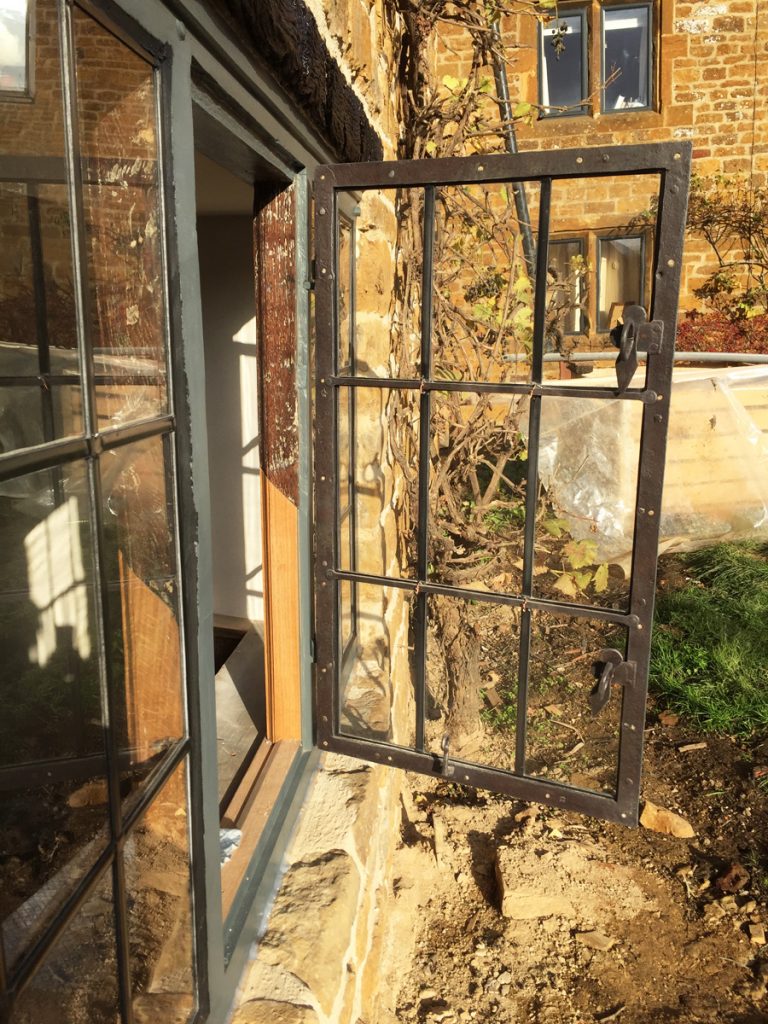
We are fitting the metal openers to the windows on the lower side of the house, now the windows have been glazed.
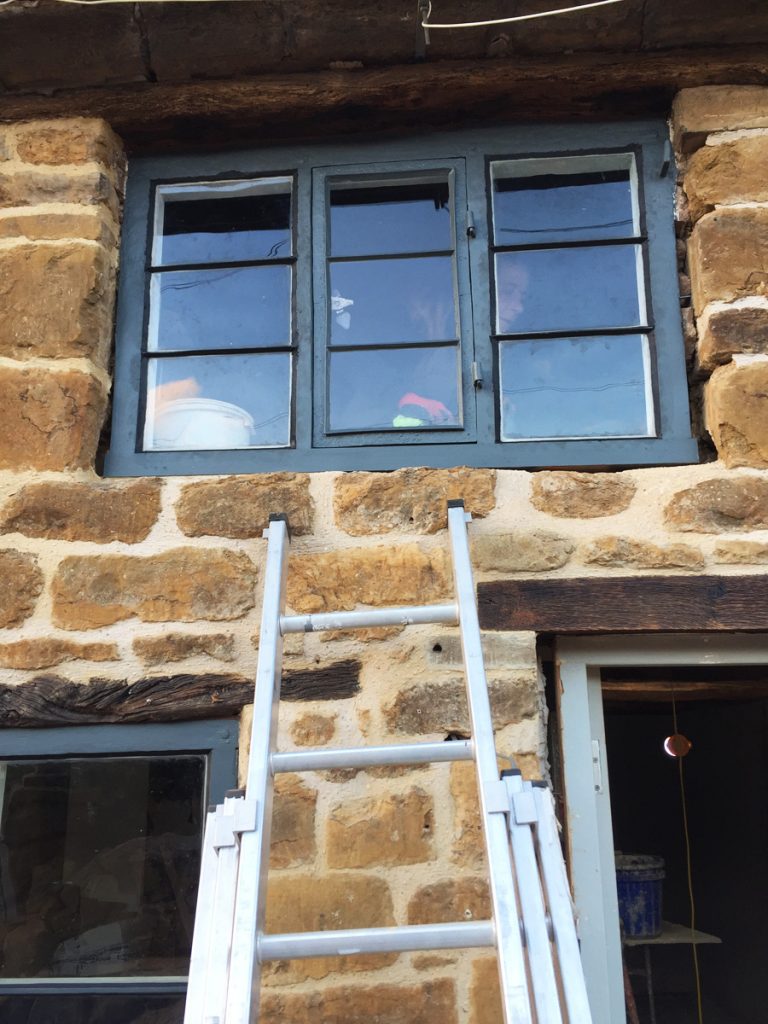
Cat’s bedroom window looking quite different to how it used to look. This appeared to be way beyond repair!
Beautiful.
This is one very unique door.
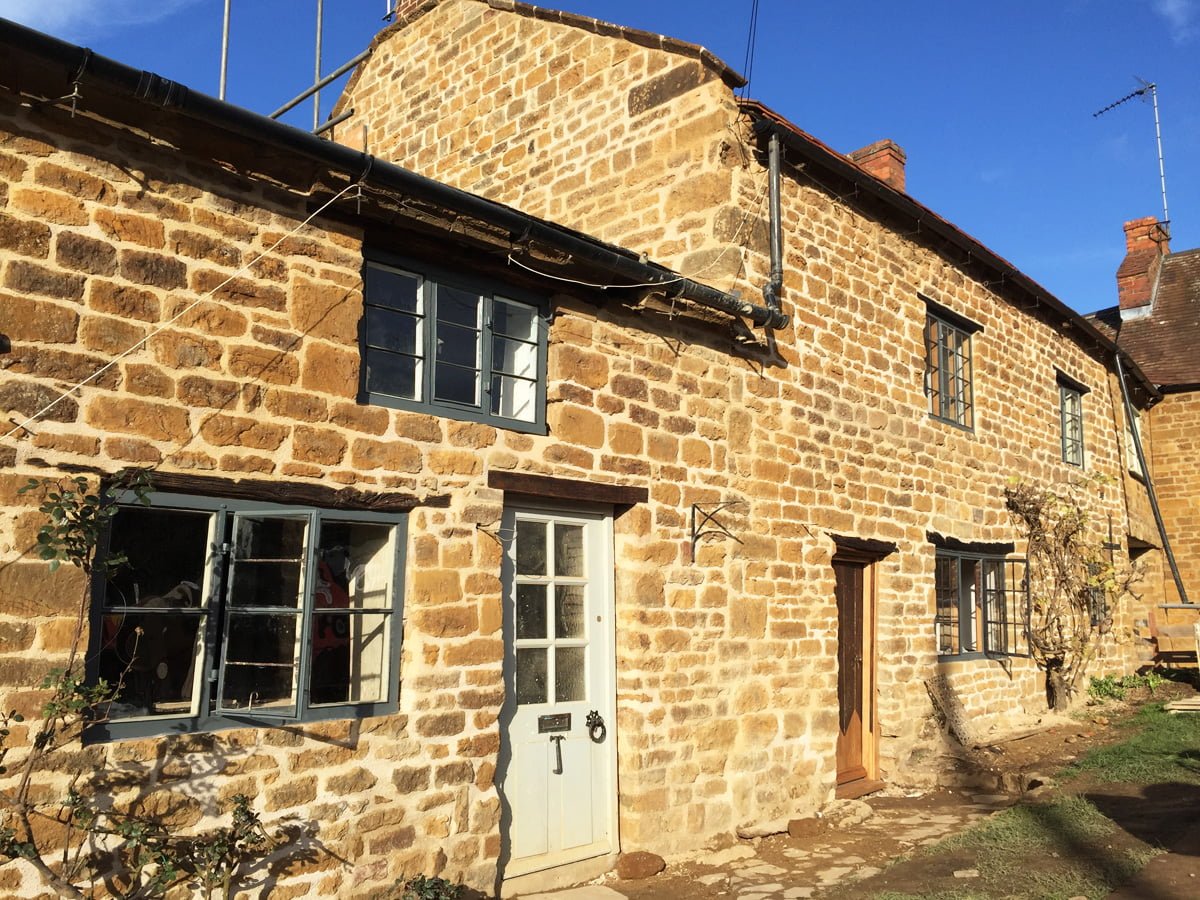
Sunday morning and we can’t believe how amazing the house looks. The sunshine helps.
Every window and door is wonky to match our wonky house.
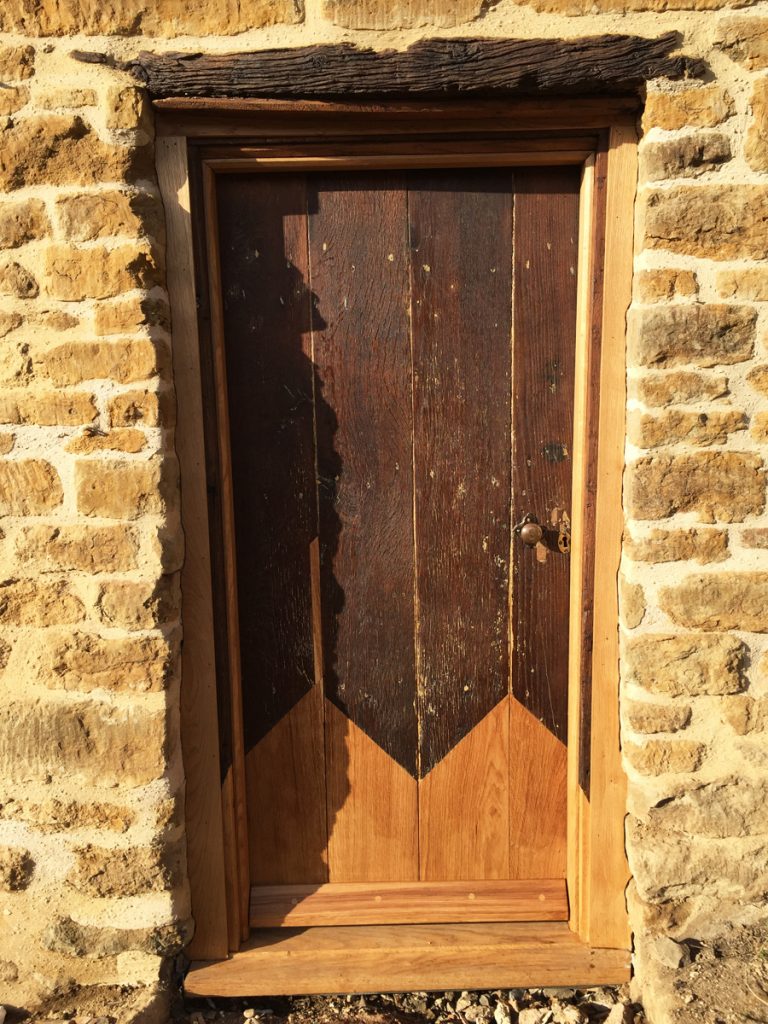
The front door, oiled and complete with brass door knob. Look at the shape of the door! We can totally appreciate the difficulty in fitting this…
Not only does this door open and shut now, it also seals to stop draughts. When we moved in there were actual strips of carpet nailed around the door to stop draughts, when we removed them the gaps around the door were nearly an inch wide in places! It was so draughty we had to seal them up with gaffer tape during winter!
More beauty and wonkiness.
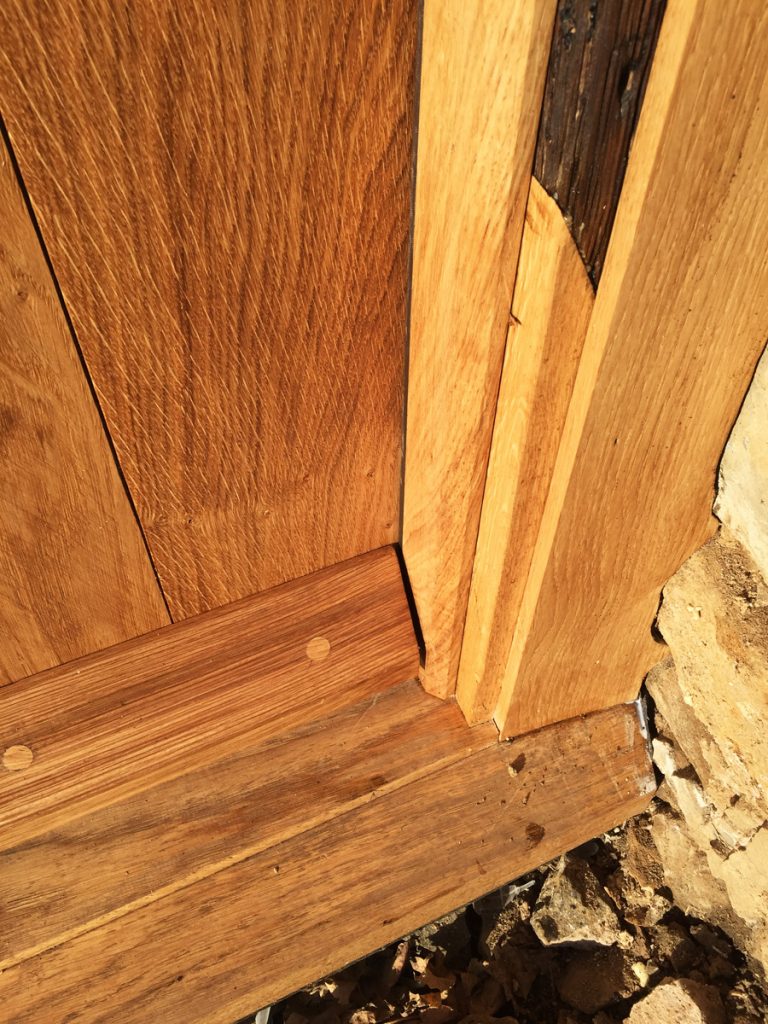
The door now has an oak weatherboard added. You can see the extreme scribing involved in the outside fillets here.
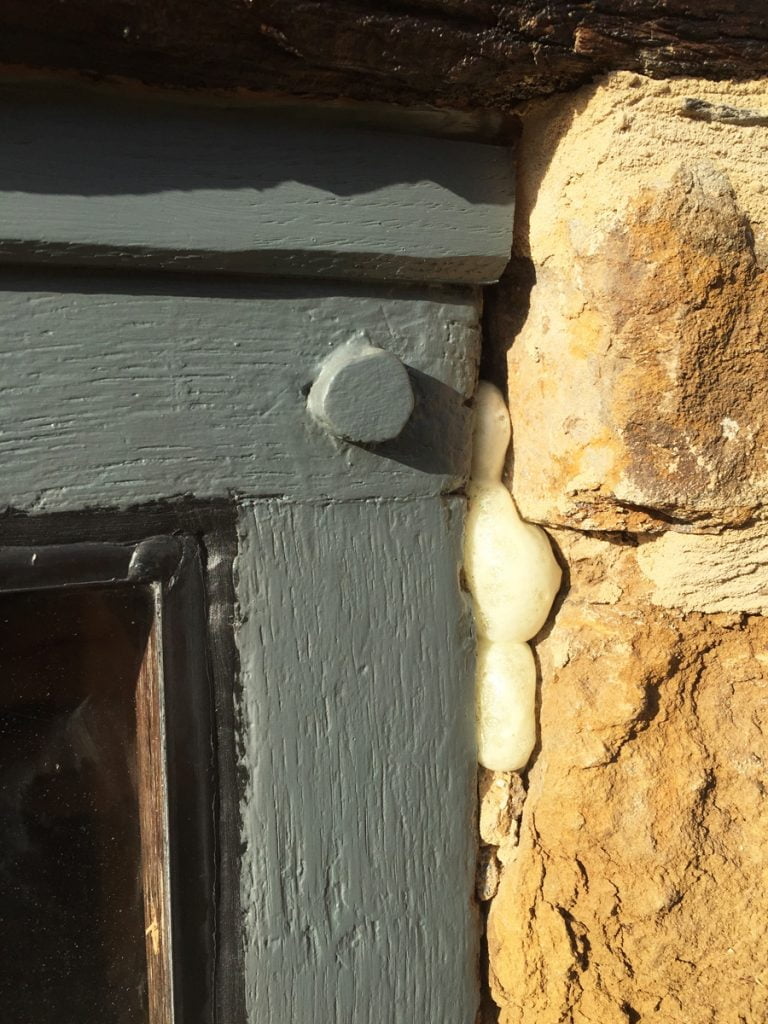
The massive gaps around the window frames get filled with expanding foam. This will be trimmed back and covered with a mortar fillet.
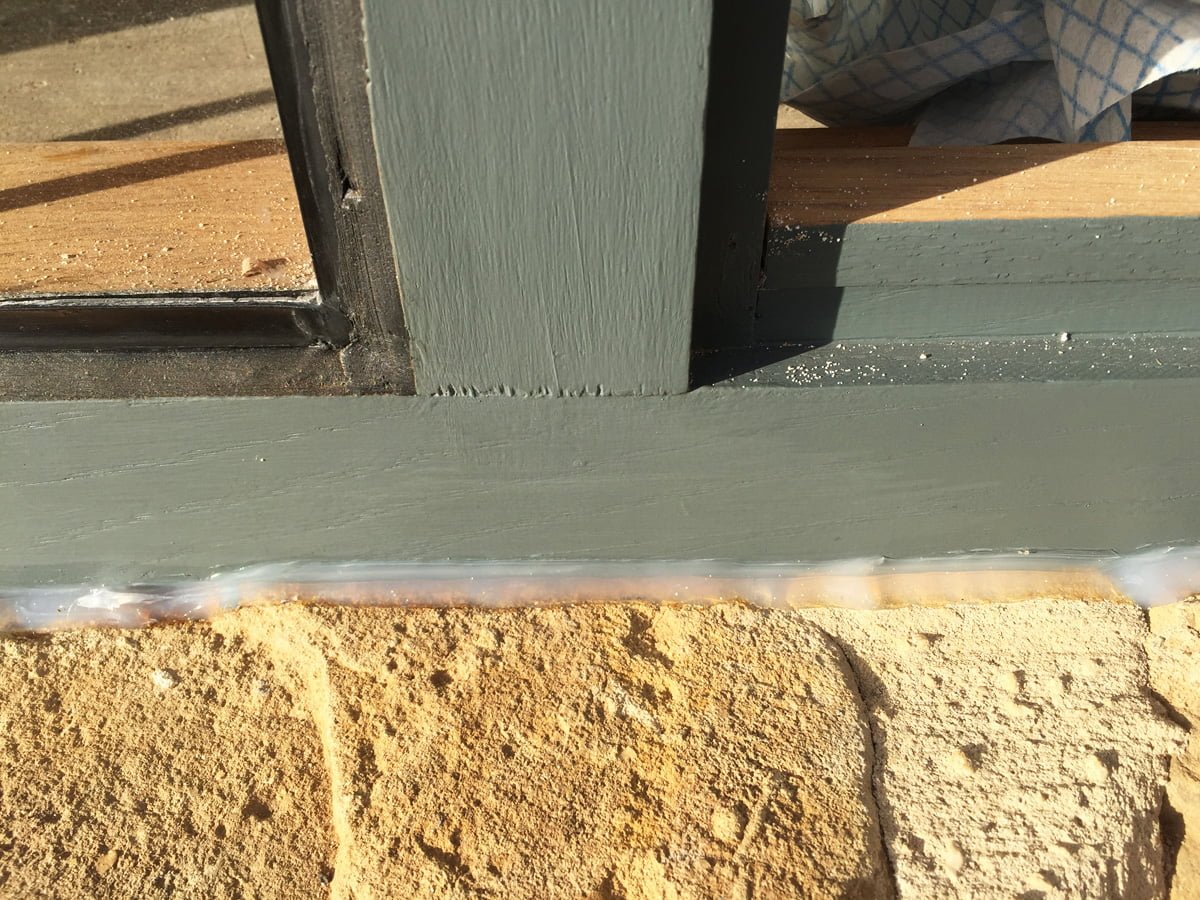
The window sills get sealed with silicone where the gaps aren’t too large. This will be covered with a mortar fillet.

The metal opener added to the dining room window. We are so pleased with how the metal openers have turned out. The amount of work that has gone into these is immense, literally days per window, and has definitely been worth it.
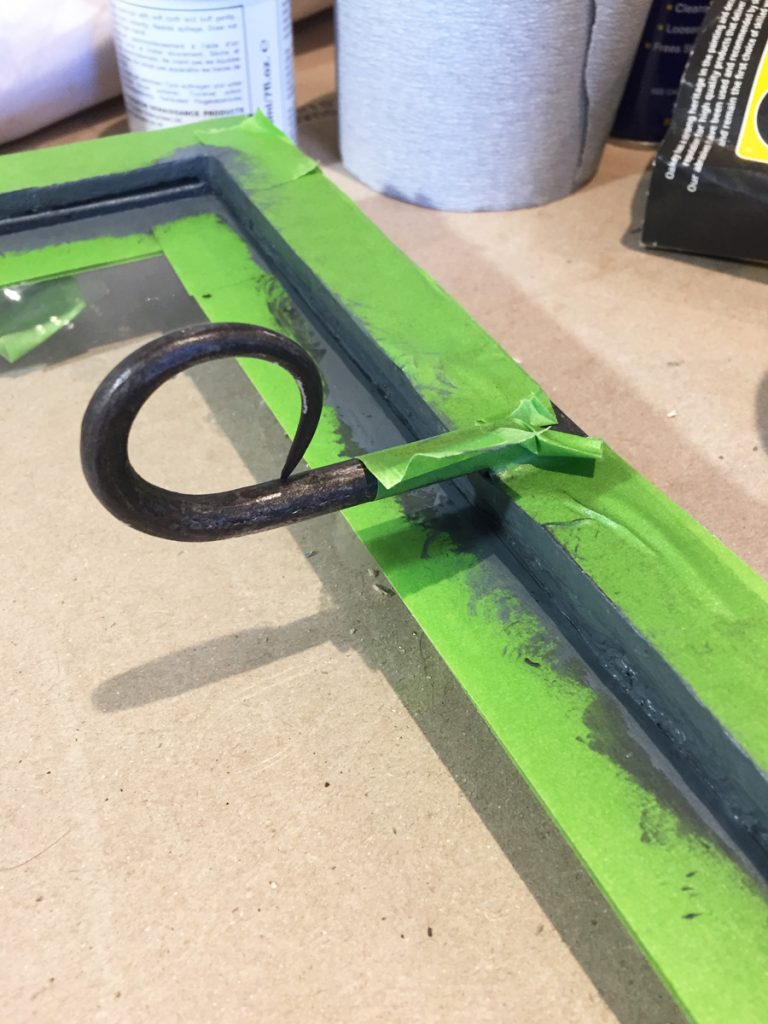
The metal frames are painted with Farrow & Ball ‘Downpipe’ on the outside to match the wooden frames, the inside we have left as bare metal, cleaned up and sealed with a metal primer to protect from rust.
The last metal window (for the landing) getting its first coat of paint on the outside.
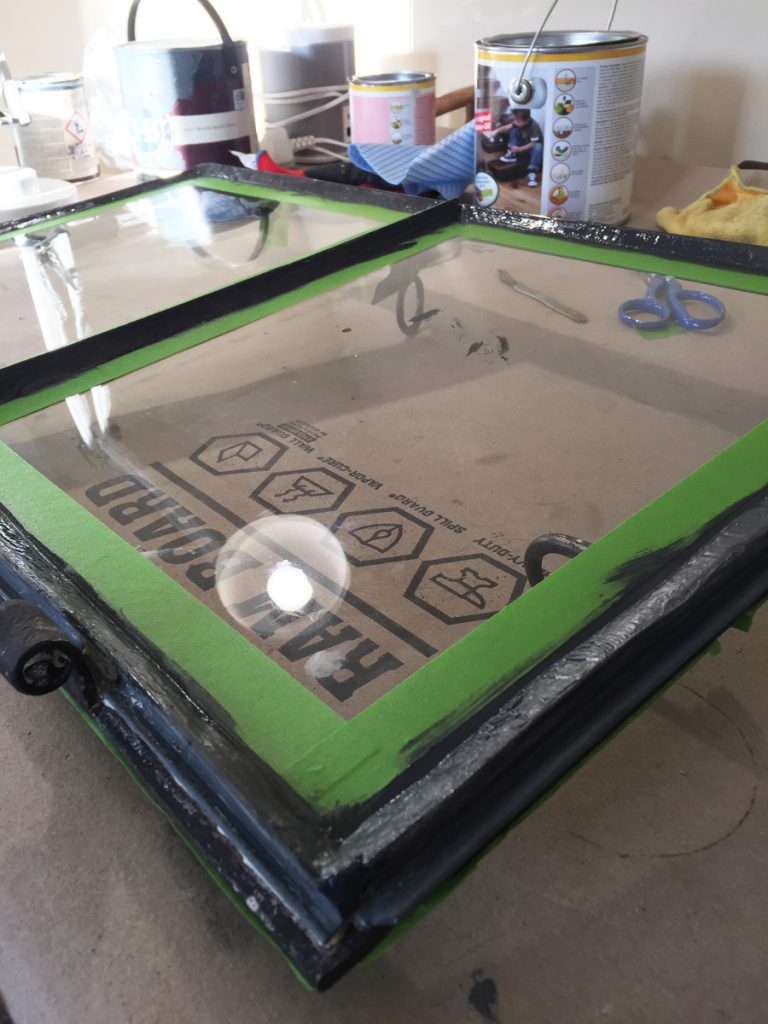
The cream coloured putty is so thick and visible on the inside of this window we decide to paint it the same colour as the outside (Downpipe). It works so well we think we will go back and paint all the putty on the metal openers the same, just not now… This can wait until a later date!