It’s been emotional. And hard work, really bloody hard work. But after trying every damn technique for lime washing and still not being happy with the results, we have decided to cut our losses and not continue with the lime wash.
It has taken Cat 3 weekends just to lime wash ONE ROOM and she is exhausted and frustrated and we are still not happy with the results. If we had been using a standard paint she possibly could have finished most of the house in the same time. We have one more option left, we are going to look into using a clay paint instead of lime wash. Clay paint is a breathable, natural paint that is suitable for use on lime plaster.
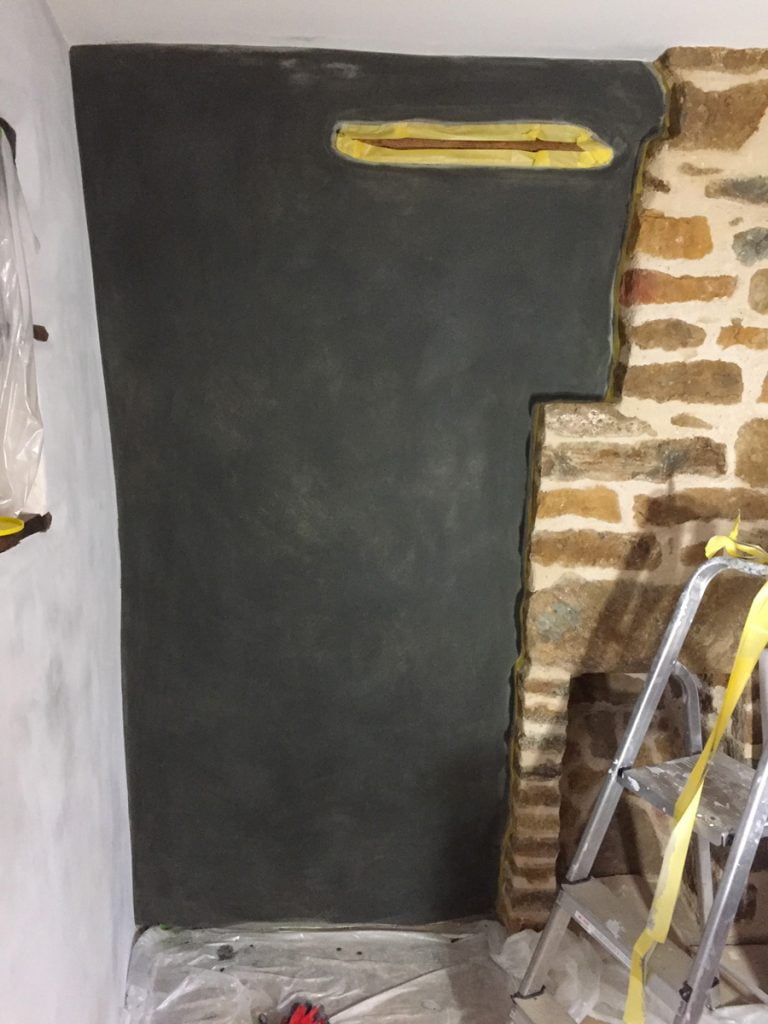
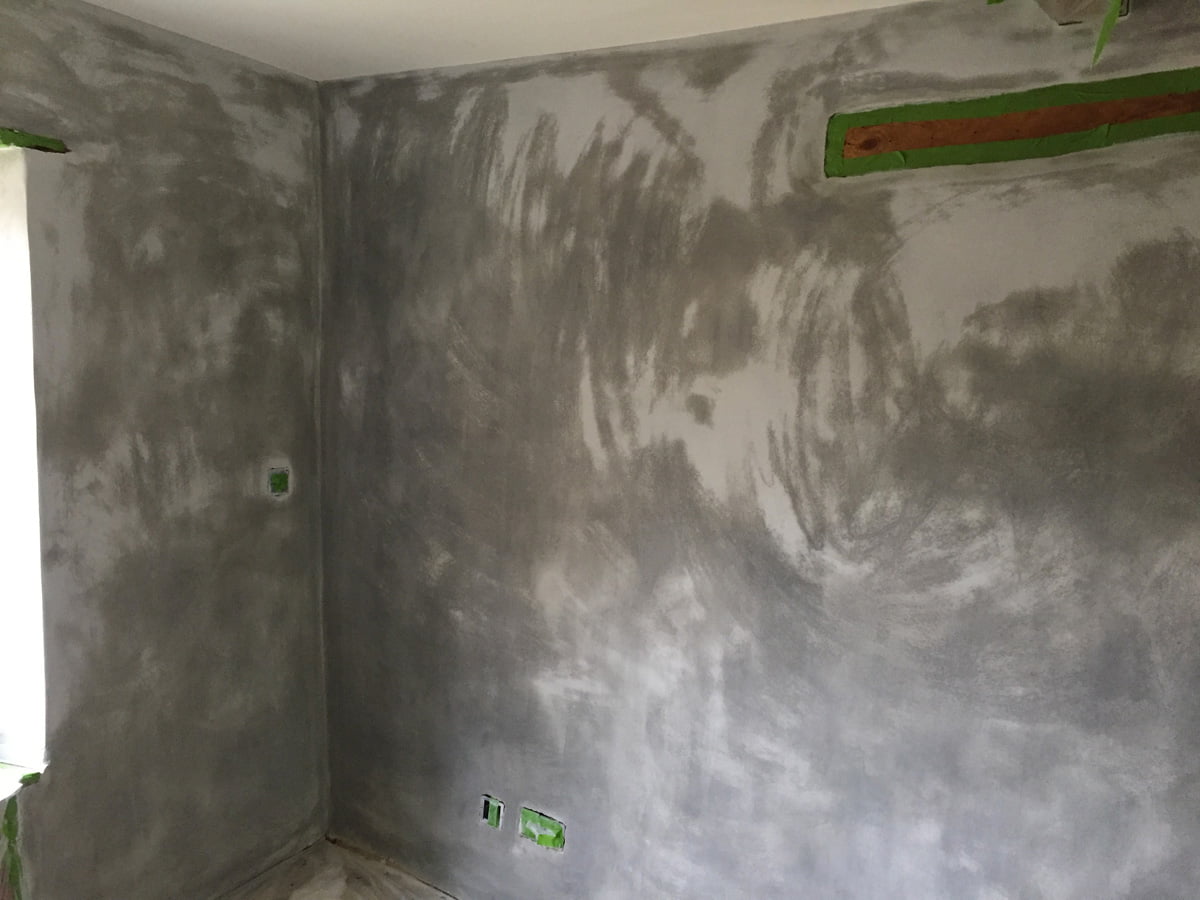
The texture is lovely but the darker colour is a little more textured than we really hoped and we are not keen to have the whole house painted like this.
Cat is adding more coats with a new technique. She is painting it on in a cross hatching pattern, quickly (as it dries within seconds), then uses a dry brush to blend in the brush strokes as it dries. The lime wash appears very dark as it is initially painted on but dries much lighter.
This is after a few hours as it dries out and lightens.
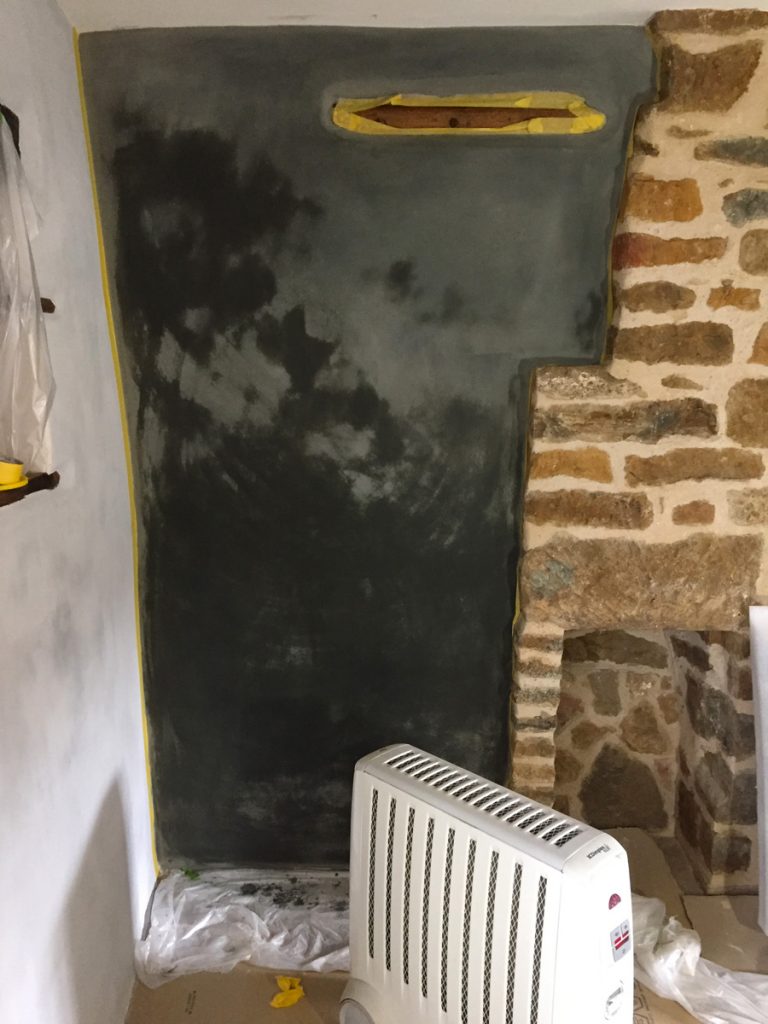
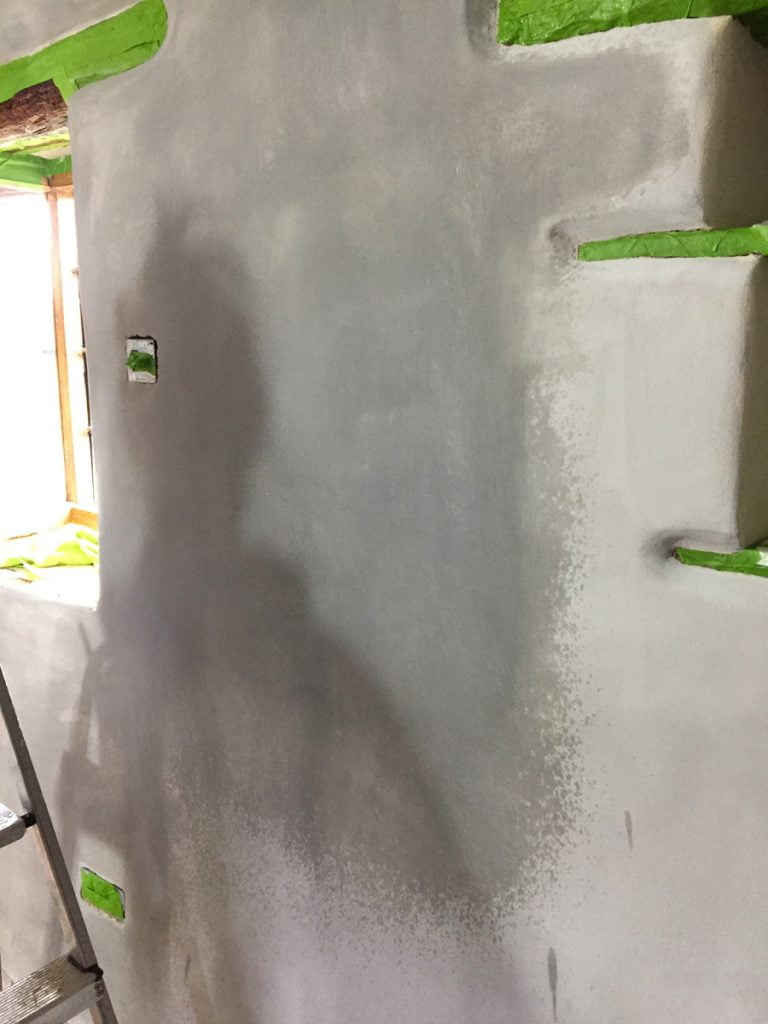
This is the fifth coat in an attempt to get it less patchy. It has worked but unfortunately the colour is getting darker with every coat that is added and it is now darker than it should be.
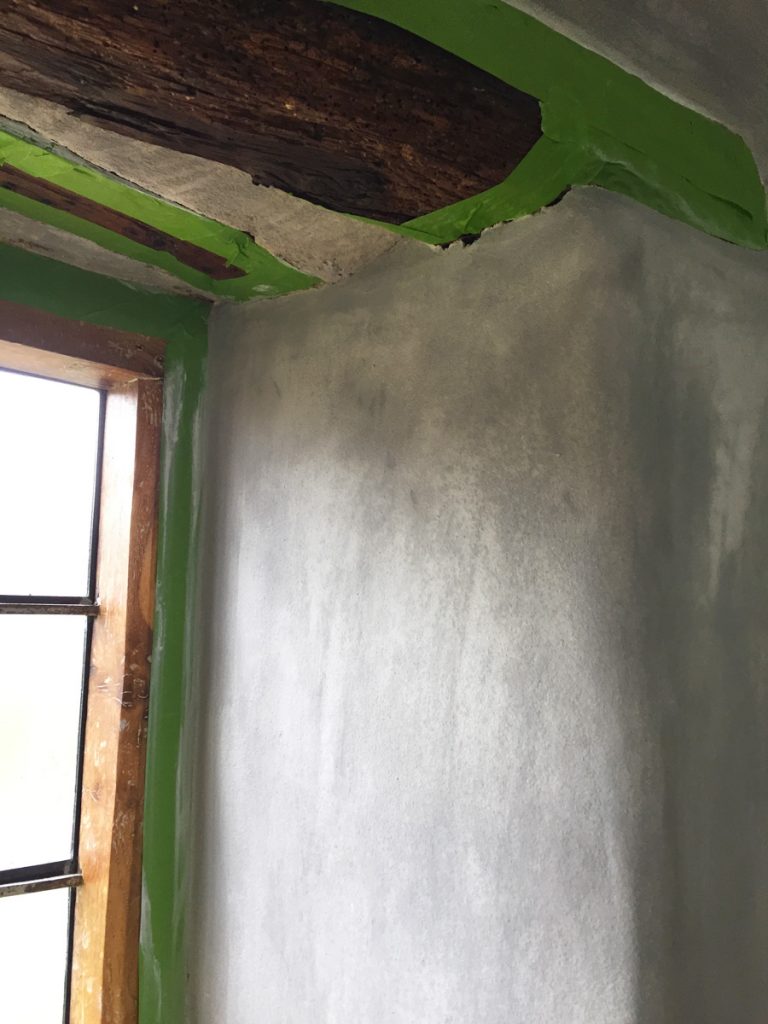
Cat has also started to clean up and oil the timbers on the landing and stairs as this is the next area to be painted. The timbers take a long time to scrub and sand off the plaster and is bloody hard work. We knew this process would slow us up a great deal but we didn’t imagine the bloody lime washing would be so time consuming as well… Still fighting us every step of the way…
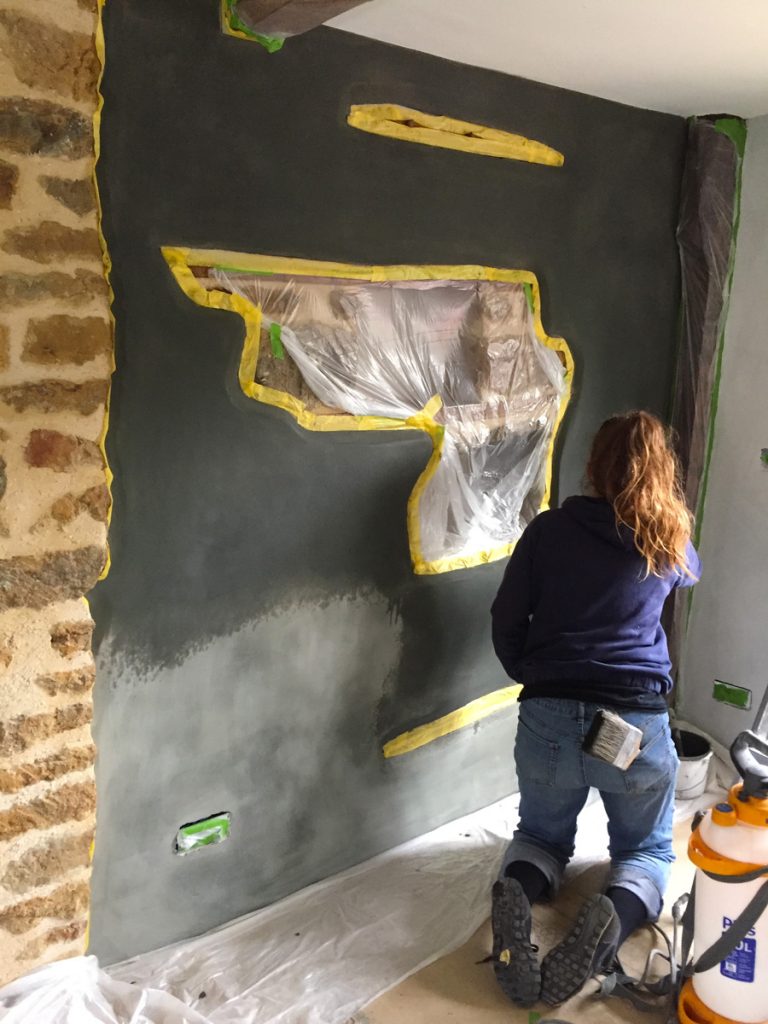
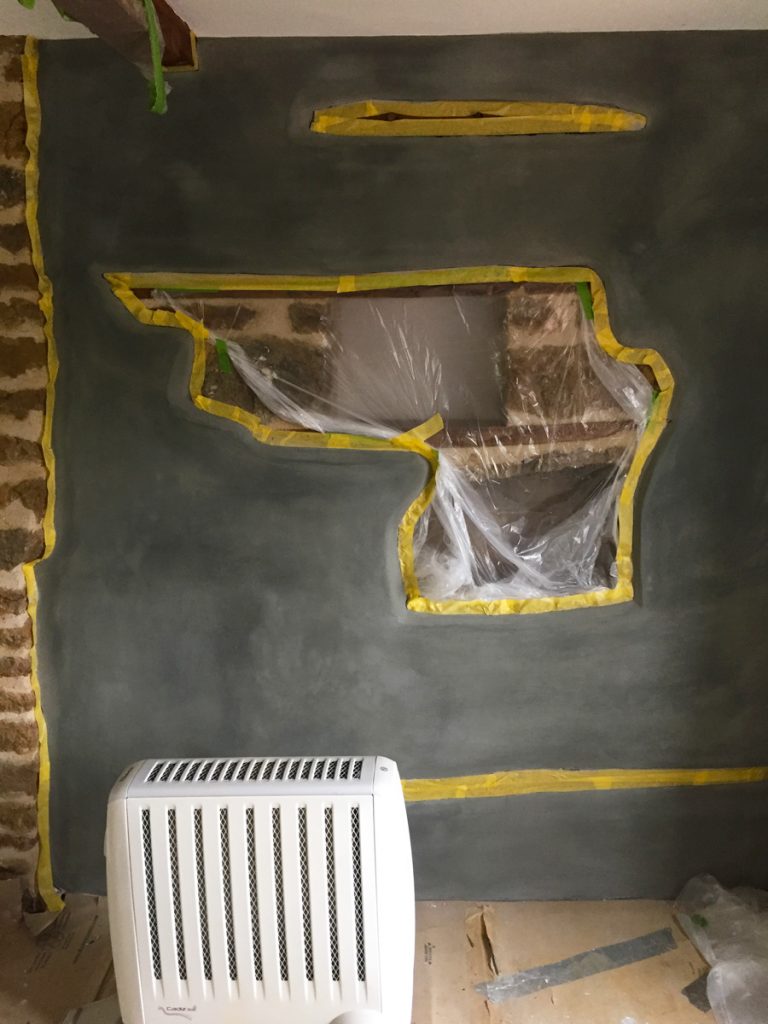
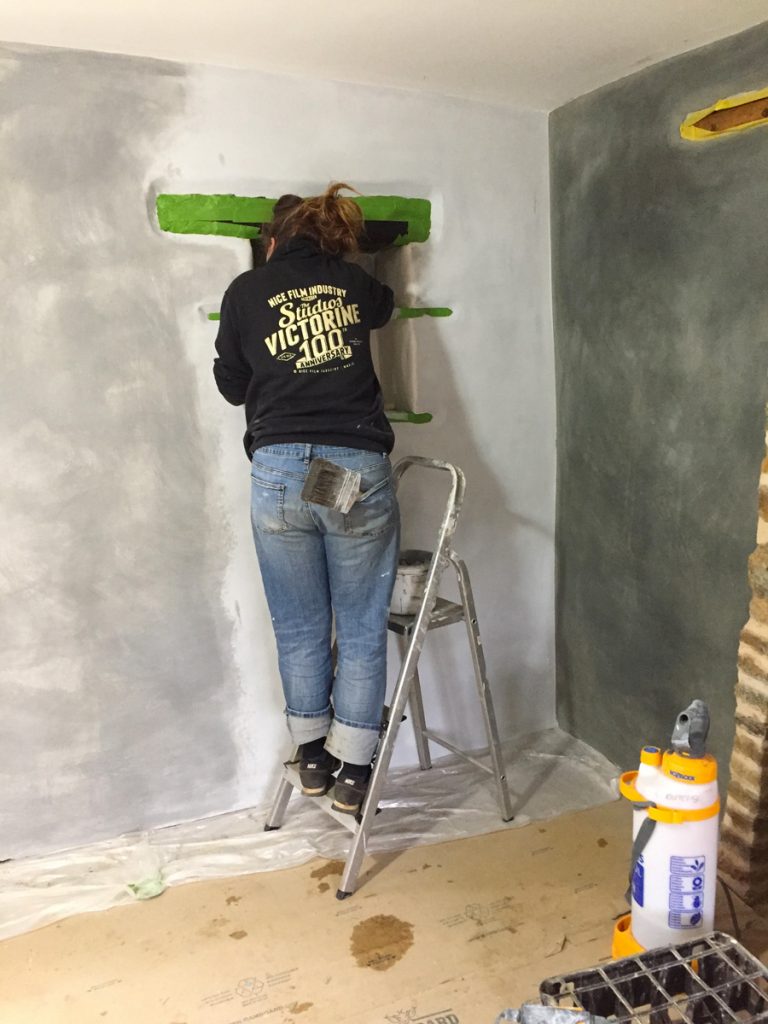
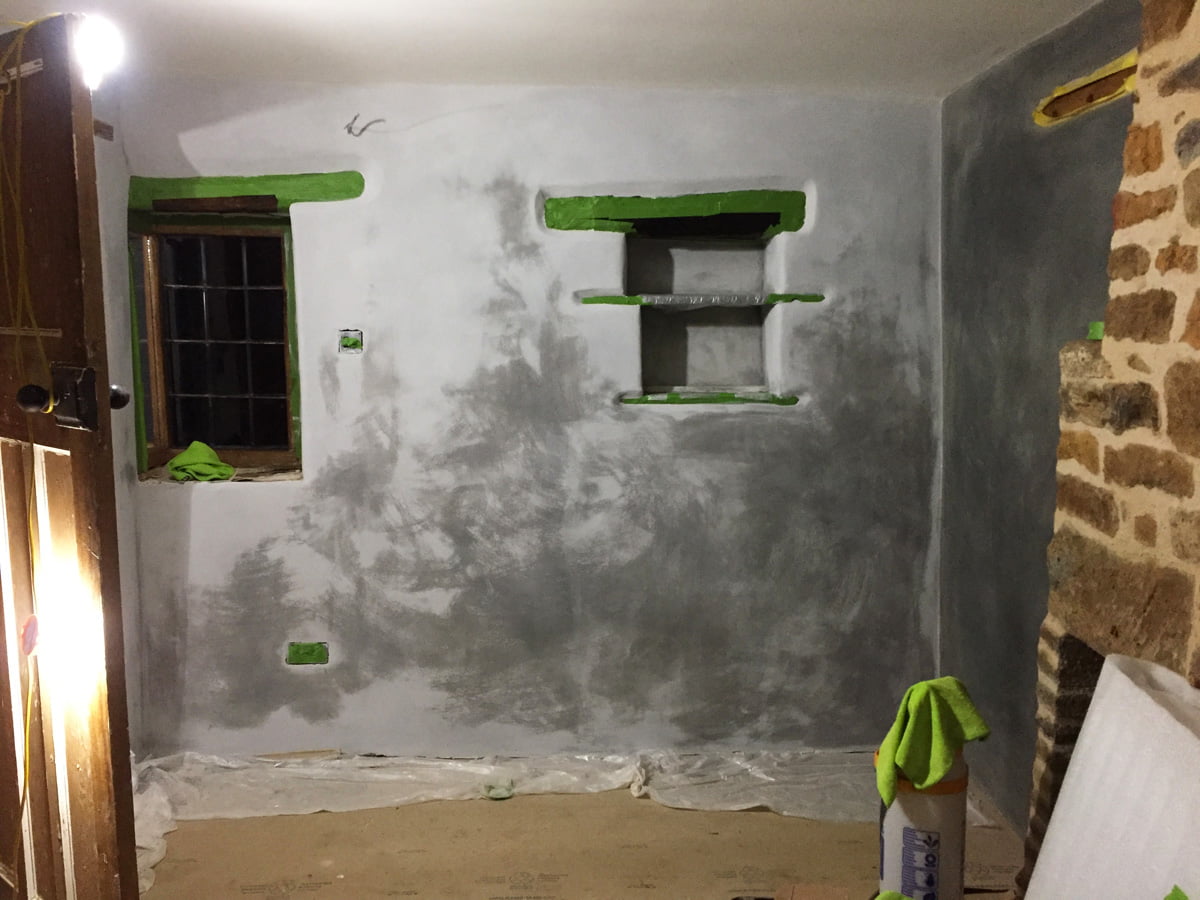
Fifth coat being added to the really awkward wall with all the niches and timbers.
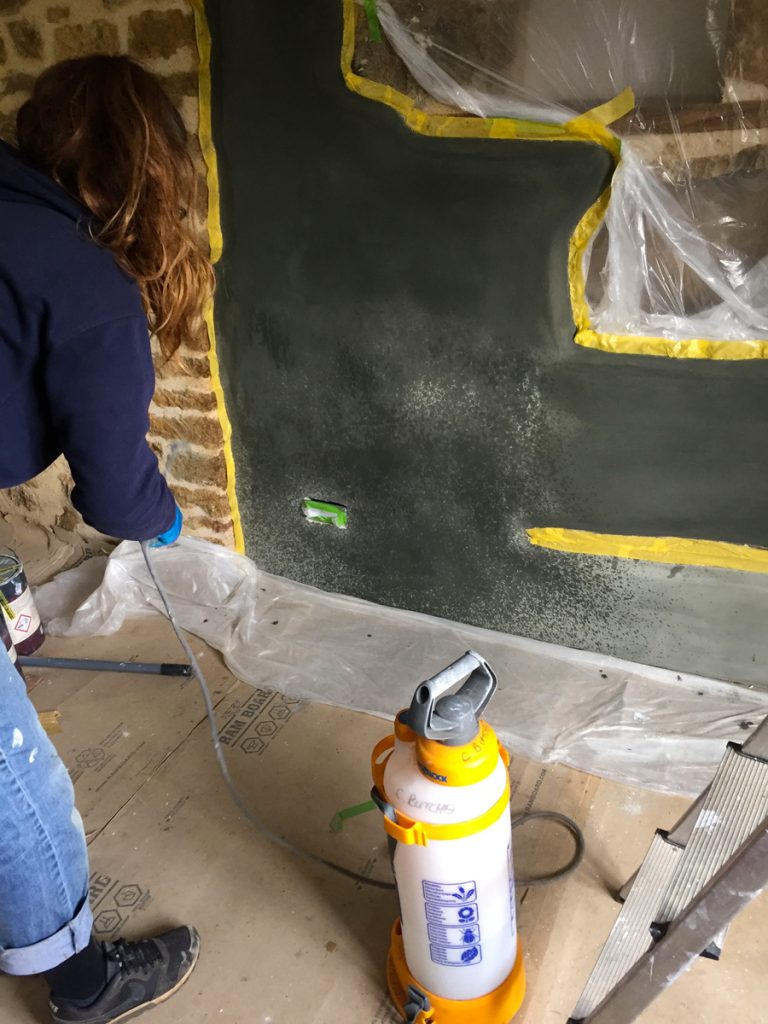
Cat spraying the wall before she paints on the lime wash. This makes it even more difficult as wetting the wall darkens it so you cannot see exactly where you have painted…
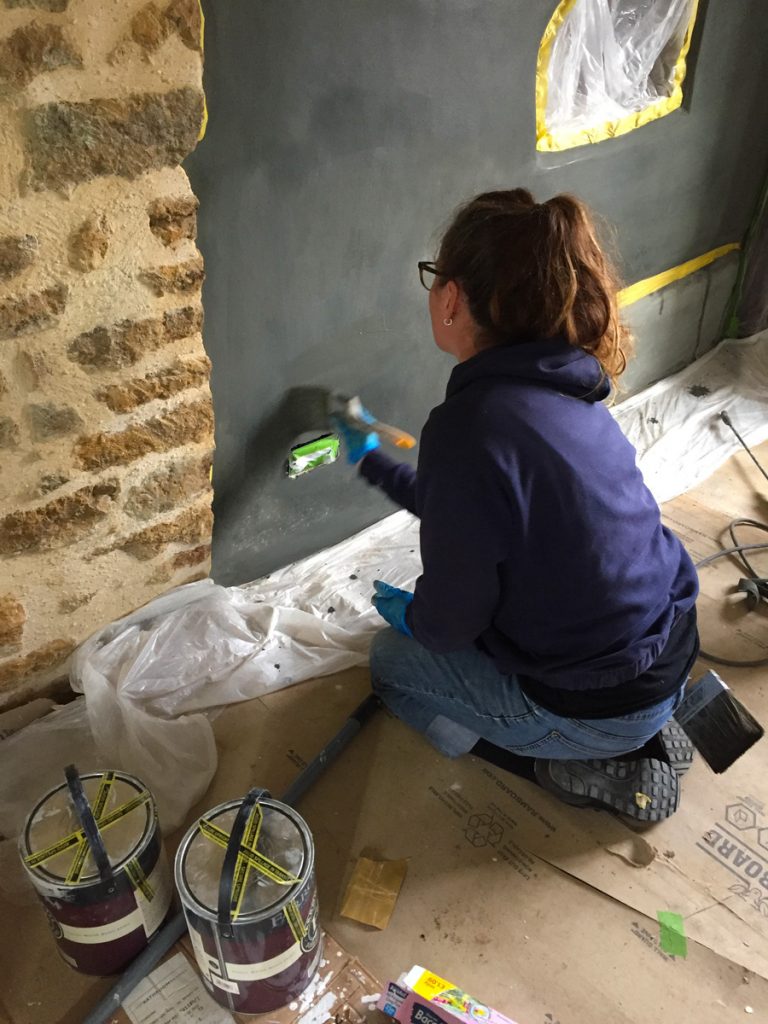
Painting on the lime wash in super fast strokes.

Using the dry brush to smooth out the brush strokes.
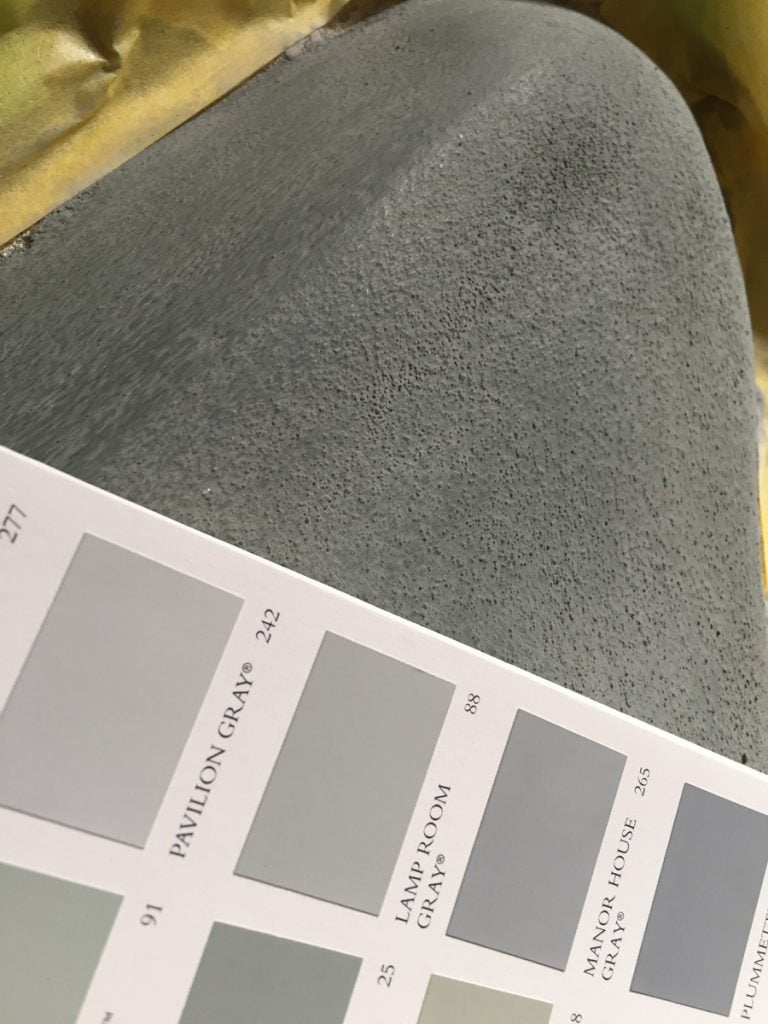
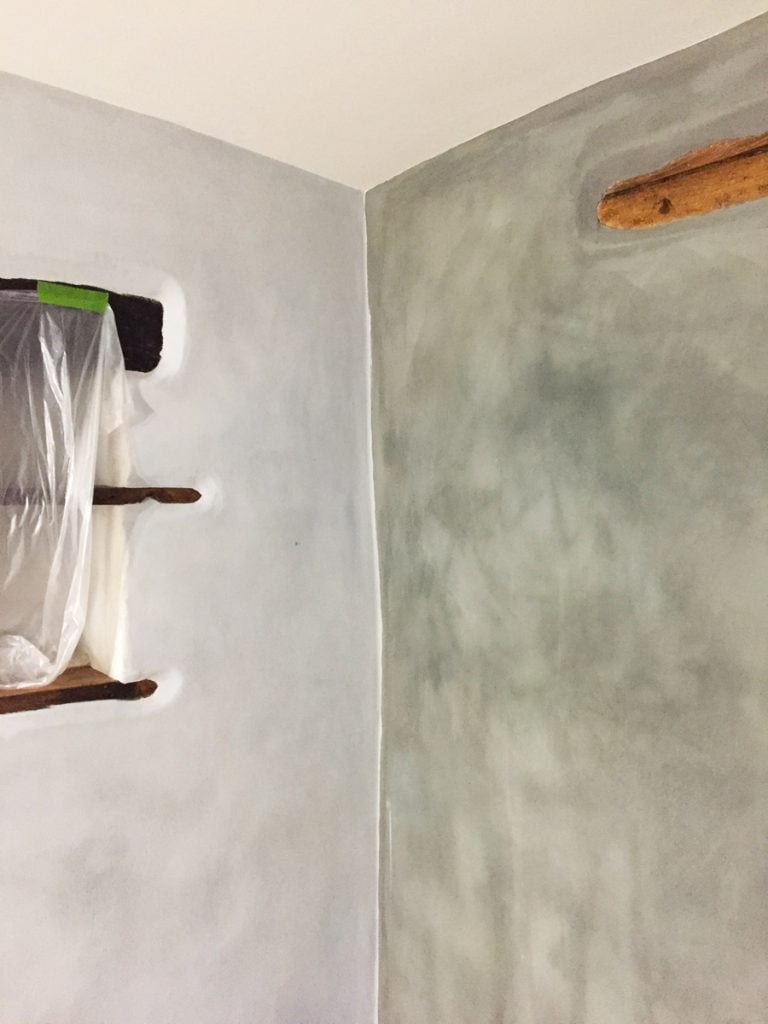
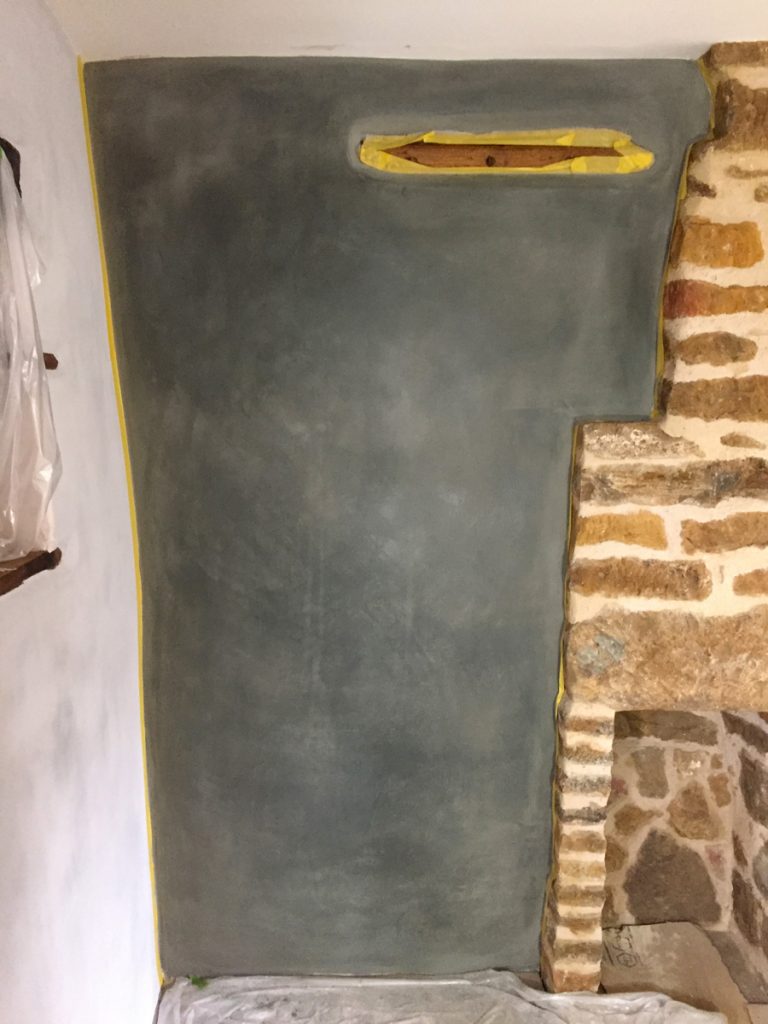
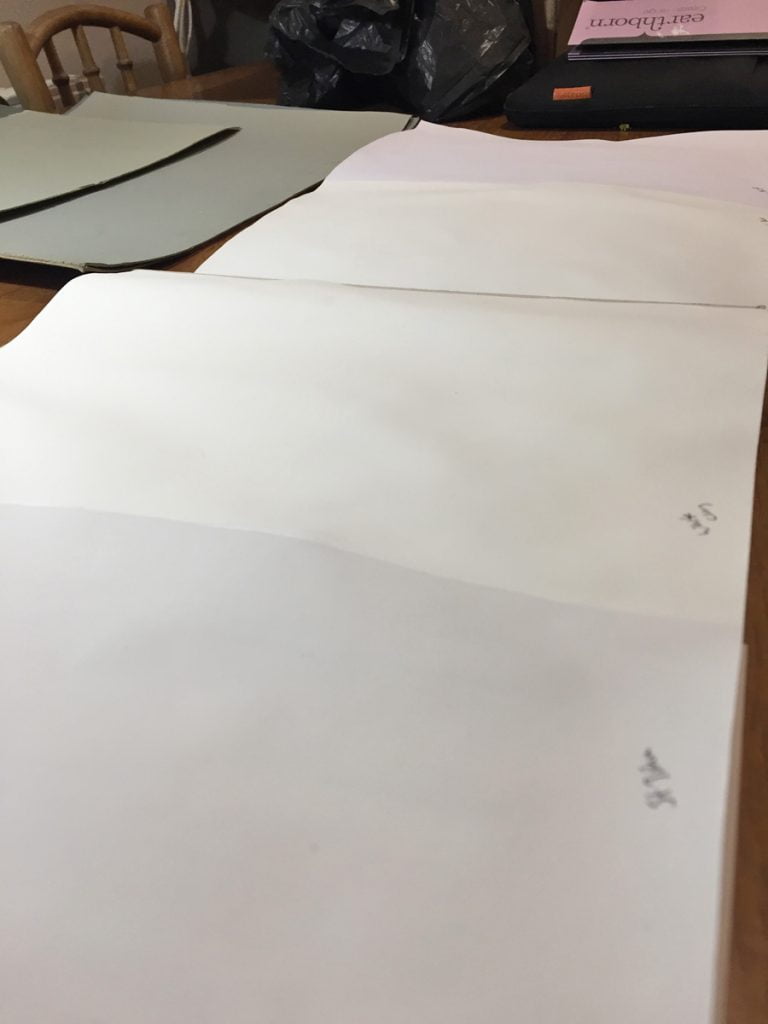
This is the darker wall, dried, the following day. The colour is Lamp Room Grey but you can see it is a lot darker already. We don’t mind this as the darker grey looks good here but we are not happy that the colours are not going to be what we chose for the other rooms.
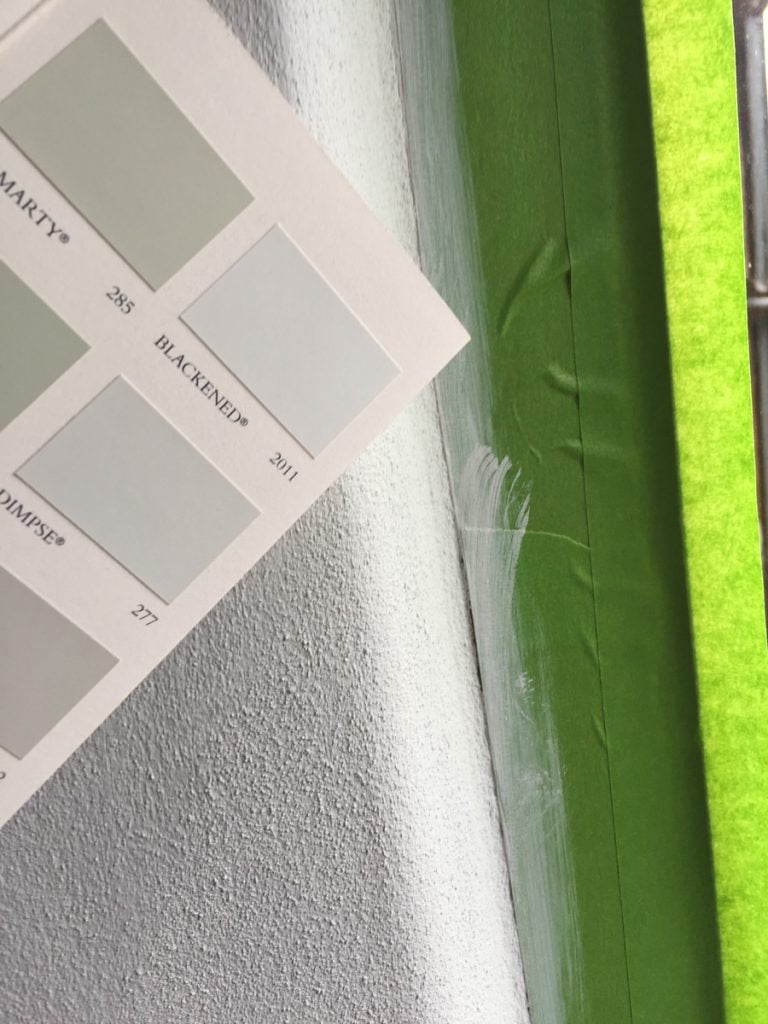
The paler grey, Blackened, does match the test chart but then we haven’t added as many coats of this.

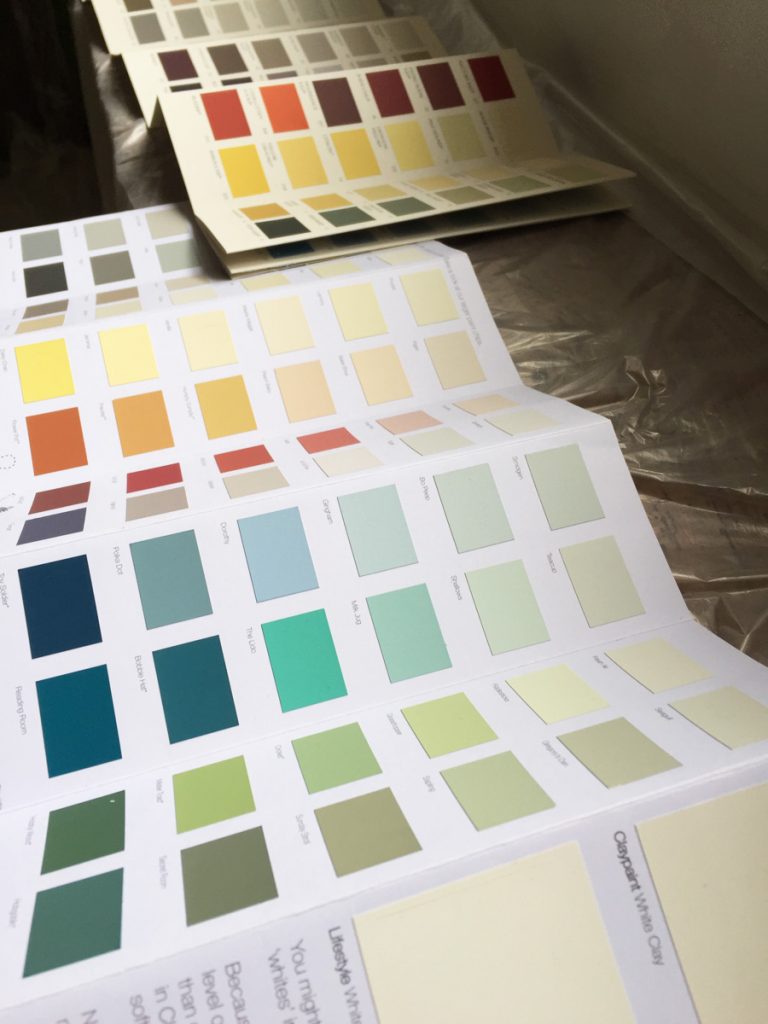
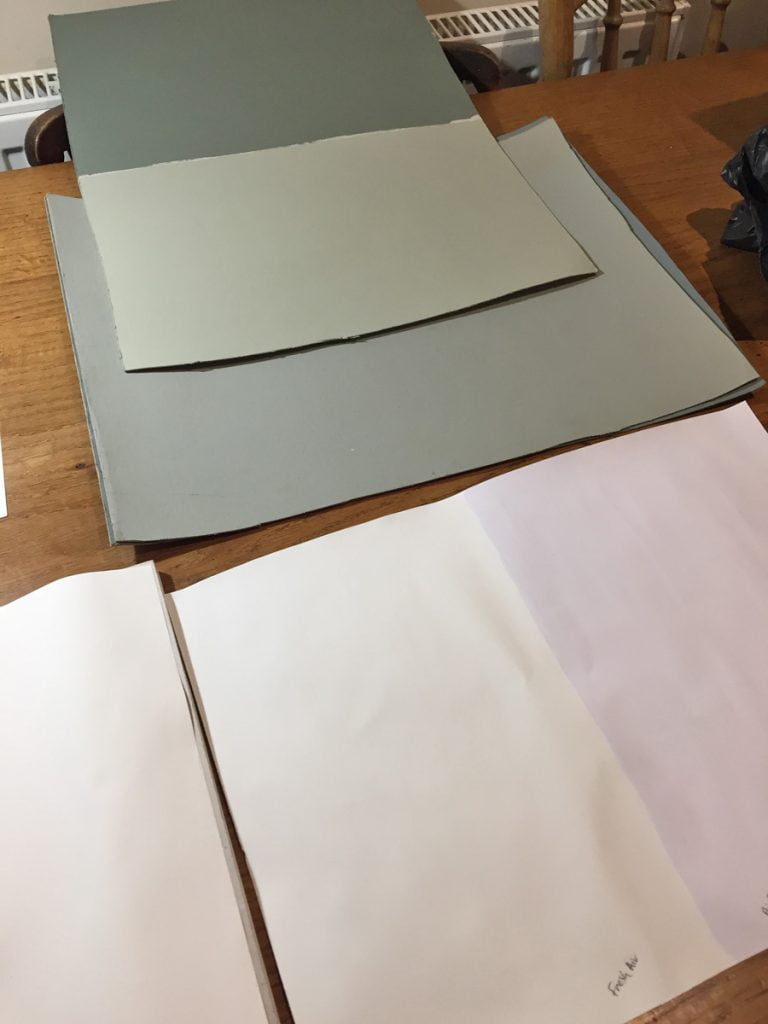
We have found the colour chart for the Earthborn clay paints that we had earlier last year. We had originally dismissed the clay paint as the colours are limited and we weren’t as keen on them as we were on the Farrow & Ball colours.
It is almost back to the drawing board and as it took both of us days to decide on the Farrow & Ball colours, this is going to be tricky…
The oil heater drying the lime wash.

Cat is going to finish the lime wash in this room (as much as she doesn’t want to, she is hating every minute) so she is adding one more coat of the pale lime wash to the other walls.
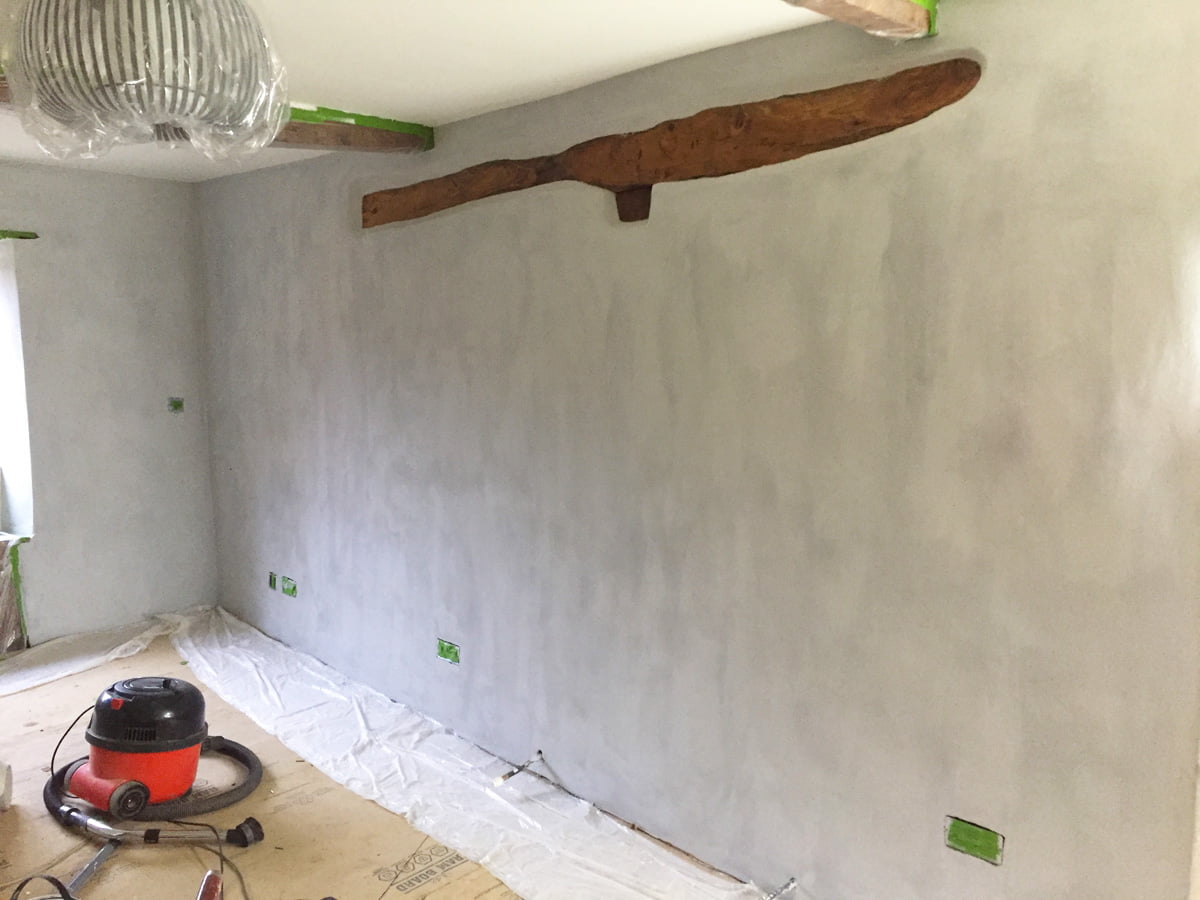
The pale colour is also less patchy now it has 3 coats and now that Cat is using the cross hatching and dry brushing technique.
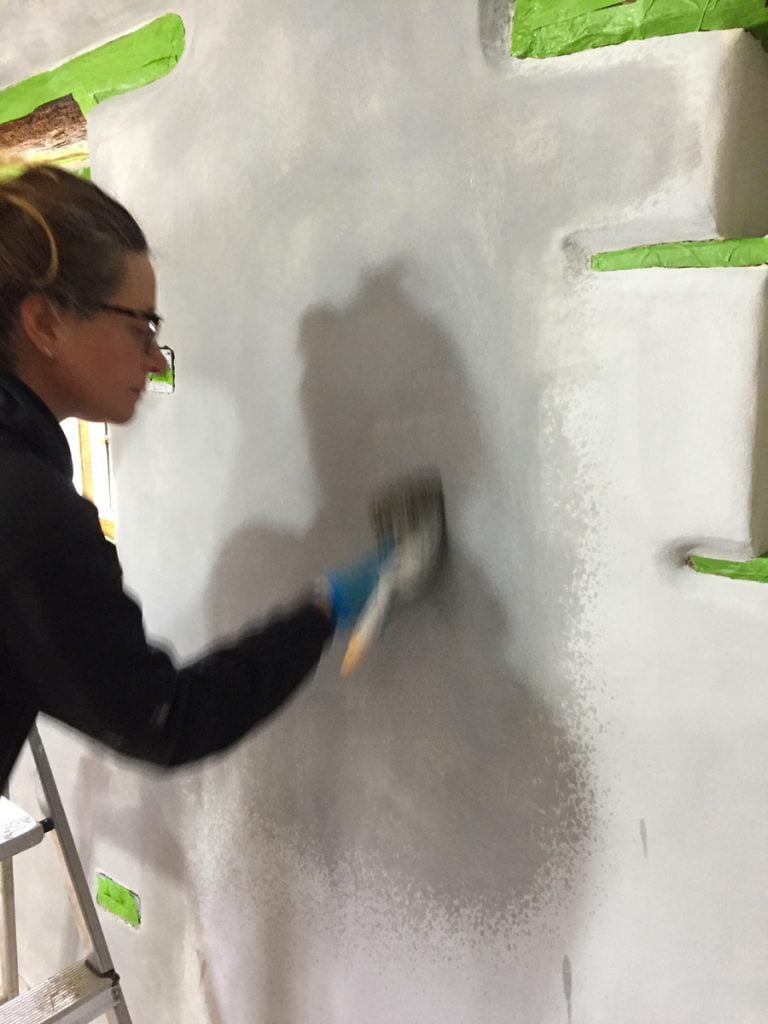
Cat working so fast my camera cannot cope. She is all a blur.
Can you tell which has been sprayed with water and which has been painted? No, neither can we. It’s a nightmare to work with.
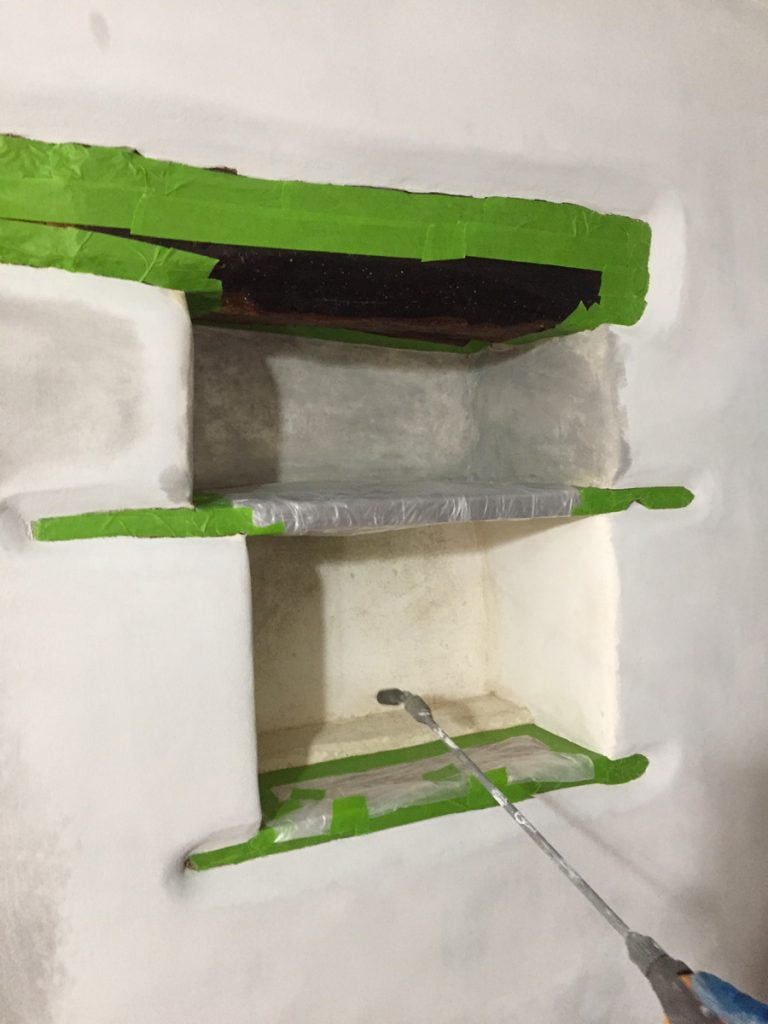
Cat painting the first coat inside these niches, you can see the original cream colour of the plaster here and you can see how it is like painting with watercolour!
Cat has to work so quickly, if she leaves an edge to dry it will be noticeable, this makes it a very stressful experience especially when cutting in.
This wouldn’t be such an issue if there was a team of people working on this but when there is only one person it is going to take weeks and we don’t have weeks, we need to move back into the house before March.

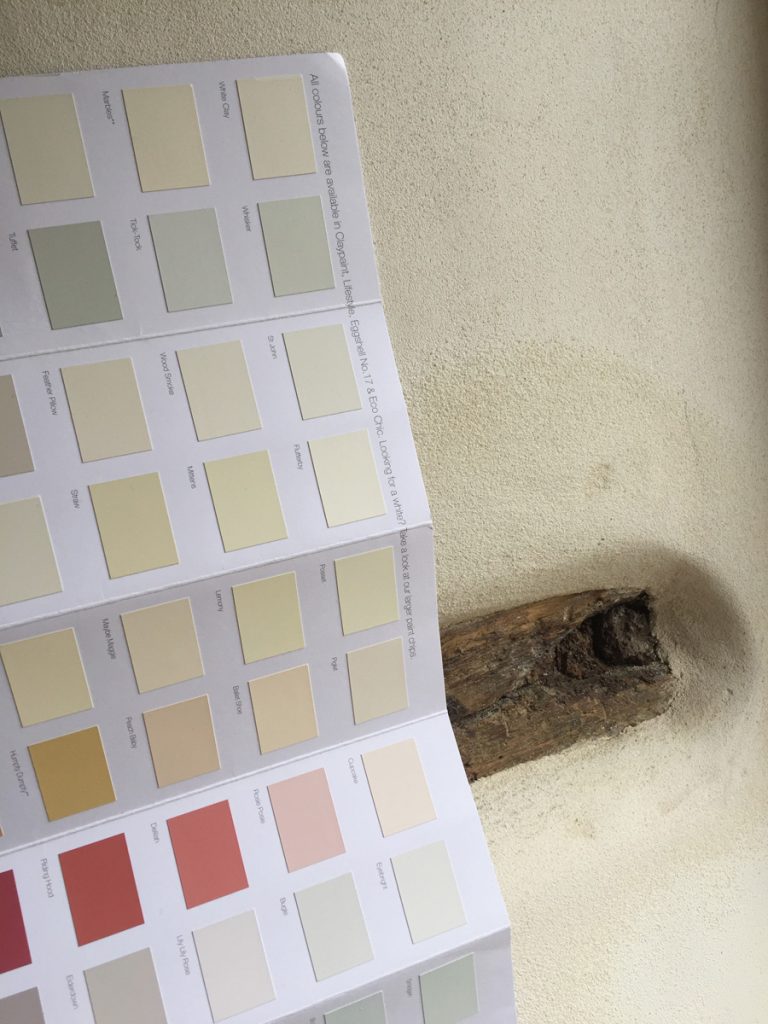
The Earthborn clay paint colour chart. Many of the whites are very similar to the natural lime plaster colour.
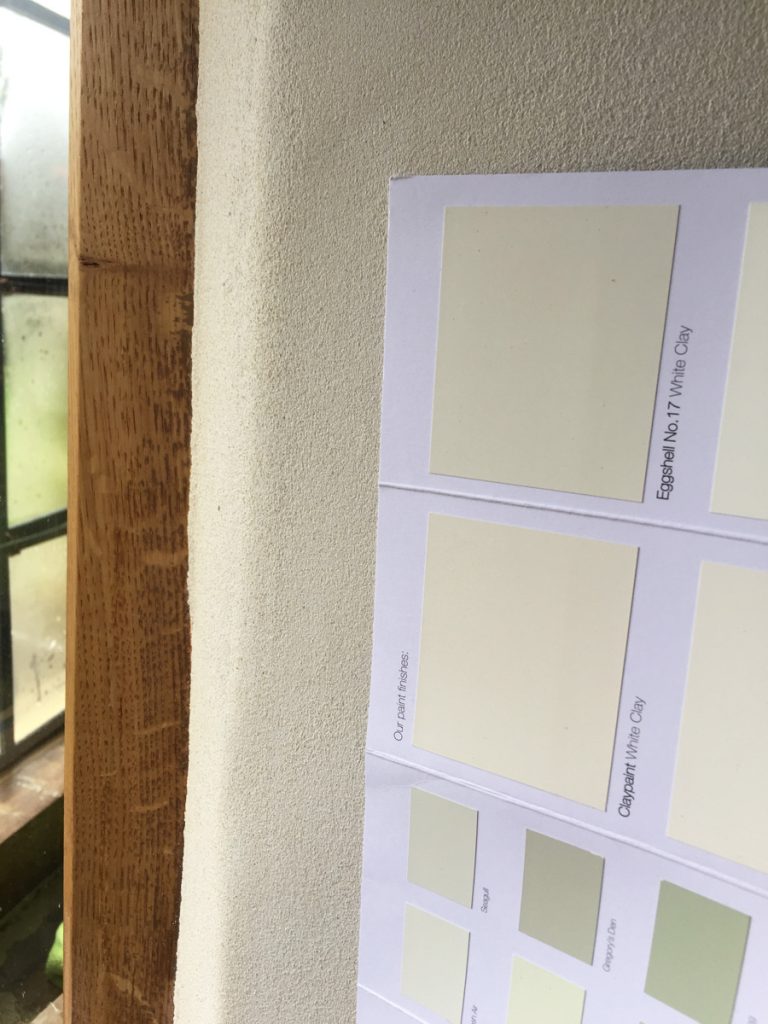
Their White Clay colour is almost identical. We need to decide if we want a warm white (like this one) or a cooler shade (to match the other grey neutrals we are using on the walls).
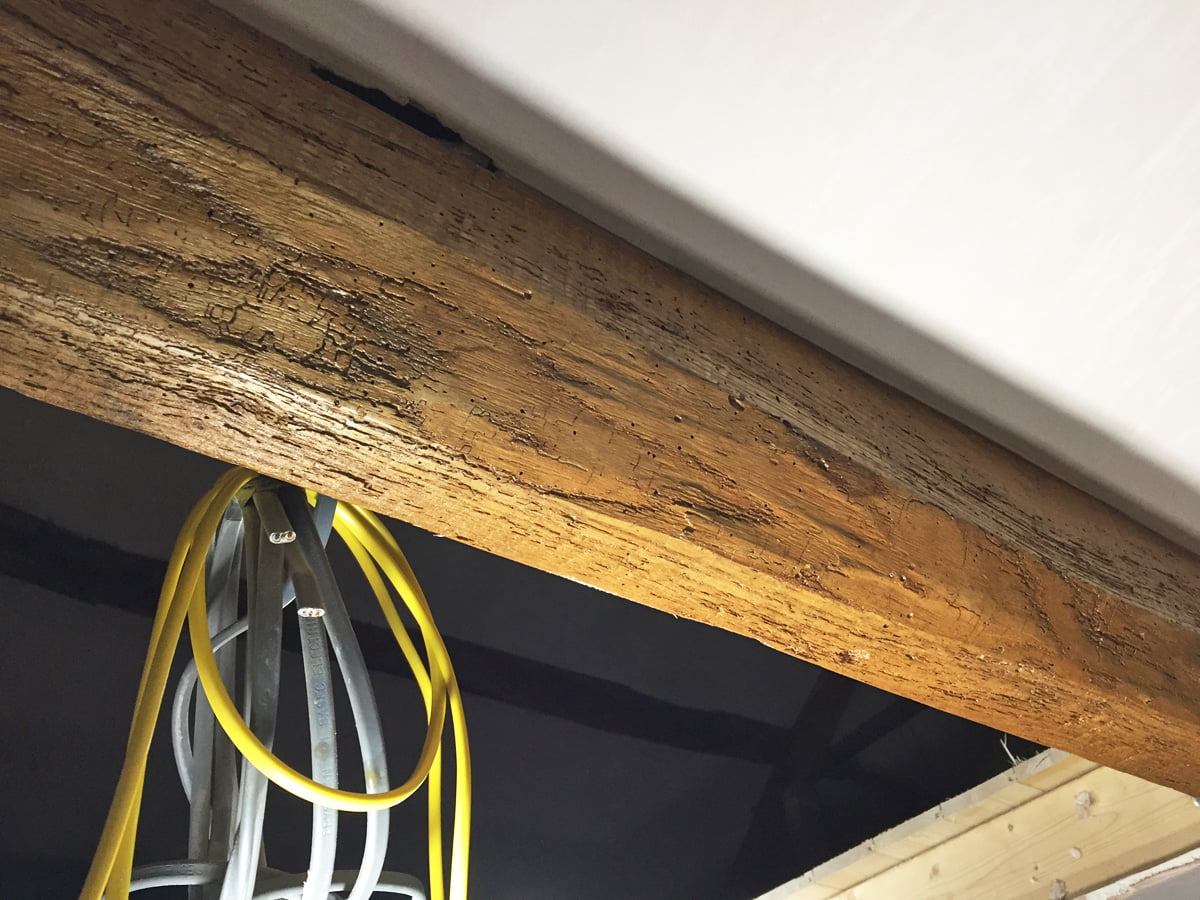
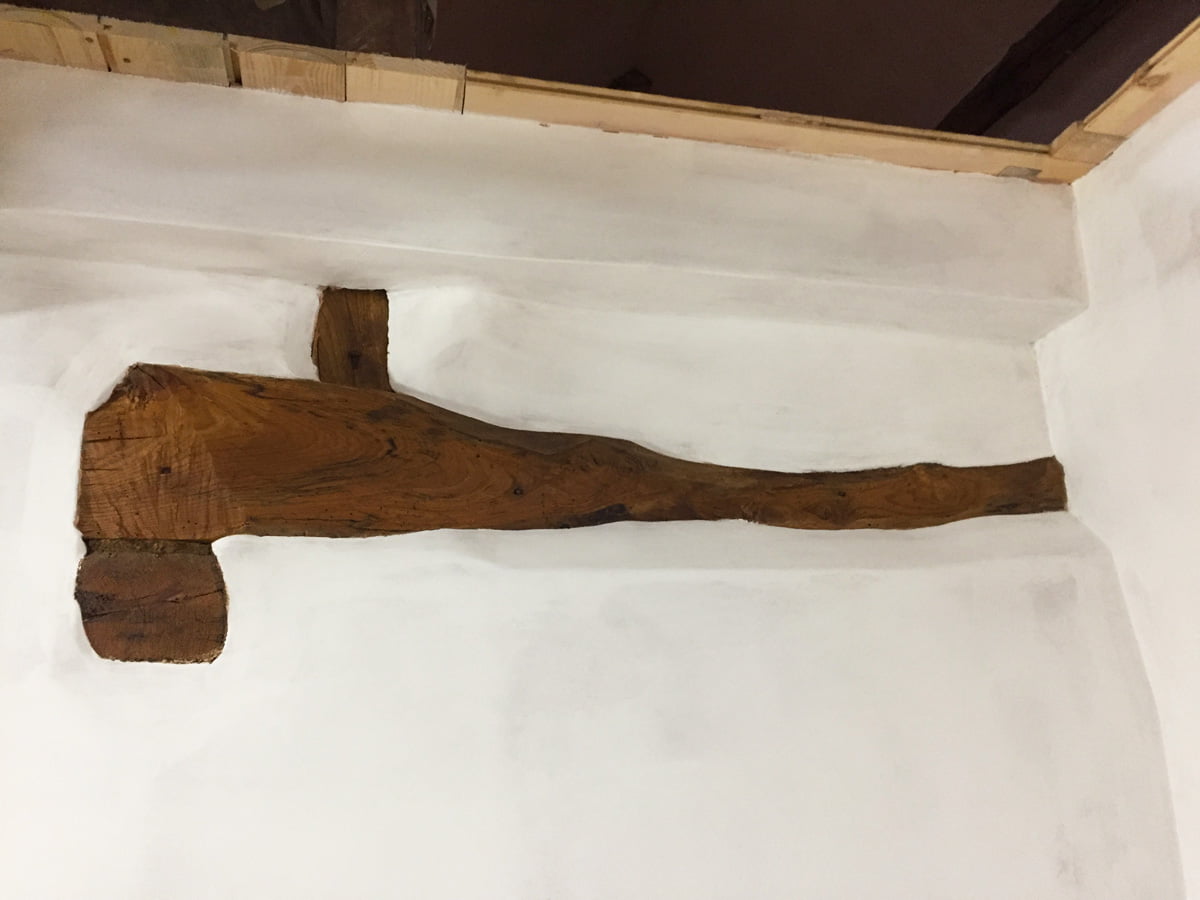
One of the beams on the landing getting a well needed clean up and oil. Looks so much better and makes us feel a little more positive about everything.

Test pots for the clay paint colours that we like the look of. 4 different whites and 4 darker shades.
The whites vary but we are liking the cooler shade of St. John (at the front). It is night time now so I will see what these look like in the house in daylight tomorrow.
This grey green (middle) is Farrow & Ball’s Pigeon that we were planning to use in the sitting room. The closest match in the clay paints are these two but they are too green and not grey enough… FFS, bloody fussy designers!
Good decision ladies. That lime washing looks unbearable & I’m just watching you from a distance. I’m not a designer but to me the natural lime plaster colour seems to allow the beauty of the wood & stone to shine, keeps the house light & would save you a lot time, money & heartache. You’ll get there & all this knowledge will make part 2 so much easier!!xx
Thanks for the support Sally! It was a total nightmare and was really getting to Cat. Sadly we can’t leave it natural as the walls have become quite dirty over the last few months with the building work still going on and you can’t wash it, so we do have to paint it. The clay paints are looking much easier to use though and I’ve found a company that have a huge range of fabulous colours 🙂 xx
Nothing is ever straight forward but I’m sure you’ll have better luck with the clay paints 🤞 xx