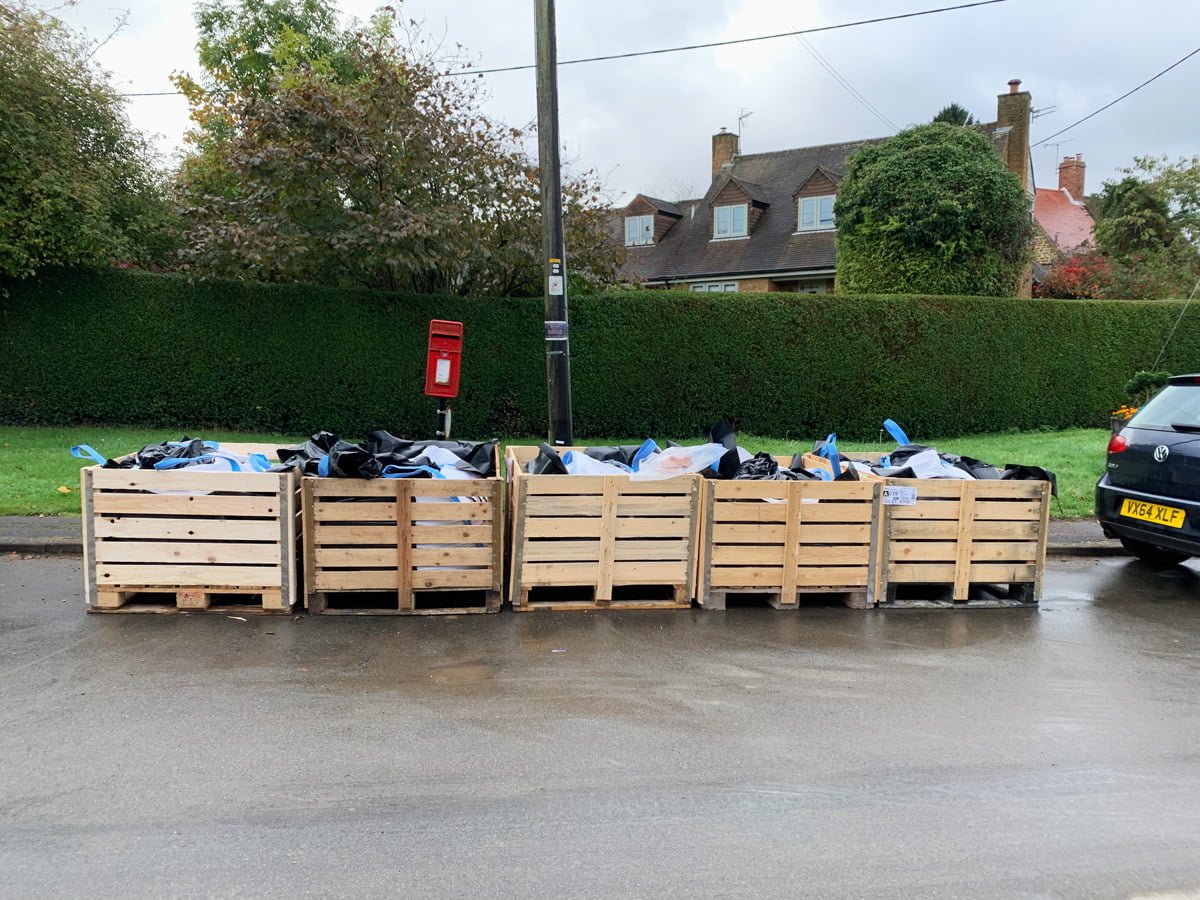
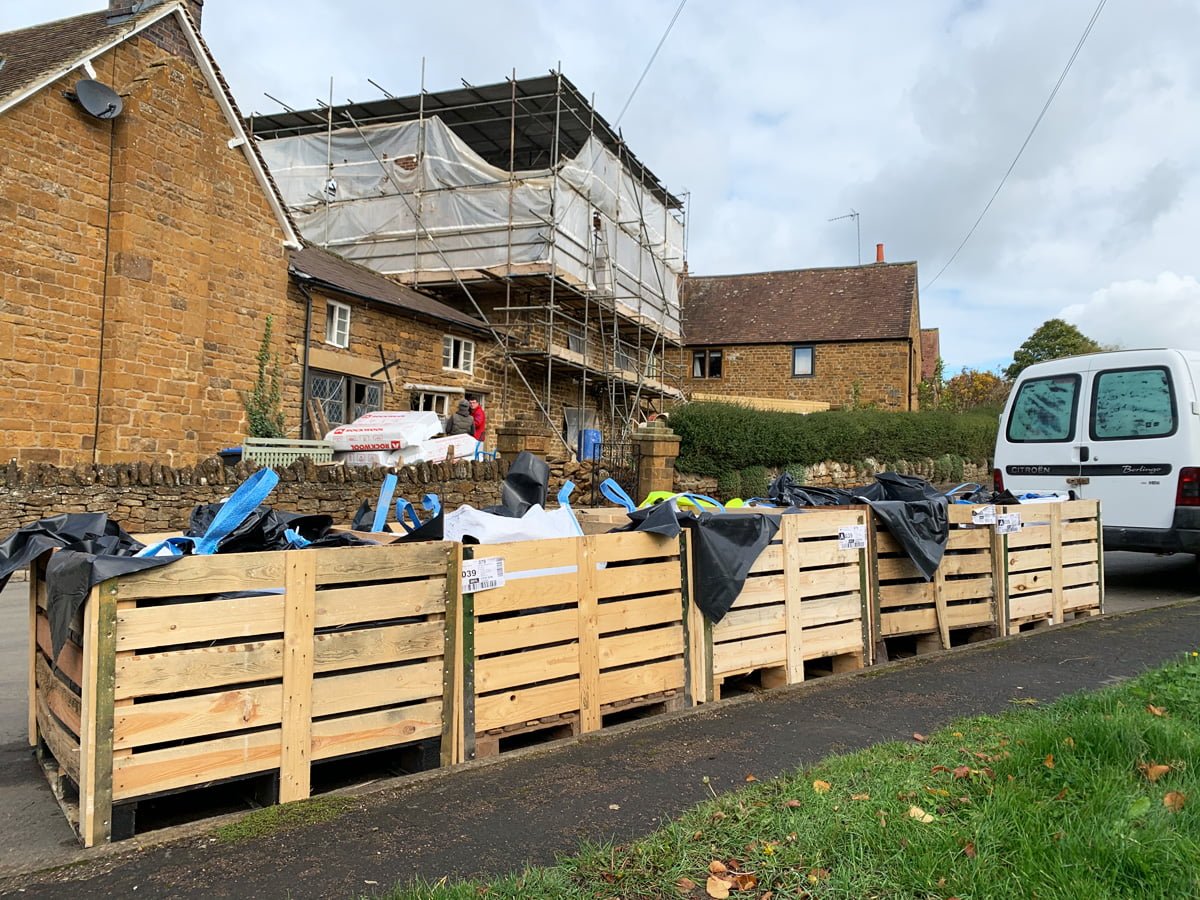
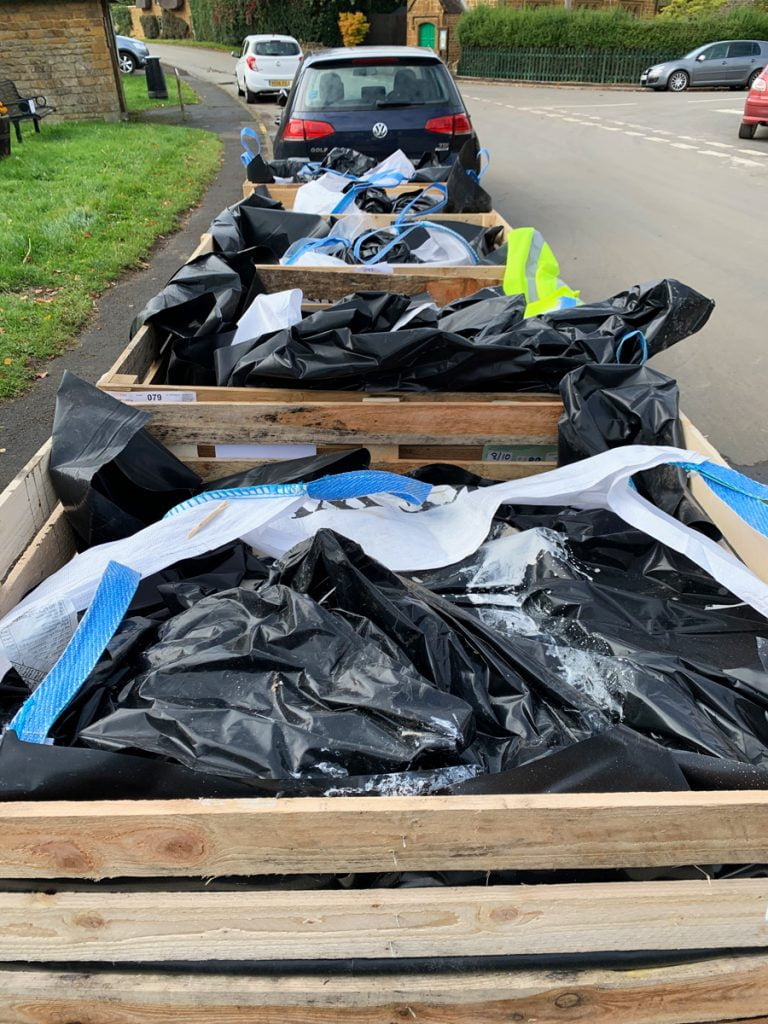
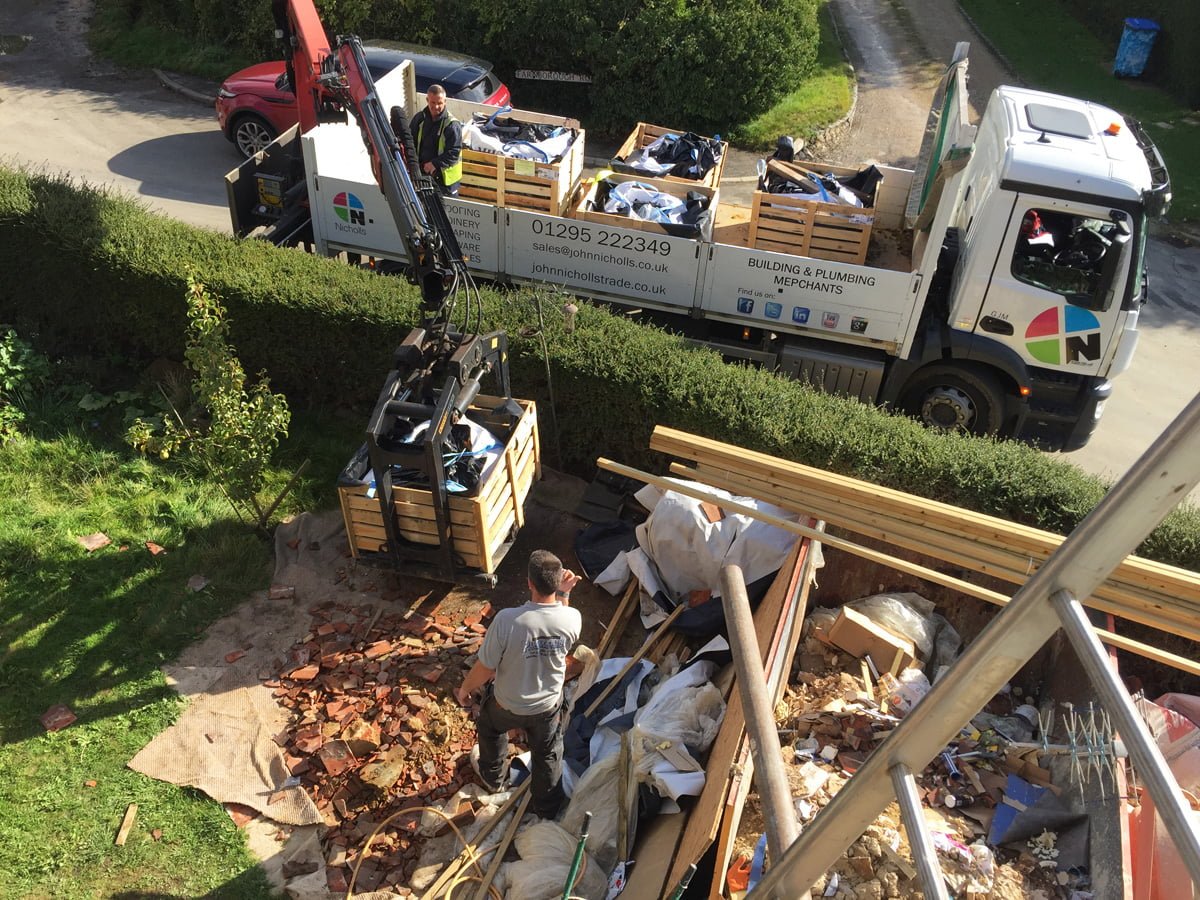
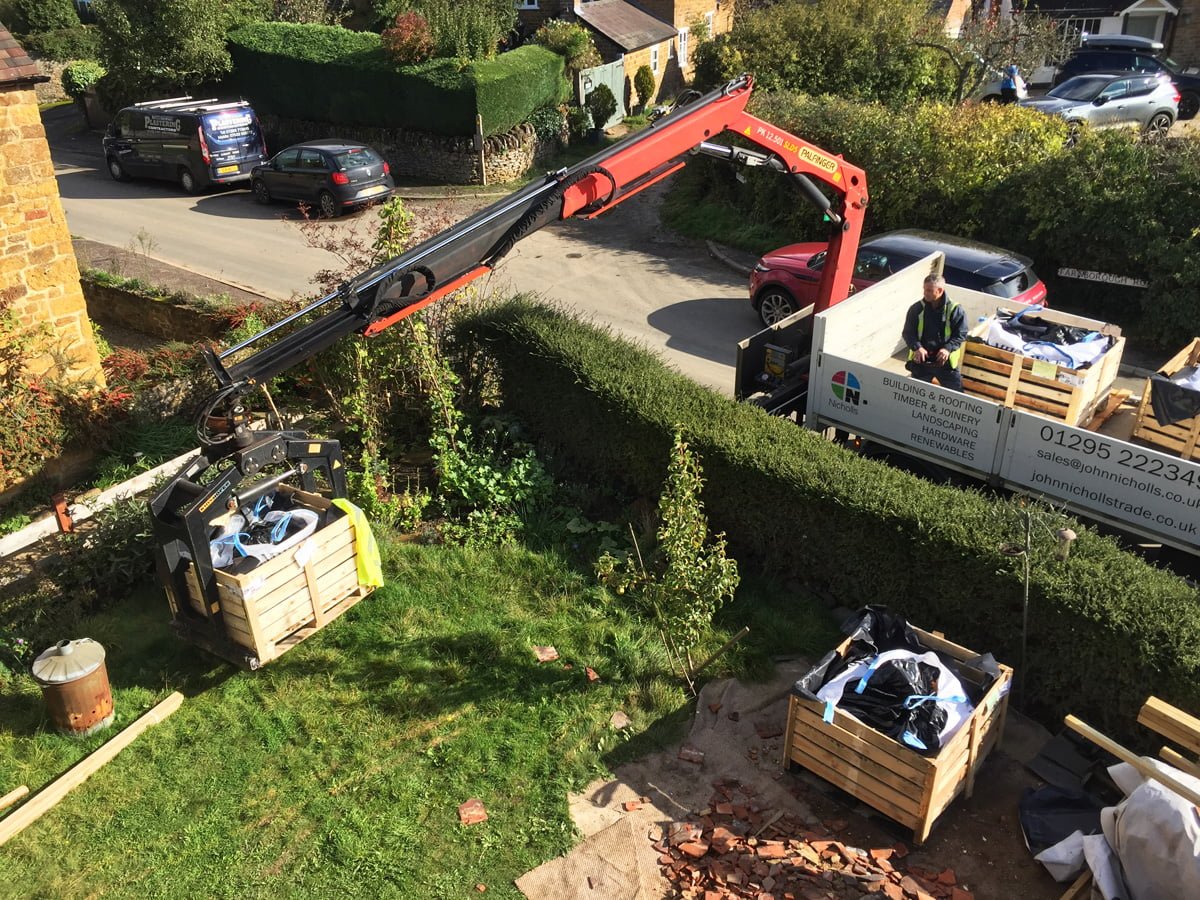
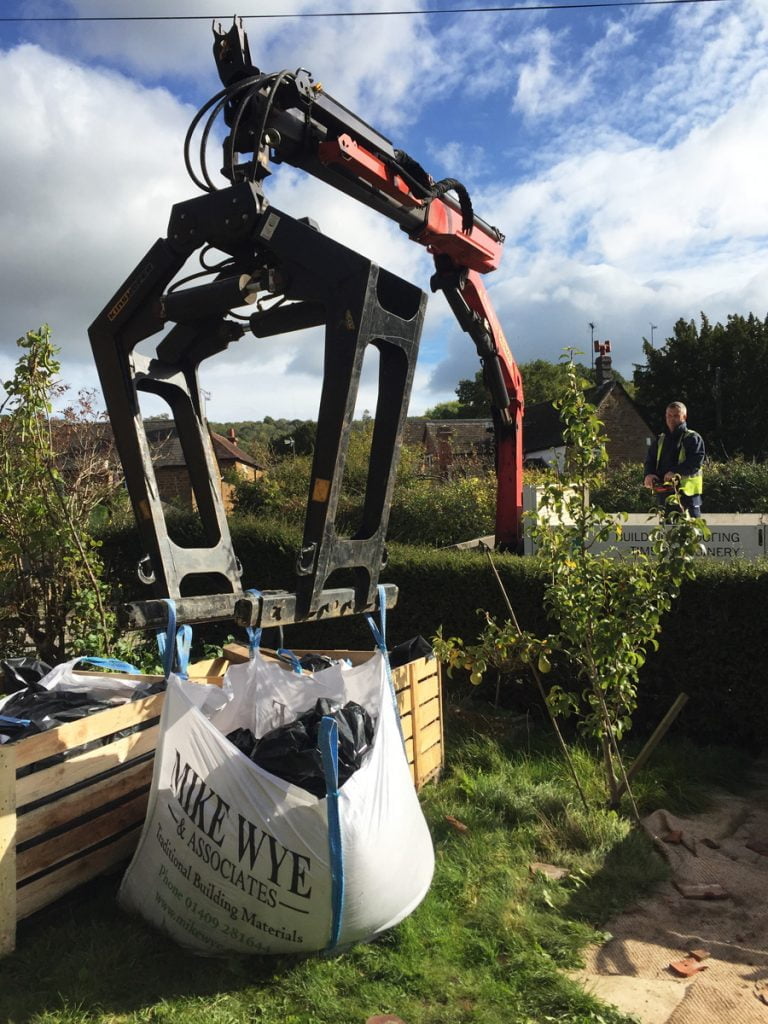
A busy day of deliveries and preparations for the plastering. Five pallets of lime have arrived from Mike Wye & Associates and are taking up two parking spaces on the road. They will now await a crane to pick them up and carry them over our hedge and into the garden.
Lime plastering is a very lengthy process so we are expecting this to take around 6 weeks to finish. There are multiple coats with 2-4 days drying time in between each coat, hence the lengthy process.
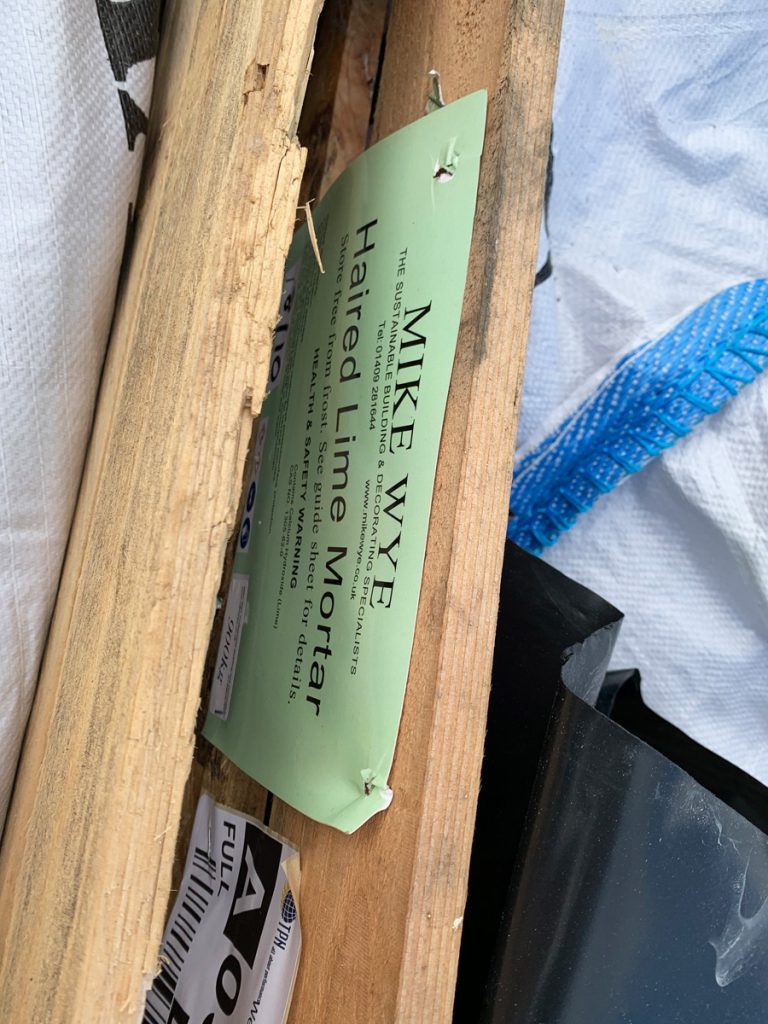
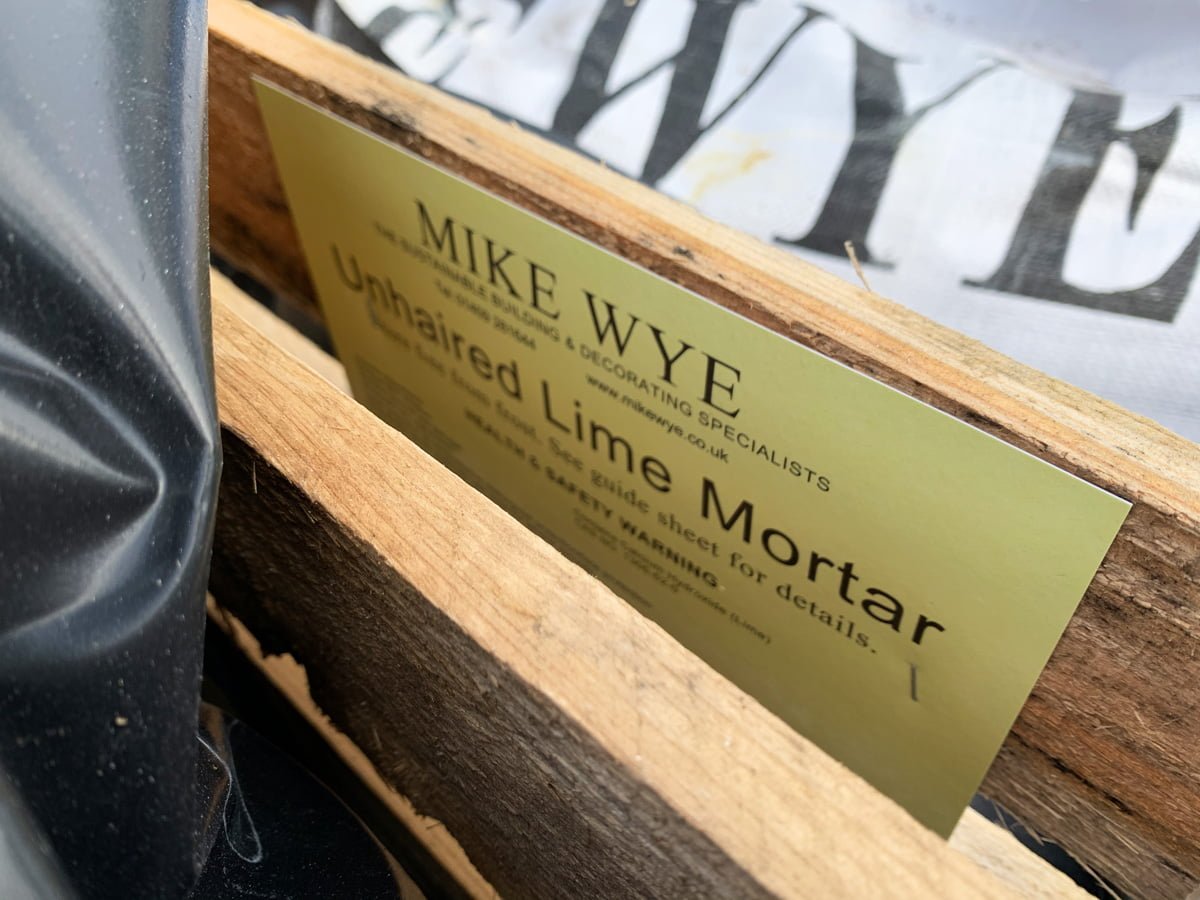
Firstly there is a ‘hurl’ coat (so called as it is literally thrown on), then one or two ‘scratch’ coats, all these coats are at a ratio of 3:1, sand to haired lime mortar. Then there is a ‘float’ coat consisting of unhaired lime mortar mixed at a ratio of 3:1, sand to lime, then a final coat mixed at a ratio of 3:2, sand to mature lime putty.
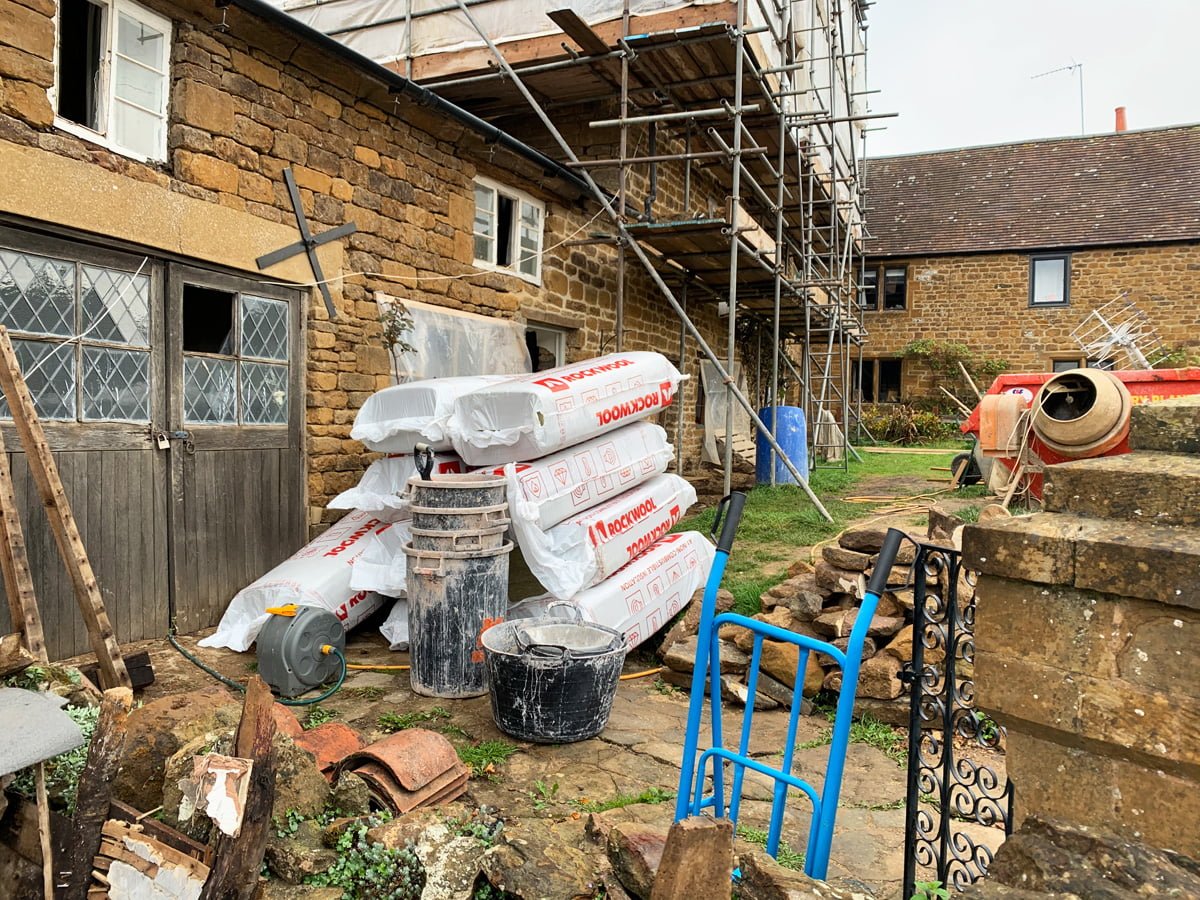
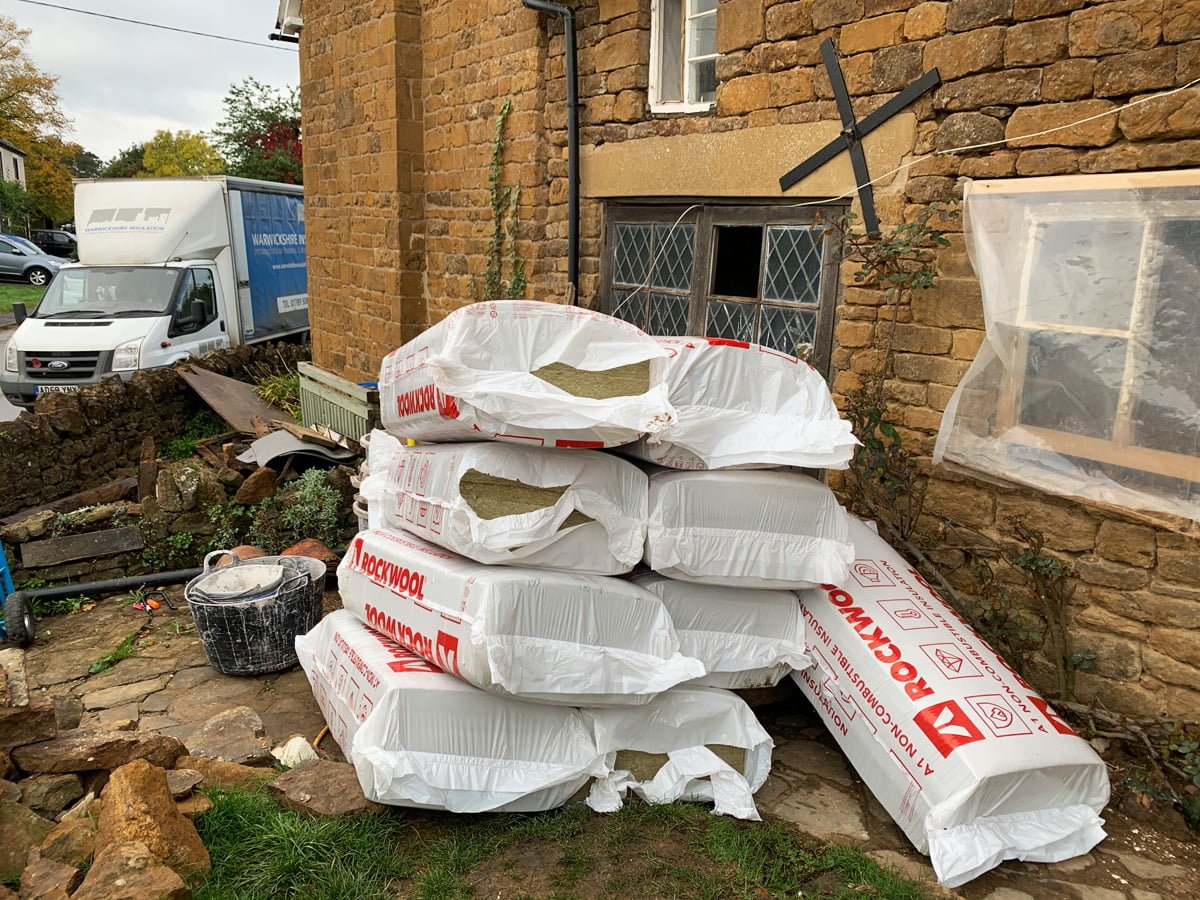
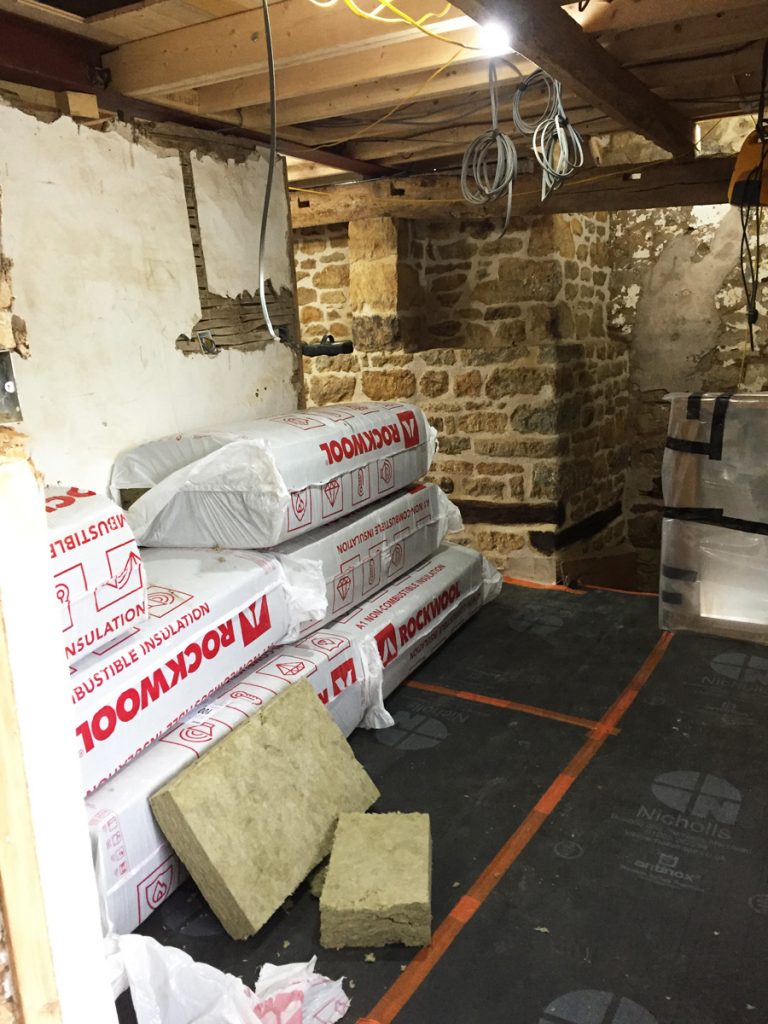
The Rockwool insulation for the ceiling cavities between the first floor and the attic has also arrived, ready to be installed before the plasterboard is fitted onto the ceilings. The ceilings need to be done before the walls can be plastered.
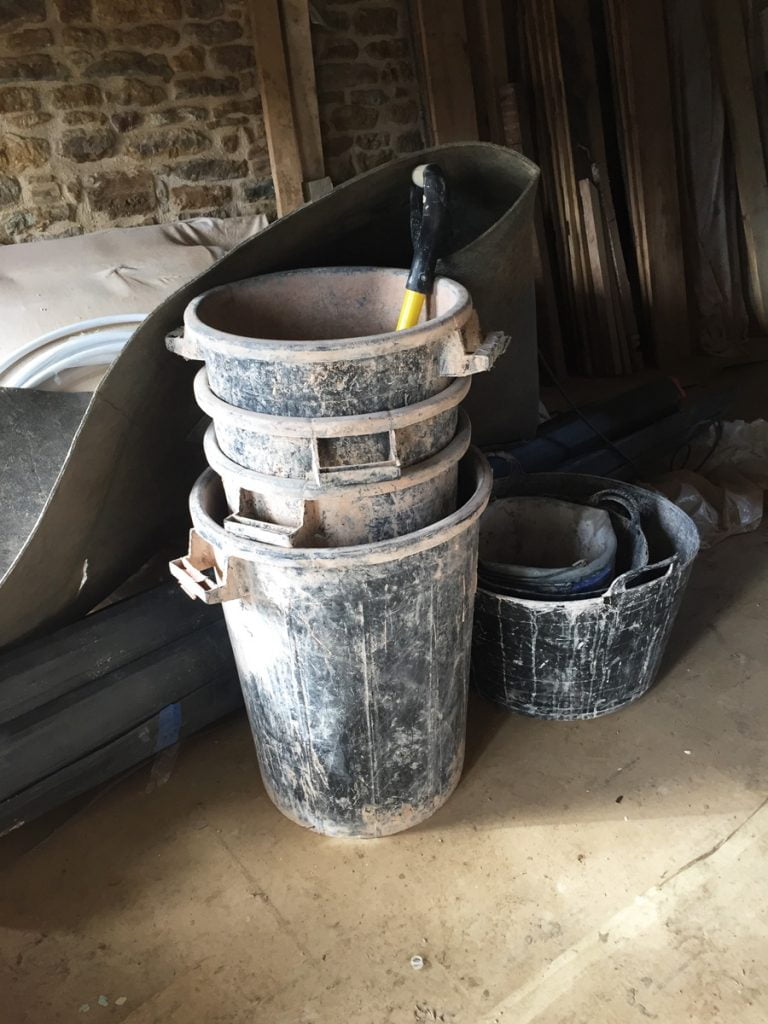
Some enormous plastering buckets have arrived.
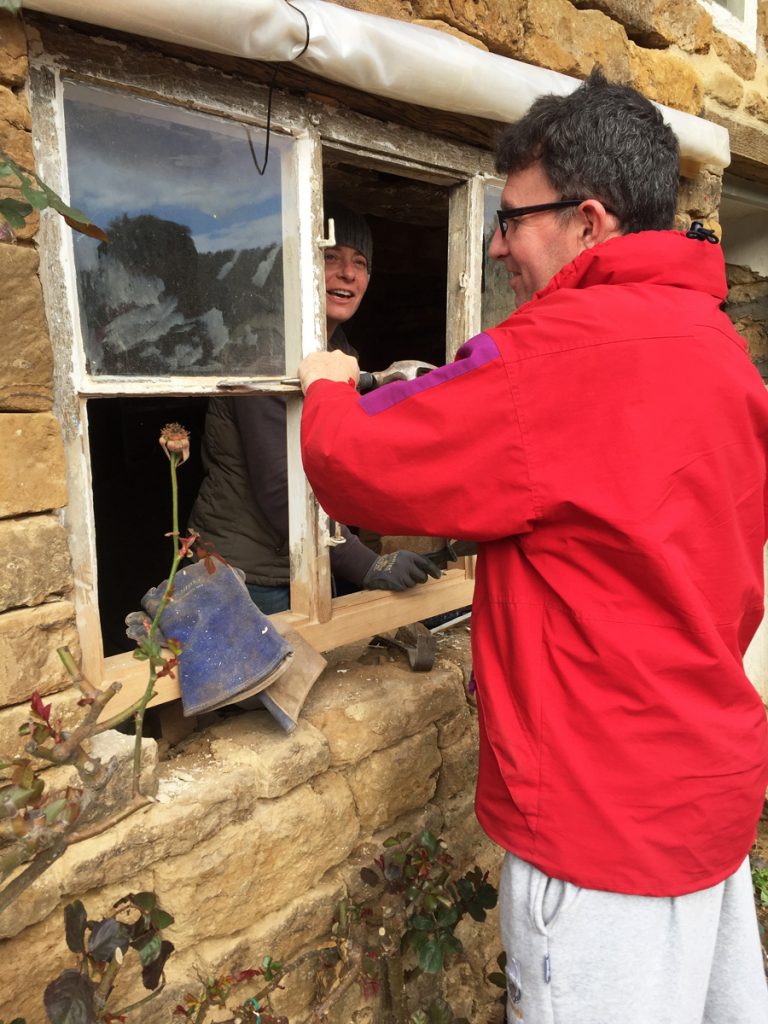
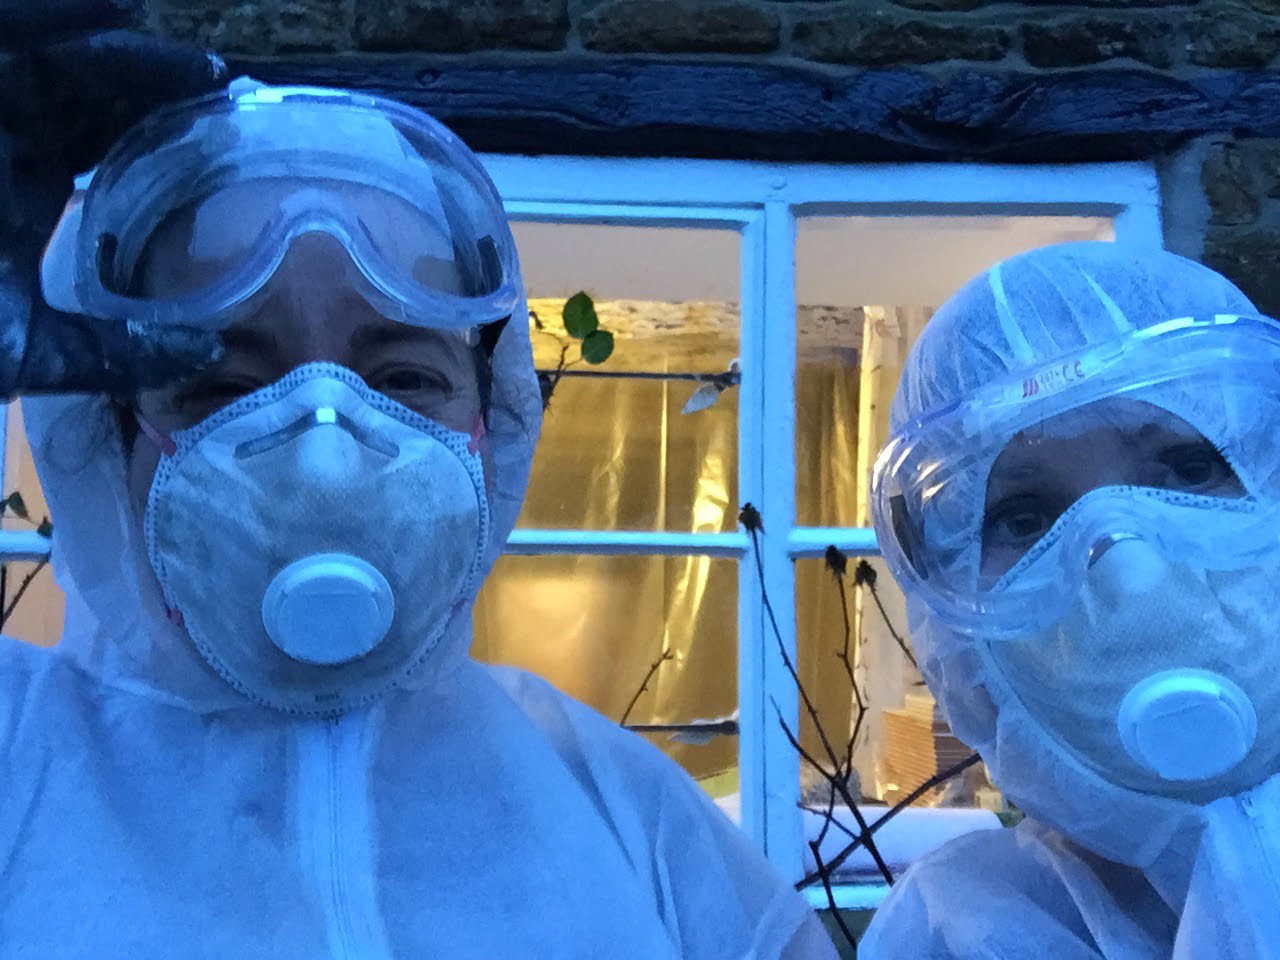
Colin is back to help Cat remove the putty and glass from the dining room window.

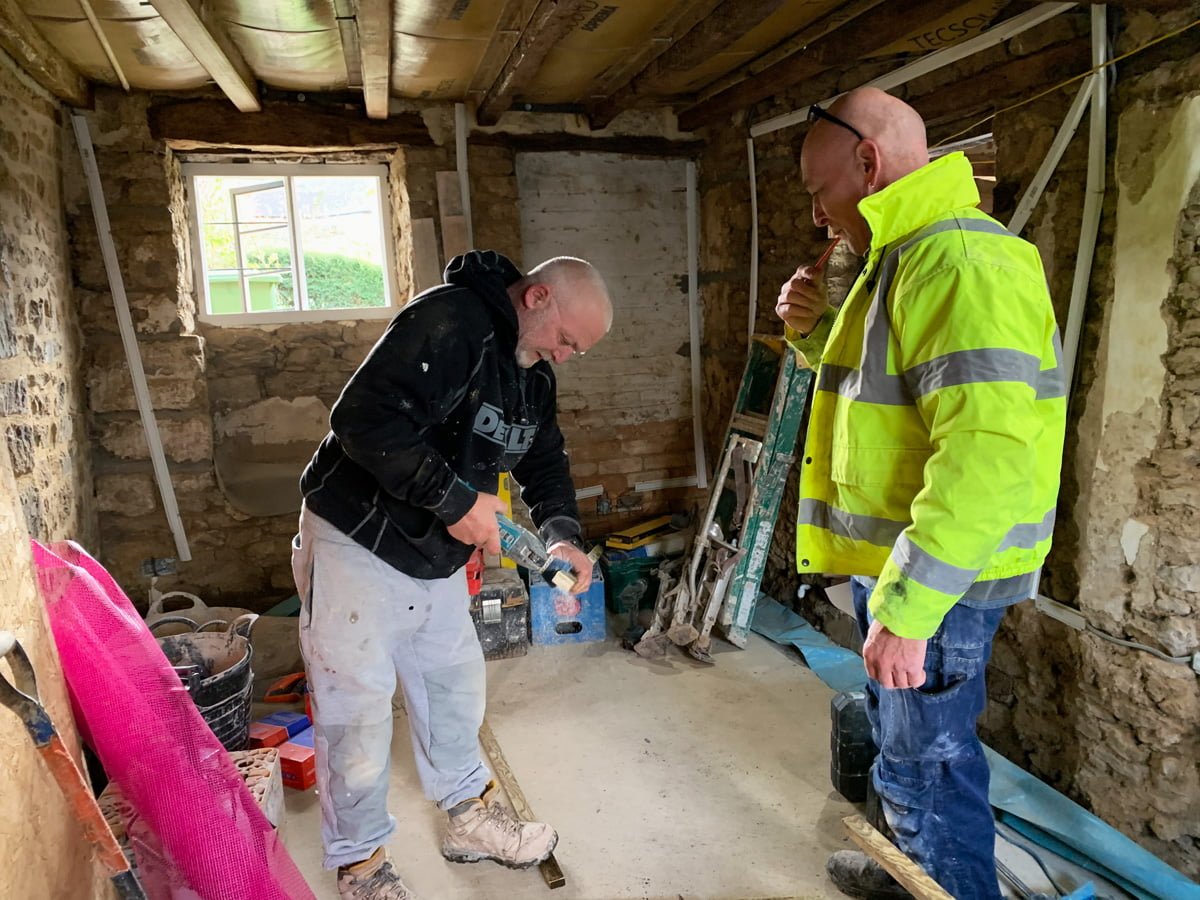
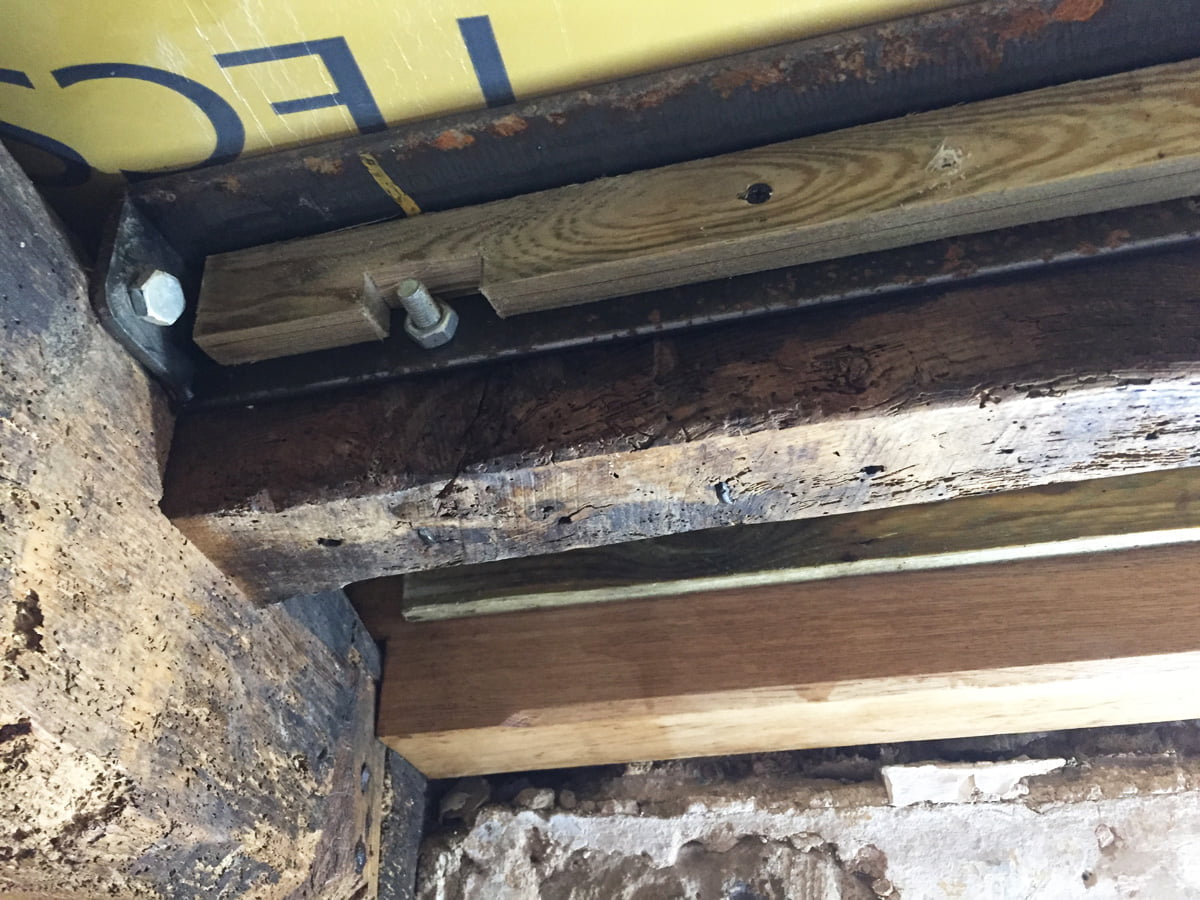
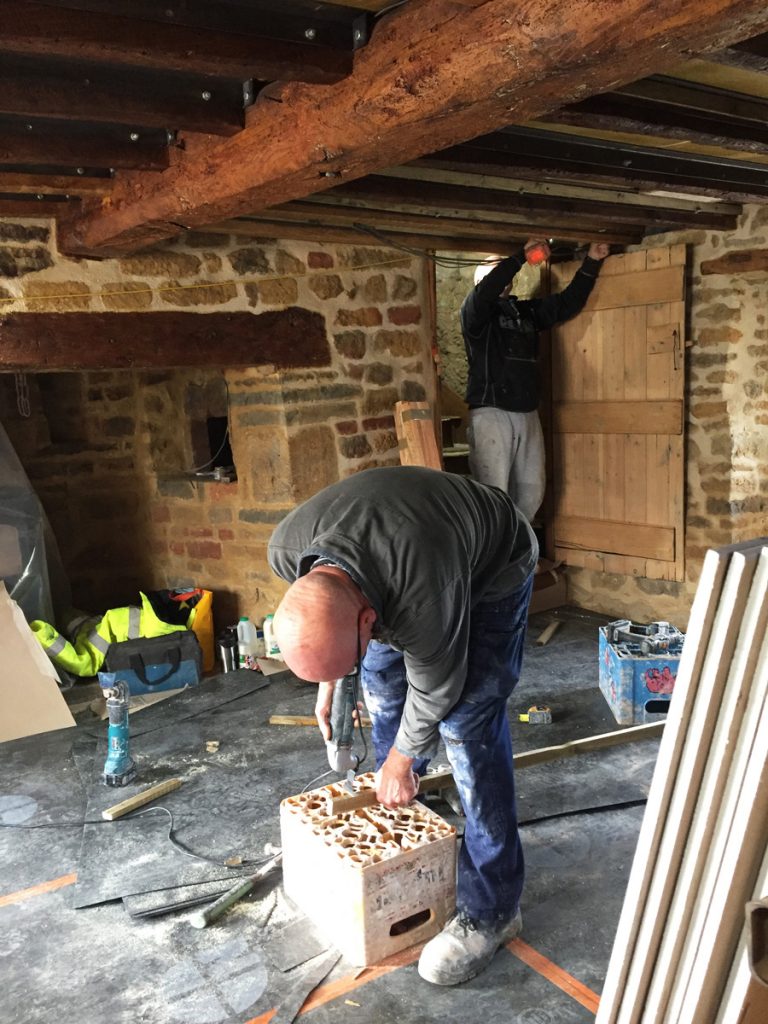
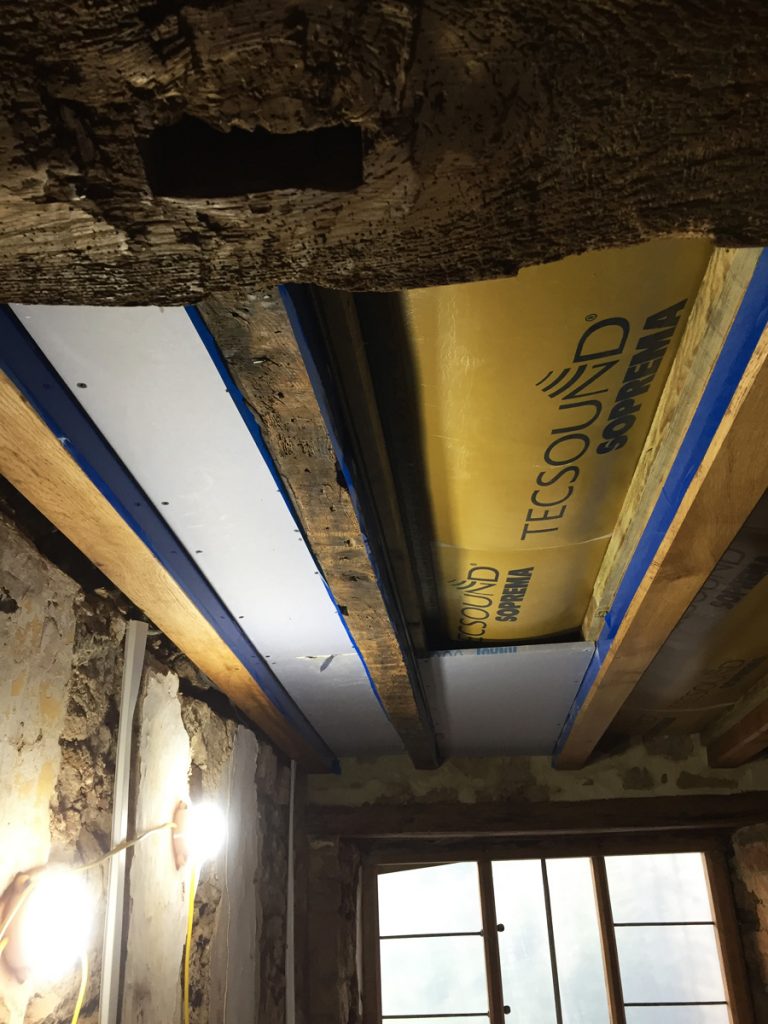
Continuing the tradition of having super nice people work on our house, our plasterers, Mike, Dave, Charlie and Alan, are all genuinely lovely. Here, Charlie and Alan are starting on the study ceiling, adding battens along both sides of every joist, a very time consuming task as they need to scribe around all the bolts attaching the steel angles to the joists. The battens will hold the sound insulating plasterboard in place in between each joist.
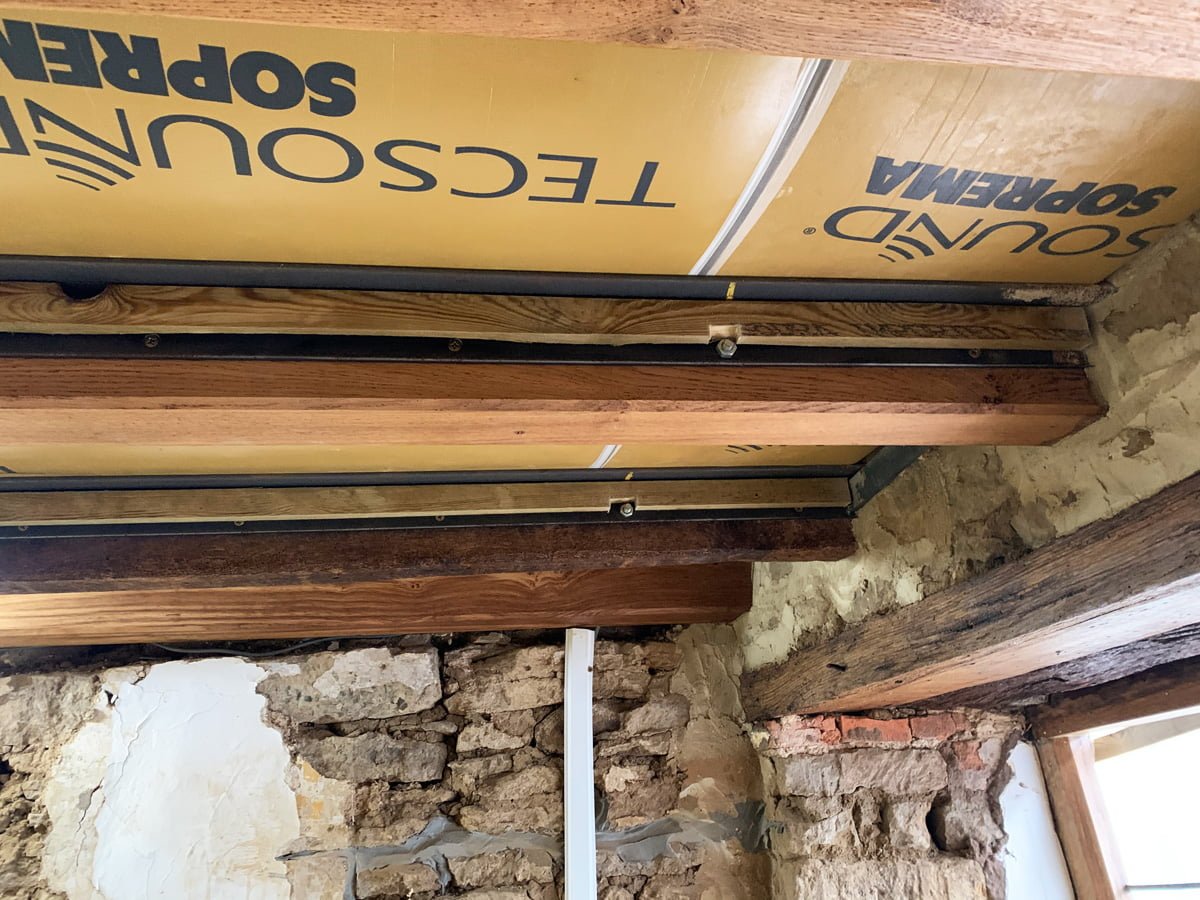
The battens on the study joists, scribed in around the steel bolts.
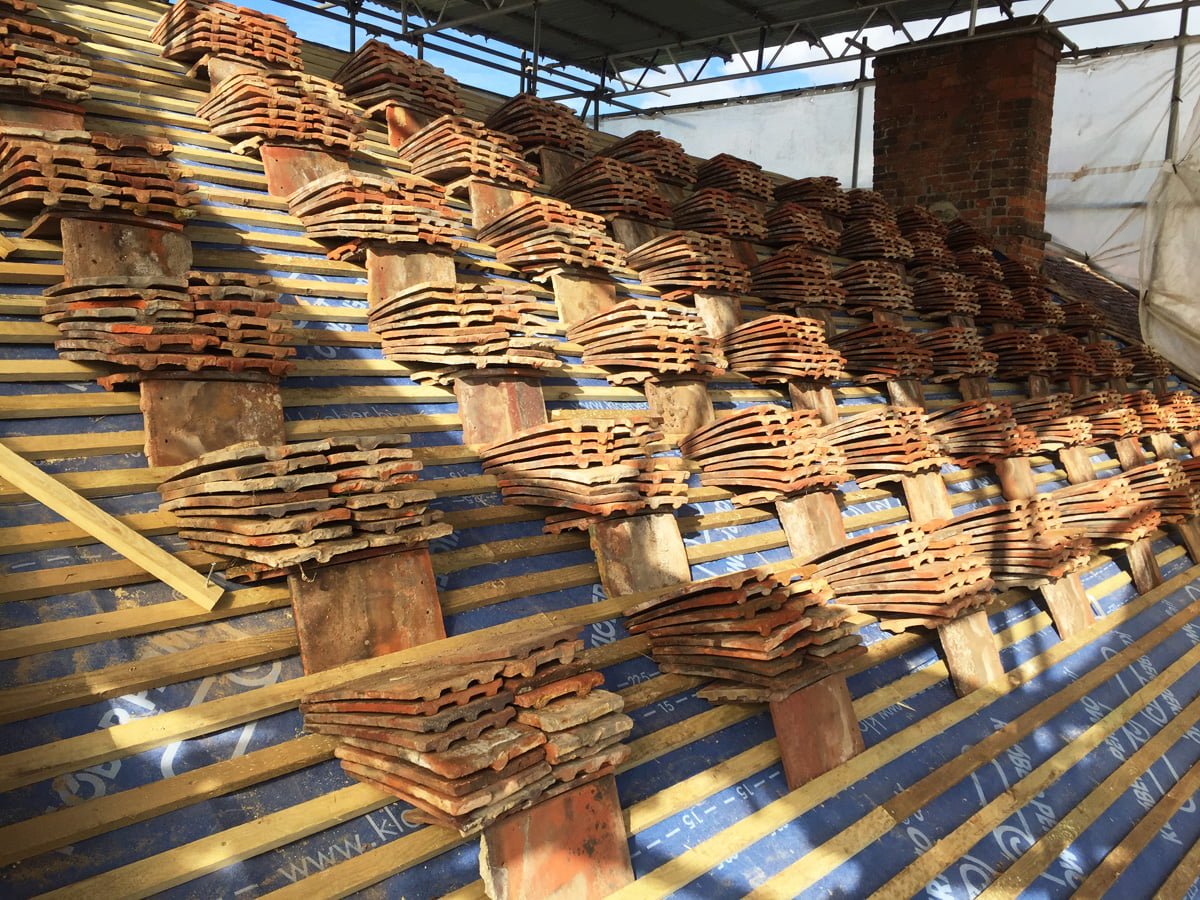
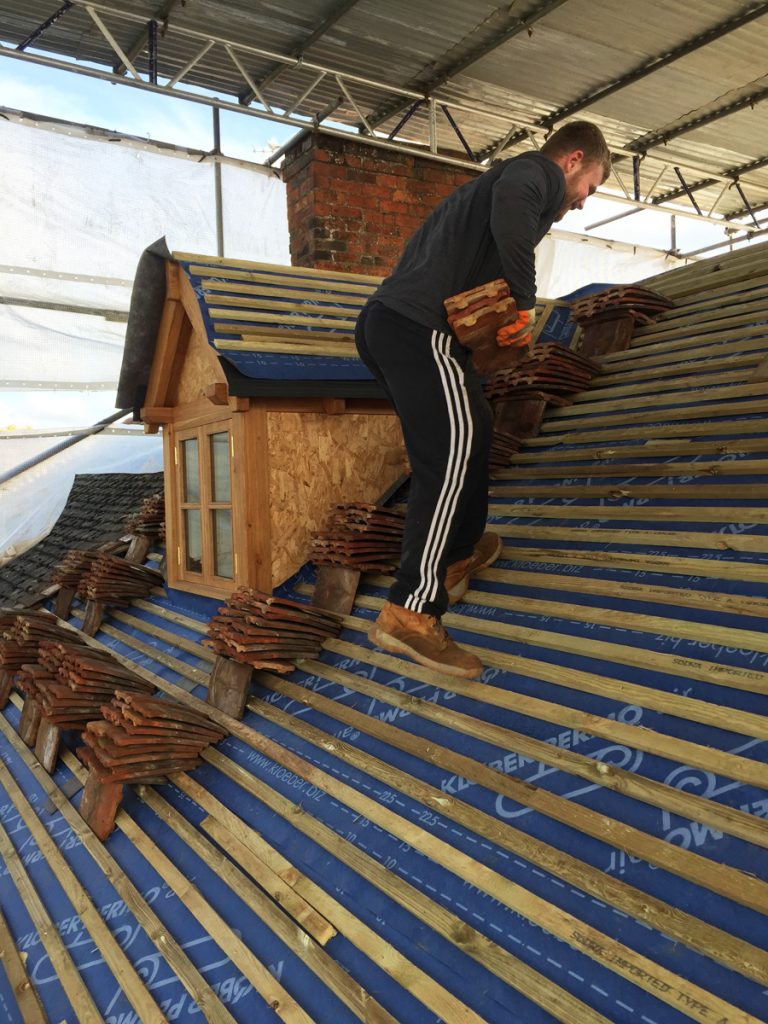
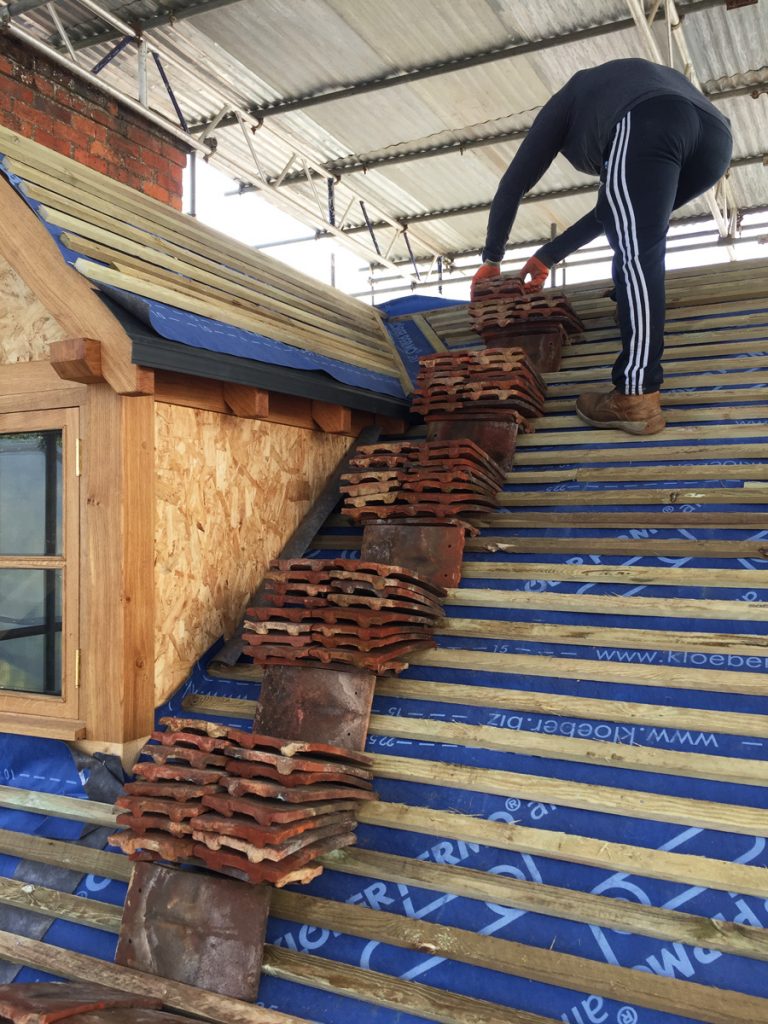
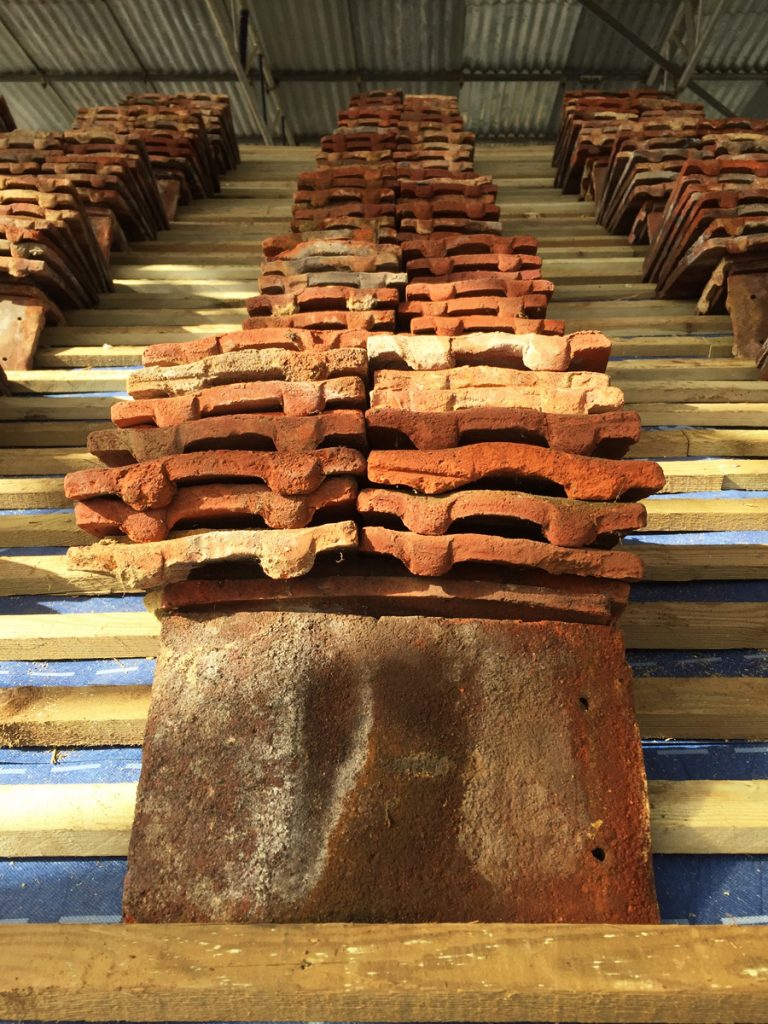
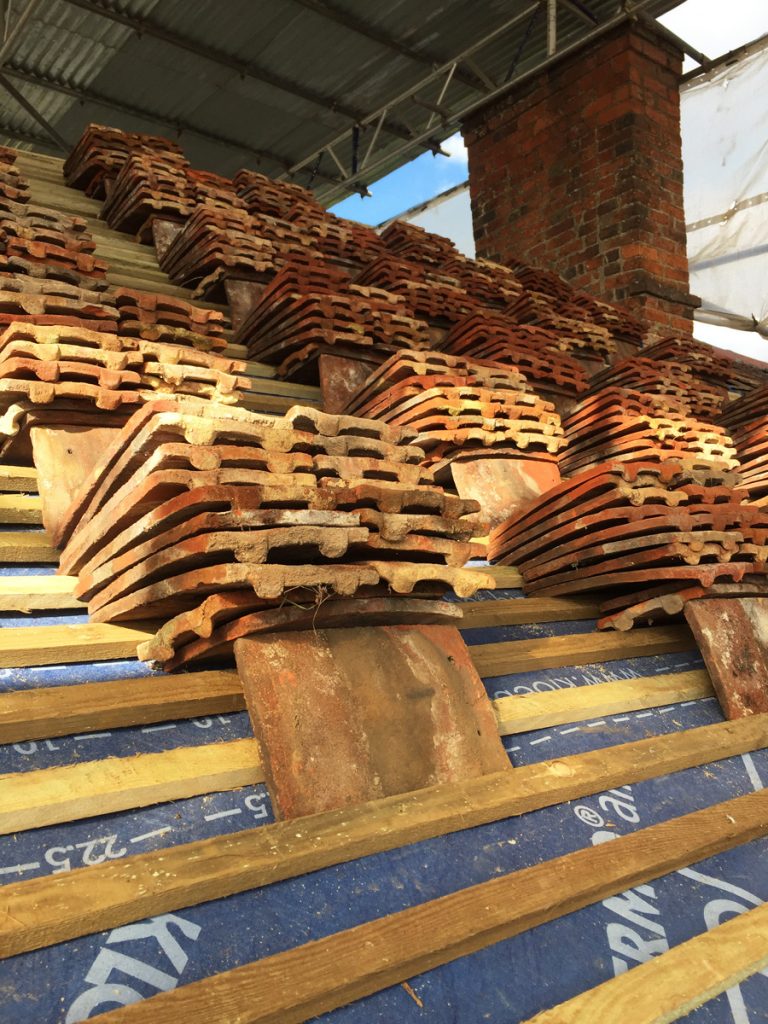
What a work of art! George has been busy stacking the roof tiles on the roofing battens in very neat piles, ready for the roofers to fit them next week.
Mike and Dave moving the sheets of sound insulating plasterboard into the house.

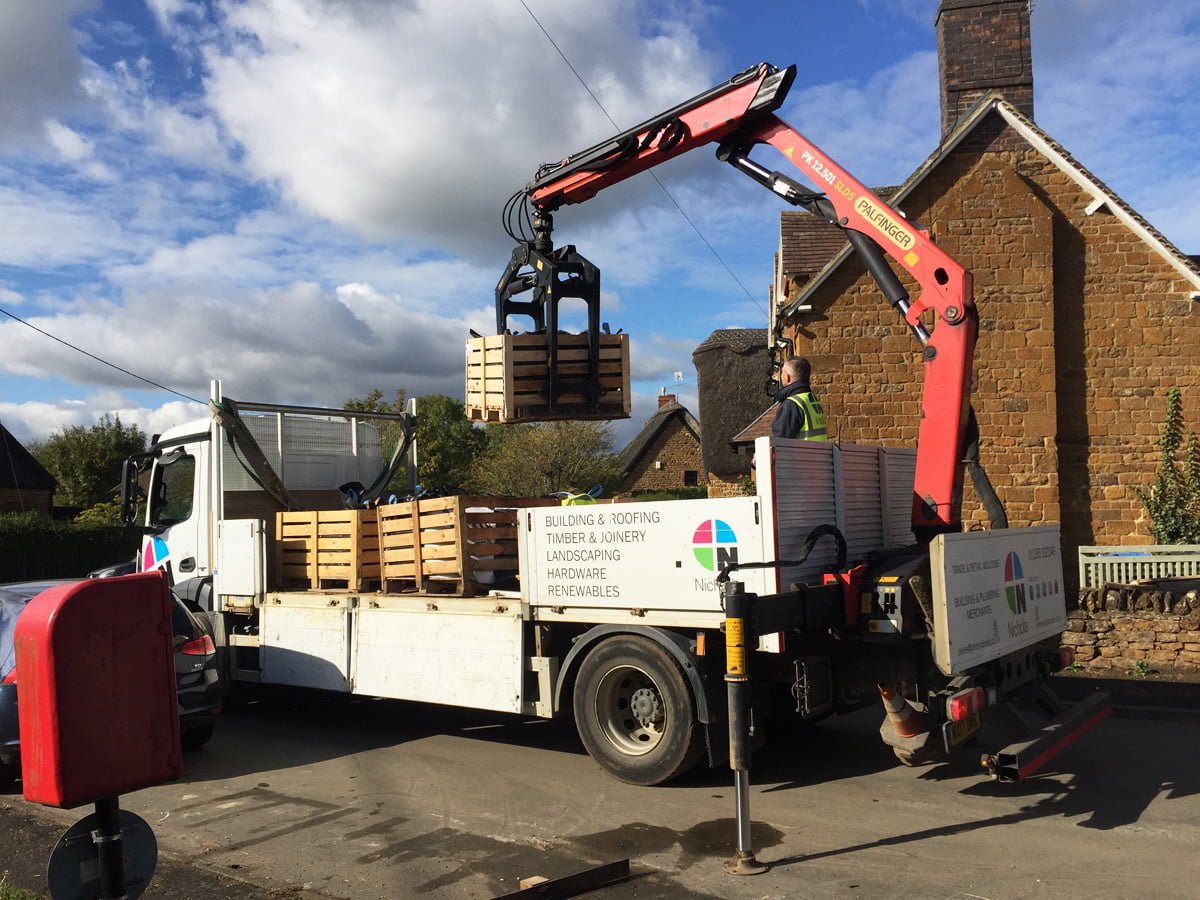
The crane has arrived to move the pallets of lime from the road into the garden.
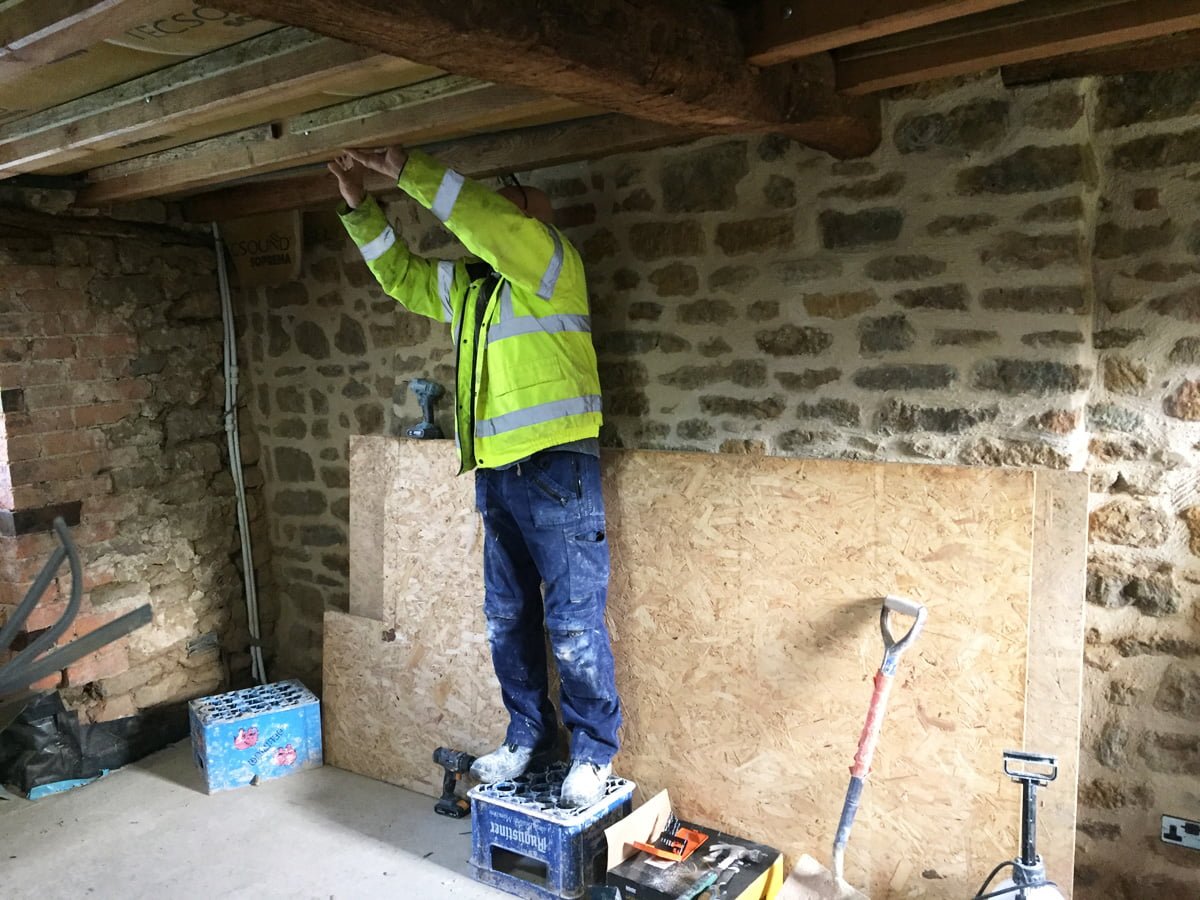
Charlie and Alan move on to the sitting room ceiling.
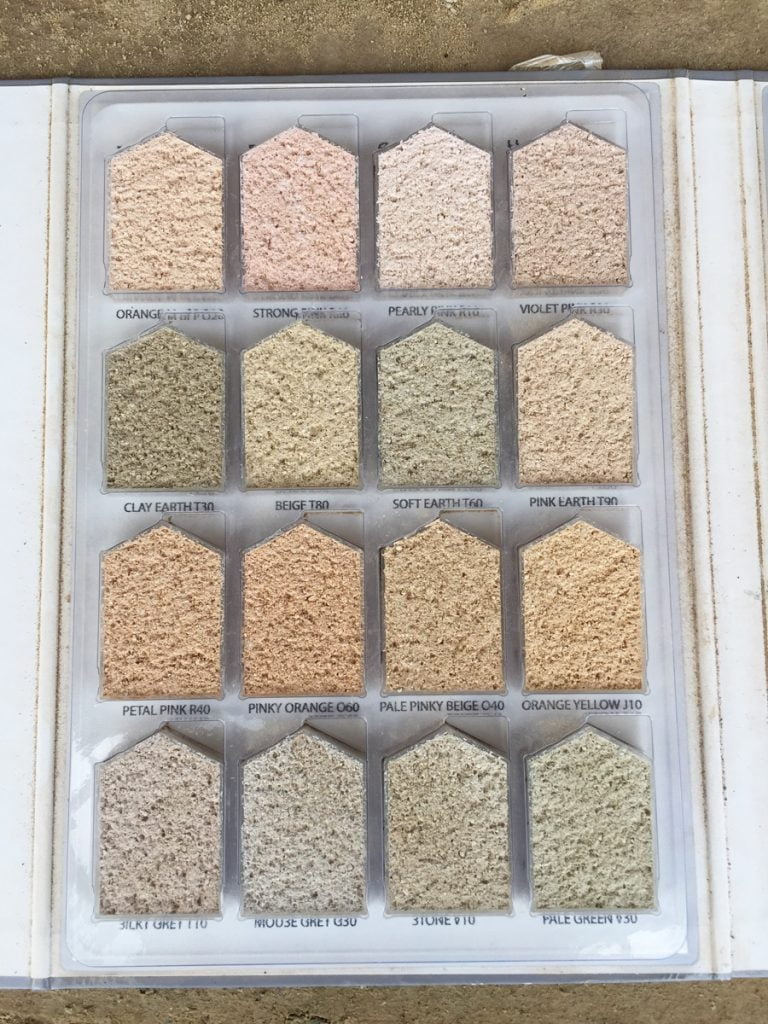
Swatches for the render on the front of the dormer windows. We have chosen Beige T80 as it is identical to the colour of our lime pointing. Mike will be rendering these after the roof tiles have been fitted.
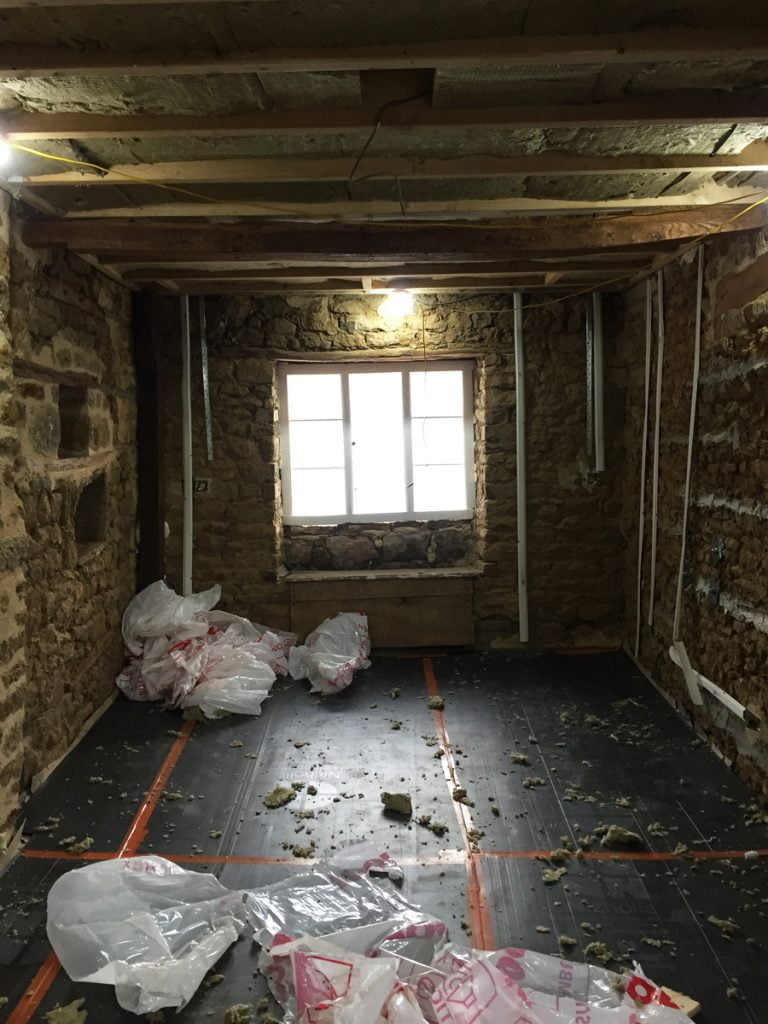
Zanna’s bedroom ceiling with the Rockwool 100mm insulation installed in between the joists. It has made such a difference to the acoustics of the room already, it is no longer echoey.
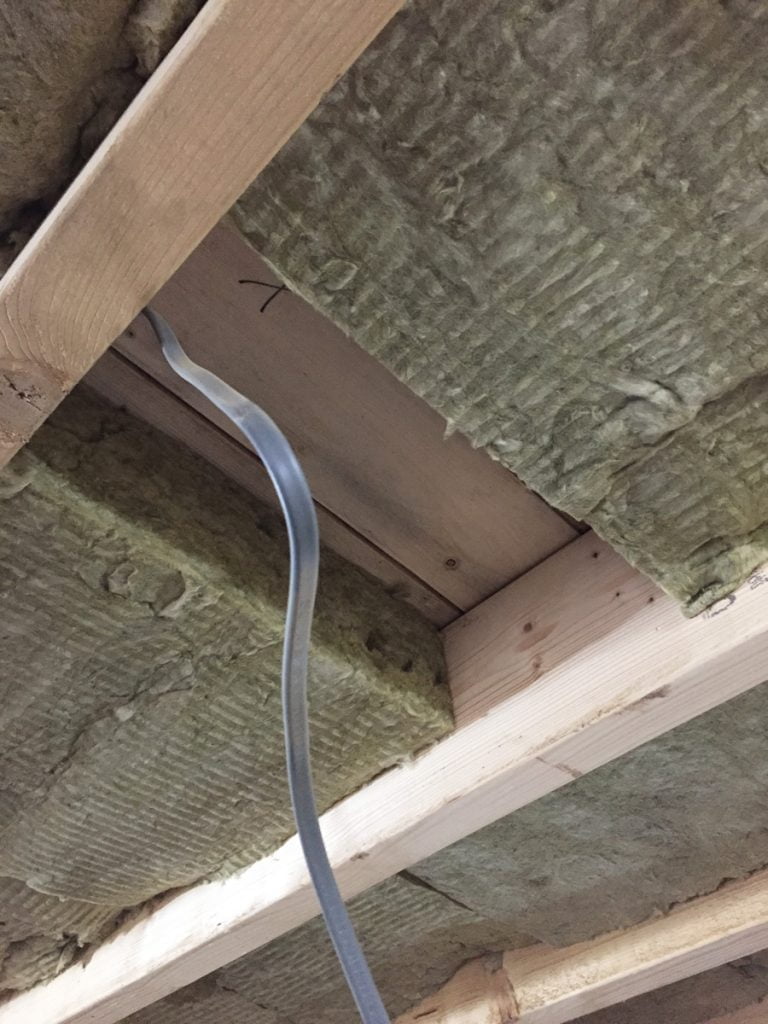
The electric cable in the middle of the ceiling for the main light in Zanna’s bedroom.
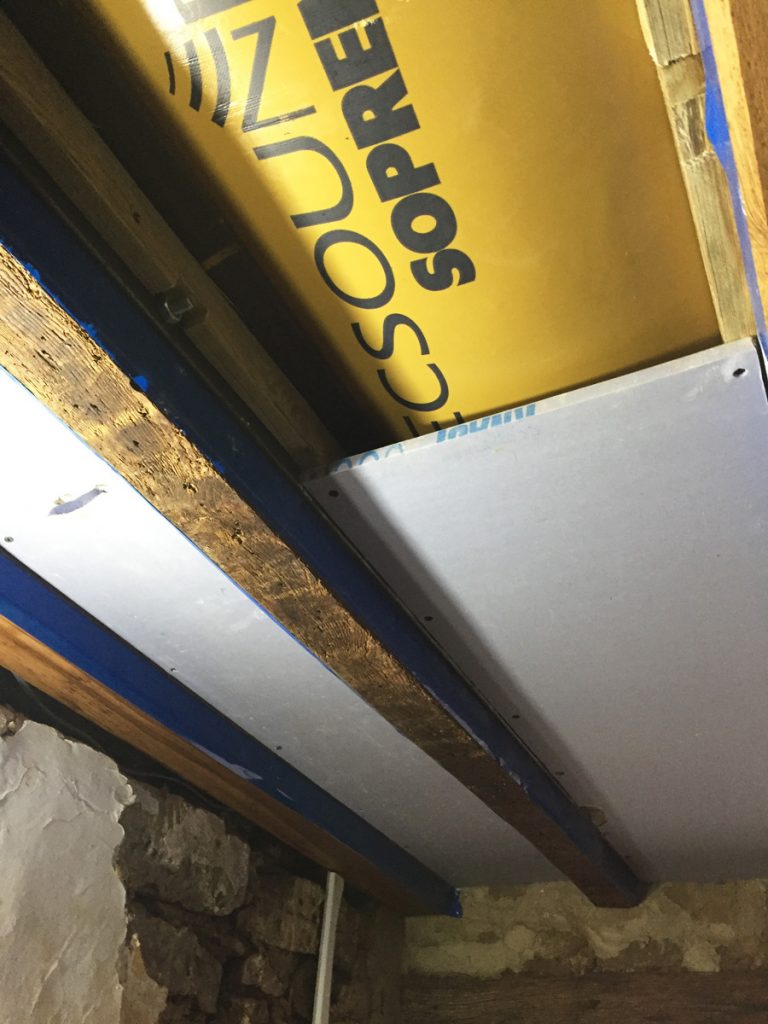
The sound insulating plasterboard being fitted in the study. The blue tape attached to the sides of the joists is to protect them from the layer of plaster that will be added over the plasterboard.
This all looks super exciting. It’s really coming together now. Cat definitely looks happier with Colin helping with the windows!!xx
Yep, she is definitely a bit happier than at the weekend! The ‘hat of fury’ has been ditched for a different one too, thank god xx